Simple computer desk
I'm very tired of the monotonous computer desks that are like carbon copies in everyone's home. And I decided to make a completely original, exclusive computer desk for my beloved, with dimensions that would be convenient for me personally. In addition, a homemade computer desk is not only very healthy, but also very cheap, since all the materials can be purchased at your local hardware and plumbing store.
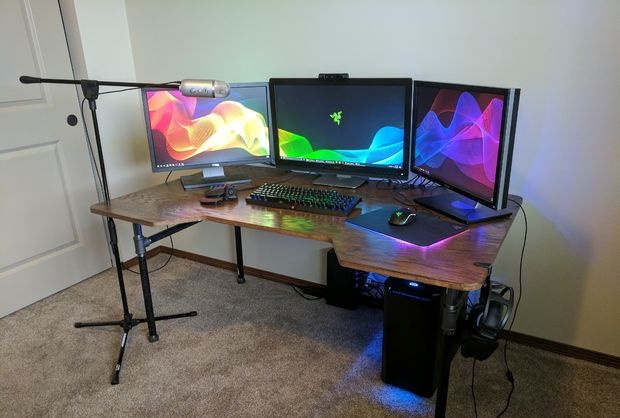
Table materials:
I adjusted the dimensions of the pipes to suit my parameters, but you can make a table for your height and width.
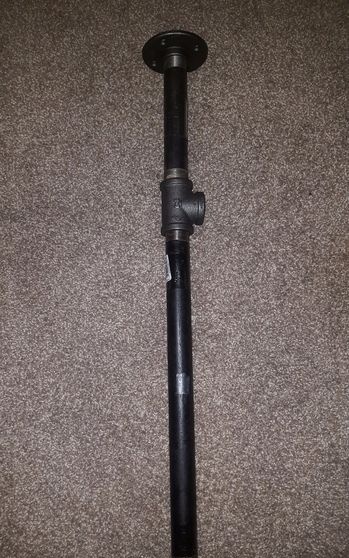
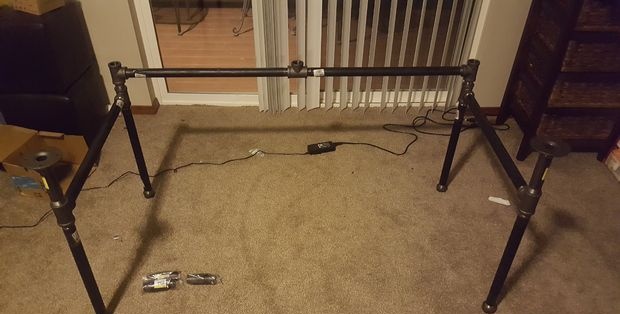
Let's start with the easiest thing - assembling the base from pipes. To start, I assembled the first two legs.
Then I twisted everything else. Nothing complicated, everything is quite simple and banal - see the picture. After assembly, it is advisable to paint the base with nitro spray paint, but personally I left it as is. Everything turned out very neatly, without any burrs.
Now let's move on to the most difficult part - the countertop.
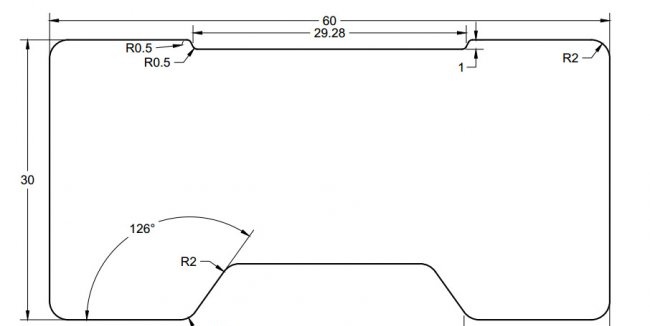
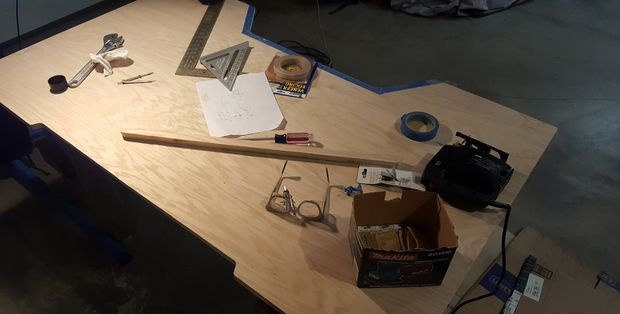
First of all, cut out a rectangle of the required size. Next, if you make a cutout (you can leave the table without cutouts), you need to draw them out with a pencil. Having previously remembered geometry for 7th grade and calculated the cutouts.
Using a jigsaw, we cut out our cutouts along the contour. Then, using fine sandpaper, we clean the edges from burrs. Make sure there are no large cracks or chips. A little trick: so that when sawing out the edge does not “tear” too much with a jigsaw, glue electrical tape along the edge, this way you will protect the edges of the tabletop.
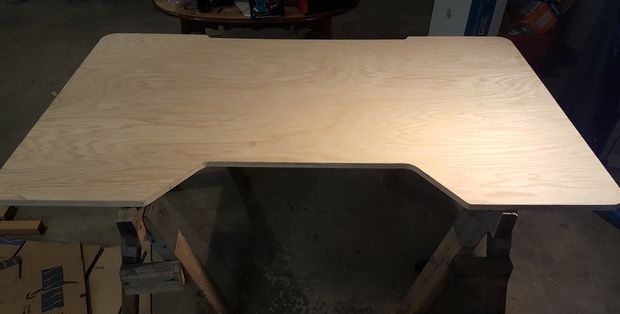
We take the border adhesive tape and glue it to the ends of the tabletop using an iron. After the tape has stuck, we carefully cut off the excess parts with a sharp stationery knife.
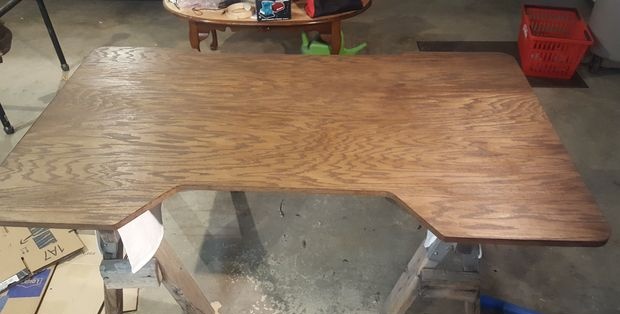
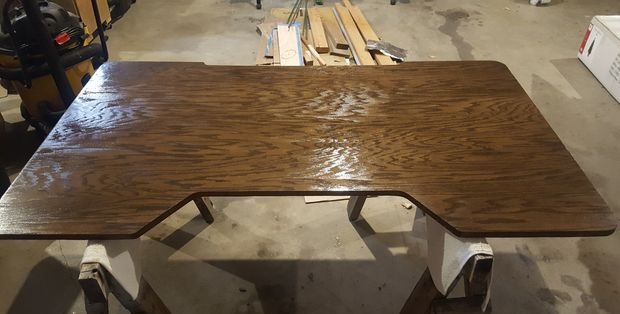
If desired (as I did), you can cover it with several layers of stain and wood varnish. There is an alternative - you can use a ready-made varnish with a woody tint. Be sure to use varnish in a well-ventilated area, or better yet, in the open air.
Final assembly.
We place the tabletop on the base, screw it from the bottom with self-tapping screws using a screwdriver. That's all. Very beautiful. It turned out just amazing. I am personally very pleased with the result and the money saved.
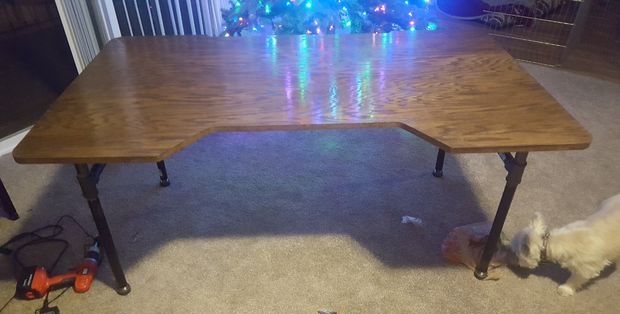
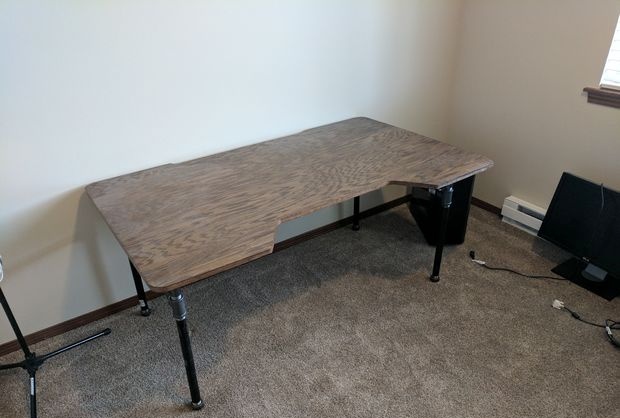
The steel pipe base is very reliable and ensures the reliability of the entire structure and greater stability.
I'll arrange my computer equipment. It looks very nice.
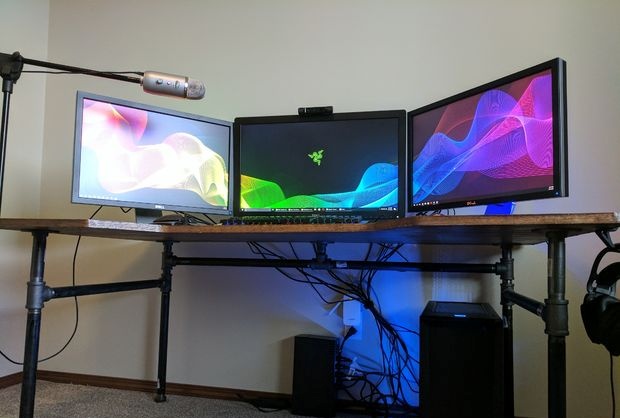

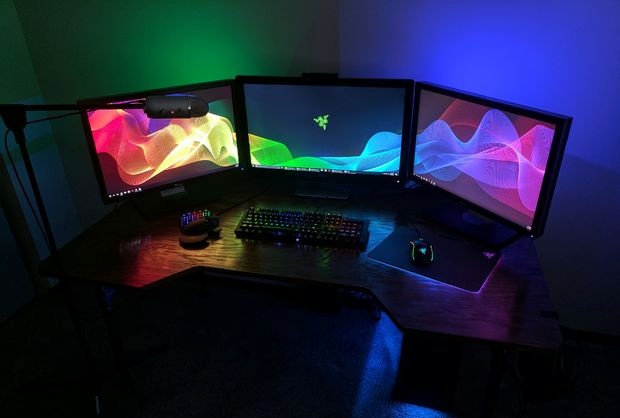
PS: There was an idea to use PVC pipes, but to make the structure stable and reliable, you need to use pipes of a wider diameter, which I think would not be very beautiful and aesthetically pleasing. So, keep this in mind.
I hope my budget project will inspire you to more interesting ideas.
Original article in English

Table materials:
- Threaded steel pipe (diameter 3/4 inch) 610 mm – 4 pieces.
- Threaded steel pipe (diameter 3/4 inch) 457 mm – 5 pieces.
- Threaded steel pipe (diameter 3/4 inch) 152 mm – 2 pieces.
- Threaded steel pipe (diameter 3/4 inch) 51 mm - 3 pieces.
- Threaded steel pipe (diameter 3/4 inch) 25 mm - 2 pieces.
- Tees for pipes with a diameter of 3/4 inches - 7 pieces.
- Flange for steel pipe with thread (diameter 3/4 inch) – 5 pieces.
- End cap for threaded steel pipe (3/4 inch diameter) - 4 pieces.
- Plywood sheet – 1 piece.
- Tape for gluing plywood edges – 1 roll.
I adjusted the dimensions of the pipes to suit my parameters, but you can make a table for your height and width.
Let's start assembling the table.
Let's start with the easiest thing - assembling the base from pipes. To start, I assembled the first two legs.
Then I twisted everything else. Nothing complicated, everything is quite simple and banal - see the picture. After assembly, it is advisable to paint the base with nitro spray paint, but personally I left it as is. Everything turned out very neatly, without any burrs.


Now let's move on to the most difficult part - the countertop.
First of all, cut out a rectangle of the required size. Next, if you make a cutout (you can leave the table without cutouts), you need to draw them out with a pencil. Having previously remembered geometry for 7th grade and calculated the cutouts.
Using a jigsaw, we cut out our cutouts along the contour. Then, using fine sandpaper, we clean the edges from burrs. Make sure there are no large cracks or chips. A little trick: so that when sawing out the edge does not “tear” too much with a jigsaw, glue electrical tape along the edge, this way you will protect the edges of the tabletop.


We take the border adhesive tape and glue it to the ends of the tabletop using an iron. After the tape has stuck, we carefully cut off the excess parts with a sharp stationery knife.
If desired (as I did), you can cover it with several layers of stain and wood varnish. There is an alternative - you can use a ready-made varnish with a woody tint. Be sure to use varnish in a well-ventilated area, or better yet, in the open air.


Final assembly.
We place the tabletop on the base, screw it from the bottom with self-tapping screws using a screwdriver. That's all. Very beautiful. It turned out just amazing. I am personally very pleased with the result and the money saved.


The steel pipe base is very reliable and ensures the reliability of the entire structure and greater stability.
I'll arrange my computer equipment. It looks very nice.


PS: There was an idea to use PVC pipes, but to make the structure stable and reliable, you need to use pipes of a wider diameter, which I think would not be very beautiful and aesthetically pleasing. So, keep this in mind.
I hope my budget project will inspire you to more interesting ideas.
Original article in English
Similar master classes
Particularly interesting
Comments (9)

