Little roses
You can admire the beauty of a rose forever. In the garden, this plant blooms for only three months, and the rest of the time you have to enjoy exclusively purchased flowers. If you don't want to spend extra money on buying roses, then make them yourself. For such crafts a variety of materials will do. In this master class, the flowers are made of crepe (corrugated) paper. The roses turn out to be miniature, but at the same time very attractive.
If you have a desire to make such flowers, then arm yourself with the following materials:
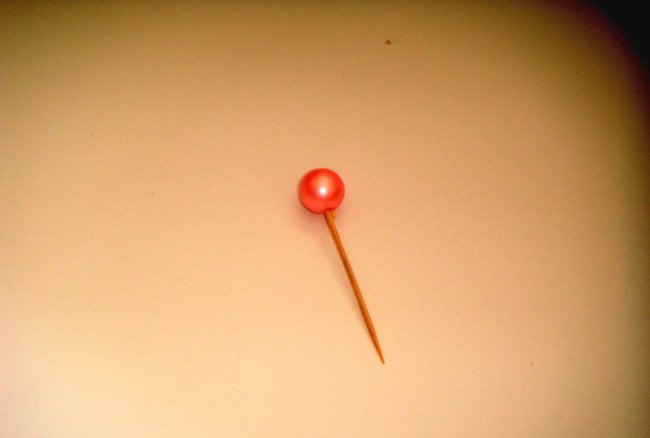
First prepare the base for future flowers. Take beads and toothpicks. Place 1 bead on each toothpick. If the bead has a hole that is too large and does not fit tightly on the stick, then use 2 toothpicks per bead.
Now prepare the crepe paper. Take any shade of paper you have. You can take one color, but it is better to combine three adjacent shades. For example, red, orange and yellow.
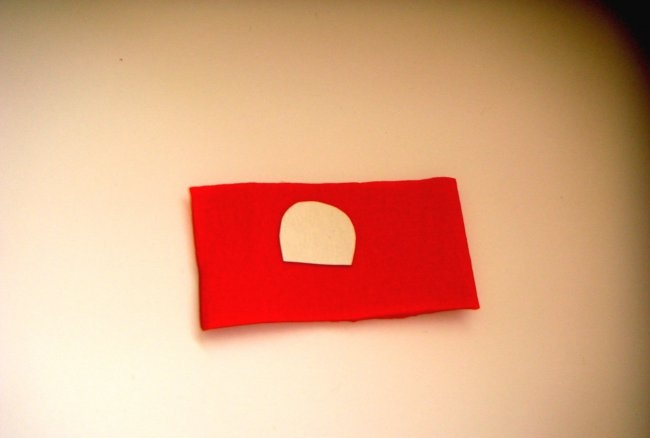
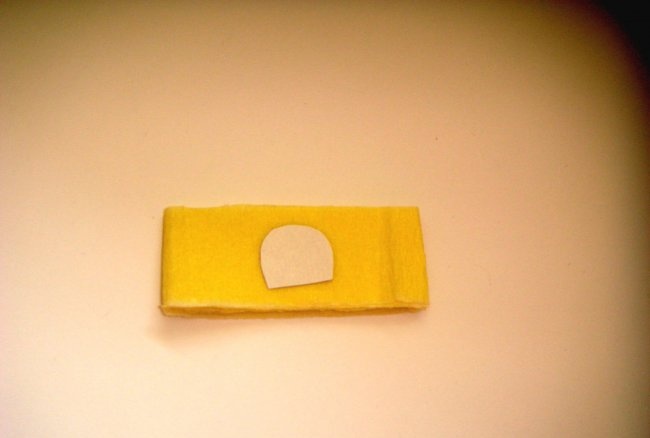
Cut out a petal from a piece of cardboard - this will be a stencil for subsequent work.
So, cut a piece of crepe paper from the red roll. Attach the petal stencil to it.
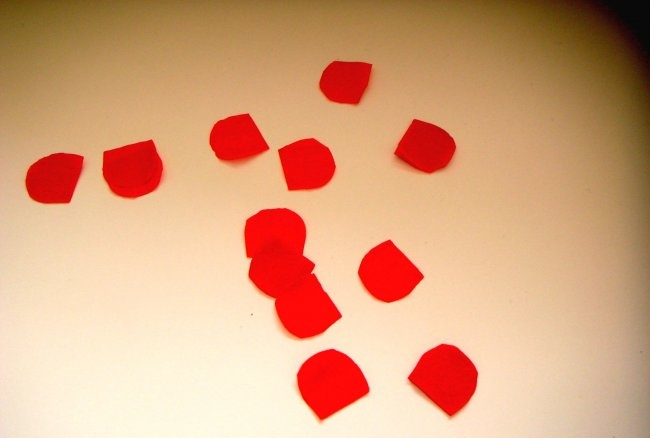
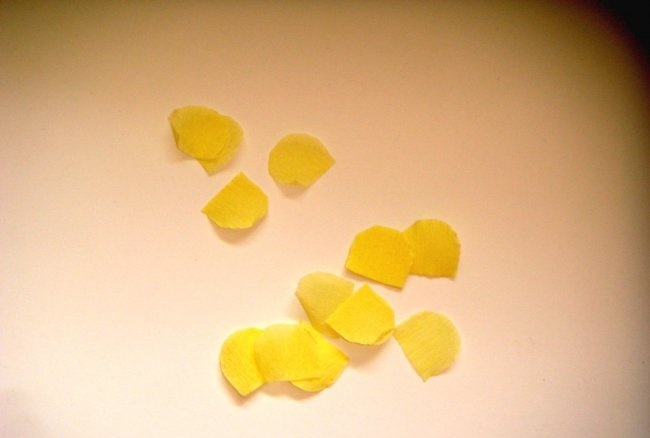
Cut several blanks along it at once.
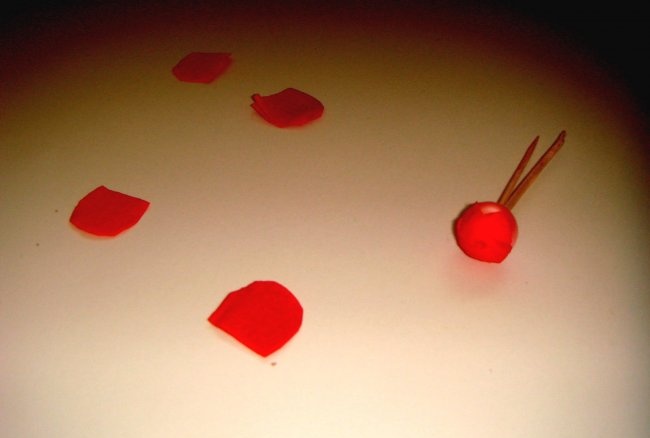
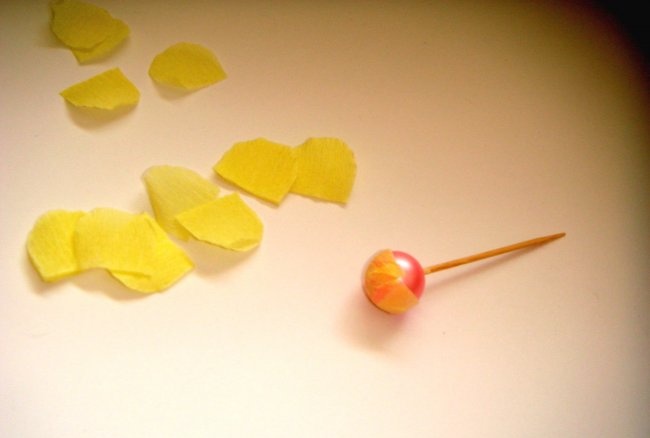
Now take a bead with a toothpick and PVA glue. Glue one of the petals in the center of the bead to hide the hole.
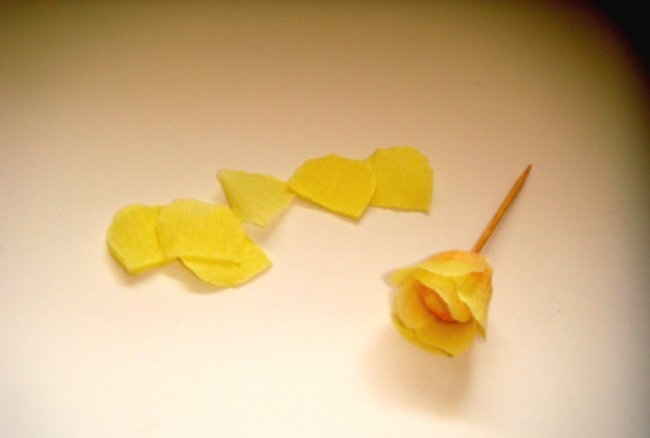
Place subsequent blanks around the ball, first applying a drop of glue.
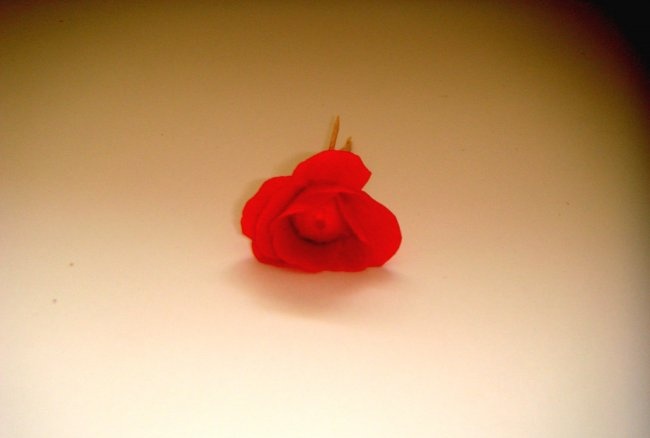
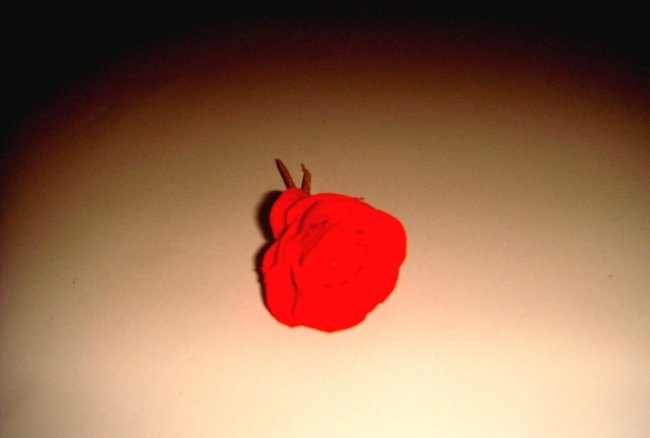
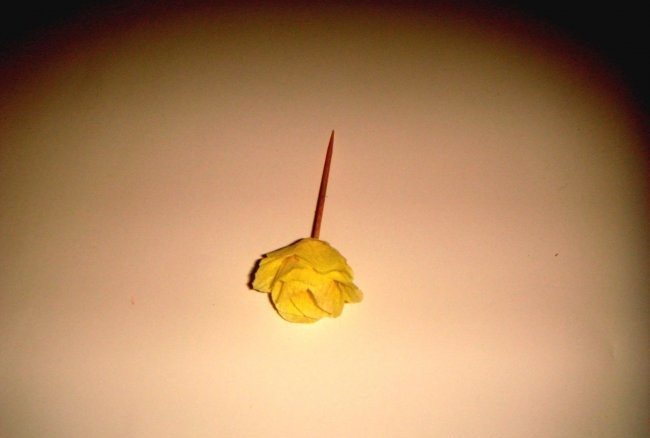
This way you will gradually form a lush flower of a miniature rose.
Use the same principle to make a yellow bud.
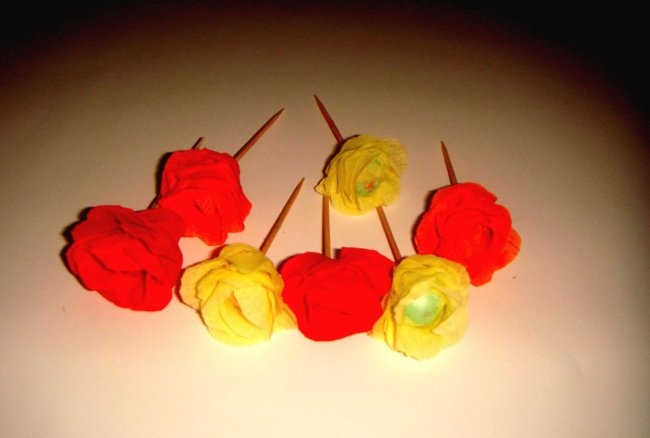
Repeat this 5 more times. You should have 7 small roses.
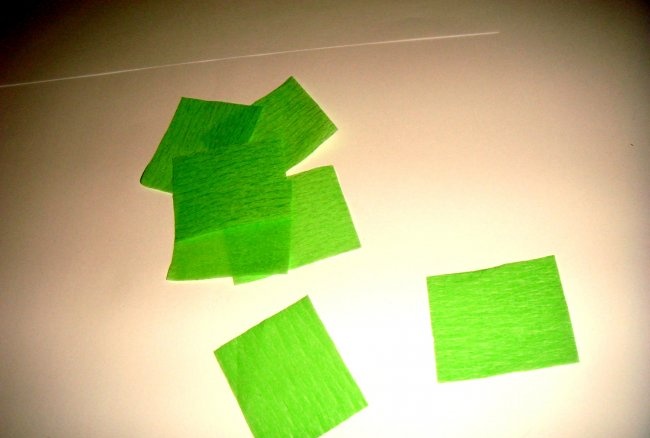
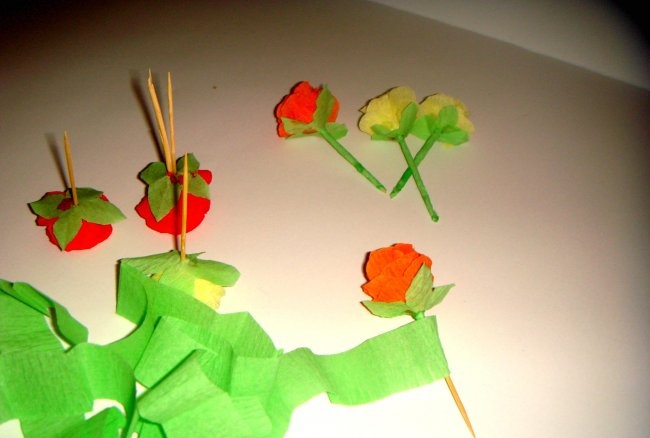
The next stage is making a cup with sepals. To do this, cut the light green crepe paper into small squares.
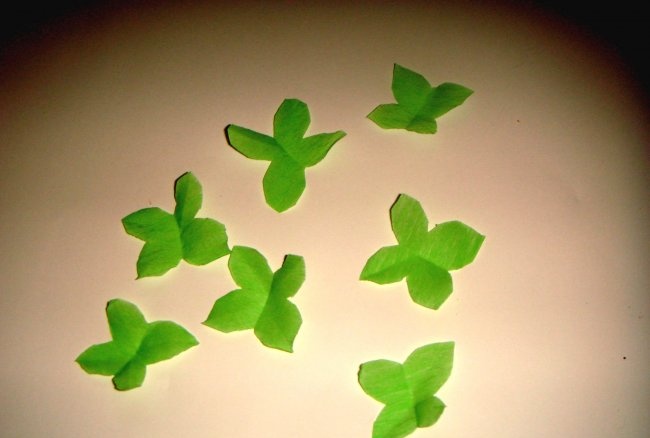
Trim each corner of the square to make a blank like in the photo. A total of 7 such cups are needed.
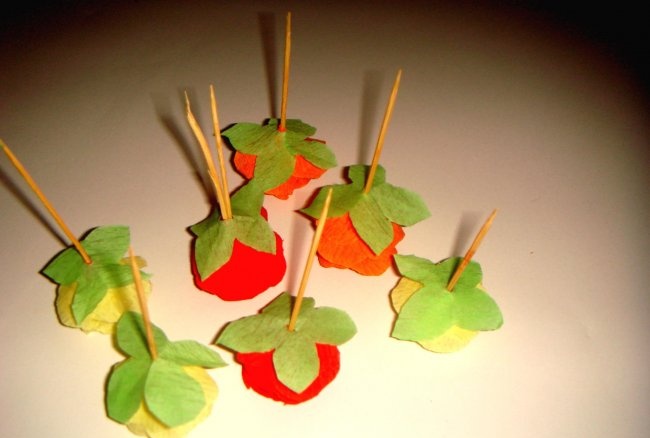
Glue them onto the flower by piercing the center with the bottom sharp end of a toothpick.
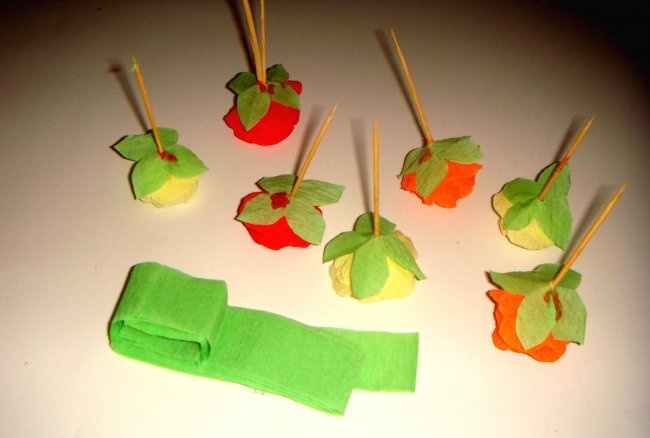
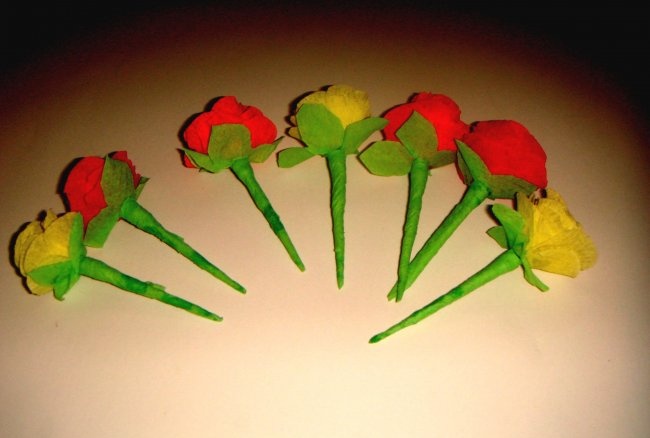
Next you need to decorate the wooden sticks. To do this, cut a strip of light green crepe paper and cover all the toothpicks with it.
This is what the finished flower stems look like.
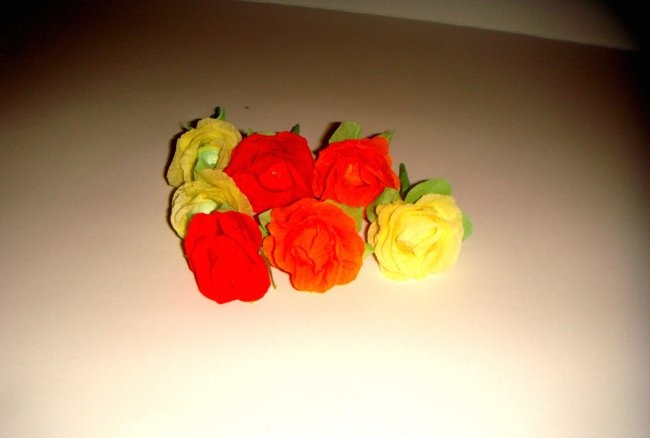
And this is the appearance of lush, half-opened buds.
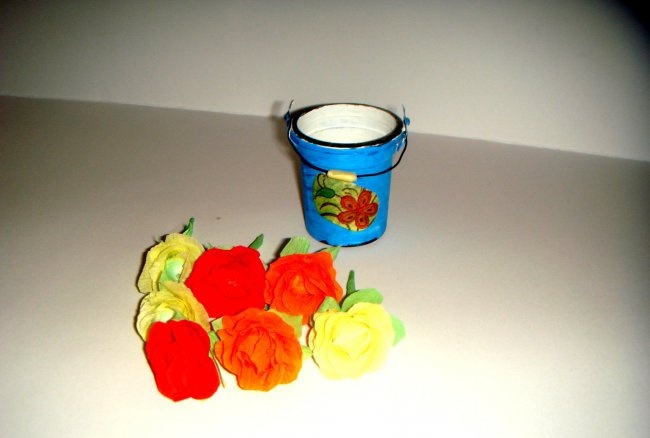
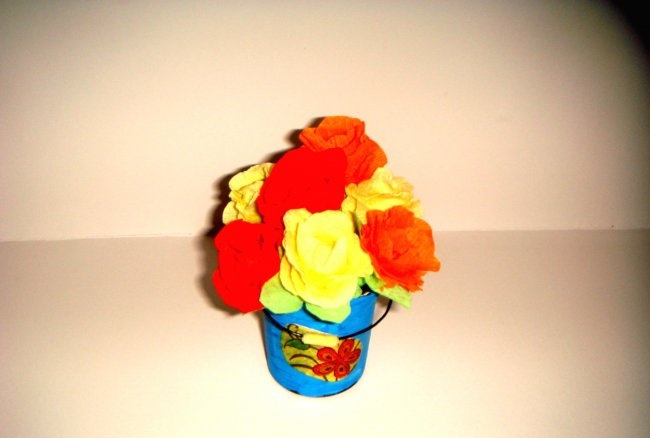
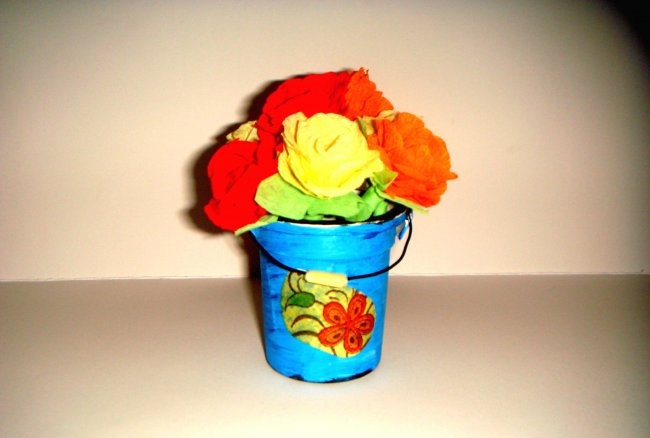
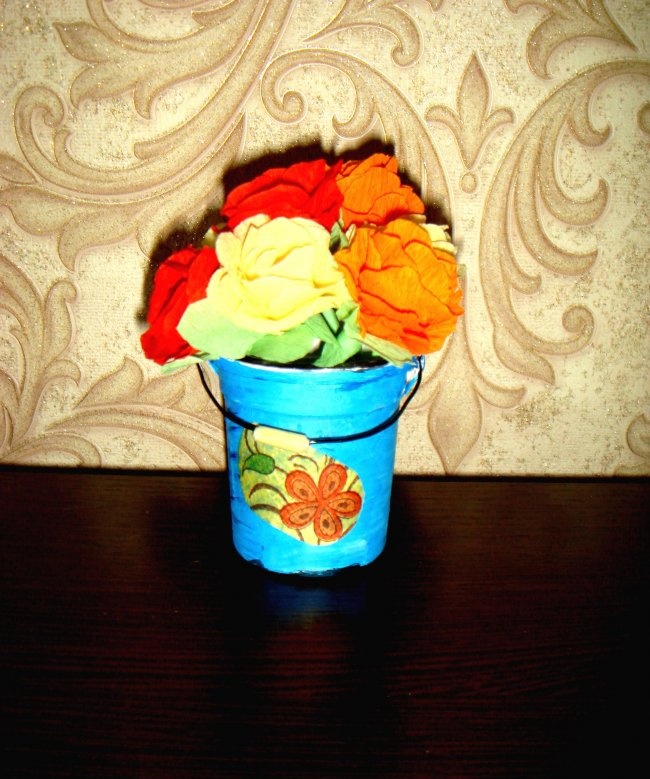
All that remains is to place the bouquet in a suitable container. You can use a low narrow vase or take a decorative bucket made with your own hands from a plastic cup.
The bouquet fits perfectly in it.
The composition is ready!
It won't take up much space on your shelf or desktop. But roses will delight you with their extraordinary beauty all year round. And if you drop a drop of rose oil into each flower, you can also enjoy the aroma.
If you have a desire to make such flowers, then arm yourself with the following materials:
- crepe paper in yellow, red, orange and light green shades;
- scissors;
- a tube of PVA glue;
- toothpicks (7 pcs.);
- beads (7 pcs.);
- a piece of cardboard;
- pencil;
- miniature vase.
First prepare the base for future flowers. Take beads and toothpicks. Place 1 bead on each toothpick. If the bead has a hole that is too large and does not fit tightly on the stick, then use 2 toothpicks per bead.
Now prepare the crepe paper. Take any shade of paper you have. You can take one color, but it is better to combine three adjacent shades. For example, red, orange and yellow.
Cut out a petal from a piece of cardboard - this will be a stencil for subsequent work.
So, cut a piece of crepe paper from the red roll. Attach the petal stencil to it.
Cut several blanks along it at once.
Now take a bead with a toothpick and PVA glue. Glue one of the petals in the center of the bead to hide the hole.
Place subsequent blanks around the ball, first applying a drop of glue.
This way you will gradually form a lush flower of a miniature rose.
Use the same principle to make a yellow bud.
Repeat this 5 more times. You should have 7 small roses.
The next stage is making a cup with sepals. To do this, cut the light green crepe paper into small squares.
Trim each corner of the square to make a blank like in the photo. A total of 7 such cups are needed.
Glue them onto the flower by piercing the center with the bottom sharp end of a toothpick.
Next you need to decorate the wooden sticks. To do this, cut a strip of light green crepe paper and cover all the toothpicks with it.
This is what the finished flower stems look like.
And this is the appearance of lush, half-opened buds.
All that remains is to place the bouquet in a suitable container. You can use a low narrow vase or take a decorative bucket made with your own hands from a plastic cup.
The bouquet fits perfectly in it.
The composition is ready!
It won't take up much space on your shelf or desktop. But roses will delight you with their extraordinary beauty all year round. And if you drop a drop of rose oil into each flower, you can also enjoy the aroma.
Similar master classes
Particularly interesting
Comments (3)

