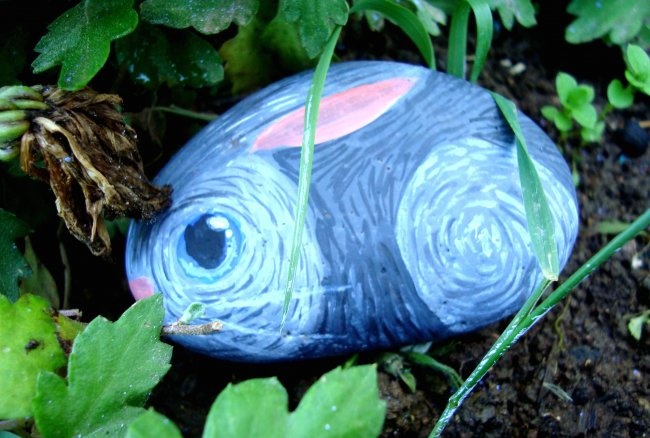
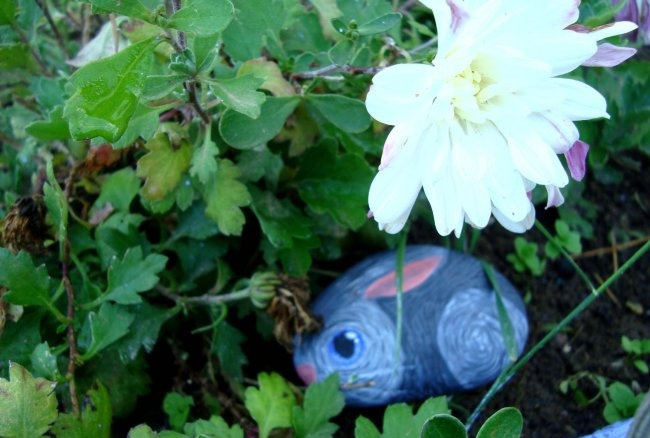
Stone painting for the garden “Bunny”
How to decorate your flower garden? Every summer resident and florist probably asked himself this question. Therefore, a new type of garden decor has appeared - painting stones. It is very practical, cost-effective and helps brighten up a boring garden. You can paint stones together with your child and thereby show your imagination. To complete the painting you do not need any artistic experience, just a little time and the necessary material.
To paint the stone we will need:
- acrylic paints (black, white, blue, red);
- brushes;
- a flat stone with smooth edges.
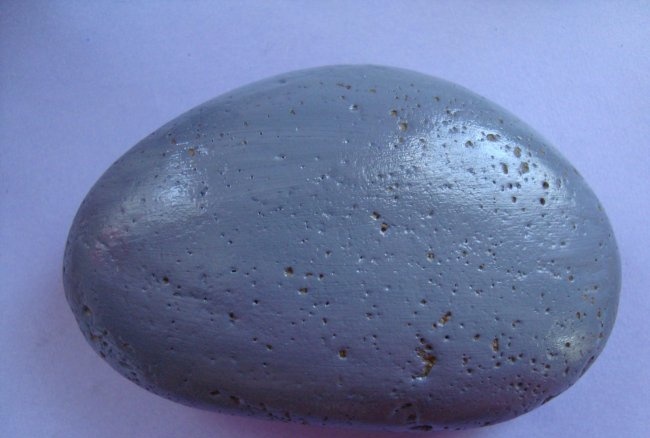
Step 1: Preliminary work: Select a flat stone. Rinse the stone thoroughly with water, clean it of dirt, and dry it. Prepare your work area. To do this, cover the table with unnecessary newspaper or oilcloth. Then we start coloring. We cover the entire stone with gray acrylic paint in an even layer. Let it dry.
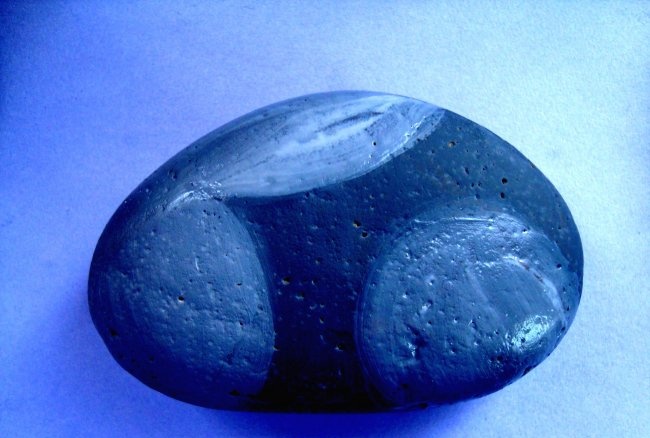
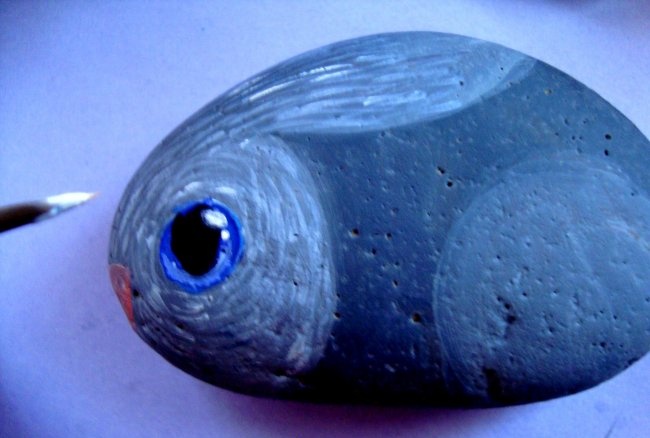
Step 2. Use lighter gray paint to mark the area of the head, ear and hind leg. Let it dry.
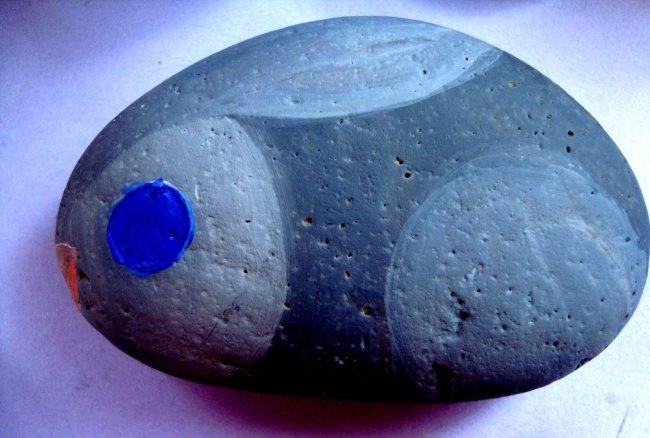
Step 3. Using blue acrylic paint, draw the eye. Opposite the eye we draw a small pink nose. For this it is better to use a thin brush.
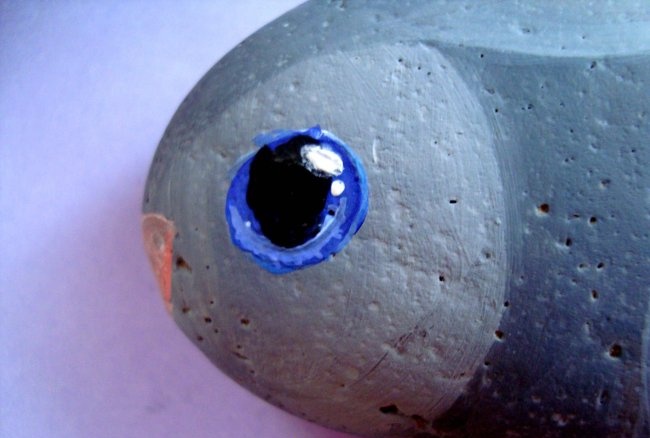
Step 4. Let's make the eye more realistic. To do this, draw a black pupil in the middle of the eye, and white highlights on the side.
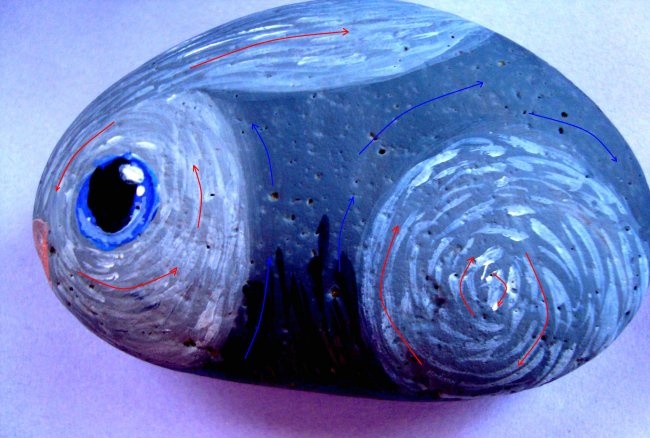
Step 5. Next, use white acrylic paint to paint small strokes on the marked area of the head. This will be fur. The smaller the strokes, the more realistic the bunny will be.
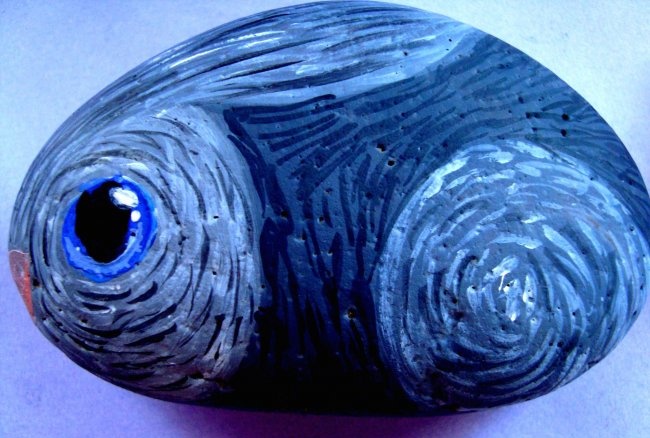
Step 6. We do the same on the marked area of the back leg. Then we draw the body with darker paint. (The arrows indicate the directions of the strokes. Red arrows indicate white paint, and blue arrows indicate dark gray paint).
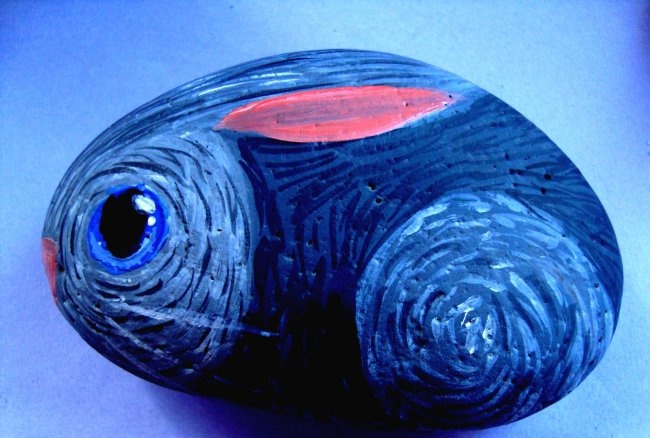
Step 7. All that remains is to mark the ear with pink paint and color it. Add some antennae with white paint and you're done!
You can coat the bunny with a thin layer of varnish. This will protect it from external influences. Let dry thoroughly.
Place your furry in a flower bed and surprise your guests with a luxurious garden!
Similar master classes
Particularly interesting
Comments (1)

