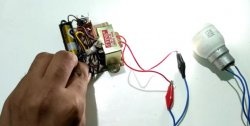
Simple DIY hidden wiring detector
An AC voltage detector is a device that detects the presence of alternating current, over a short distance, without any electrical connections to the line.
This simple device will help you determine the presence of life-threatening voltage in the network and wires, and will help you find the location of the cable in a concrete or brick wall.
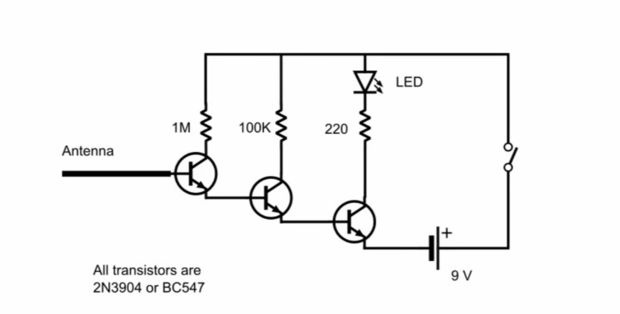
The circuit is very simple and has a minimum number of parts. The device circuit is a composite transistor consisting of three ordinary ones. The result is a sensitive amplifier (with a DC transmission coefficient of more than 100,000), the load of which is Light-emitting diode.
If you have all the components, assembly will take no more than an hour. This scheme is probably the most common and most effective for beginner radio amateurs.
Aluminum or copper solid thin wire - 5 cm
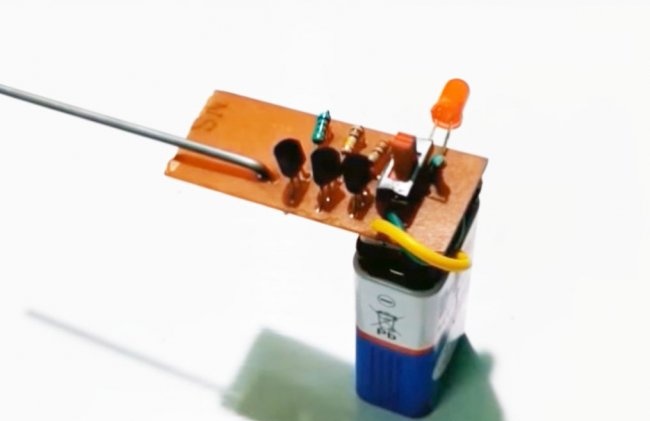
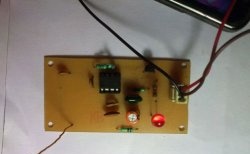
I etched the board and soldered all the elements as expected, but you can also assemble it on a breadboard by soldering the jumpers with regular wire. The circuit turned out to be very sensitive.
After assembly, the detector is ready for use and does not require configuration. If for some reason the device does not respond to anything, check that all elements are turned on correctly and the transistors are working properly.
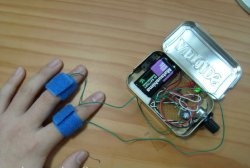
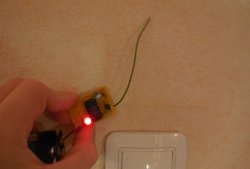
Construction detector and video testing:
This simple device will help you determine the presence of life-threatening voltage in the network and wires, and will help you find the location of the cable in a concrete or brick wall.
The circuit is very simple and has a minimum number of parts. The device circuit is a composite transistor consisting of three ordinary ones. The result is a sensitive amplifier (with a DC transmission coefficient of more than 100,000), the load of which is Light-emitting diode.
If you have all the components, assembly will take no more than an hour. This scheme is probably the most common and most effective for beginner radio amateurs.
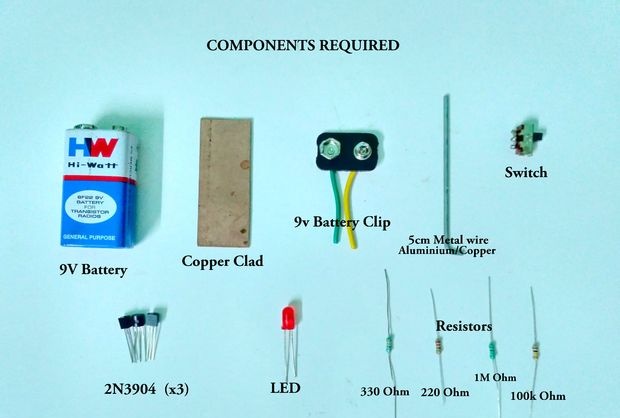
Required Components
- Battery type "Krona" - 1 piece.
- Light-emitting diode - 1 piece.
- Transistor 2N3704 (or domestic KT3102 or KT315) - 3 pieces.
Resistors: - -1MOhm - 1 piece.
- -100 kOhm -1 piece.
- -330 Ohm - 1 piece.
- -220Ohm - 1 piece.
- Switch - 1 piece.

Aluminum or copper solid thin wire - 5 cm
Detector design

I etched the board and soldered all the elements as expected, but you can also assemble it on a breadboard by soldering the jumpers with regular wire. The circuit turned out to be very sensitive.
After assembly, the detector is ready for use and does not require configuration. If for some reason the device does not respond to anything, check that all elements are turned on correctly and the transistors are working properly.
Construction detector and video testing:
Similar master classes
Particularly interesting
Comments (10)

