Dahlia made of satin ribbons
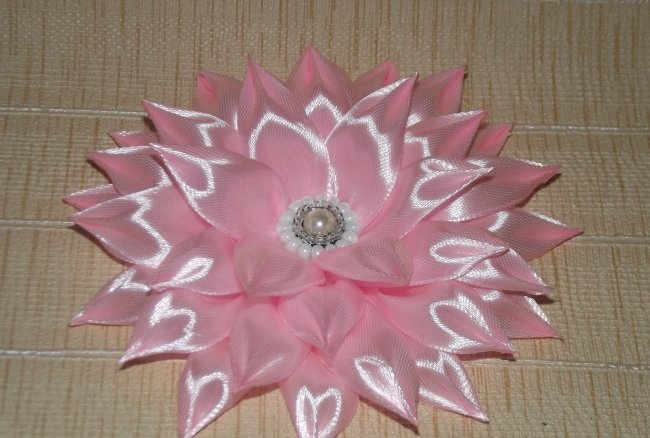
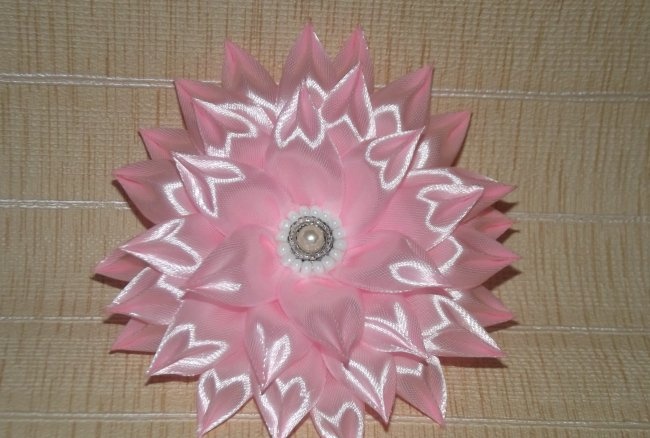
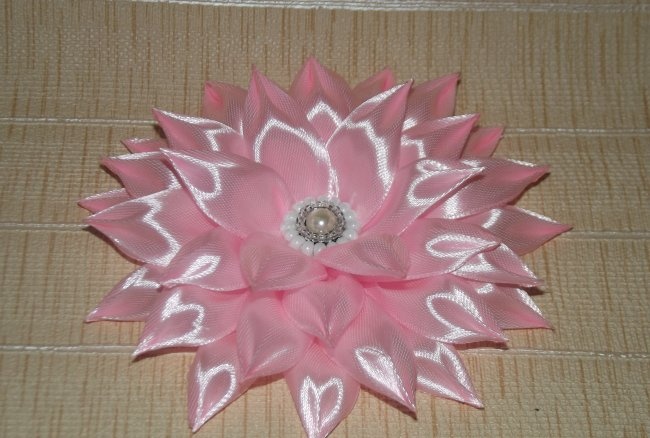
Dahlia made from satin ribbons using the technique kanzashi – an exquisite decoration that can be used as decoration on a hair clip/scrunchy, attached to the chest as a brooch/boutonniere, or sewn onto a belt as a festive element. Regardless of the scope of application, this decoration looks very stylish. And it's so easy to create! Read on and you will learn how to make a dahlia from satin ribbons using the kanzashi technique with your own hands.
Level – easy. Manufacturing time: 1.5-2 hours.
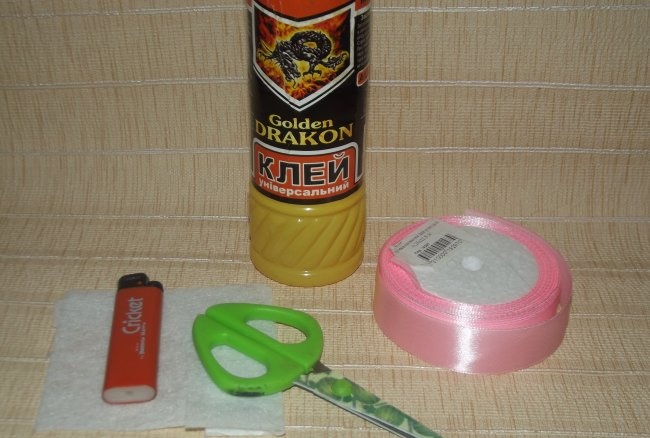
Materials and tools:
Step 1: Cut the ribbon into lengths.
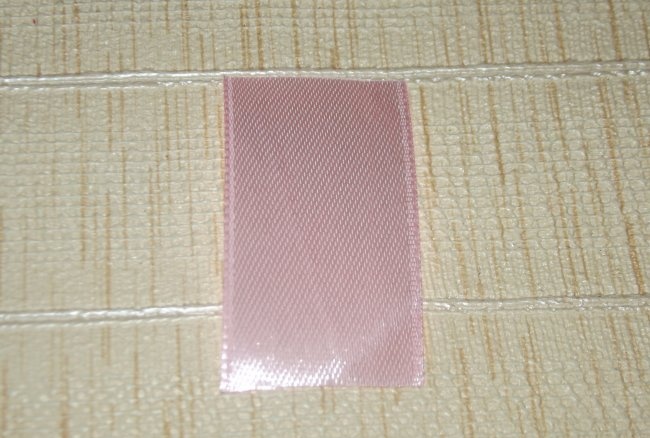
Cut 2.5 cm wide silk ribbon in soft pink or any other shade (optional) into 5 cm long pieces. You will need to make 28 of these pieces in total.
Step 2: Make a petal.
Take one of the segments.
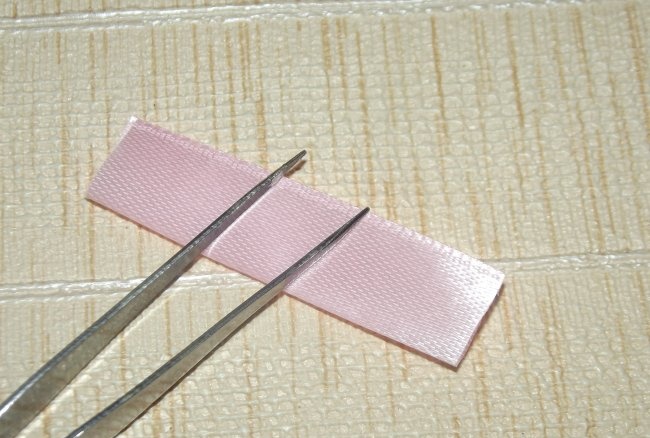
Fold it in half lengthwise with the right side facing up. Use your fingers to smooth the center fold thoroughly.
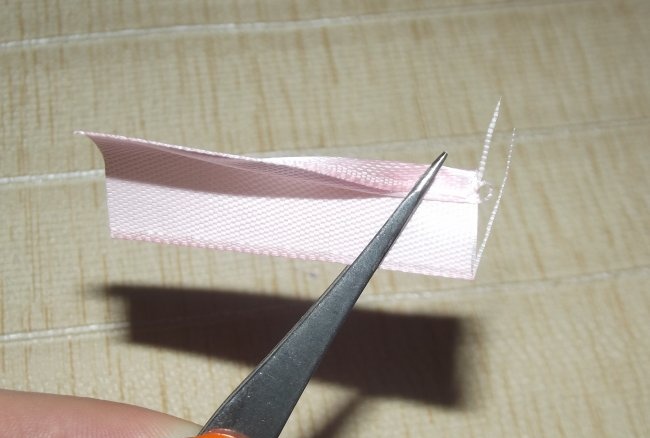
On one side, along the cut line, lower the fabric down from the center fold by about one third. After this, lift the tape up exactly to the center line. Lower the remaining fabric from the middle line down.
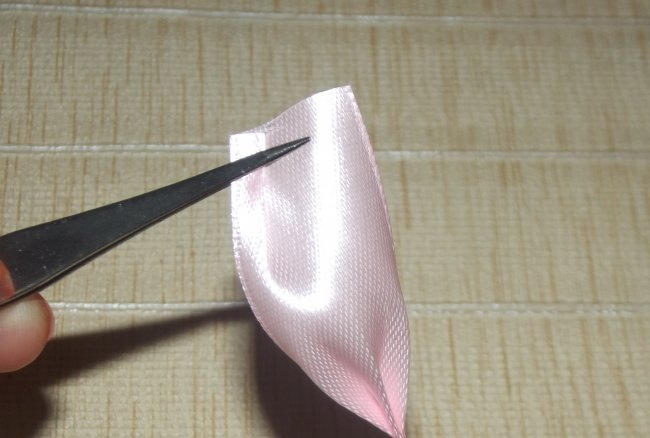
Repeat the above manipulations with the remaining part of the tape on the other side. Gently pinch all formed folds with tweezers.
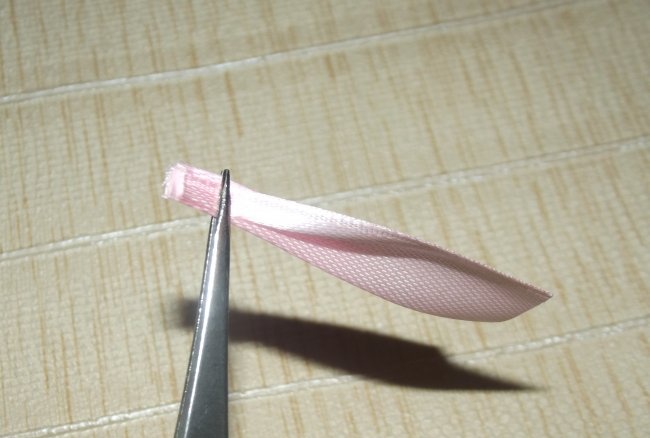
Step back the beginning of the segment by approximately 0.5 cm, after which cut the section from the central fold to the edges diagonally. Melt this part over the candle fire and seal it with your fingers. This step is optional, but it will make your petals look much neater.
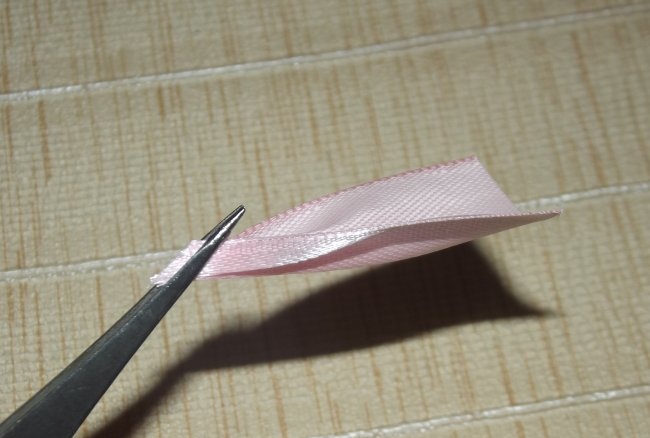
On the opposite side of the piece, make a small fold exactly to the center line.
On the other side, make the same fold symmetrically.
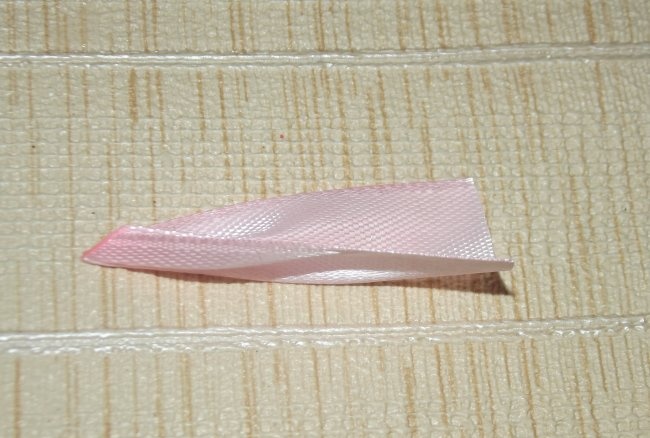
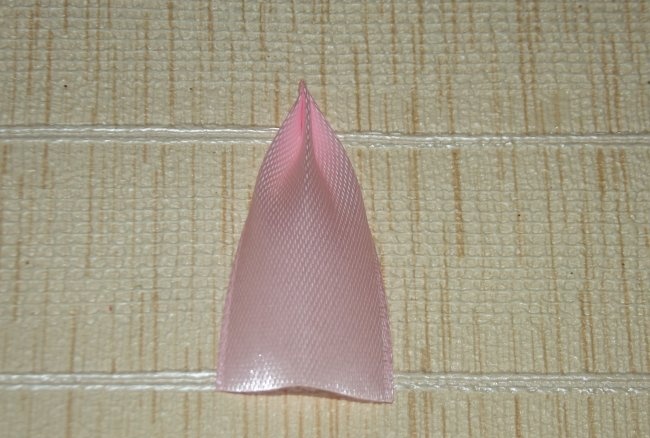
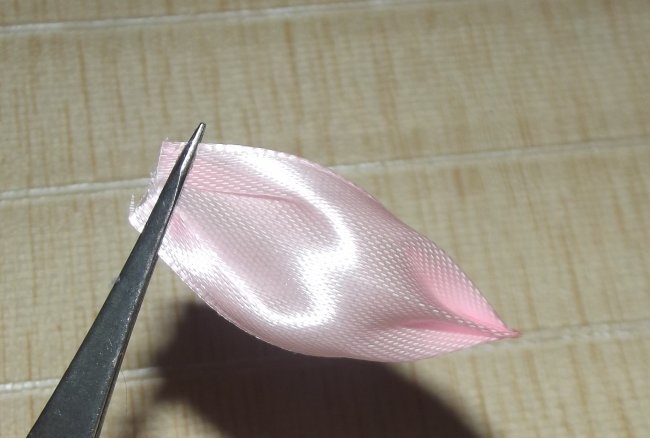
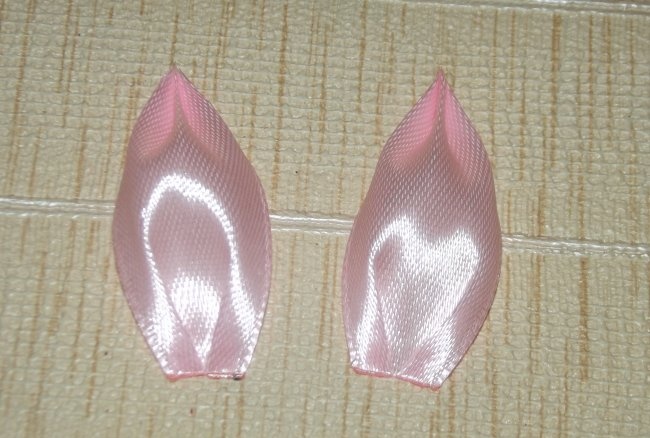
Pinch the newly formed folds with tweezers. Melt them over a candle fire and seal them with your fingers. You have made one petal.
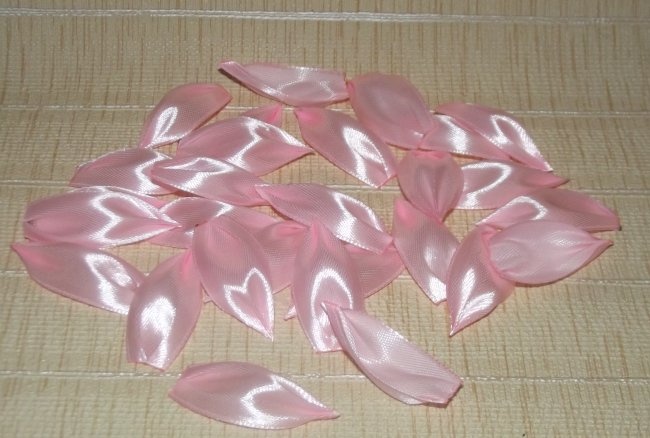
Using the same technique, make 27 more petals (28 in total).
Step 3: Collect the flower.
Cut out a neat circle from a piece of white felt measuring 5x5 cm.
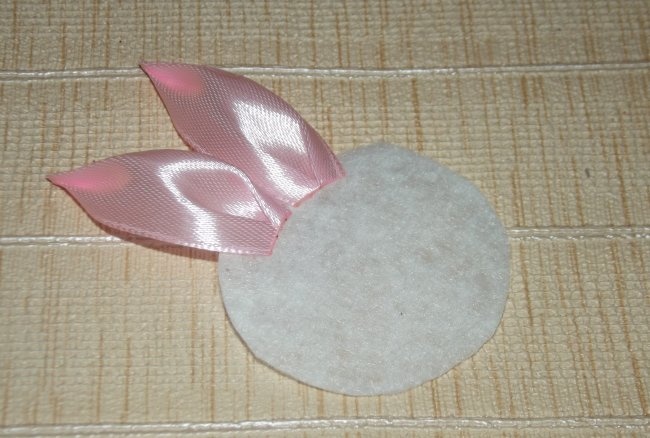
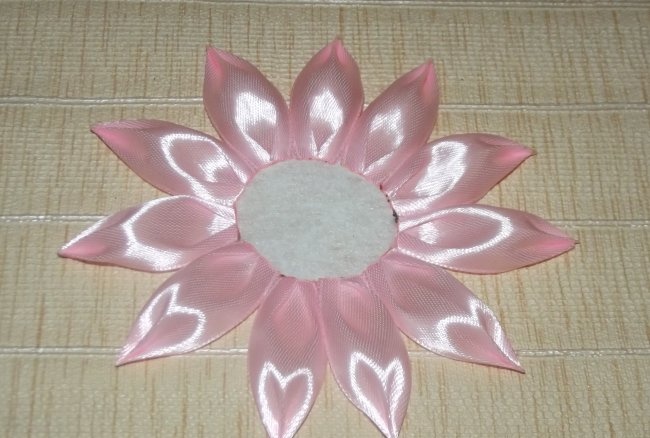
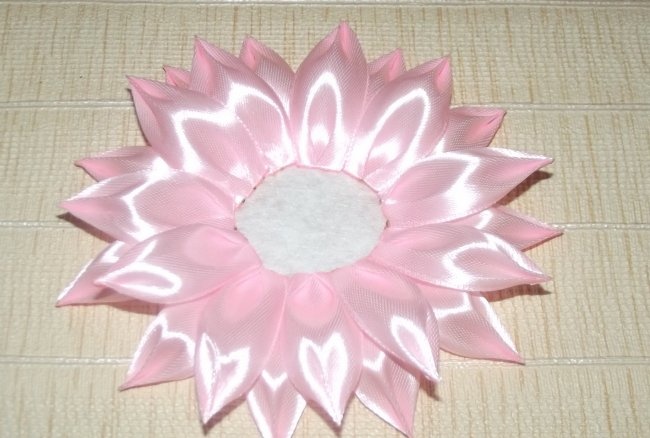
Glue 8 petals symmetrically onto the circle using universal glue or a glue gun. This will be the first tier.
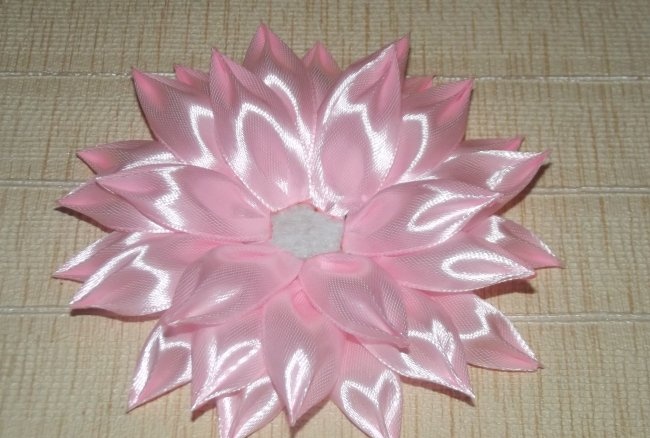
For the second tier, add 8 more petals to the felt. Glue these petals so that each top one is located exactly between the two bottom ones.
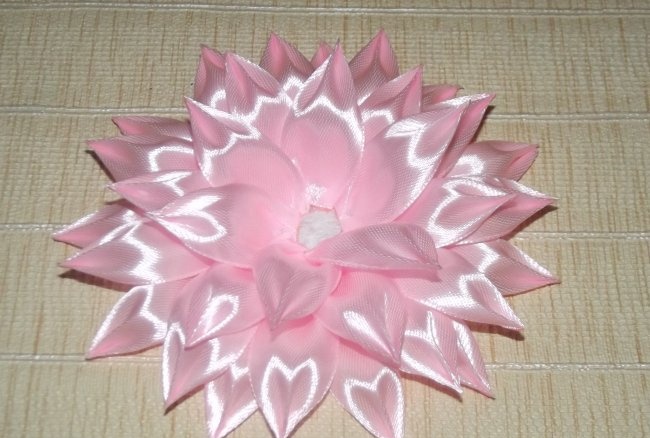
To make a third tier, add 6 more petals to the craft. When creating this circle, step back from the previous one by approximately 0.5 cm.
To make the fourth tier, add the remaining six petals to the decoration. Place them so that each top one is exactly between the two bottom ones.
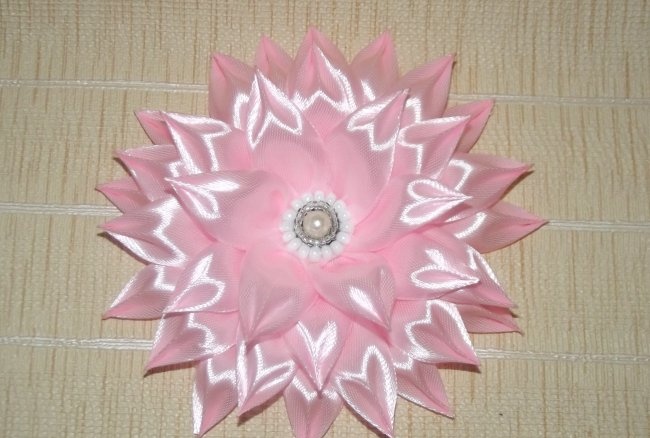
To the middle crafts attach a suitable center for the kanzashi.You can buy such a center ready-made in the store or make it yourself.
A charming do-it-yourself dahlia made from satin ribbons using the kanzashi technique is ready! We hope you enjoyed our master class? Happy crafting!
Level – easy. Manufacturing time: 1.5-2 hours.
Materials and tools:
- a piece of white felt measuring 5x5 cm;
- silk/satin ribbon in a soft pink shade, 2.5 cm wide;
- scissors;
- ready center for kanzashi;
- hot gun or all-purpose glue;
- ruler;
- candle or lighter.
Step-by-step instructions with photos
Step 1: Cut the ribbon into lengths.
Cut 2.5 cm wide silk ribbon in soft pink or any other shade (optional) into 5 cm long pieces. You will need to make 28 of these pieces in total.
Step 2: Make a petal.
Take one of the segments.
Fold it in half lengthwise with the right side facing up. Use your fingers to smooth the center fold thoroughly.
On one side, along the cut line, lower the fabric down from the center fold by about one third. After this, lift the tape up exactly to the center line. Lower the remaining fabric from the middle line down.
Repeat the above manipulations with the remaining part of the tape on the other side. Gently pinch all formed folds with tweezers.
Step back the beginning of the segment by approximately 0.5 cm, after which cut the section from the central fold to the edges diagonally. Melt this part over the candle fire and seal it with your fingers. This step is optional, but it will make your petals look much neater.
On the opposite side of the piece, make a small fold exactly to the center line.
On the other side, make the same fold symmetrically.
Pinch the newly formed folds with tweezers. Melt them over a candle fire and seal them with your fingers. You have made one petal.
Using the same technique, make 27 more petals (28 in total).
Step 3: Collect the flower.
Cut out a neat circle from a piece of white felt measuring 5x5 cm.
Glue 8 petals symmetrically onto the circle using universal glue or a glue gun. This will be the first tier.
For the second tier, add 8 more petals to the felt. Glue these petals so that each top one is located exactly between the two bottom ones.
To make a third tier, add 6 more petals to the craft. When creating this circle, step back from the previous one by approximately 0.5 cm.
To make the fourth tier, add the remaining six petals to the decoration. Place them so that each top one is exactly between the two bottom ones.
To the middle crafts attach a suitable center for the kanzashi.You can buy such a center ready-made in the store or make it yourself.
A charming do-it-yourself dahlia made from satin ribbons using the kanzashi technique is ready! We hope you enjoyed our master class? Happy crafting!
Similar master classes
Particularly interesting
Comments (0)

