Red squirrel from a woman's shirt
From old things that look not quite worn out, but are not used, you can make a new and beautiful thing with your own hands. For example, you can make a decoration for your home or car, a keychain or a Christmas tree toy. Or you can make a beautiful decoration or toy to decorate a room or entertain a child.
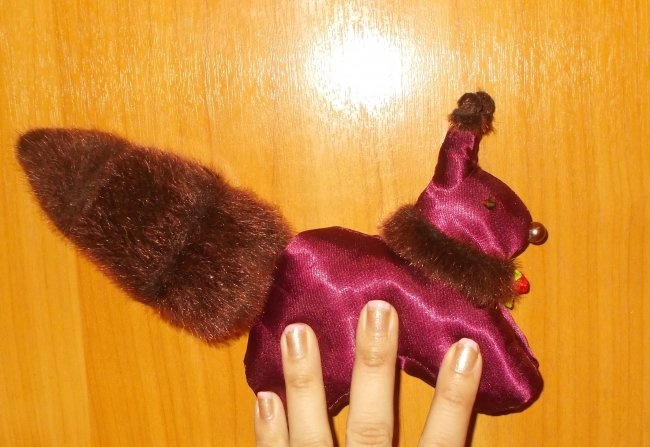
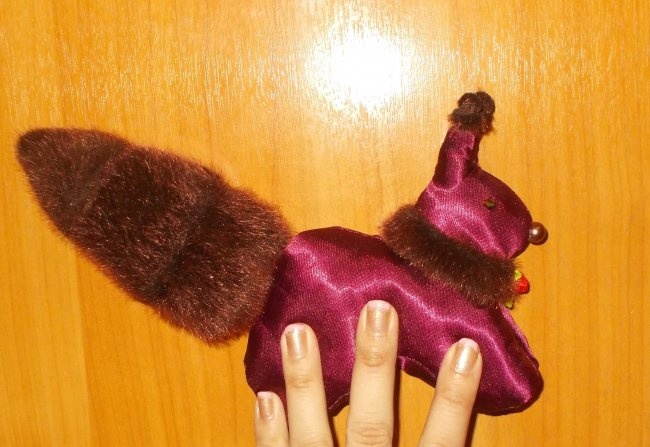
I made a cute red toy squirrel from an old women's shirt and a hat with red fur:
In order to sew this little squirrel, we needed: fabric from an old women's shirt, a template (sample) for sewing, a needle and thread, safety pins, fabric with red fur, as well as beads and beads of brown color, reliable glue, filler ( cotton wool) and a small decorative decoration in the form of a red flower.
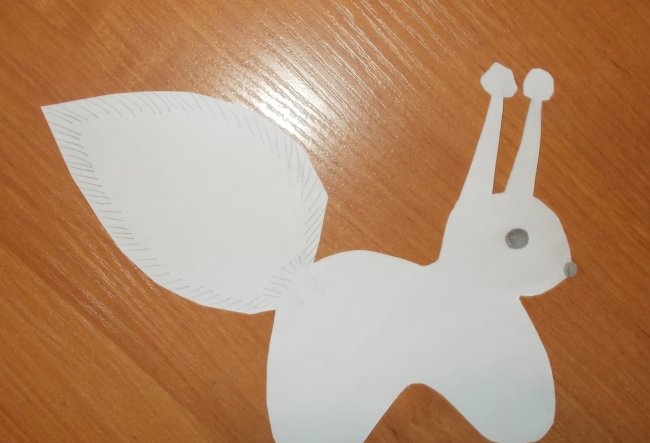
Take a paper template:
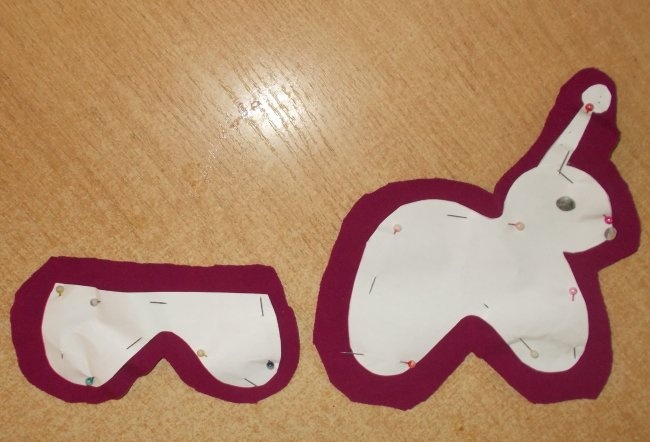
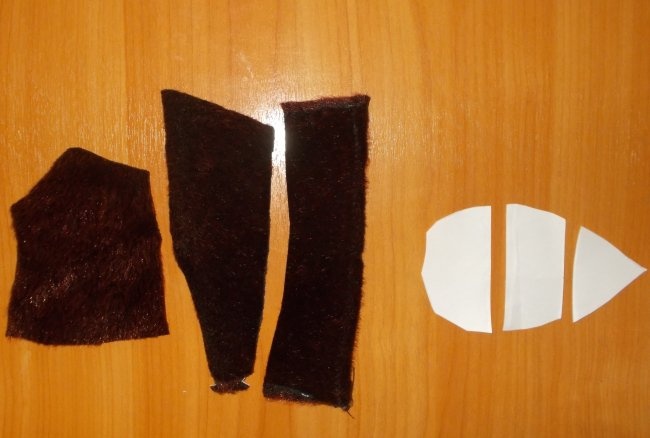
This template needs to be divided into separate parts. According to their shape, we will need to make parts from fabric for sewing with a small (from 0.5 cm) indentation (allowance).
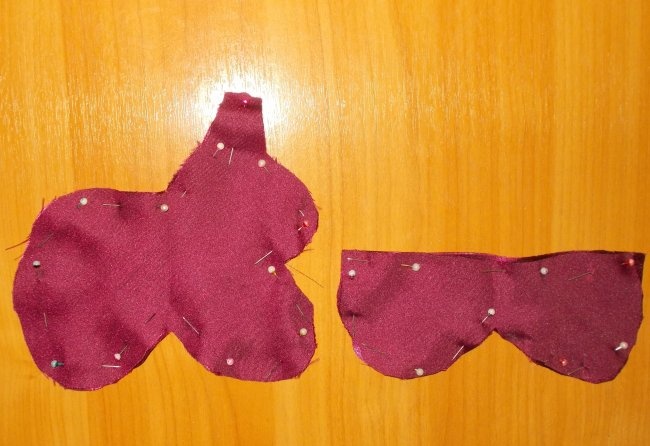
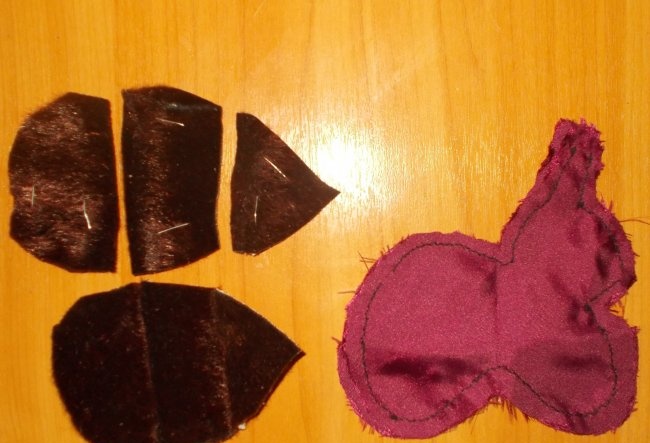
First I decided to start sewing the head and body, and for this I took a simple cherry-colored synthetic fabric:
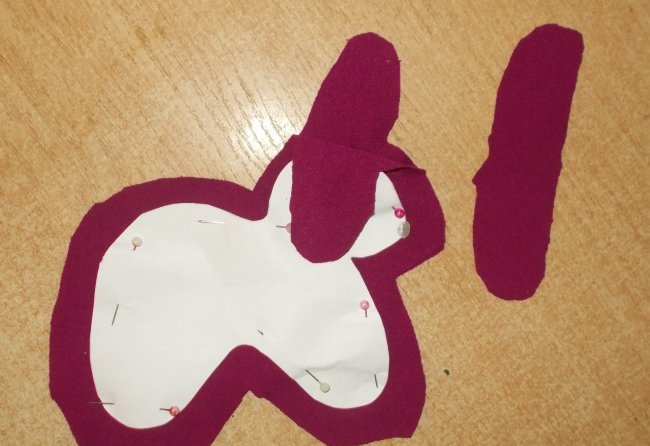
To prevent the two parts of the baby squirrel’s ears from being sewn into one, you need to insert an additional piece of fabric, cut to their shape, inside between them, and then sew it on:
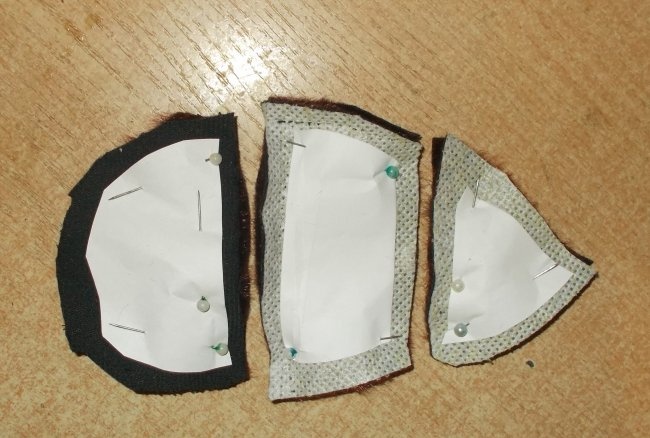
There was no whole fabric to make the tail, so I will have to assemble it from six small pieces. The paper sample of the tail will need to be divided into three separate parts (along the length of the pieces of fabric):
From red fur fabric I cut out three pairs (six in total) of parts to make up the tail:
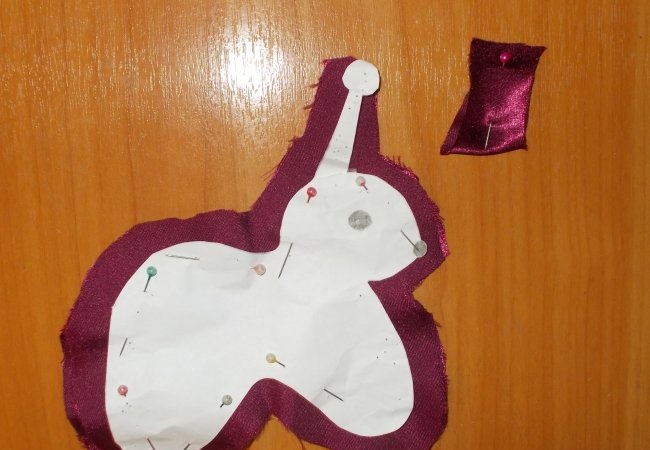
Now I decided to make the body parts from the satin fabric that made up the collar of the old shirt. This fabric is brighter, smoother and will look more beautiful:
Just like in the first sewing option, I make the inner part for the ears here:
Next, we sew together two tail parts made from six separate ones. Then we will sew the two body pieces on their wrong side of the fabric, thus:
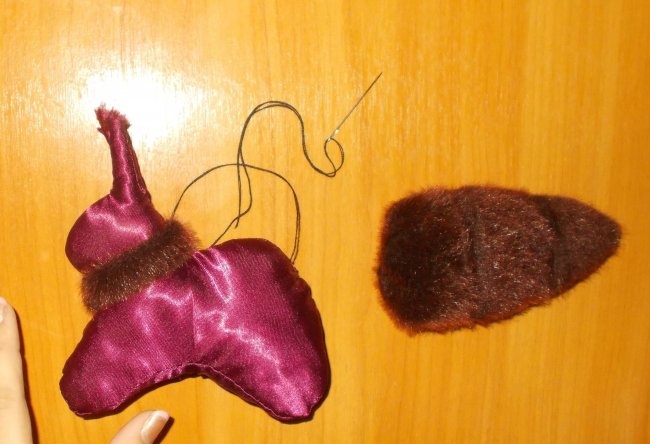
We twist the torso crafts from the wrong side and fill it with cotton wool, after which we sew together the parts of the tail and fill them with cotton wool.
To make a decoration for a baby squirrel’s neck, just take a narrow and rectangular (from 8 to 10 cm) piece of fabric. This piece needs to be rolled into a tube and a seam is made on it, and then sewn at the edges, forming a circle. The resulting “circle” must be put on the neck of the craft and hemmed to it. You need to sew it in such a way that the area with the seam is at the back or front, but not at the side:
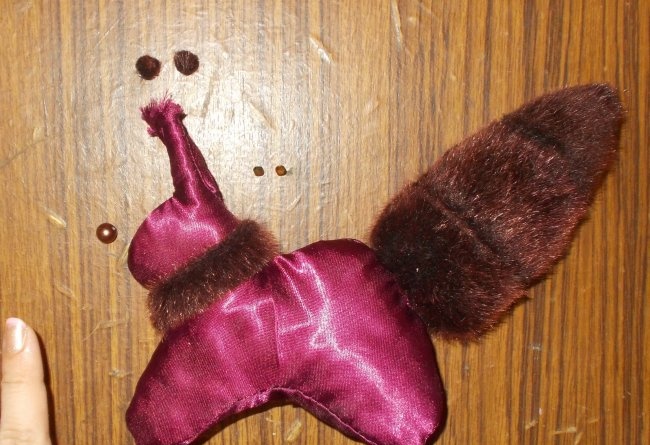
Next, I select beads that would be useful as eyes and a nose for the craft. I chose a large brown bead for the nose and two large diamond-shaped beads for the eyes. To make tassels for the ears, you need to cut out four round parts and two small rectangular ones in pairs from red fabric with fur.Four round parts need to be glued in pairs. Sew on the tail:
To attach the ear tassels, reliable glue is enough, and the cut ends of the ears need to be tucked inside. We paste the ends in a circle with rectangular parts and glue circles inside them, after which we sew on the eyes and nose:
If desired, you can additionally decorate the front of the craft with some decorative element. For example, you can glue a small rose to it:
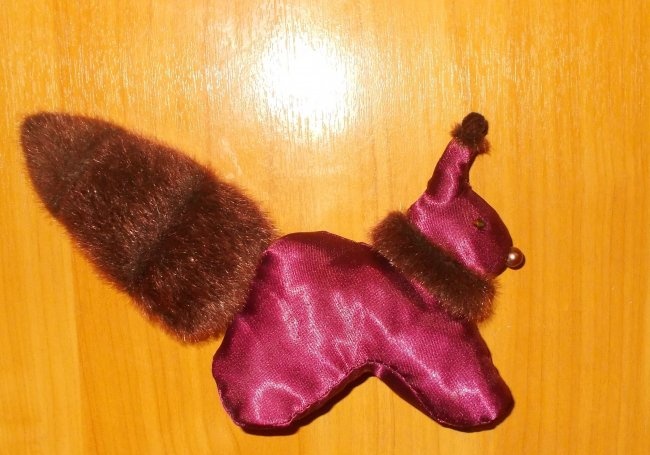
After this, that’s it, our toy squirrel will be ready:
(With respect, Vorobyova Dinara)
Similar master classes
Particularly interesting
Comments (0)

