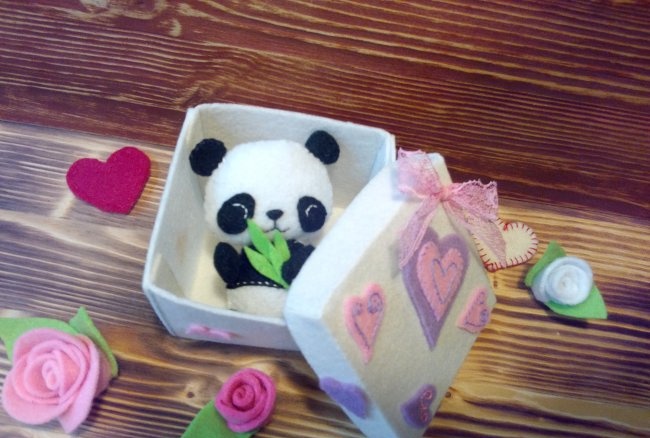
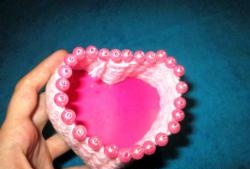
Felt gift box
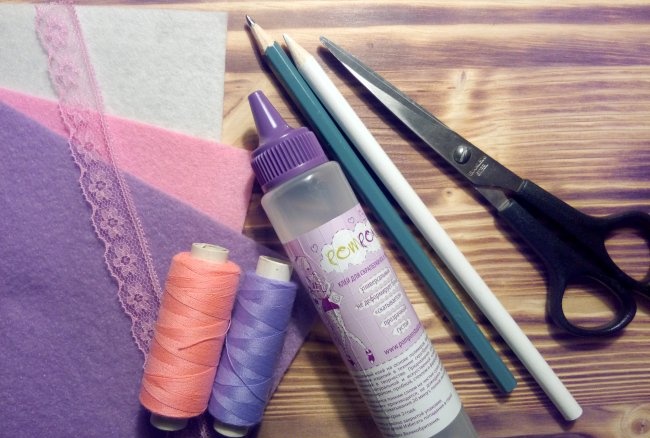
A beautiful gift box can be made not only from paper, but also from felt. The craft is very simple and quick, and the result is a wonderful, functional item. You will need to find 30-40 minutes of free time and the following materials:
- Felt sheet of white or milky shade with a rigid structure for the box.
- Pink and lilac felt material (both soft and hard felt are suitable) for finishing.
- Pink, lilac threads for sewing or embroidery, needle.
- Scissors.
- A simple pencil.
- Tailor's marker.
- Craft glue (can be replaced with a Moment pencil).
- A piece of lace ribbon.
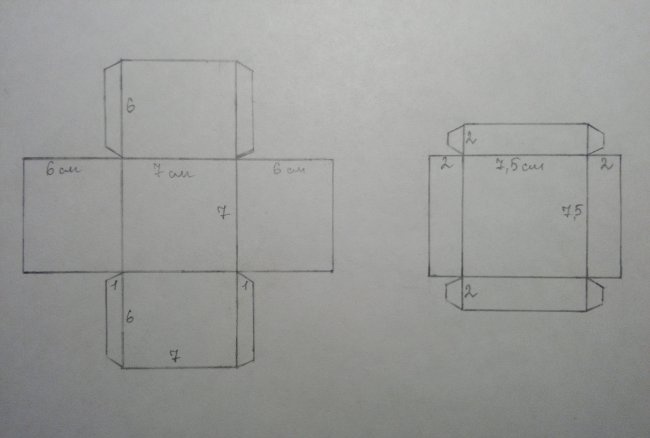
The dimensions of the gift box are 7*7*6 cm. Before you start making it, measure present, which you want to put in the box. If it is larger, adjust the template dimensions.
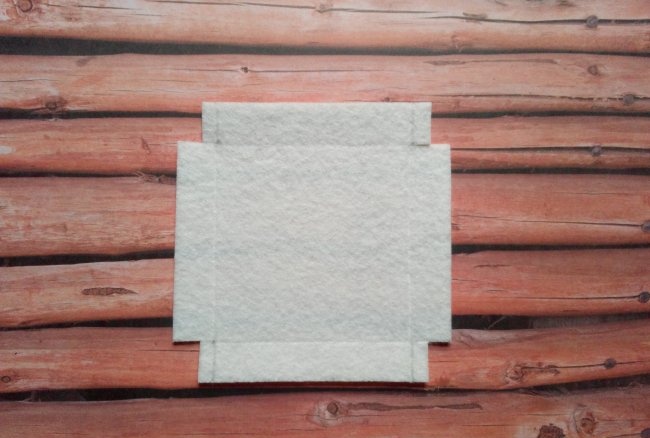
1. Draw two templates on paper with the dimensions given in the photo (box and lid).
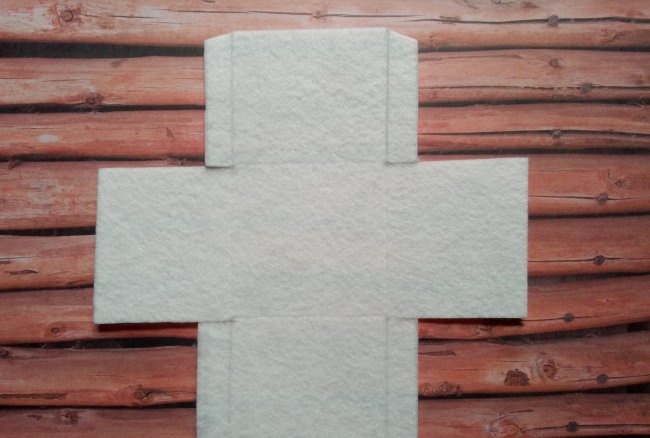
2. Cut them out, place them on a sheet of felt, and trace them with a simple pencil. Then open the felt box. You can also immediately draw a template on felt using a pencil and ruler.
3. Cut out a lid from felt.Please note that it is cut 0.5 cm larger than the box.
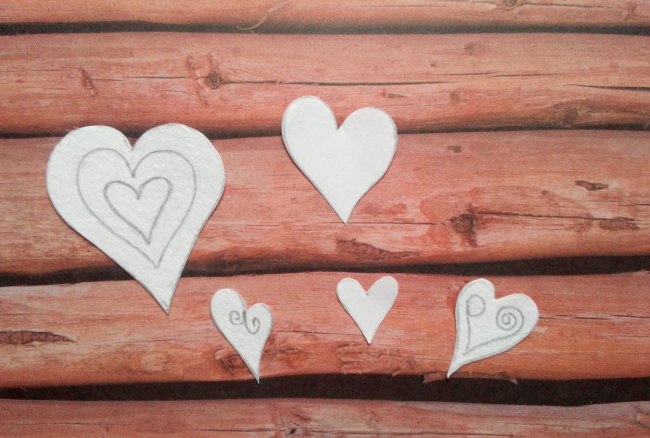
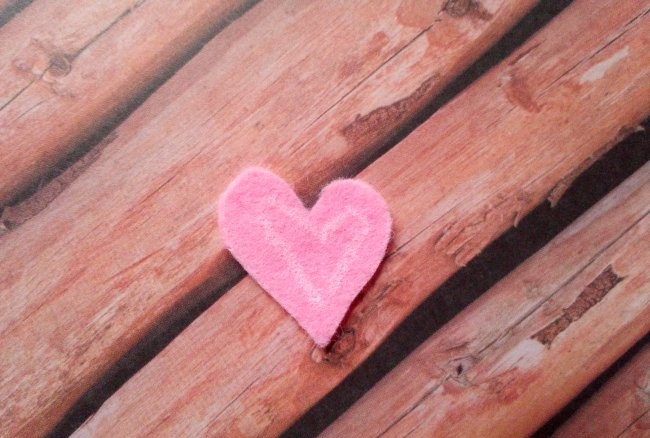
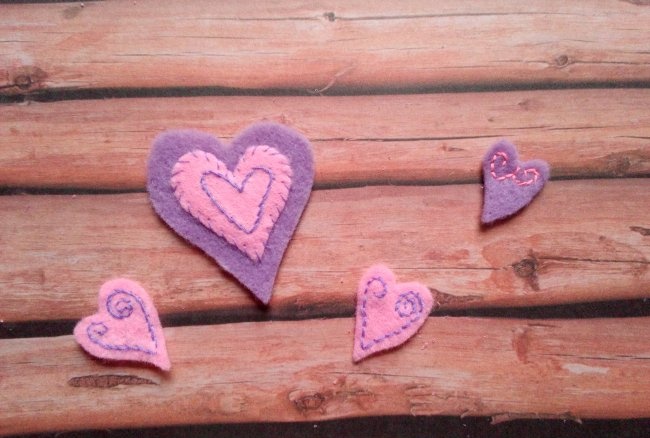
4. Draw hearts of any shape on paper (or transfer those shown in the photo onto paper). Draw swirls inside several hearts.
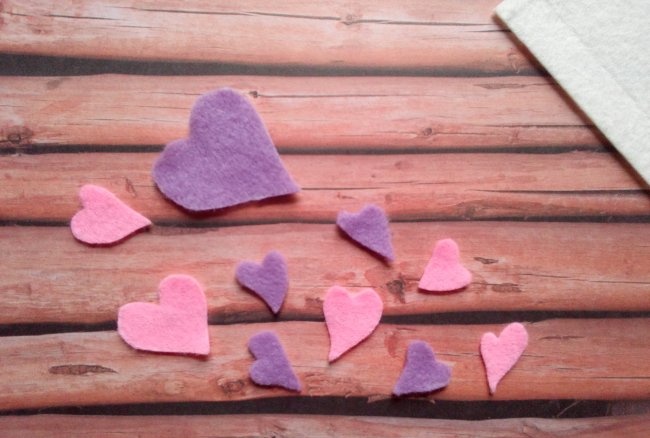
5. Cut out several hearts of different sizes and shapes from lilac and pink felt.
6. Draw along the fold lines of the box and lid with the tip of scissors or a needle. Then bend the pieces along these lines.
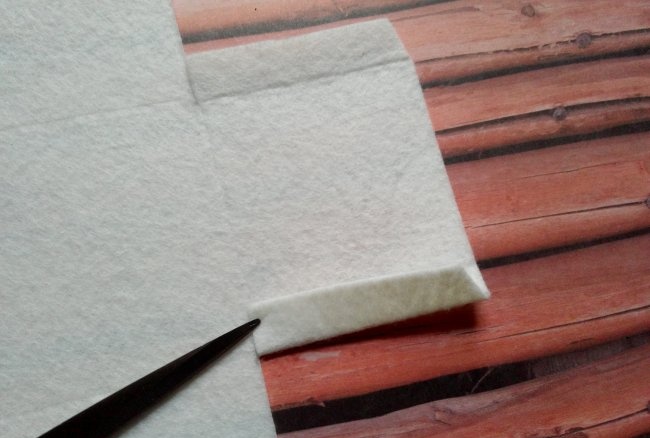
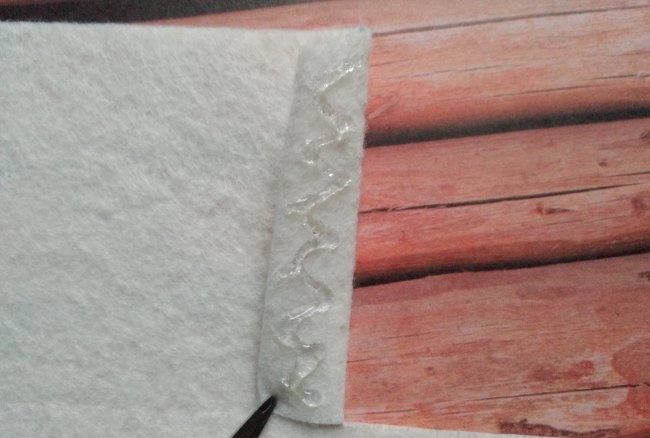
7. Bend the side flap as shown in the photo (towards you) and coat it with glue.
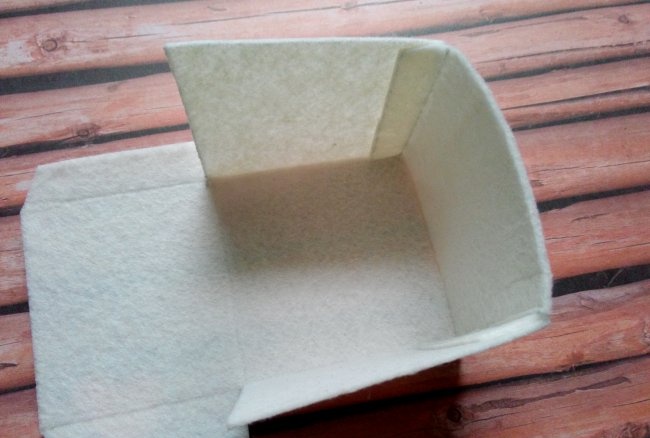
8. Connect two adjacent sides of the box and glue the flap. Press it with your fingers and hold until the glue dries. Then glue the second flap.
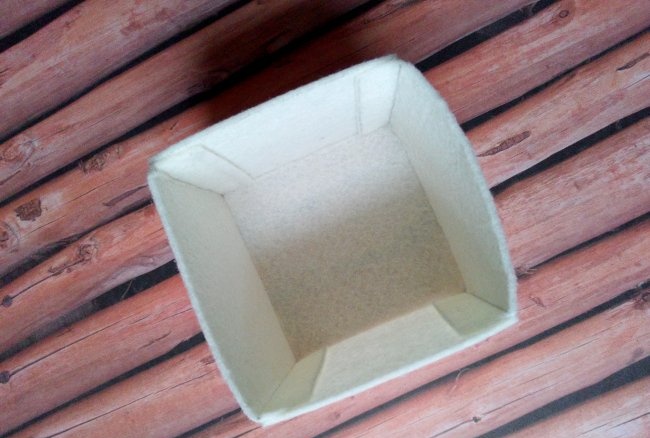
9. Connect all sides of the box. Glue the lid together in the same way. Set the product aside and allow the adhesive to dry completely.
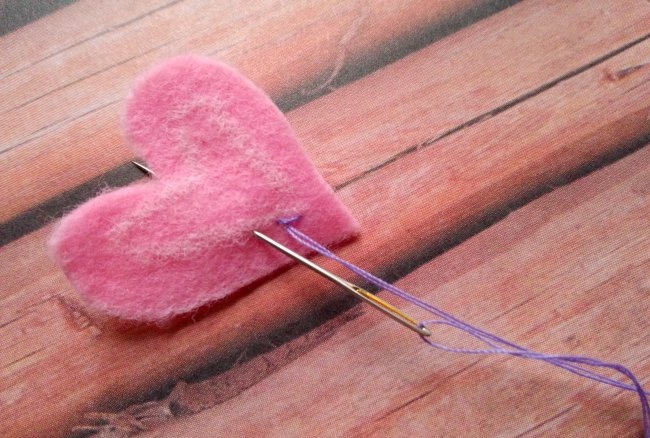
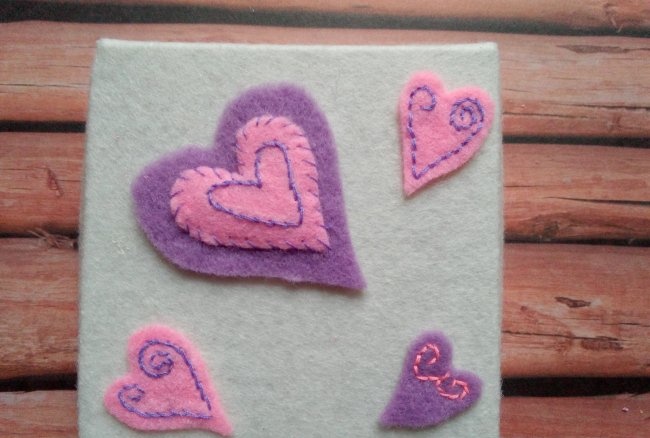
10. Place the cut out hearts on the table. A large heart for decorating the lid consists of two parts: lilac and pink with embroidery. Take the part on which it will be located embroidery (pink) and draw a heart outline on it with a chalk pencil, as on the template.
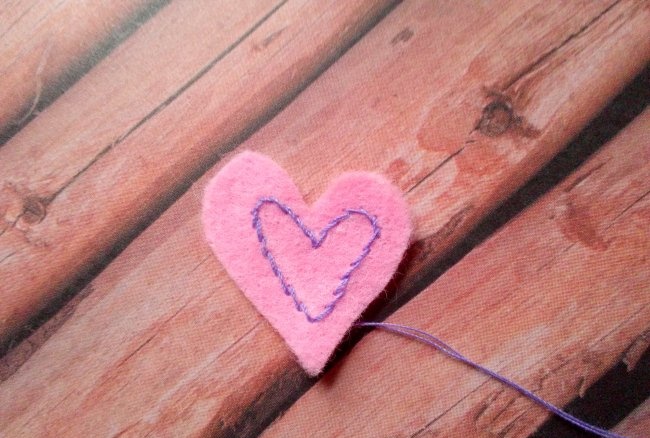
11. Using lilac threads, embroider the intended outline. Make small stitches, placing them close to each other. When making a stitch, bring the thread slightly past the edge of the previous stitch.
12. This way you will get an elegant line of embroidery.
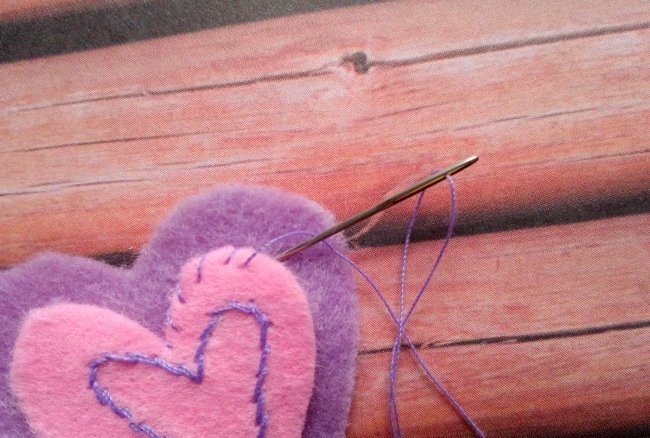
13. Place the embroidered heart on top of the large lilac piece and sew it to it with a seam over the edge.
14. Embroider curls on other hearts in the same way as on the first one.
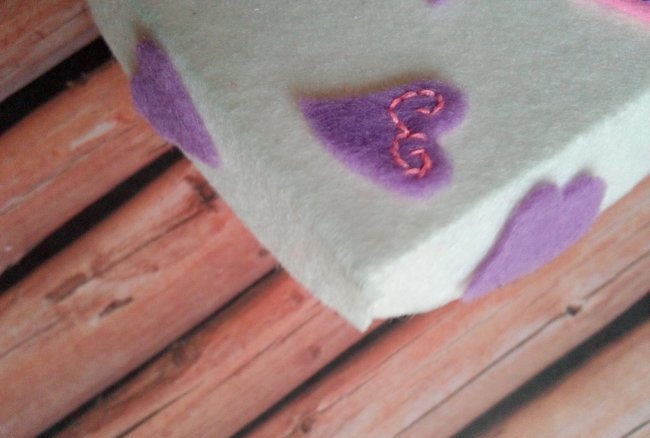
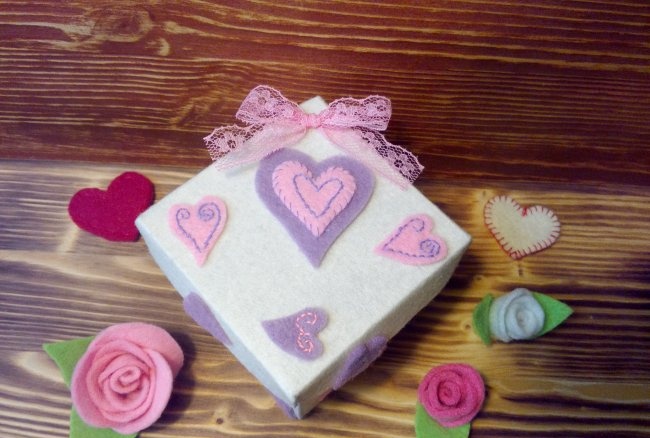
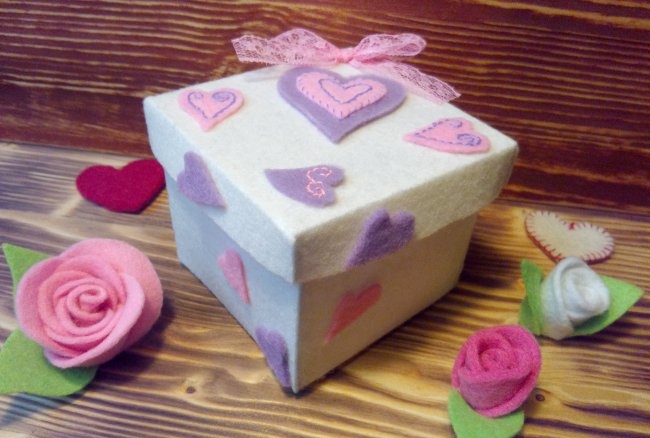
15. Glue a large heart and three small ones decorated with embroidery to the top of the lid.
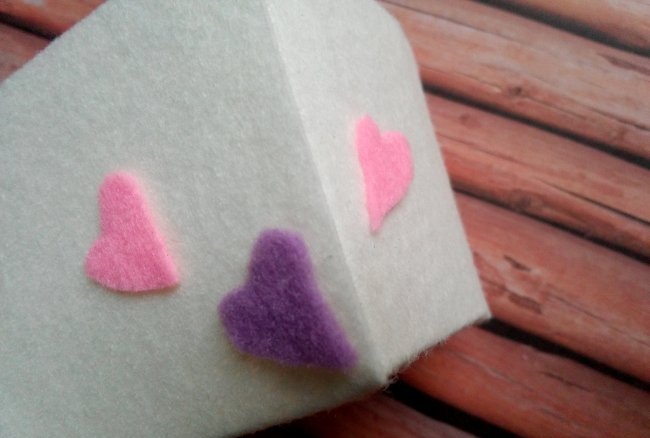
16. Then decorate the edges of the lid with two or three hearts.
17. Close the box with a lid and glue a few more elements to the side walls. At the same time, make sure that you get a beautiful composition.
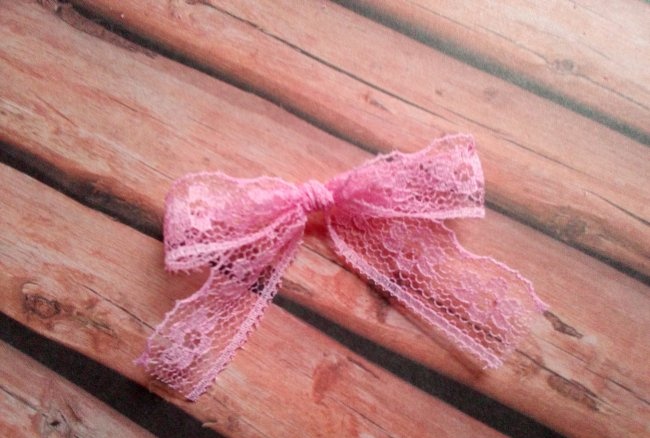
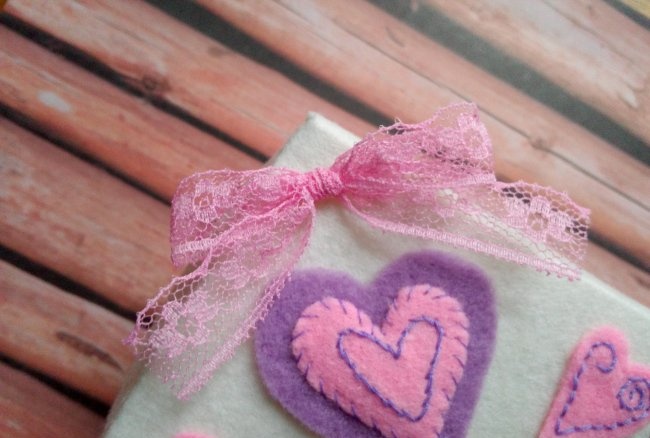
18. Make a neat bow from a lace ribbon.
19. Glue it to the top corner of the lid.
20. Put a gift in a box and make your friends happy.
Similar master classes
Particularly interesting
Comments (0)

