Soldering iron with instant heating
When I was young, I had a Soviet-made instant-heating soldering iron. In appearance it looked like a pistol. The soldering tip was made of thick copper wire.
Its design was simple: a transformer with two windings - a 220 V mains winding and a winding of 2 turns of very thick wire. And a wire sting was connected to the low-voltage winding, which heated up under the influence of a strong current.
This soldering iron had a number of very advantageous advantages:
- - Instant heating. 1 second and ready to go.
- - Saves energy as it is turned off most of the time.
- - The sting can be bent to any shape. Let's say, make it rectangular and solder chips in seconds without overheating.
Of course, there are also disadvantages: the soldering iron is too heavy for long-term soldering. A poorly assembled transformer hums, which is sometimes annoying.
The advantages of a soldering iron are, of course, more significant. I decided to buy this soldering iron again, but there are no such soldering irons in production anymore. So I'll do it myself.
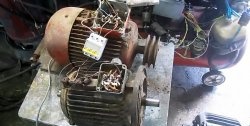
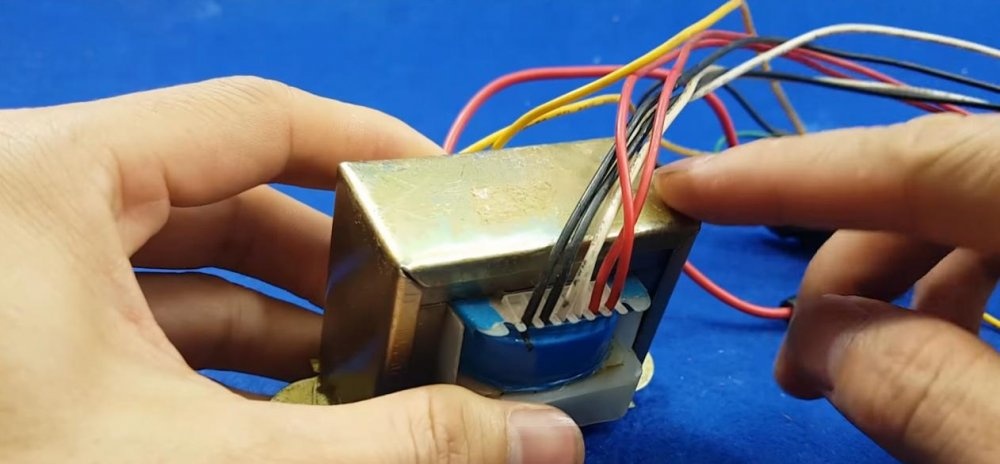
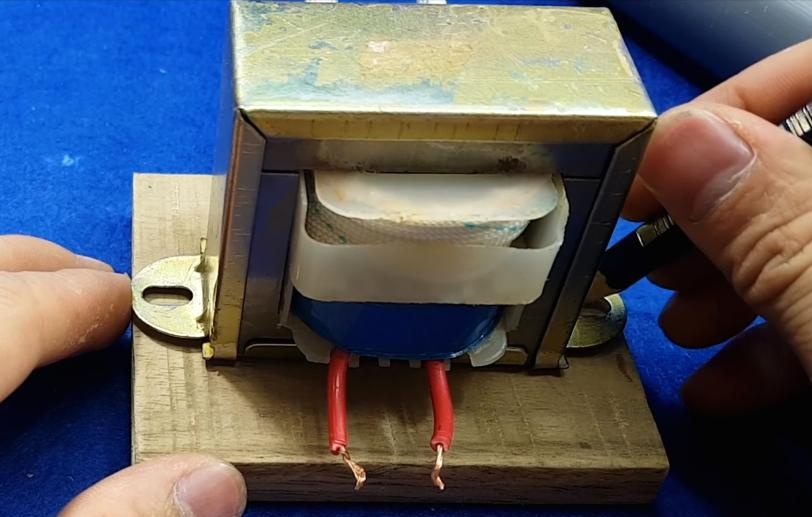
The main thing is that you need to find a 220 V transformer with any secondary winding. I tore this one out of an old music center.Recommended power is from 30 W, this one is 40 W.
Making a soldering iron with instant heating
We disassemble the transformer and remove the iron casing.
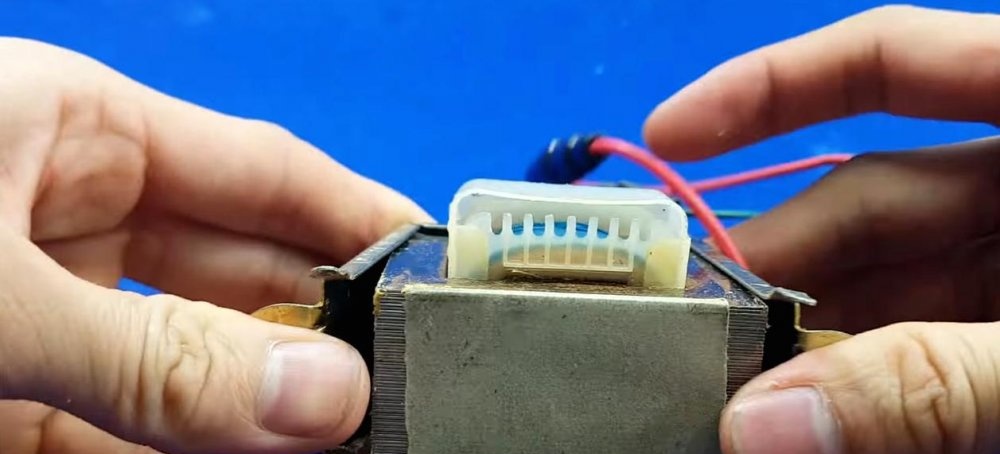
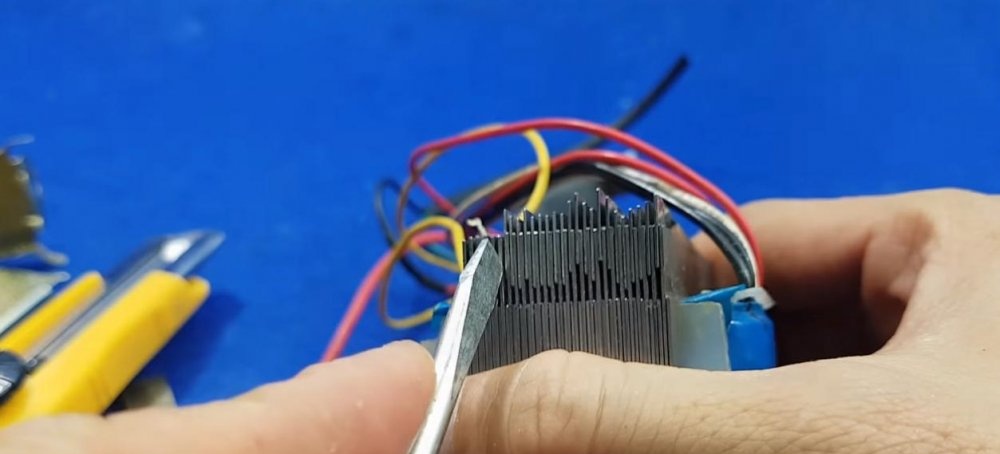
Then we disassemble the core. The W-shaped plates are laid in a checkerboard pattern and, in principle, are easily knocked out.
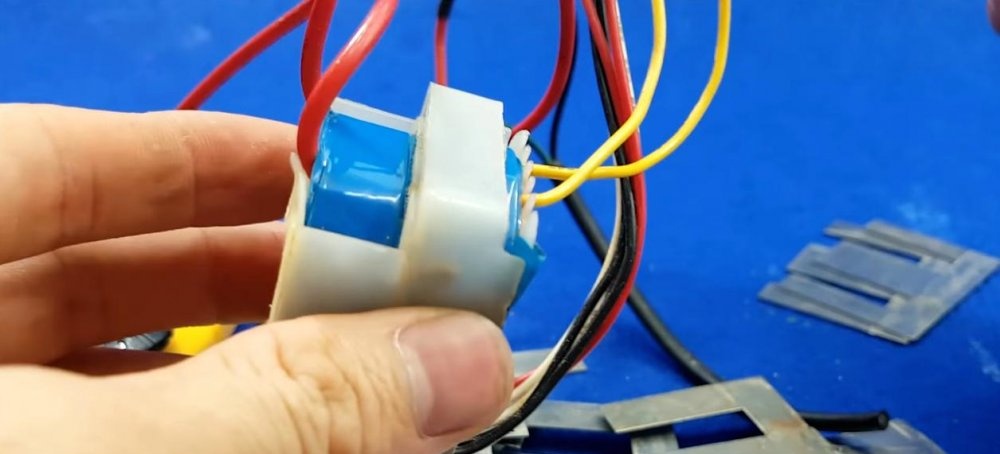
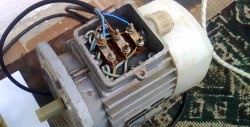
This transformer is good because both windings are wound independently of each other.
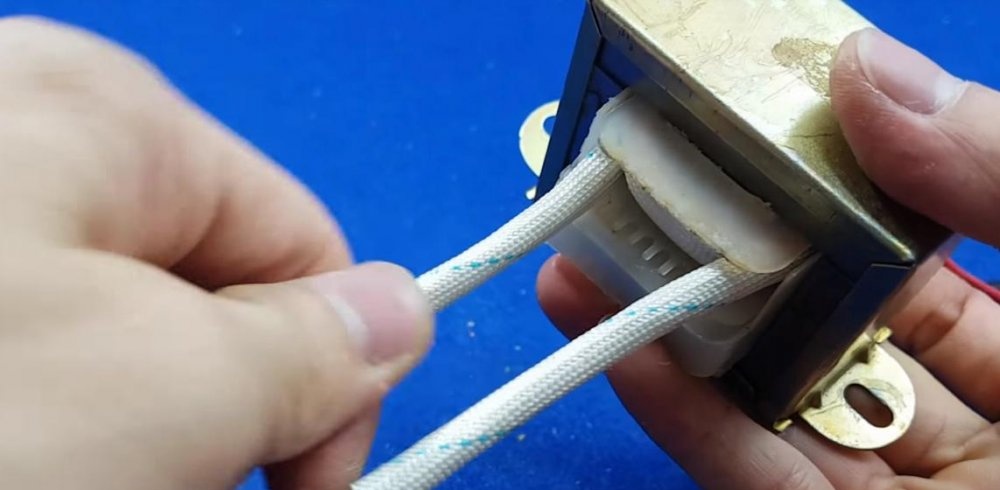
We do not touch the primary at 220 V and put it aside. We wind up the secondary winding to free the frame for winding, as it will be useful for the new winding.
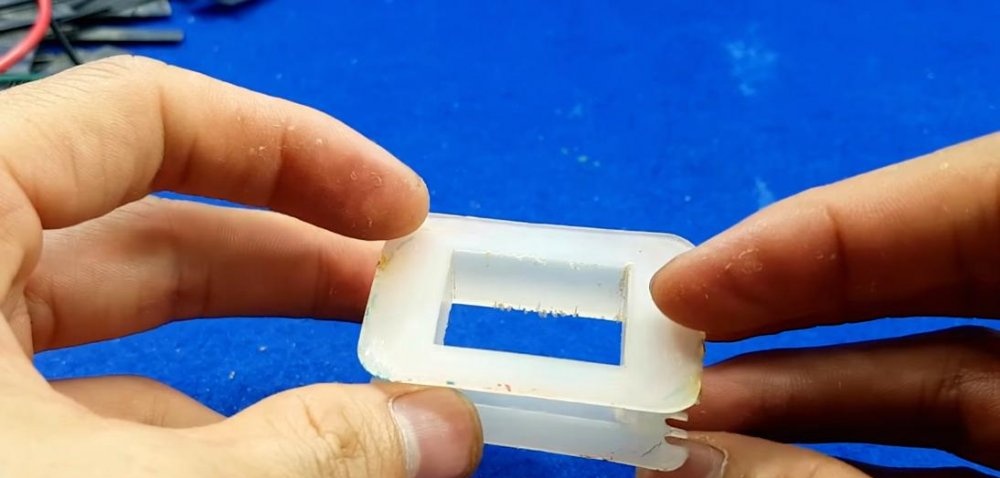
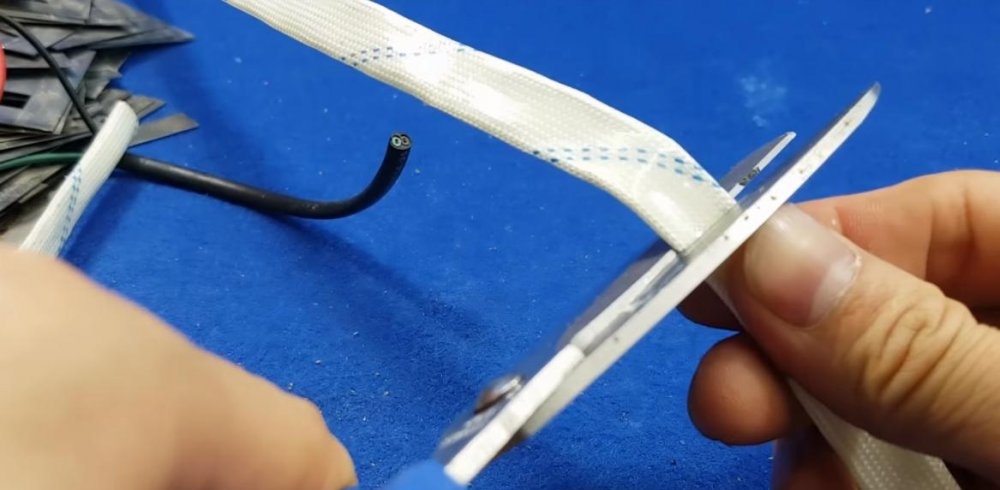
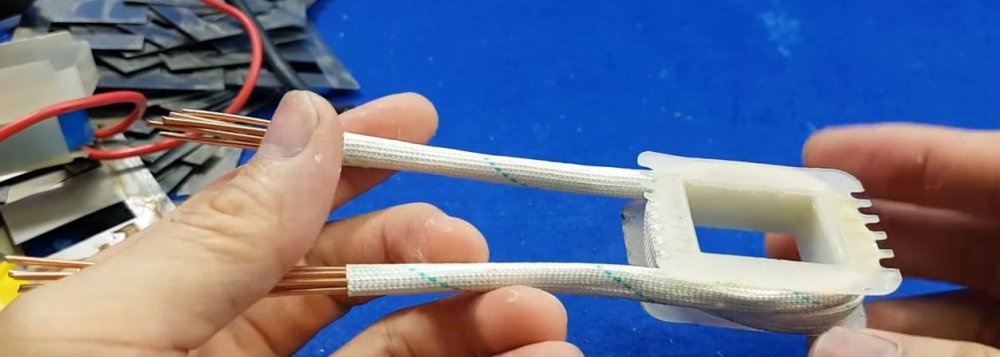
We take a wide-diameter fiberglass insulating tube. If you don’t have one, you can insulate the winding with heat-resistant tape.
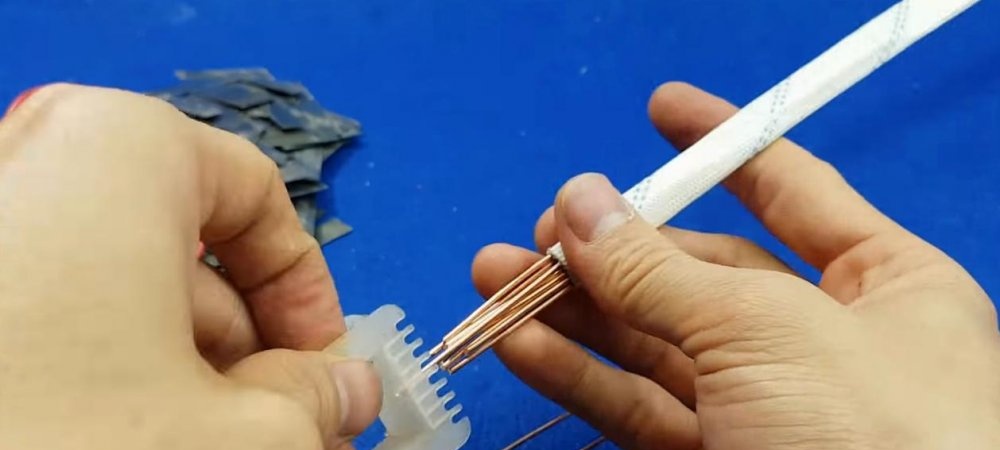
We take a single-core wire with a diameter of one and a half squares and clean it of insulation.

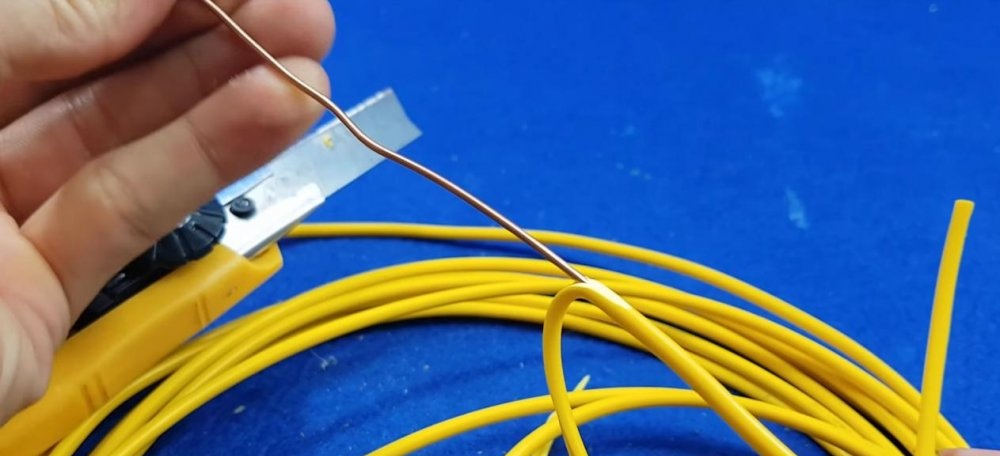
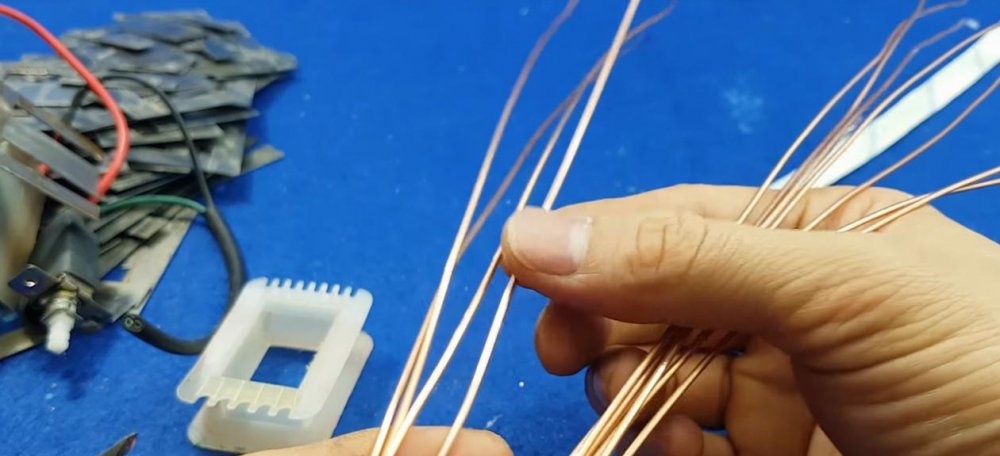
Our new winding will consist of 12 of these wires stacked together. And there will be two turns in total.
We collect the wire cores.
We put on an insulating tube.
We make two turns on the newly freed frame.

And, we put the transformer back together.

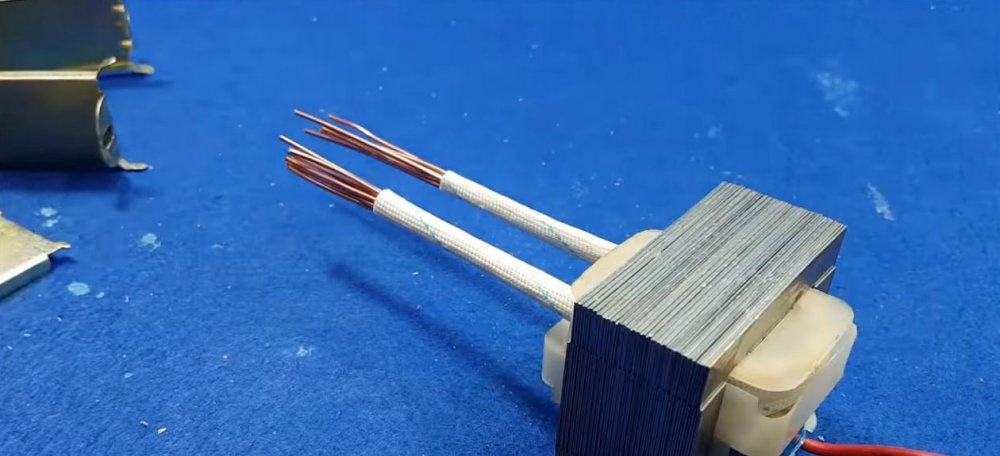
To prevent anything from buzzing, the sides of the core can be coated with epoxy resin before putting on the casing.
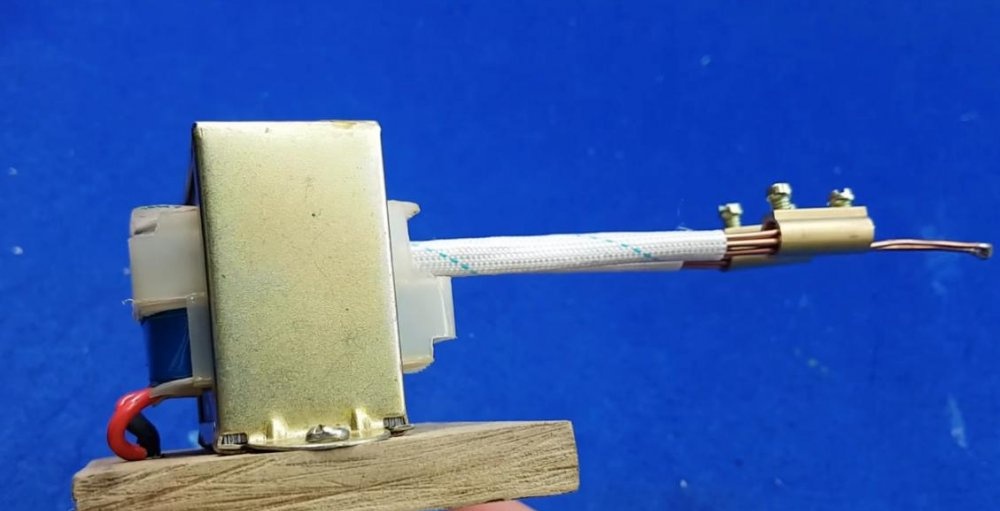
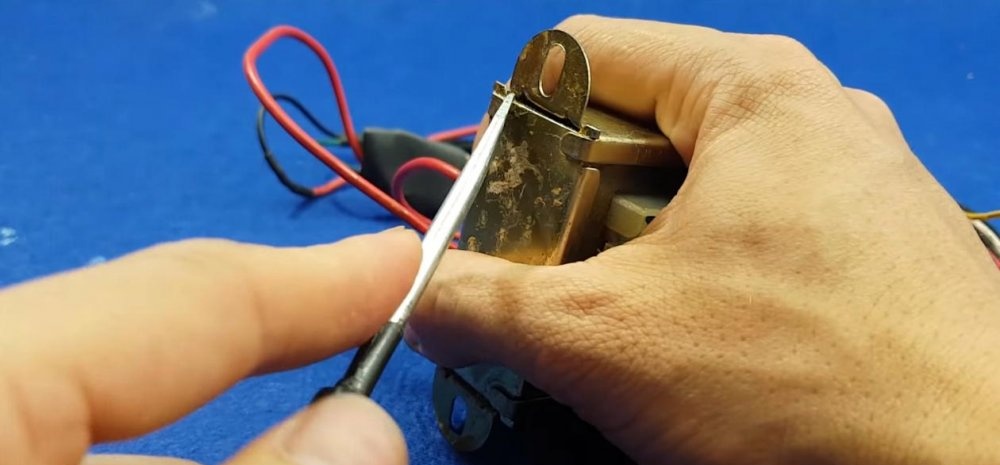
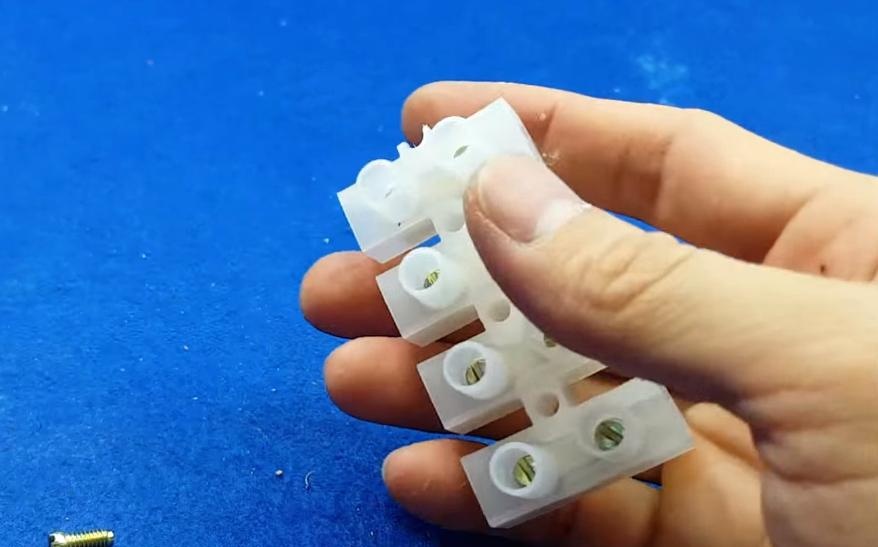
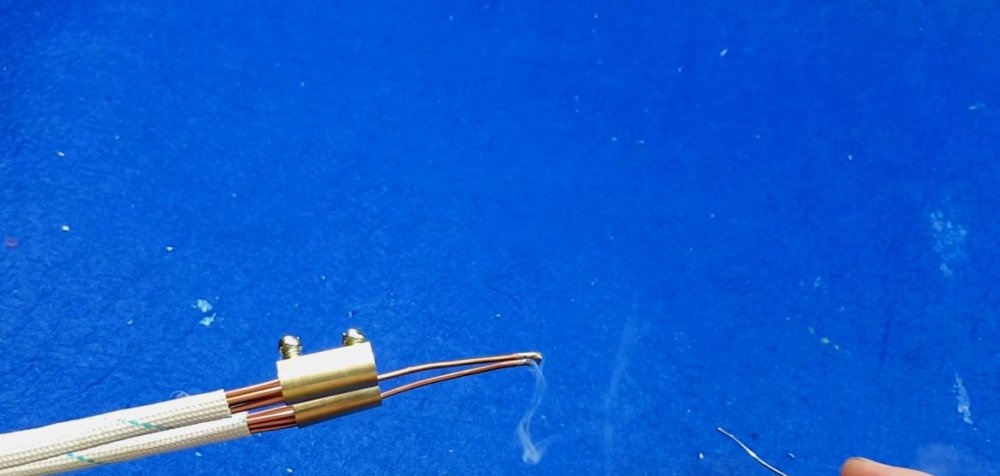
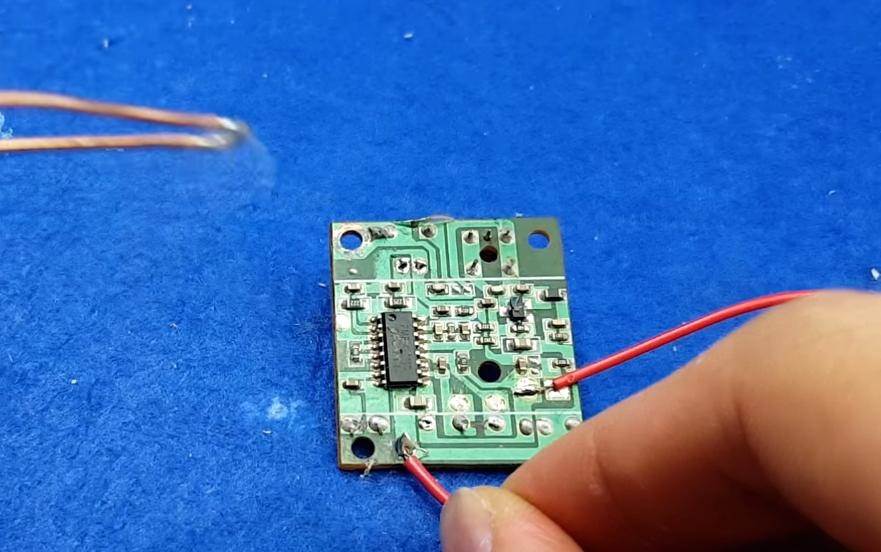
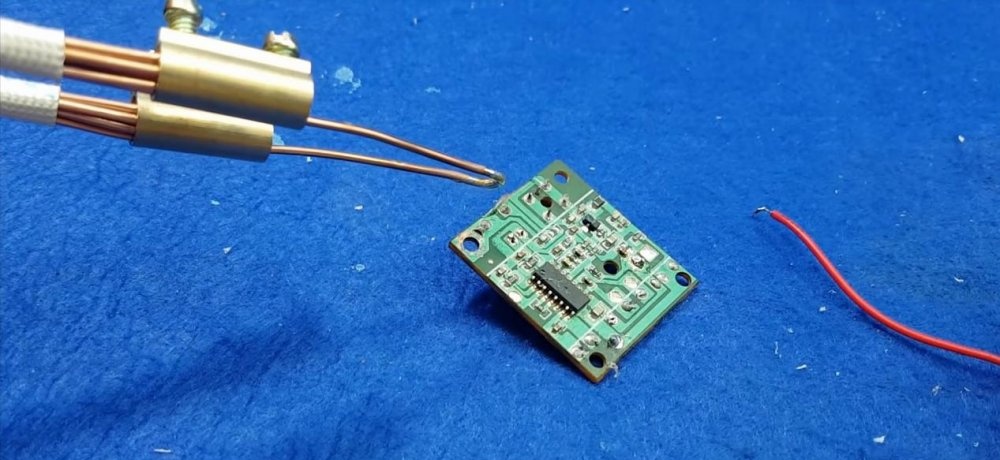
From the block for connecting with a wire we will make clamps for the tip.
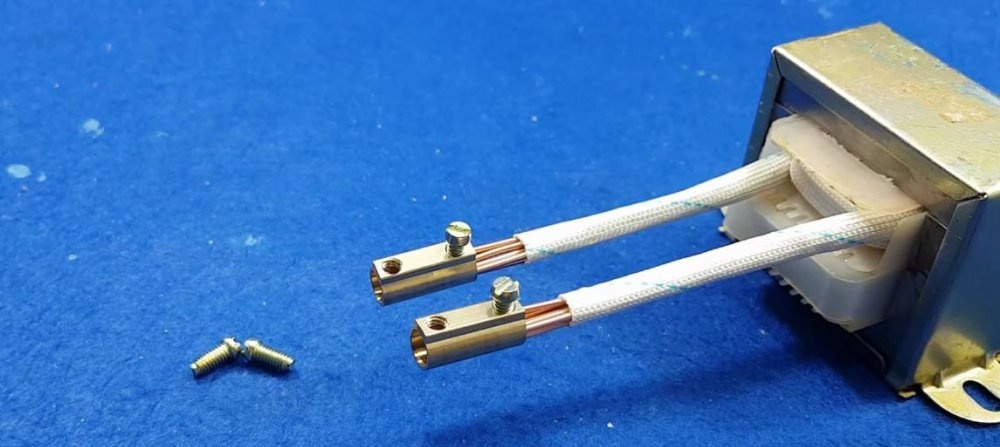
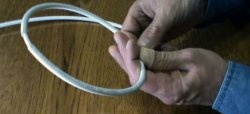
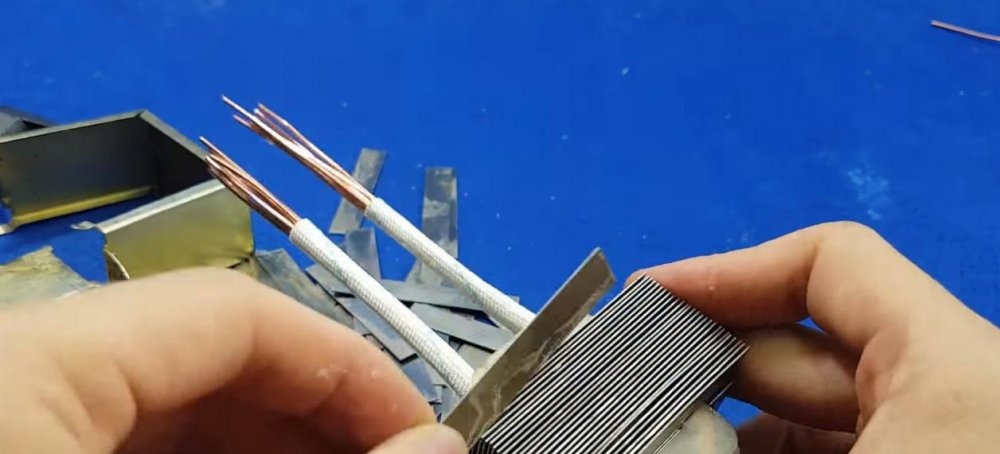
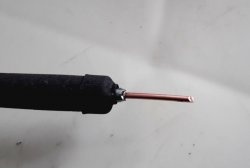
The sting will be made of the same sanded wire.
Now the body. We will place the transformer on a wooden square. At the bottom we will glue a handle made from a PVC pipe.
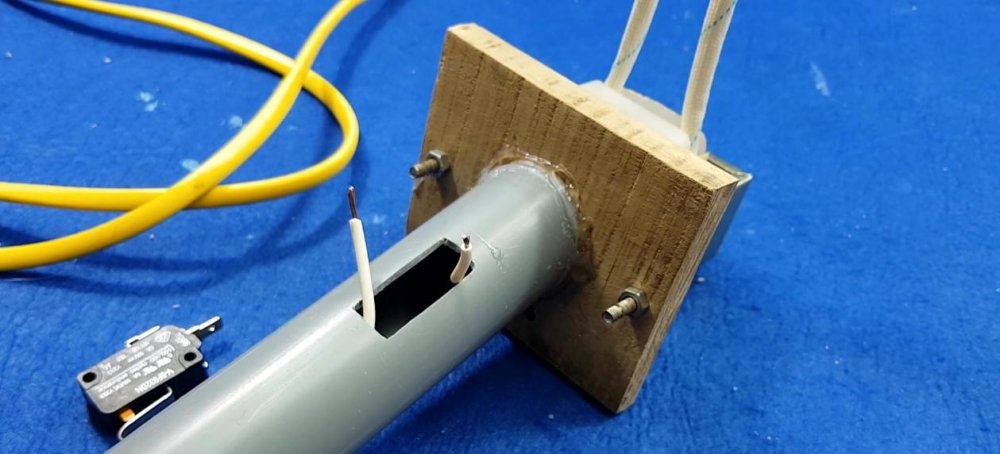
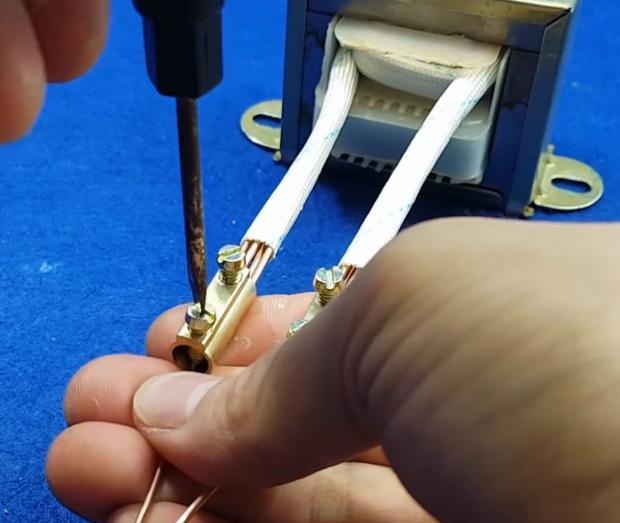
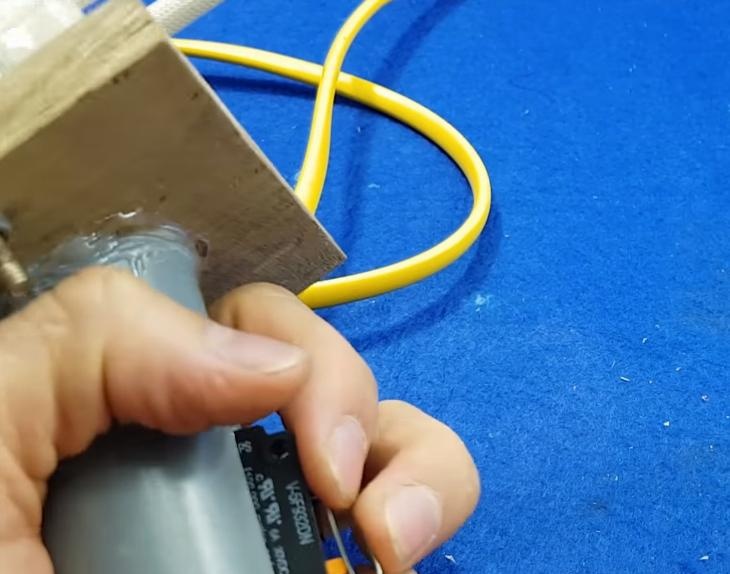
We will cut a groove in the handle for the switch. Let's connect all the wires.
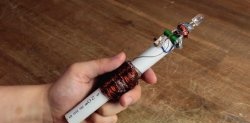
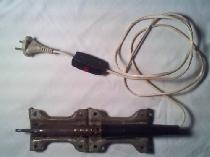
The instant heating soldering iron is ready!


Watch the video instructions for making a soldering iron
Similar master classes


Particularly interesting