Sand casting of non-ferrous metals
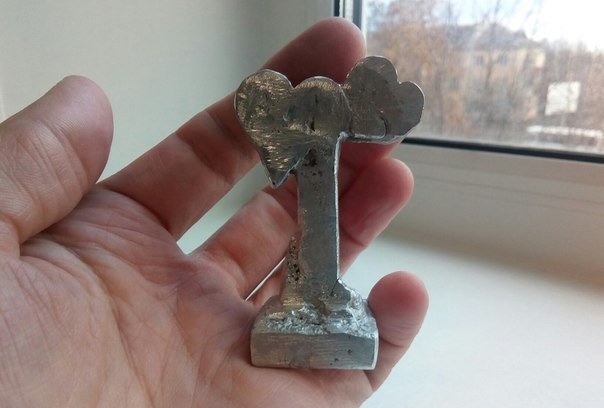
Today we’ll talk about sand casting of non-ferrous metals. In one of the previous articles, I talked about a forge, the temperatures of which are sufficient for melting non-ferrous metals. I smelted aluminum. As an example, I will present a small figurine for my uncle’s wedding anniversary.
First, decide what you want to cast. As I said, I will pour the figurine. You need to make a foam mold. I use plain white foam, but I recommend finding polystyrene foam, both of which are sold at hardware stores.
But cutting such foam with a regular knife is almost impossible. Let's make a small, simple nichrome foam cutter. You will need:
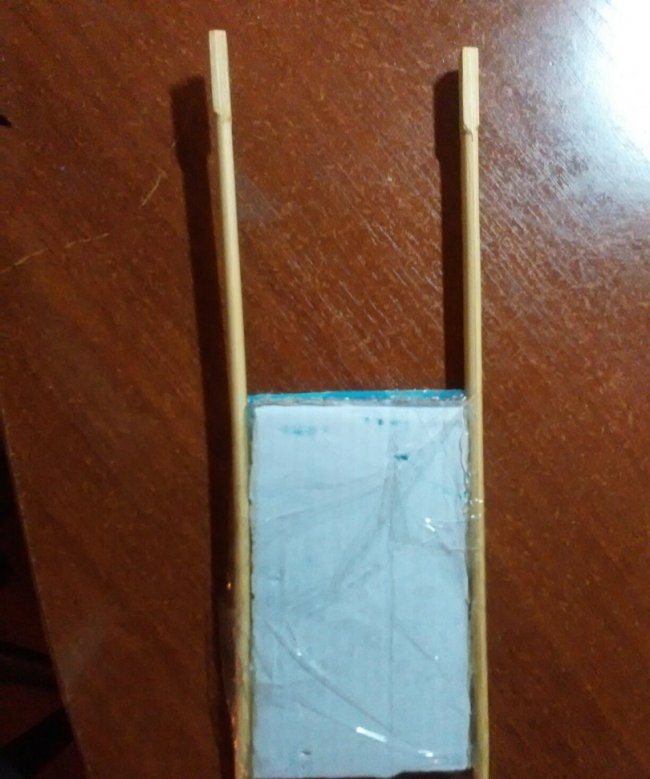
We take a cardboard 5*6 cm and attach sushi sticks on both sides with tape.
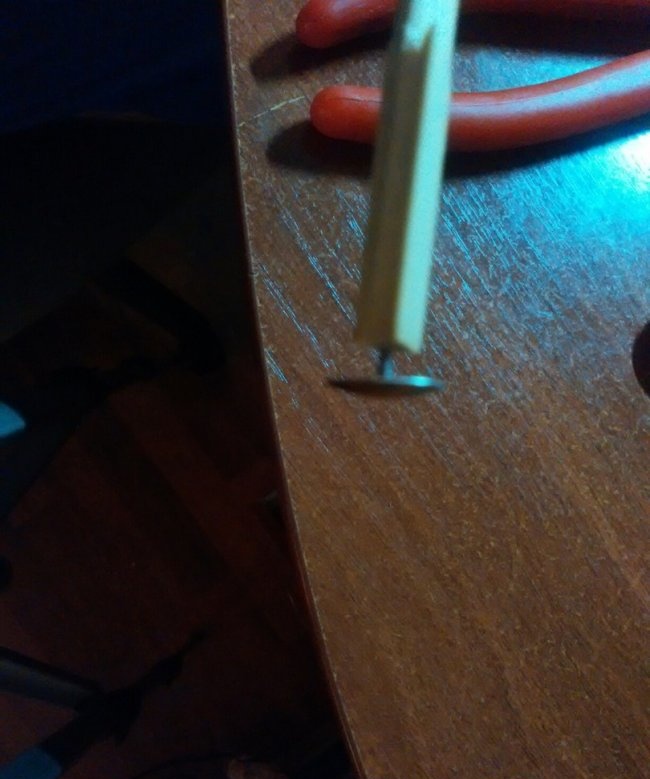
Now we insert the buttons into the sticks, but not all the way.
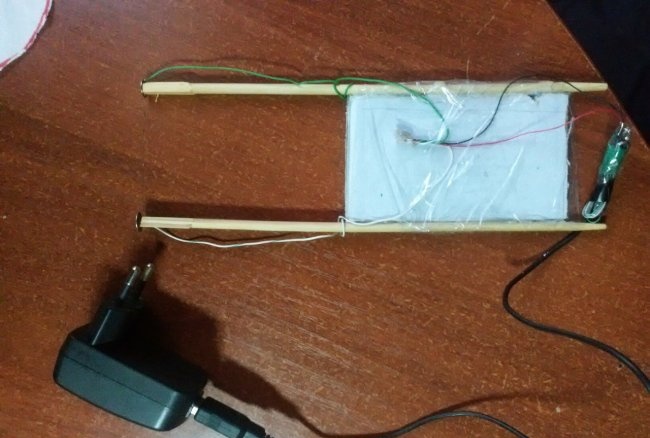
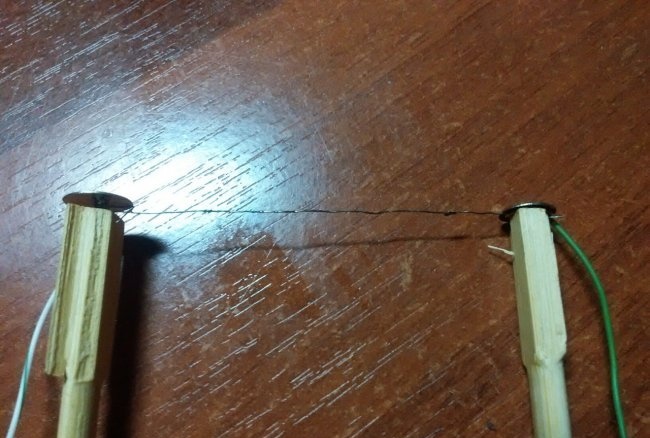
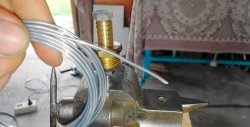
Next, we stretch the nichrome and wind the wires. And we stick the buttons in completely. I attached a USB cable to the wires. Now we insert the USB into the charger from your phone. The wire gets hot and less often the foam is like butter!
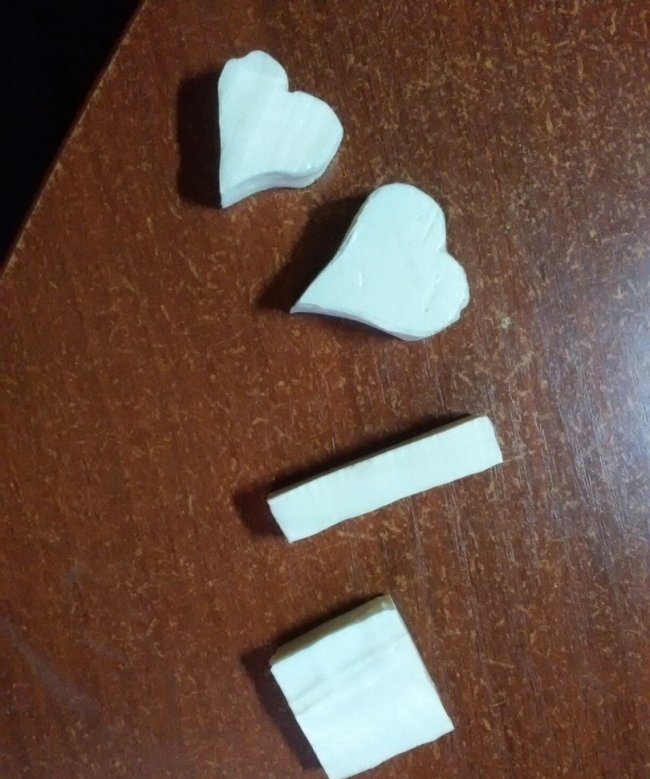
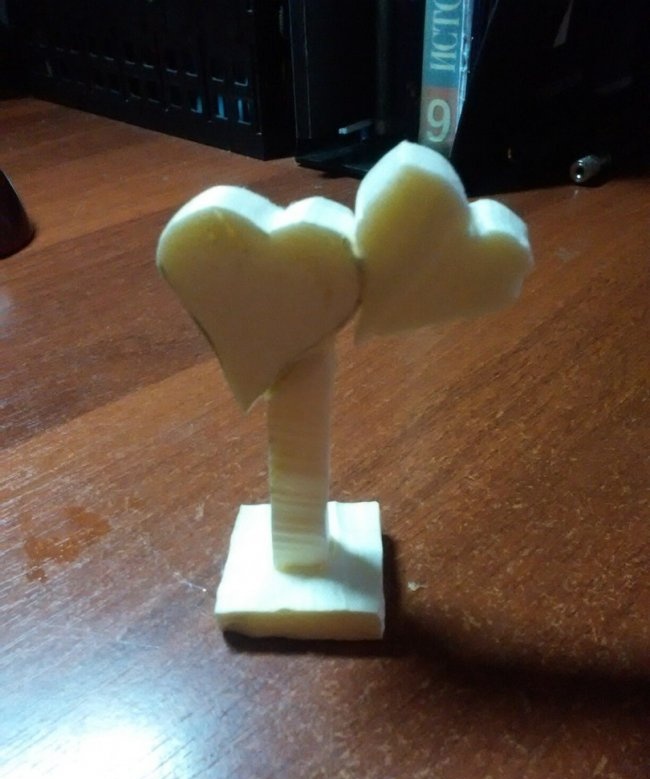
Now we cut out the necessary shapes and, using PVA or, as I did, hot glue, fasten them together as needed.
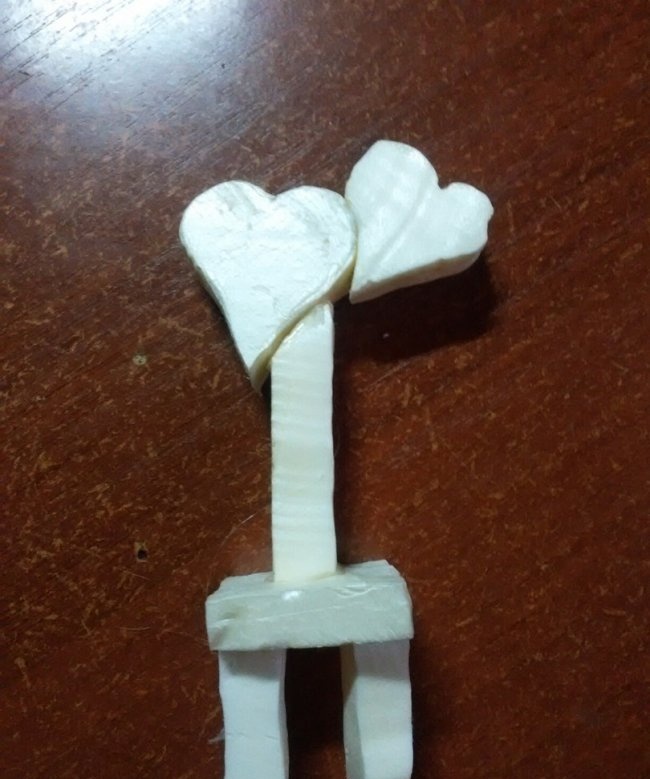
We also cut out the sprues and glue them too.
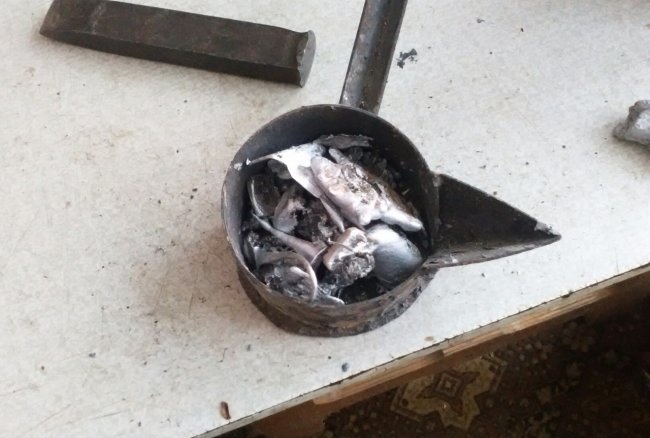
The metal needs to be melted into something. This is something called a crucible. I made it from a pipe. I sawed off 40 mm from a steel pipe with a diameter of 90 mm and walls of 2 mm. This is the height of the crucible. A steel pancake was welded to the bottom. There is a handle made of angle steel welded on the side, but it is better not to grasp this handle with your bare hands. A triangular cutout is made on the side and a spout is welded from a steel triangle bent in the middle.
Next, we insert the foam molds into the sand so that the tops of the sprues stick out from the sand. You need to make small craters of wet sand near the sprues. But I didn’t really like this option. Instead of wet sand I used large nuts.
Now we throw aluminum cans, or any aluminum that you have, into the crucible, heat the forge and melt it. Various slag will accumulate on top (paint on cans, dust, etc.). If possible, it should be removed.
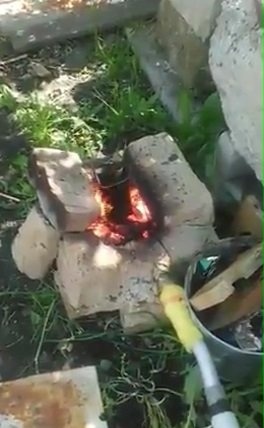
Next, pour aluminum into the sprue; molten metal should appear in the second sprue. After about five minutes, the workpiece can be pulled out of the sand and cooled in cold water.
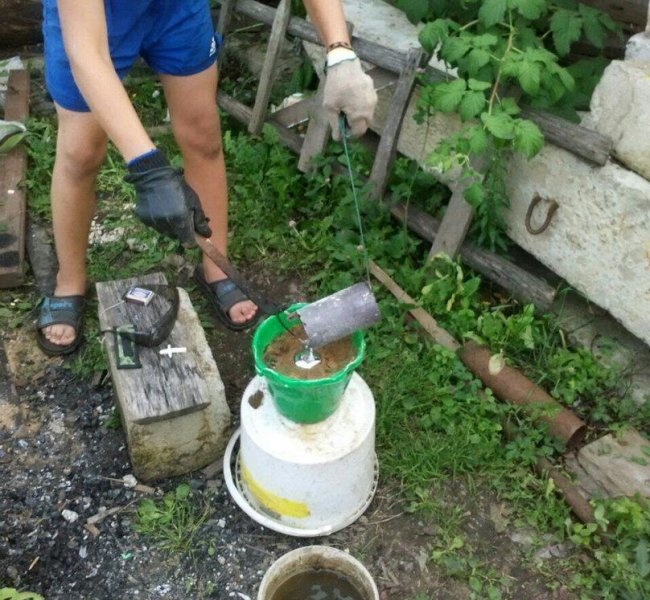
The photo shows an old crucible. It is made of a pipe with a diameter of 60mm and a height of 120mm. A steel plate and a small buttonhole are also welded to the bottom to attach the crucible with wire. Two more buttonholes are welded on top and steel wire is stretched. It turned out like a bucket.
If everything has spilled as it should, we begin metalworking. Non-ferrous metals are quite soft. We saw off the sprues with a hacksaw and process them with a file, after a minute the result is something like this:
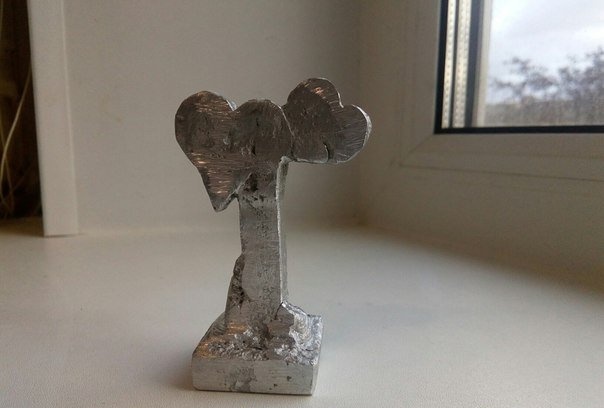
I don’t pretend to quality, my goal is to tell you about various techniques.
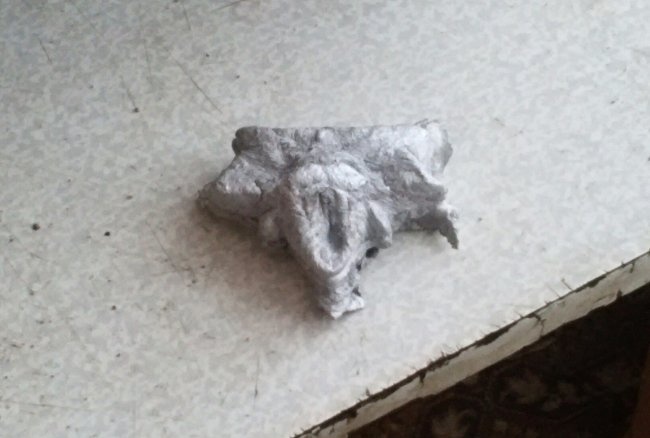
But if you need precise casting, it is better to use silicone molds and plaster. I tried to cast an amulet with a cat's head, but it spilled badly. This may be due to insufficient temperature, but in any case, gypsum forms are of much better quality. Use foam molds for simple models.

Form
First, decide what you want to cast. As I said, I will pour the figurine. You need to make a foam mold. I use plain white foam, but I recommend finding polystyrene foam, both of which are sold at hardware stores.
Nichrome cutter
But cutting such foam with a regular knife is almost impossible. Let's make a small, simple nichrome foam cutter. You will need:
- Nichrome wire.
- Two sushi chopsticks.
- Two pushpins.
- Cardboard.
- Two wires.
We take a cardboard 5*6 cm and attach sushi sticks on both sides with tape.
Now we insert the buttons into the sticks, but not all the way.
Next, we stretch the nichrome and wind the wires. And we stick the buttons in completely. I attached a USB cable to the wires. Now we insert the USB into the charger from your phone. The wire gets hot and less often the foam is like butter!
Now we cut out the necessary shapes and, using PVA or, as I did, hot glue, fasten them together as needed.
We also cut out the sprues and glue them too.
A few words about the crucible
The metal needs to be melted into something. This is something called a crucible. I made it from a pipe. I sawed off 40 mm from a steel pipe with a diameter of 90 mm and walls of 2 mm. This is the height of the crucible. A steel pancake was welded to the bottom. There is a handle made of angle steel welded on the side, but it is better not to grasp this handle with your bare hands. A triangular cutout is made on the side and a spout is welded from a steel triangle bent in the middle.
Casting
Next, we insert the foam molds into the sand so that the tops of the sprues stick out from the sand. You need to make small craters of wet sand near the sprues. But I didn’t really like this option. Instead of wet sand I used large nuts.
Now we throw aluminum cans, or any aluminum that you have, into the crucible, heat the forge and melt it. Various slag will accumulate on top (paint on cans, dust, etc.). If possible, it should be removed.

Next, pour aluminum into the sprue; molten metal should appear in the second sprue. After about five minutes, the workpiece can be pulled out of the sand and cooled in cold water.
The photo shows an old crucible. It is made of a pipe with a diameter of 60mm and a height of 120mm. A steel plate and a small buttonhole are also welded to the bottom to attach the crucible with wire. Two more buttonholes are welded on top and steel wire is stretched. It turned out like a bucket.
If everything has spilled as it should, we begin metalworking. Non-ferrous metals are quite soft. We saw off the sprues with a hacksaw and process them with a file, after a minute the result is something like this:

I don’t pretend to quality, my goal is to tell you about various techniques.
But if you need precise casting, it is better to use silicone molds and plaster. I tried to cast an amulet with a cat's head, but it spilled badly. This may be due to insufficient temperature, but in any case, gypsum forms are of much better quality. Use foam molds for simple models.
Similar master classes
Particularly interesting
Comments (0)

