Simple third hand for soldering
Today I will tell you about a great idea on how you can make a third arm for soldering with your own hands. This device will greatly facilitate the soldering process. The soldering holder will keep objects in place when working on precision projects. This includes soldering printed circuit boards, electronic circuits, and even jewelry work. And just solder a couple of wires to some resistors, transistors, microcircuits, etc. much easier.
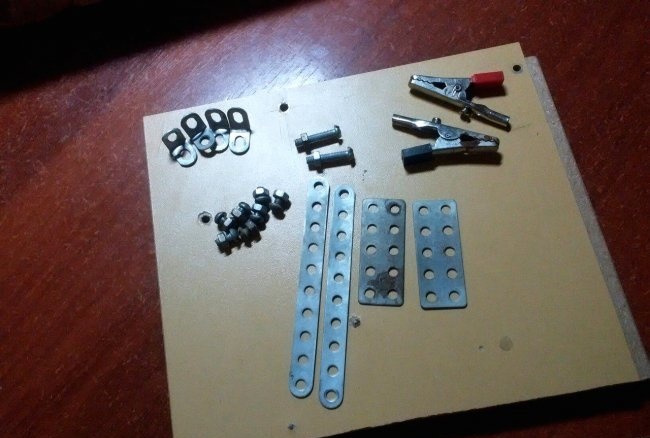
We will need:
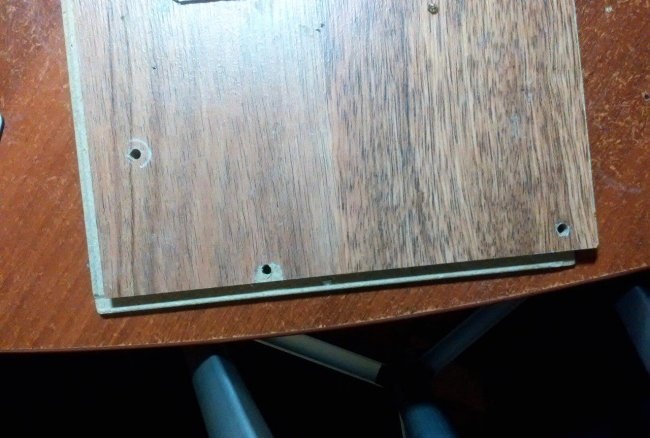
To start, I drilled three holes in a piece of laminate. One is from the edge, the other is 120 mm from it, the third is just on the side.
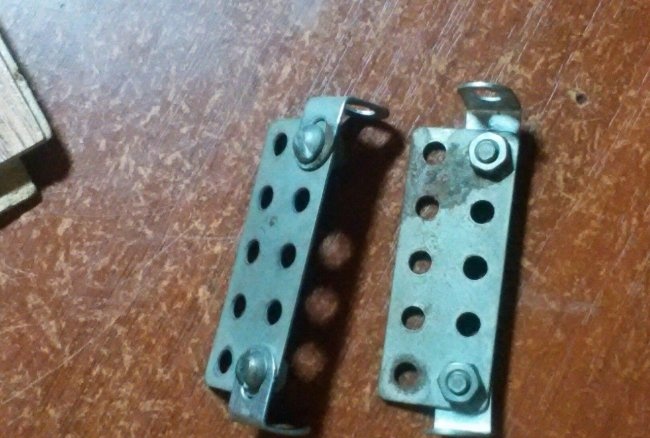
We screw the corners to the metal plates, to those that are wider and shorter. I took the plates from an old children's metal construction set. If this is not the case, then it doesn’t matter, just find any metal plates and drill only the necessary holes in them.
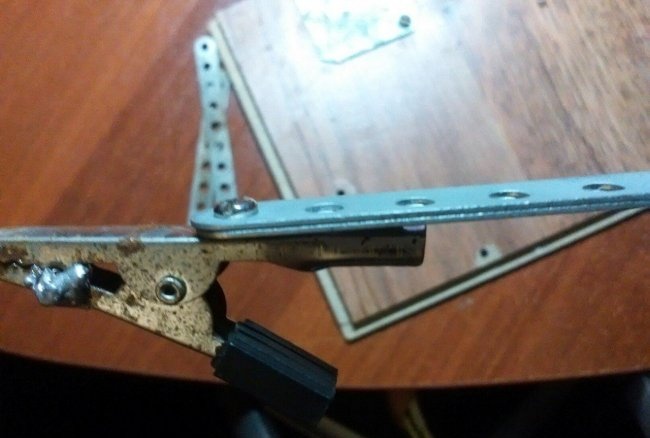
We screw the long ones to the short plates.I thought that they were too thin, so I screwed on two plates at once, so in the end I needed 4 pieces. So take thicker plates so that they don’t bend under the weight. And we screw the crocodiles to them, screw them onto the screws that are in the crocodiles.
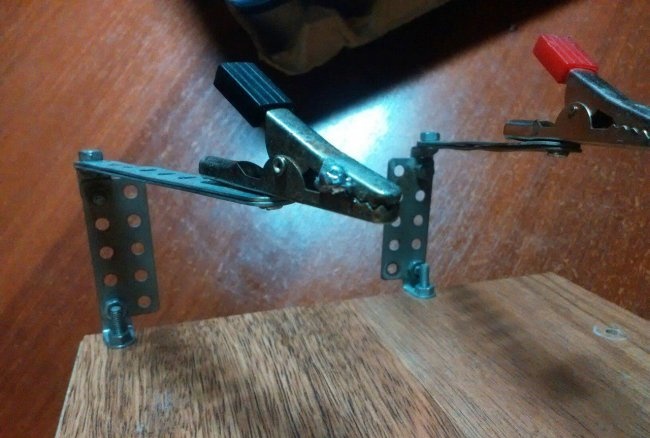
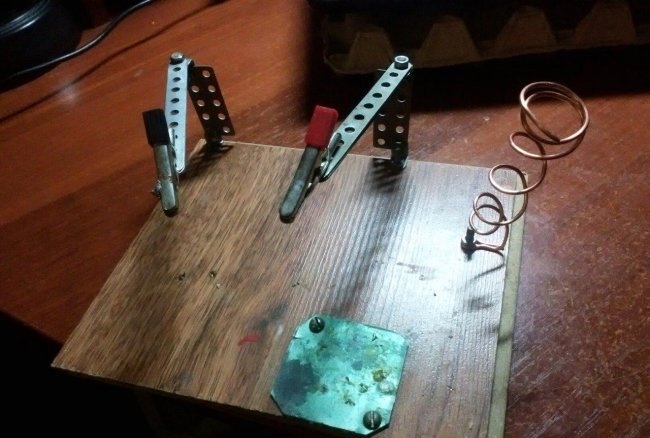
Now we screw everything that we screwed together to the laminate. You will need long screws, all screws, by the way, from the same designer. The simplest option is already ready, but we will not dwell on this.
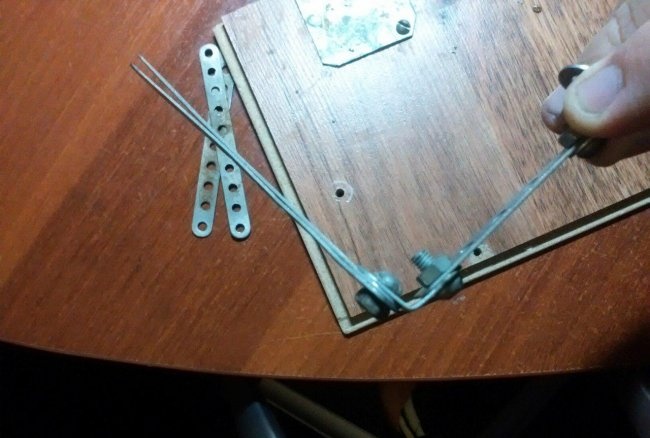
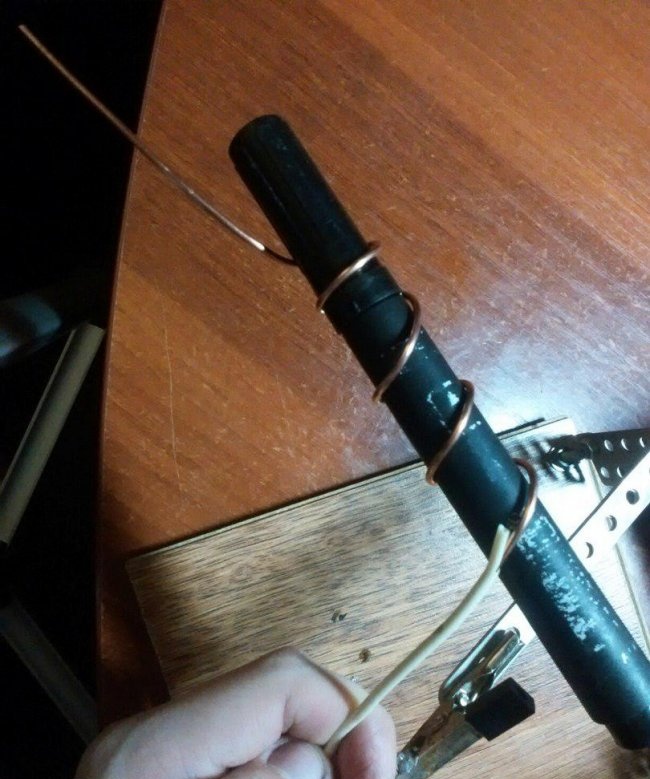
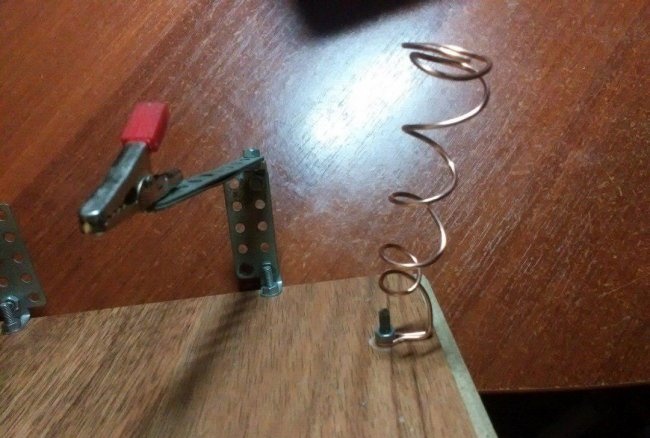
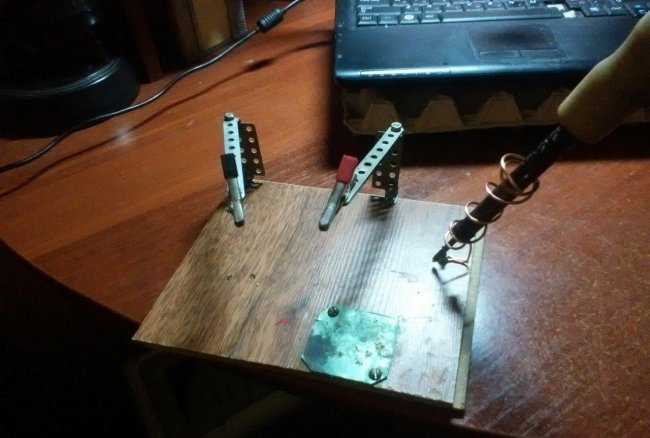
Let's make a stand for a soldering iron. You will need copper wire. We wrap it around the marker, forming a spiral. The braid, of course, needs to be removed, if there is one. The spiral should be of such a height that the soldering iron tip is approximately 10 mm from the laminate. We form an eyelet from the lower end of the wire and screw it to the laminate. This is why the third hole was drilled.
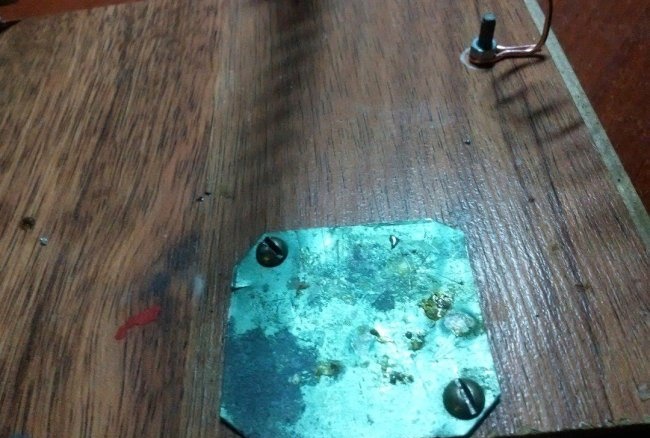
We also drill two more holes in the laminate and metal plate. And we screw it on. It will be convenient to use solder, rosin, flux, etc. on this plate.
You can also attach a magnifying glass, but I don’t need it, and I don’t want to overload the space. We can finish here. The third arm for soldering is already ready. I've been using it for over a year now and I'm happy with everything.
We will need:
- A piece of laminate 200*160 mm.
- Two metal plates 100*10 mm.
- Two metal plates 50*20 mm.
- Four corners.
- Metal plate 50*50 mm.
- Two alligator clips.
- Nine screws and nuts for them.
- Copper wire.
Making a third hand for soldering
To start, I drilled three holes in a piece of laminate. One is from the edge, the other is 120 mm from it, the third is just on the side.
We screw the corners to the metal plates, to those that are wider and shorter. I took the plates from an old children's metal construction set. If this is not the case, then it doesn’t matter, just find any metal plates and drill only the necessary holes in them.
We screw the long ones to the short plates.I thought that they were too thin, so I screwed on two plates at once, so in the end I needed 4 pieces. So take thicker plates so that they don’t bend under the weight. And we screw the crocodiles to them, screw them onto the screws that are in the crocodiles.
Now we screw everything that we screwed together to the laminate. You will need long screws, all screws, by the way, from the same designer. The simplest option is already ready, but we will not dwell on this.
Let's make a stand for a soldering iron. You will need copper wire. We wrap it around the marker, forming a spiral. The braid, of course, needs to be removed, if there is one. The spiral should be of such a height that the soldering iron tip is approximately 10 mm from the laminate. We form an eyelet from the lower end of the wire and screw it to the laminate. This is why the third hole was drilled.
We also drill two more holes in the laminate and metal plate. And we screw it on. It will be convenient to use solder, rosin, flux, etc. on this plate.
You can also attach a magnifying glass, but I don’t need it, and I don’t want to overload the space. We can finish here. The third arm for soldering is already ready. I've been using it for over a year now and I'm happy with everything.
Similar master classes
Particularly interesting

Cable antenna for digital TV in 5 minutes

A selection of simple and effective schemes.

Three-phase voltage from single-phase in 5 minutes

Starting a three-phase motor from a single-phase network without a capacitor

Eternal flashlight without batteries

How to make an inexpensive but very powerful LED lamp
Comments (3)

