DIY night light
Today, there are many original master classes on assembling beautiful lamps for lighting a children's room and bedroom. In order to make a night light with your own hands at home, sometimes it is not necessary to have special tools or materials on hand. This night light can be assembled from scrap materials in no more than an hour.
Tools:
Materials:
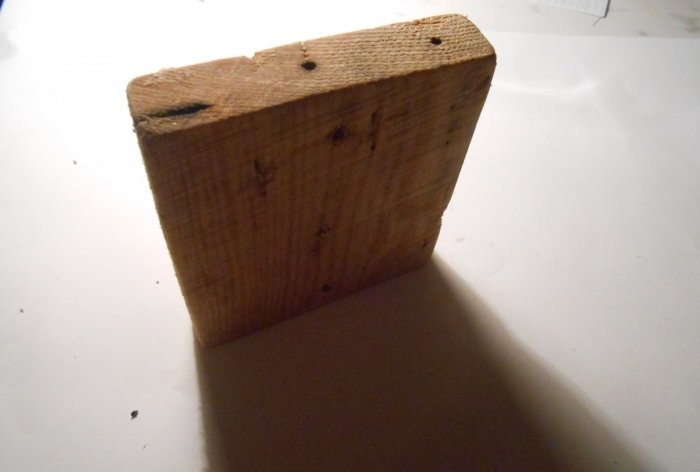
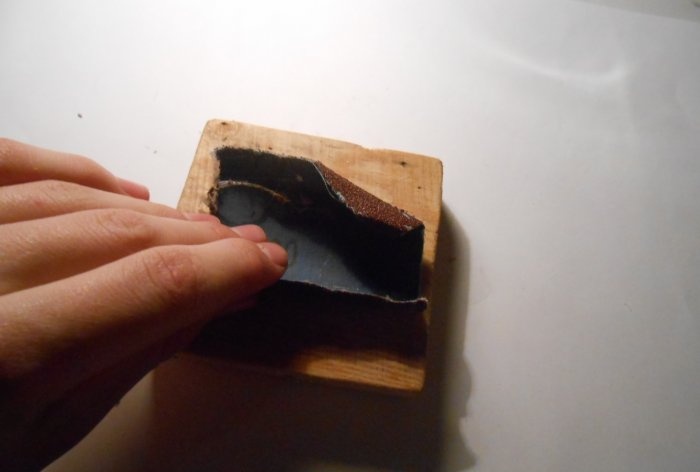
First, let's take a block and cut out the base of the future night light (10 by 10 cm) from it. And clean it with sandpaper.
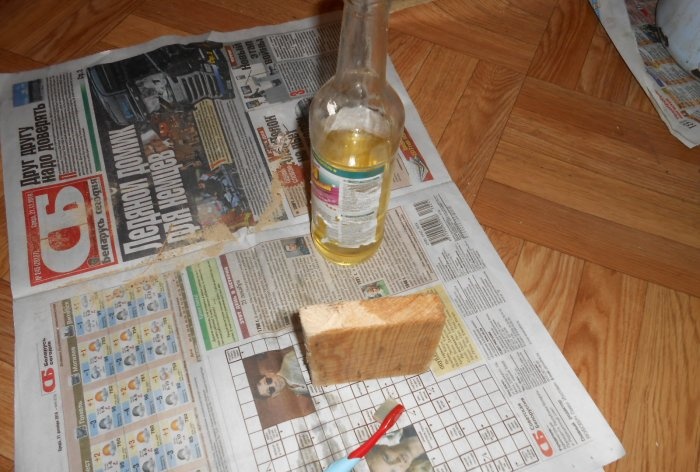
If desired, you can varnish it, which is basically what I did.
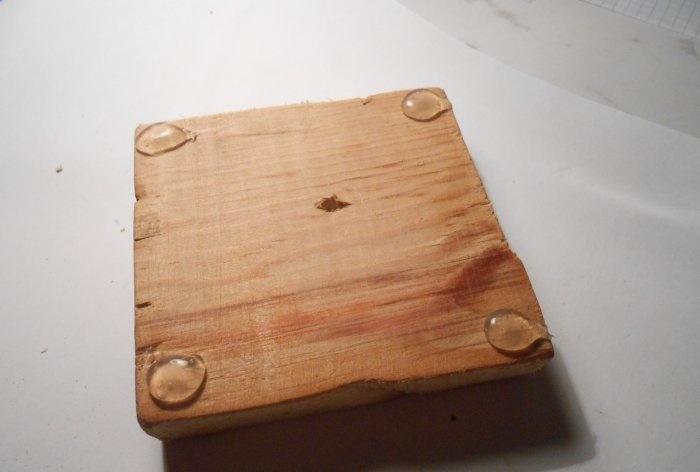
For stability on the surface, apply 4 drops of thermal glue.
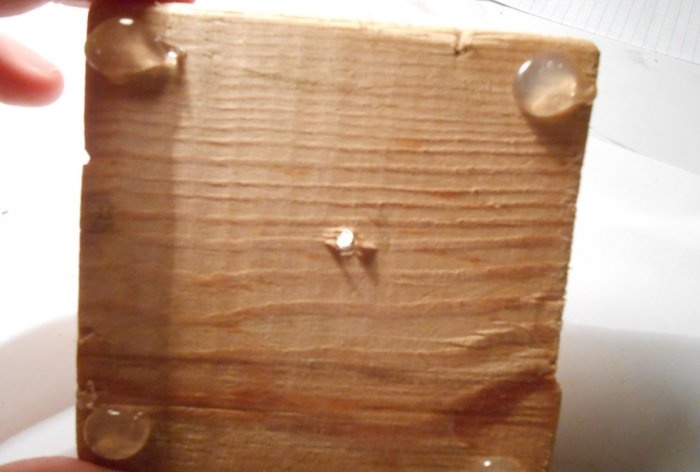
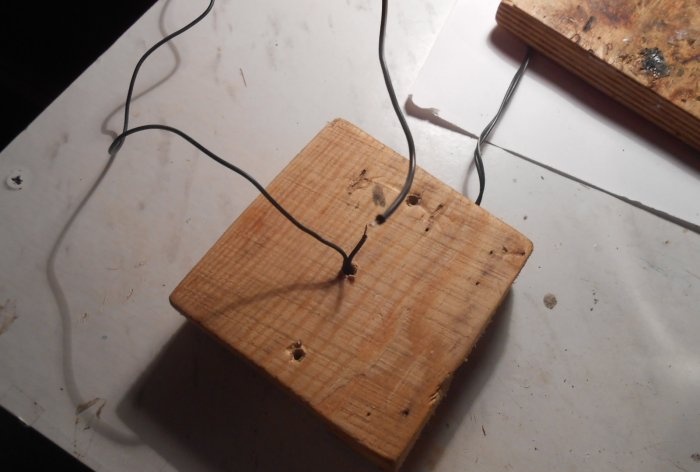
Next we drill a hole for the wire.
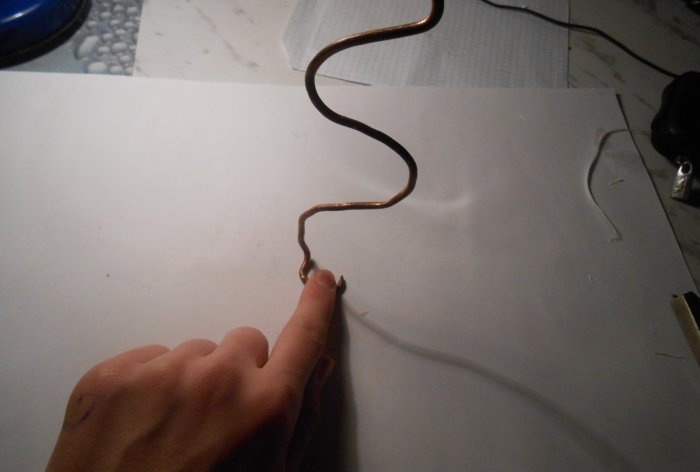
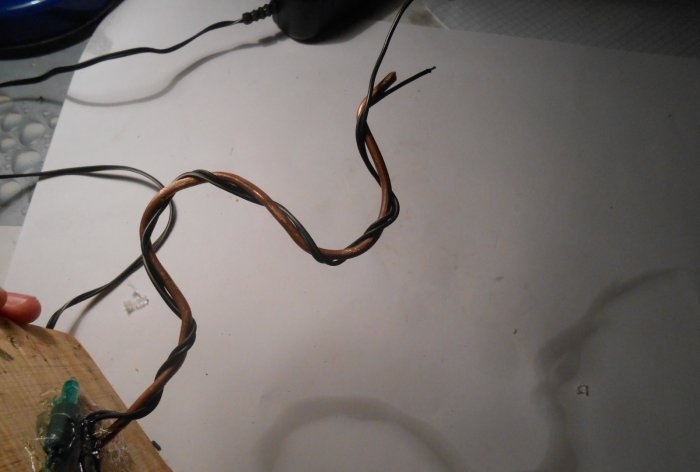
From a piece of copper wire we make such a tortuous workpiece.
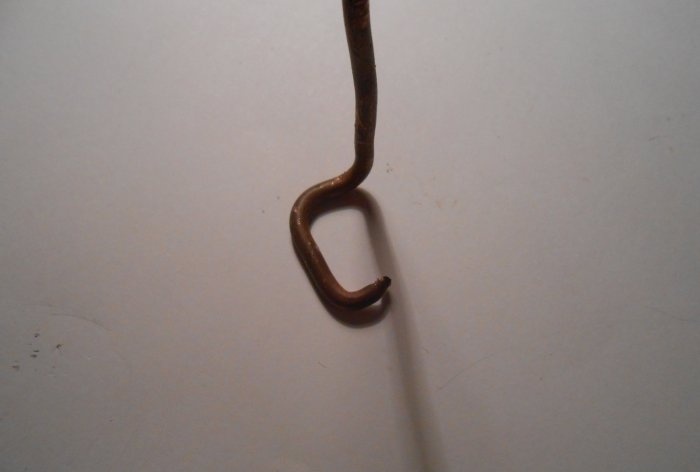
And at the end we bend it as shown in the photo.
We insert the wires through the hole made.
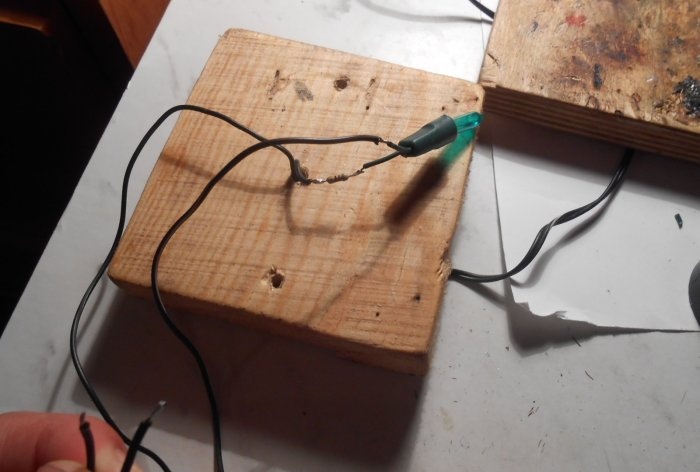
Solder a resistor into the gap in any wire, and then a green light bulb.
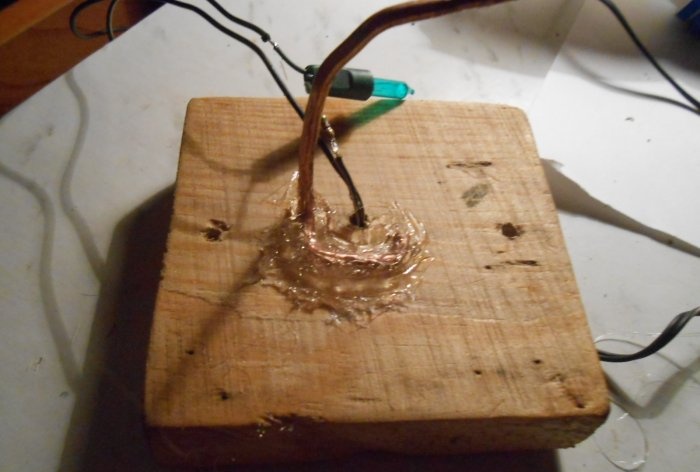
We glue the copper busbar to the base using a glue gun.
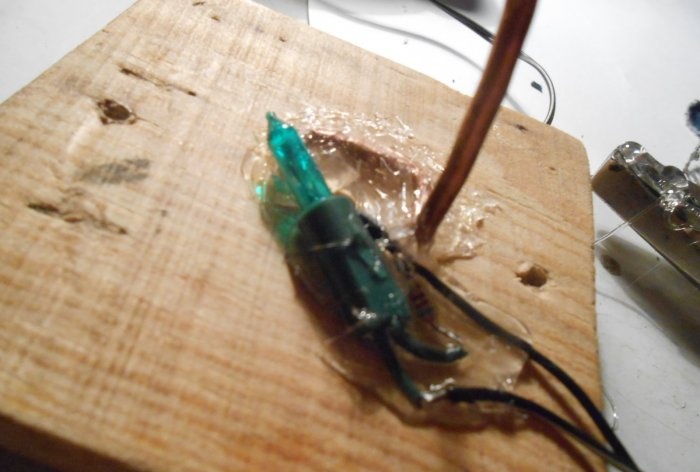
A light bulb too. It will serve as a backlight for future grass.
Then we wind the wire onto the copper busbar.
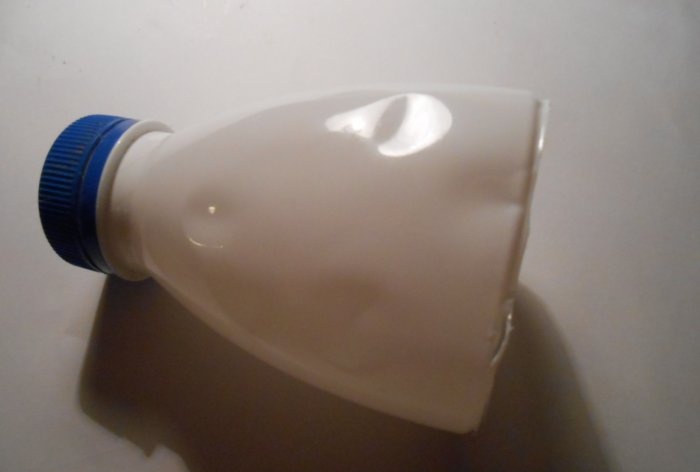
Cut off the neck of a plastic bottle.
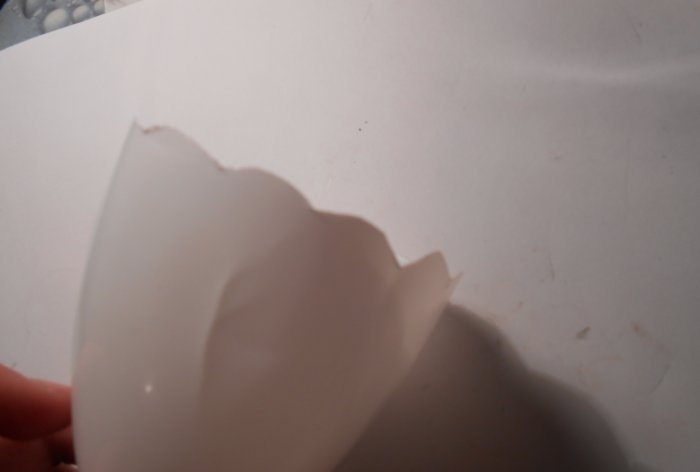
We give the edges the shape of petals.
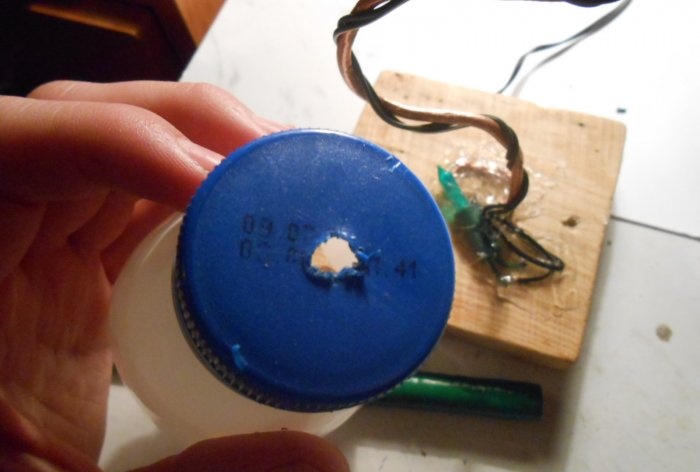
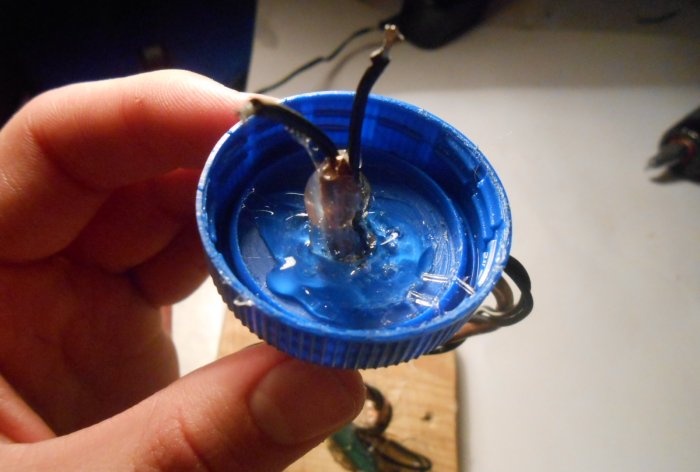
We make a hole in the middle of the lid.
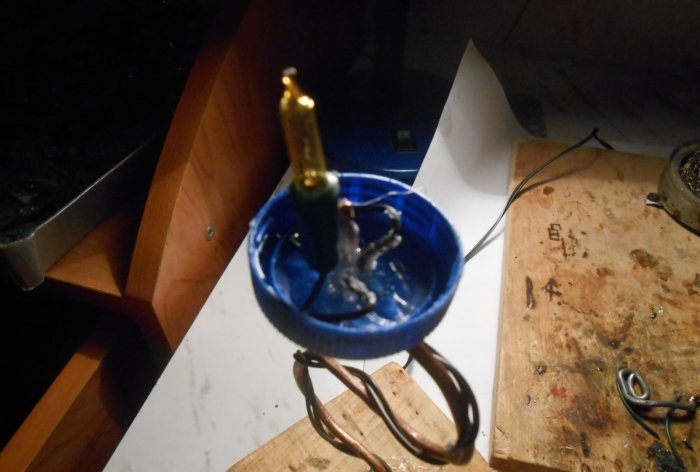
We unscrew the lid and place it on the thermo-glue to the copper wire. We strip and tin the wires.
We solder a yellow light bulb, you can take any color if you wish.
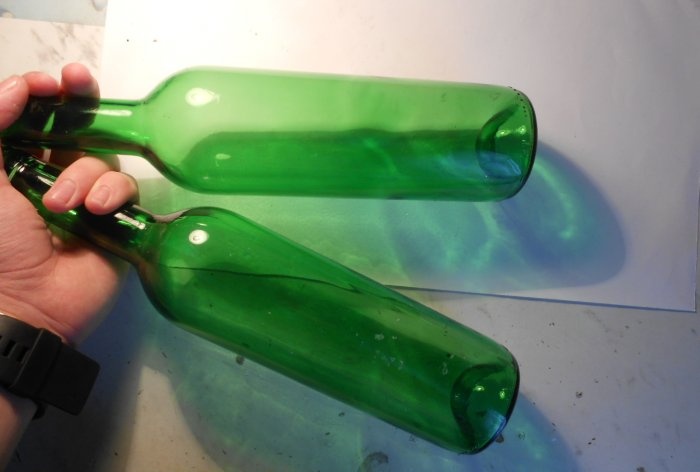
We will make decorative grass from two glass bottles.
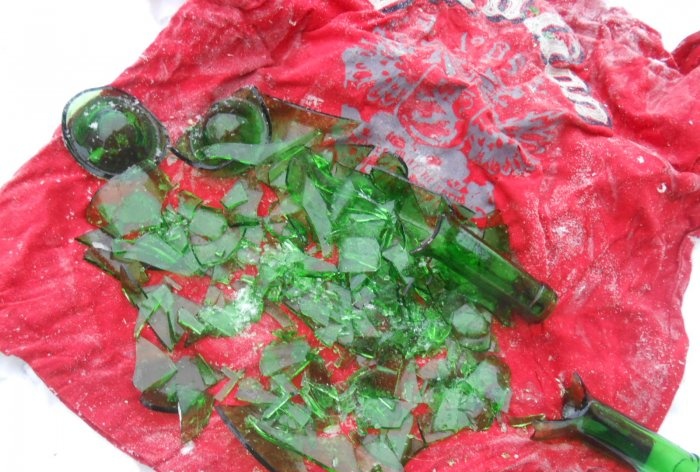
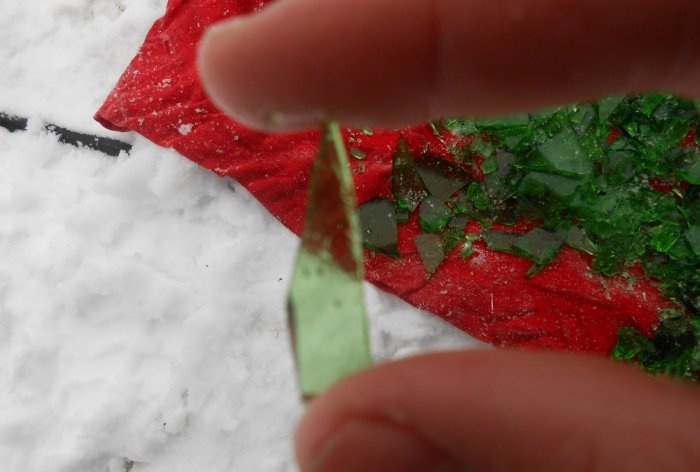
We wrap it in an unnecessary rag and begin to break it. This MUST be done extremely carefully so as not to get hurt.
Select suitable pieces (2-3 cm) from broken glass.
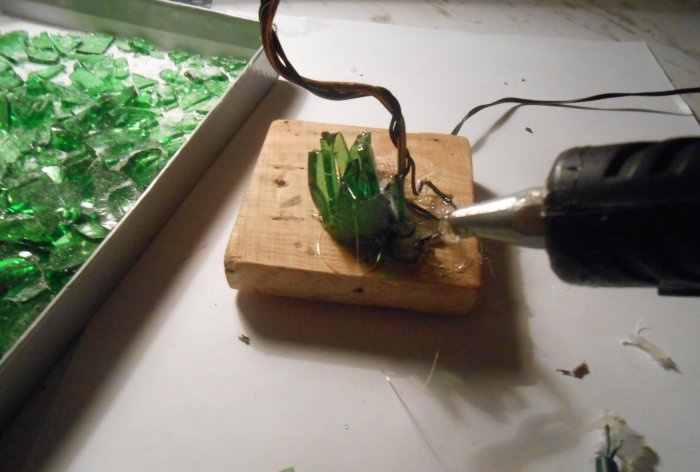
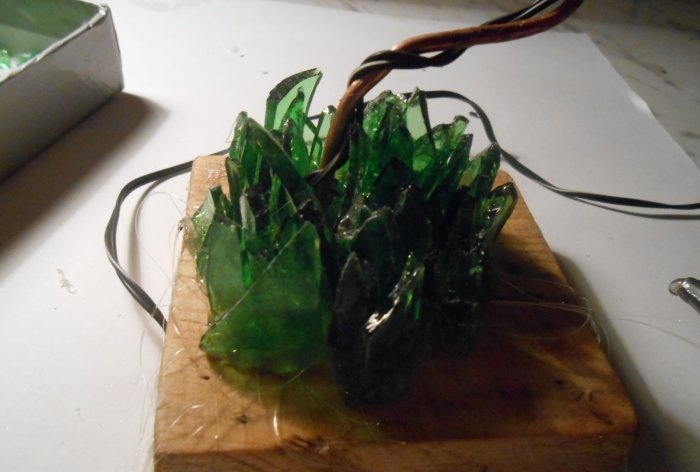
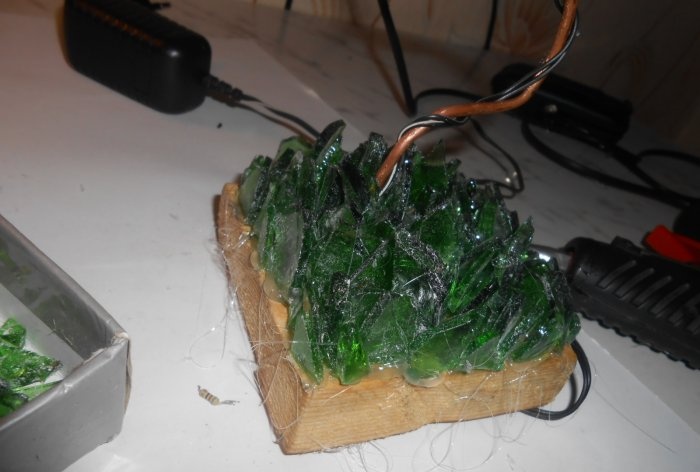
And we begin to glue them, we need to do this with gloves so as not to cut our fingers.
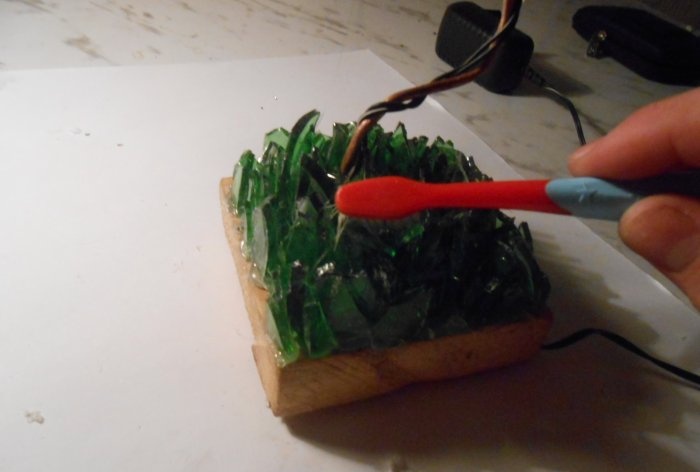
We clean from splinters.
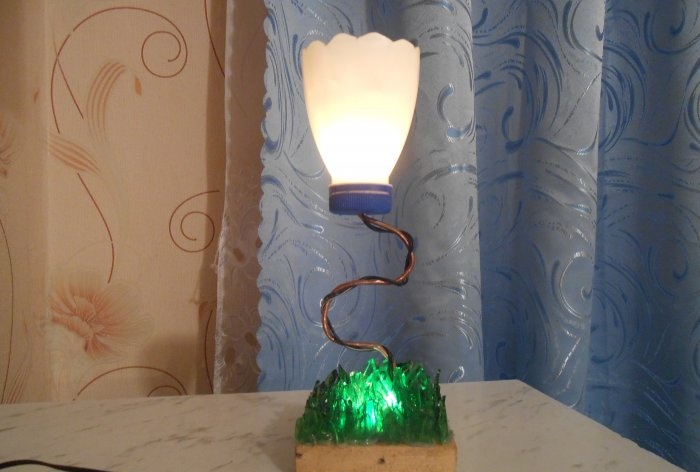
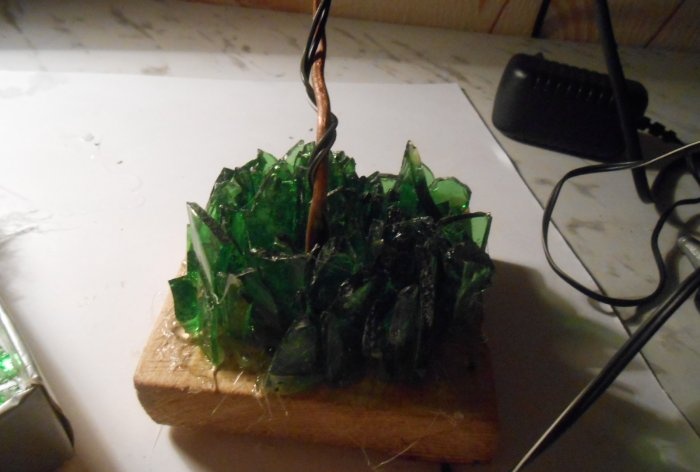
The end result is that the night light is ready. A very original and easy-to-make night light for a children's room.
For the night light we need
Tools:
- Soldering iron (flux, solder).
- Pliers.
- Hammer.
- Hacksaw.
- Drill.
- Glue gun.
Materials:
- Copper wire.
- Resistor (200 ohm).
- Two bottles (glass).
- Milk bottle.
- Two light bulbs (from garlands).
- Power unit.
- Bar.
Making a lamp
First, let's take a block and cut out the base of the future night light (10 by 10 cm) from it. And clean it with sandpaper.
If desired, you can varnish it, which is basically what I did.
For stability on the surface, apply 4 drops of thermal glue.
Next we drill a hole for the wire.
From a piece of copper wire we make such a tortuous workpiece.
And at the end we bend it as shown in the photo.
We insert the wires through the hole made.
Solder a resistor into the gap in any wire, and then a green light bulb.
We glue the copper busbar to the base using a glue gun.
A light bulb too. It will serve as a backlight for future grass.
Then we wind the wire onto the copper busbar.
Cut off the neck of a plastic bottle.
We give the edges the shape of petals.
We make a hole in the middle of the lid.
We unscrew the lid and place it on the thermo-glue to the copper wire. We strip and tin the wires.
We solder a yellow light bulb, you can take any color if you wish.
We will make decorative grass from two glass bottles.
We wrap it in an unnecessary rag and begin to break it. This MUST be done extremely carefully so as not to get hurt.
Select suitable pieces (2-3 cm) from broken glass.
And we begin to glue them, we need to do this with gloves so as not to cut our fingers.
We clean from splinters.
The end result is that the night light is ready. A very original and easy-to-make night light for a children's room.
Similar master classes
Particularly interesting
Comments (4)

