Creative night light “Drop”
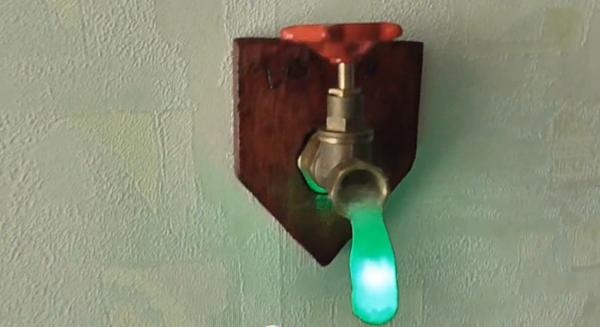
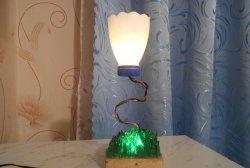
Good day everyone, in this article I will tell you how to make a creative “drop” night light with your own hands from improvised materials. You can make such a beautiful night light with a minimum of materials and following the instructions.
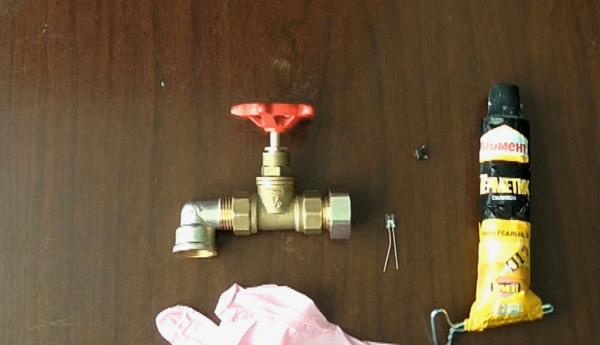
Materials and tools:
- A small piece of board;
- tap with valve adapter;
- glue gun;
- silicone sealant;
- Light-emitting diode any color (in this case green);
- lithium batteries;
- several wires;
- soldering iron;
- rubber medical glove;
- push switch.
Manufacturing Description:
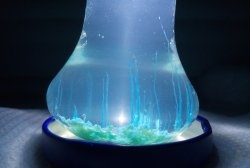
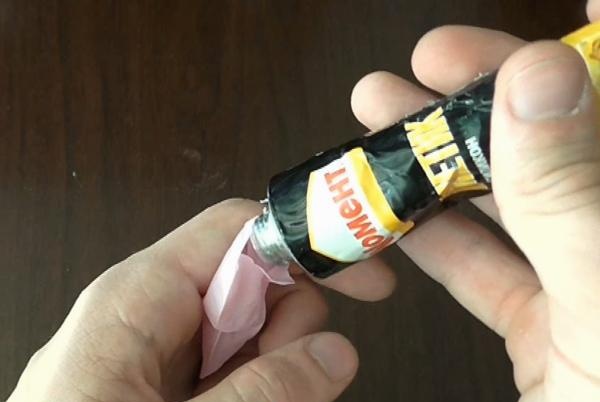
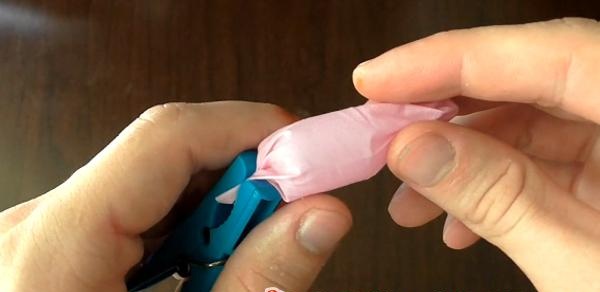
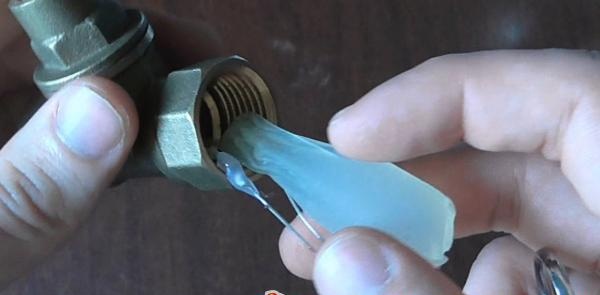
Step 1: Making a “drop”. To make a “drop”, cut off one of the fingers from a medical glove and fill it with silicone sealant. Until it froze with us. We form a drop and leave it to dry, hanging it on clothespins.
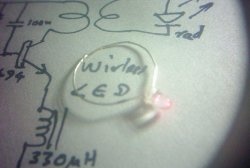
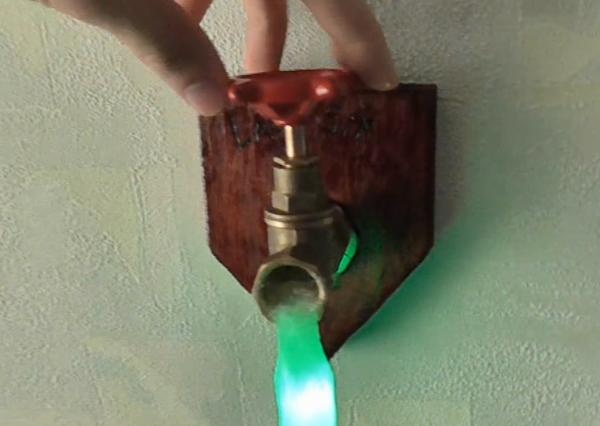
Step 2: Solder the electronic filling. We solder the wires going to the battery and to the switch. Light-emitting diode, we also solder it ourselves Light-emitting diode. We fix the switch under the valve and check the functionality by turning the valve until it presses the button, if Light-emitting diode lights up, proceed to the next stage of assembly.
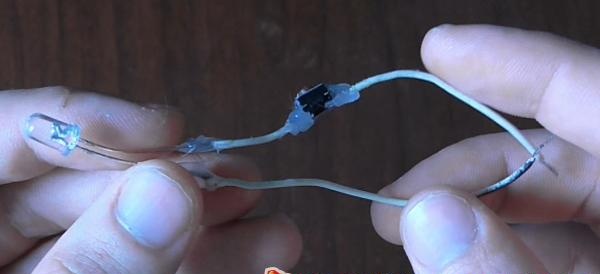
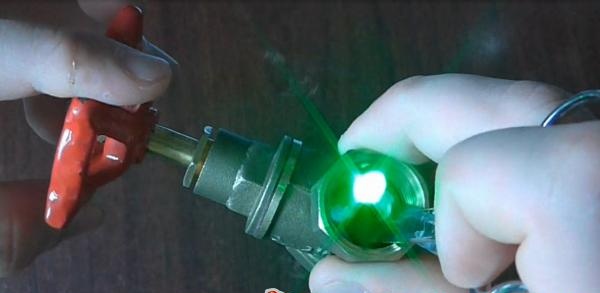
Step 3: Glue the “drop”.Using a glue gun or silicone sealant, glue the already frozen drop to the base of the valve above the LED, making a hole in it, using a soldering iron, place Light-emitting diode inside the drop.
Step 4: Cut out the base for the night light. We cut out the base for the night light from the board.
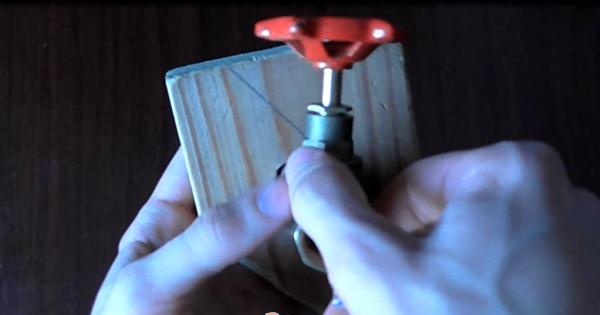
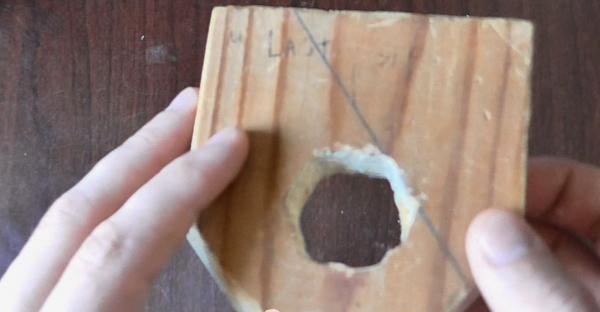
We make a hole for the tap and secure it; the base can also be painted with varnish and engraved.
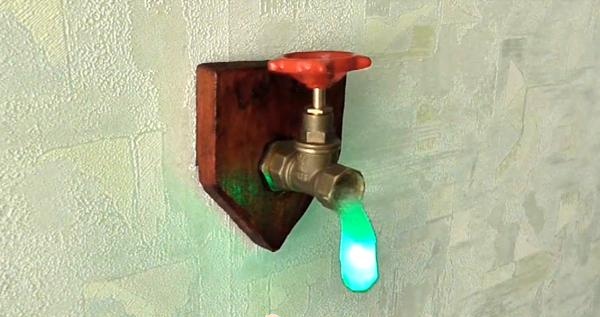
Step 5: Final stage. We connect the batteries, fix the lamp and appreciate the awesomeness of the resulting work).
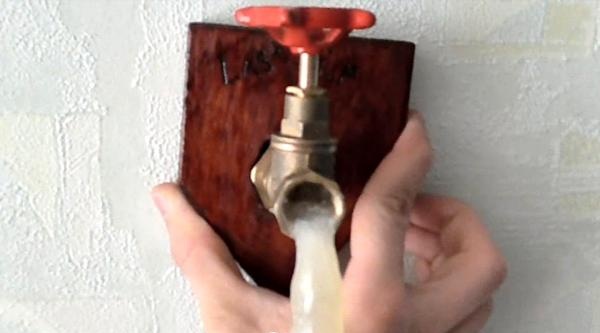
Anyone can make such a simple night light with a minimum of materials and good imagination, as well as following the instructions provided.
Similar master classes
Particularly interesting
Comments (2)

