Floating night light
This is my first master class in which I will show you how to make a beautiful night light with the effect of floating in the air. This lamp is very easy to assemble and does not contain expensive or scarce materials.
A beautiful night light will perfectly decorate your bedroom or children's room, filling it with a little magic and comfort.
Tool:
Materials:
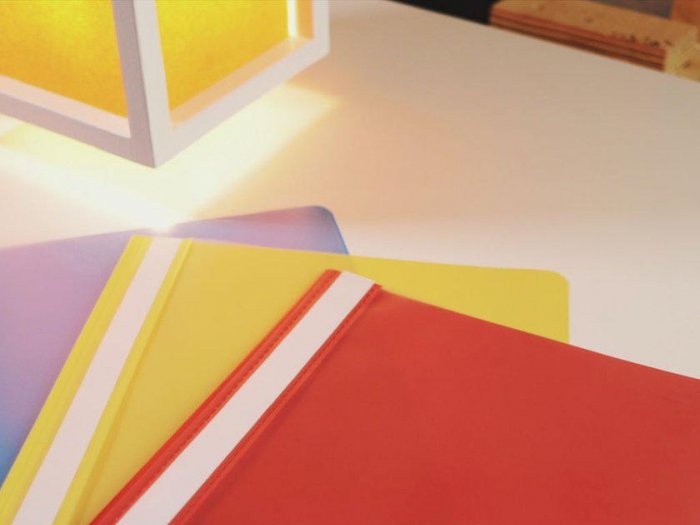
Here are folders from which you can make excellent color filters for a lamp.
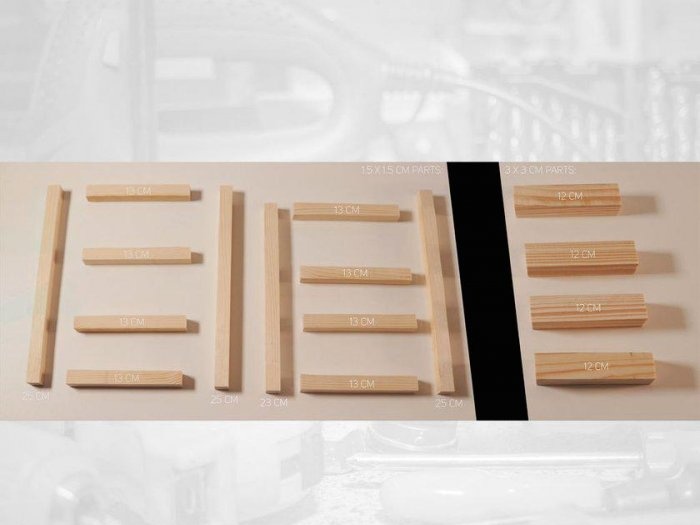
So, you need to carefully cut the following sections from wooden slats:
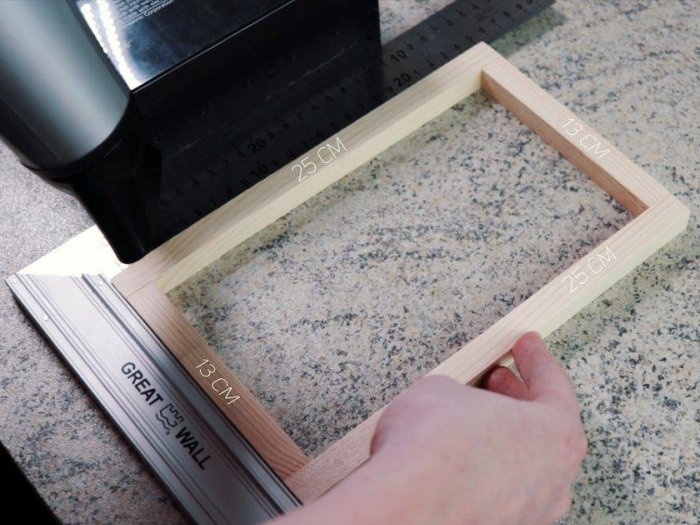
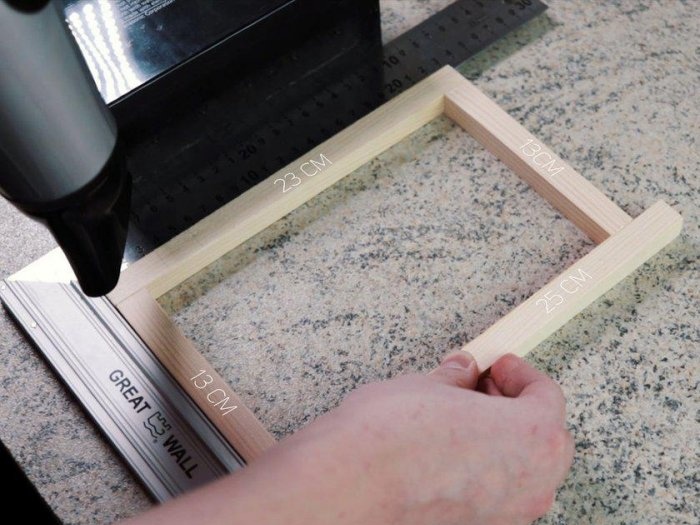
We glue two pieces 25 cm long with two pieces 13 cm long. Hold the structure for 3-5 minutes until the glue securely grips the parts. To speed things up, you can use a hairdryer.
Next, we glue the 23 cm and 25 cm long pieces with two 13 cm pieces.
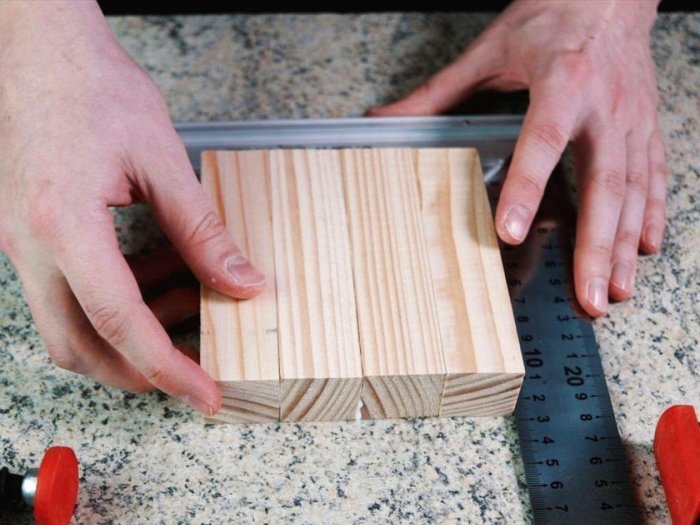
Then we glue four 12 cm pieces together. This will be the base of the night light.
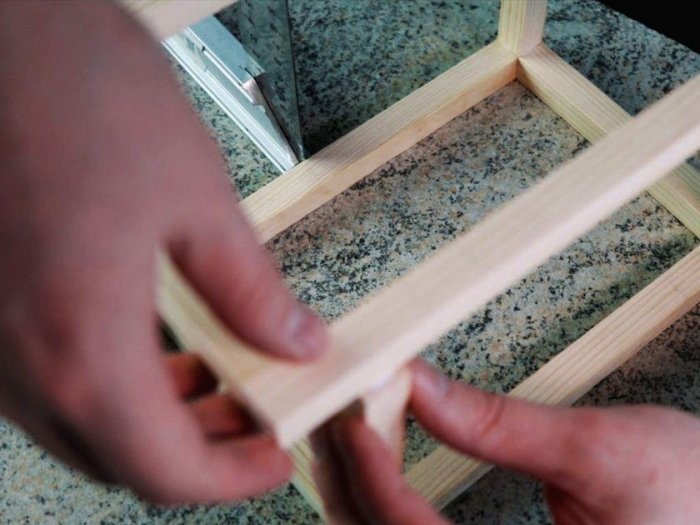
We glue the frames together with four 13 cm pieces. You should get a kind of cube, with two high sides.
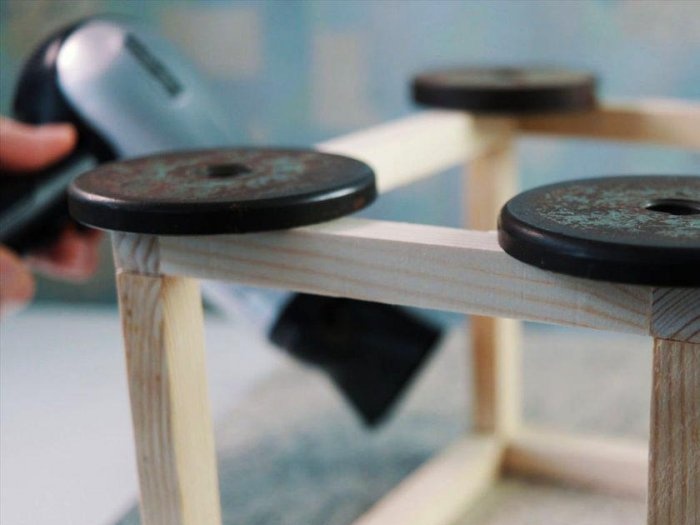
After gluing, it is advisable to load the entire structure with a clamp or weights and leave it to dry for 24 hours.
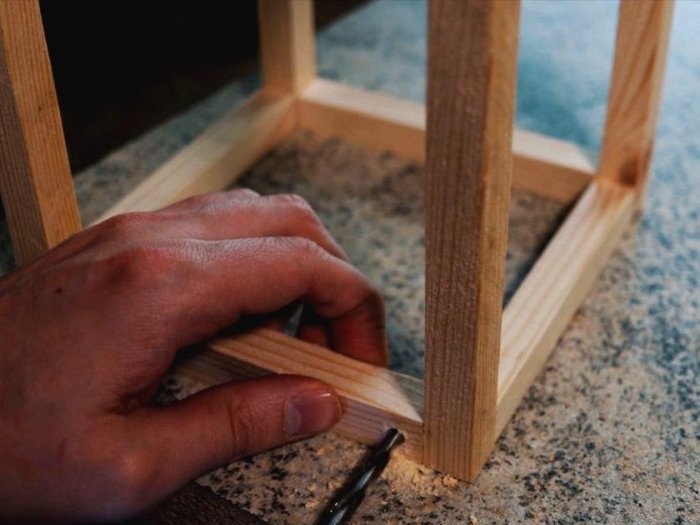
Drill a hole for the power cable.
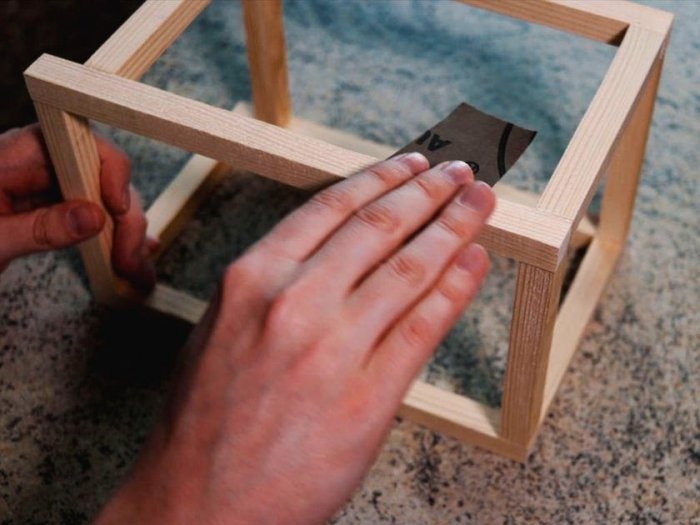
We clean all irregularities and burrs with fine-grained sandpaper.
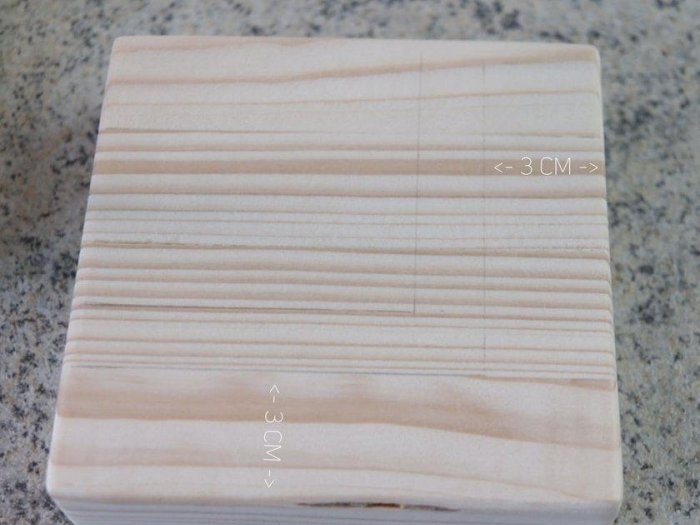
We mark the stand on which we will glue the cube. This is where the whole focus of the design lies: the main part will be offset relative to the stand. And when the lamp is shining, the small base will be almost invisible, as a result an interesting effect is created that the lamp is hanging in the air, at some distance from the plane.
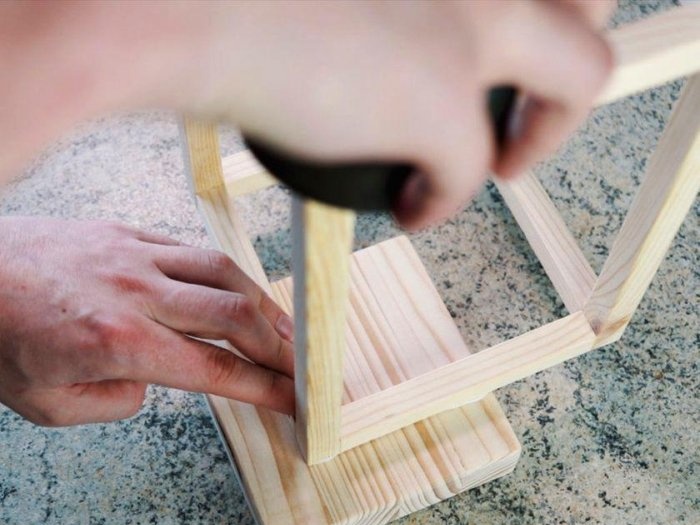
Glue it and also leave it to dry.
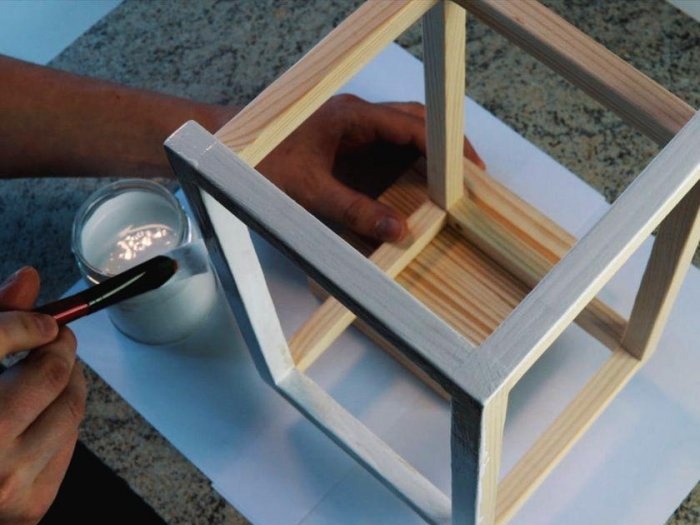
We paint it with white paint on wood.
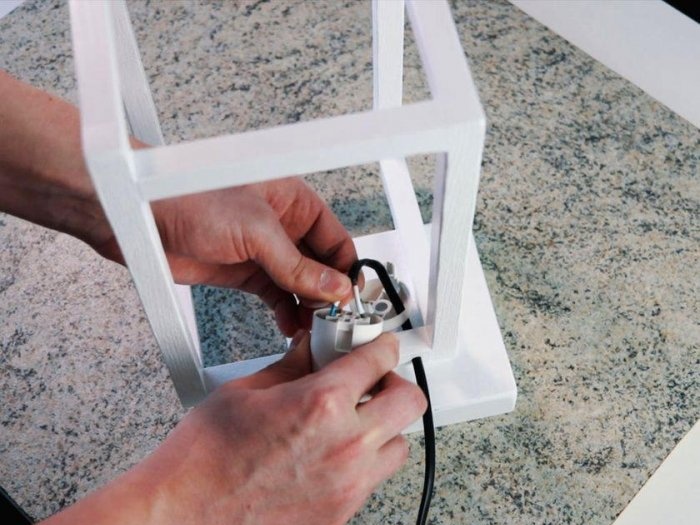
We pass the wire through the hole made earlier. We assemble the cartridge and connect the wire.
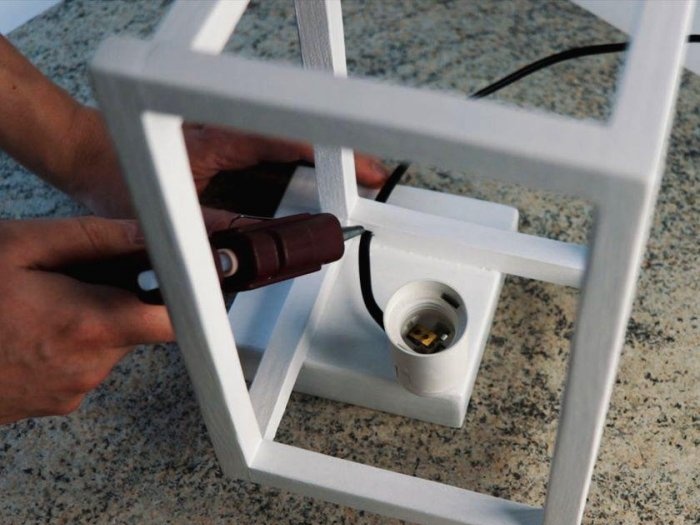
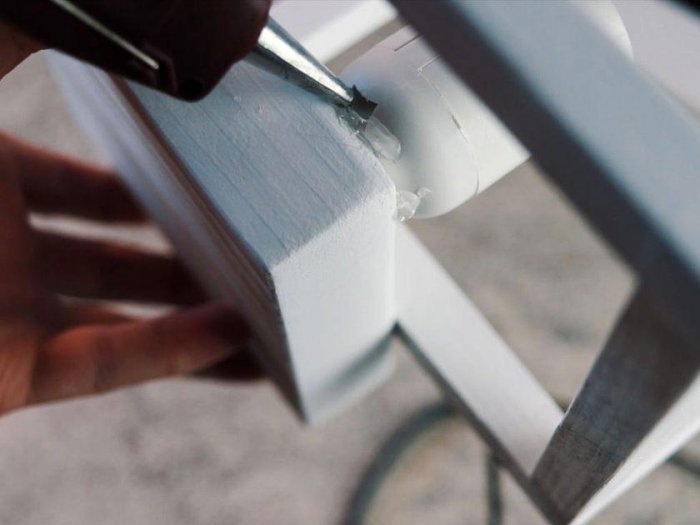
Fix the wire with hot glue.
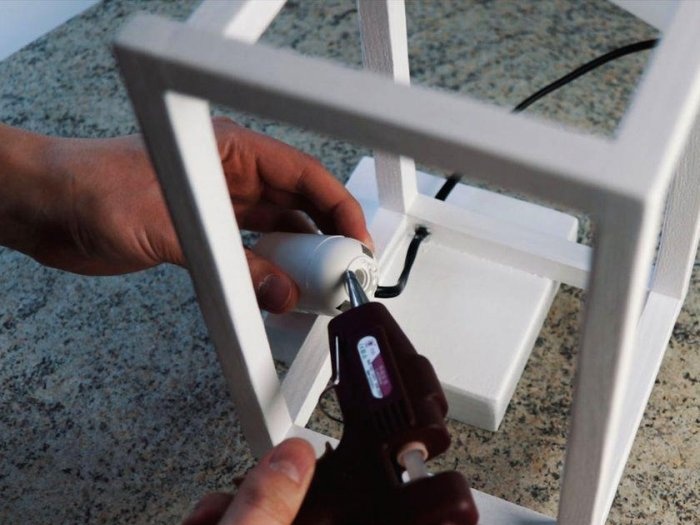
Glue the cartridge to the base.
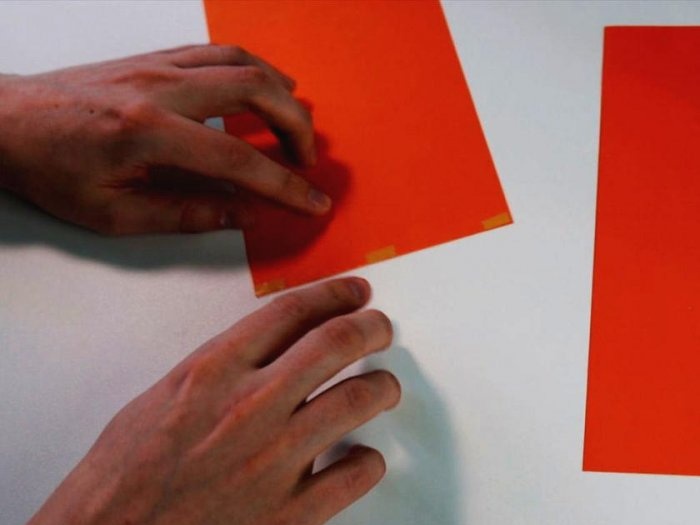
We cut out light filters from folders onto two planes.
Glue to the sides from the inside.
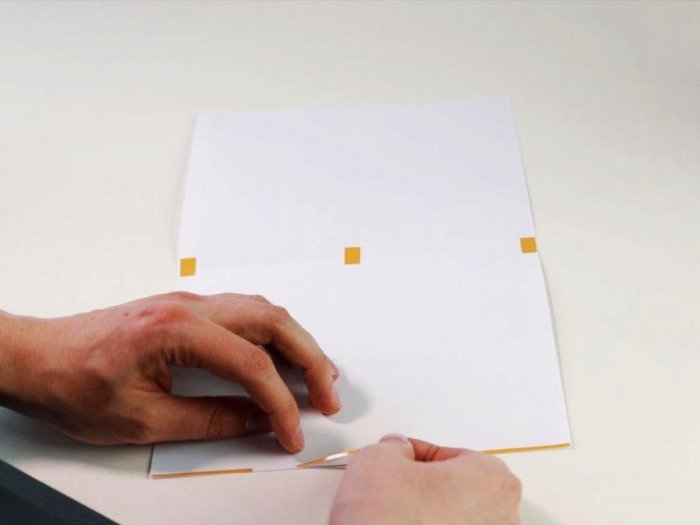
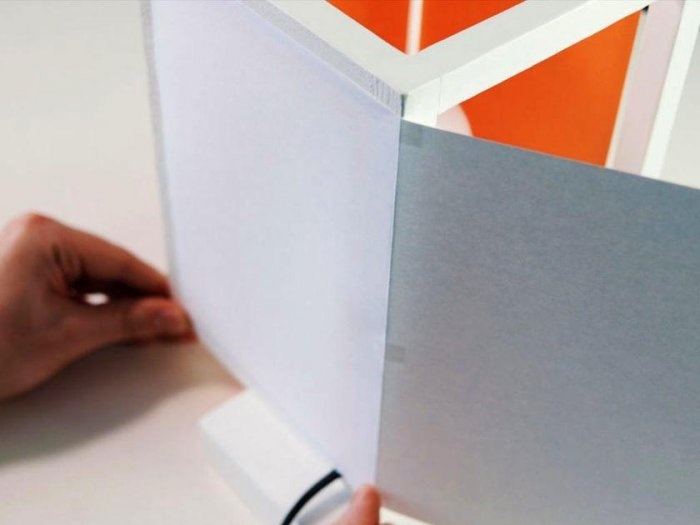
Cover the back with plain paper.
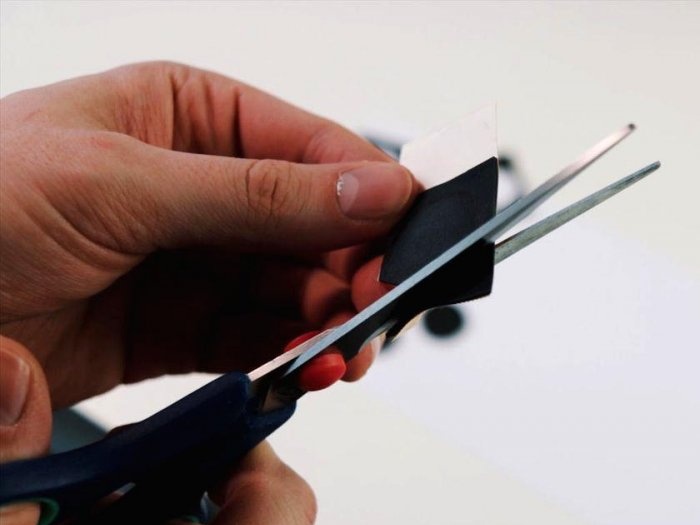
We cut out the legs from any soft or rubber substrate.
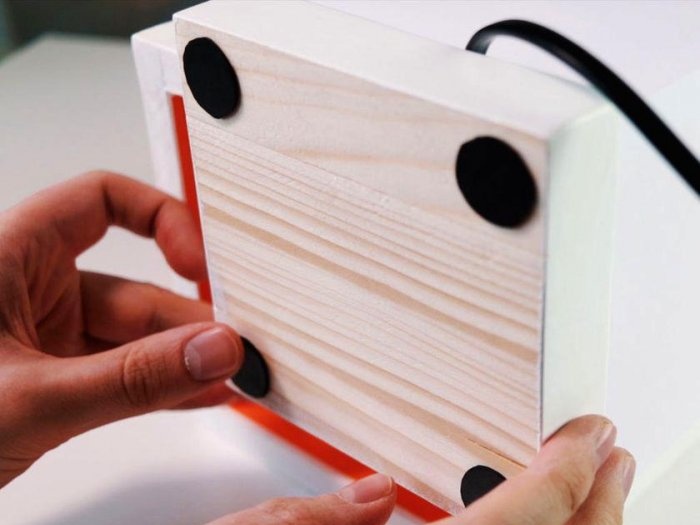
Glue to the bottom of the base.
The end result is this funny little thing.
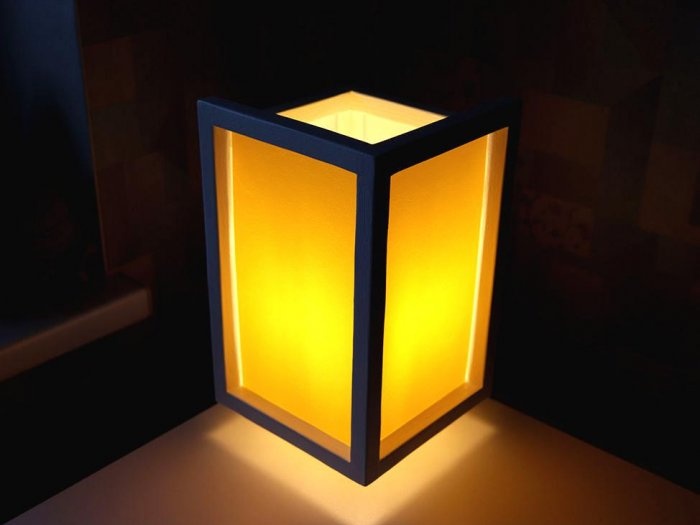
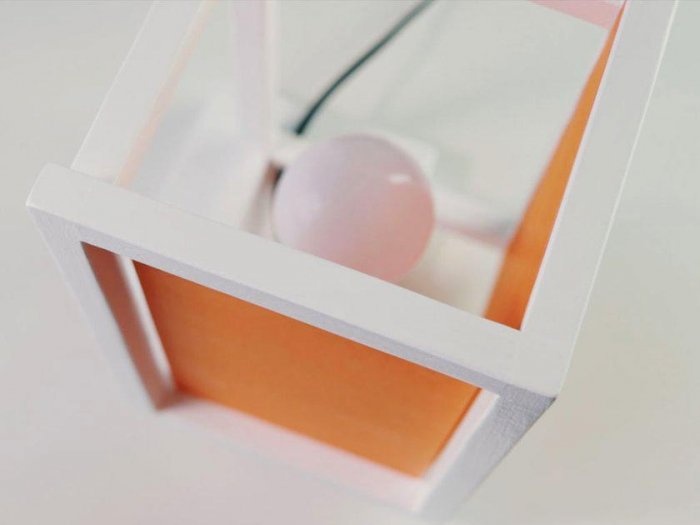
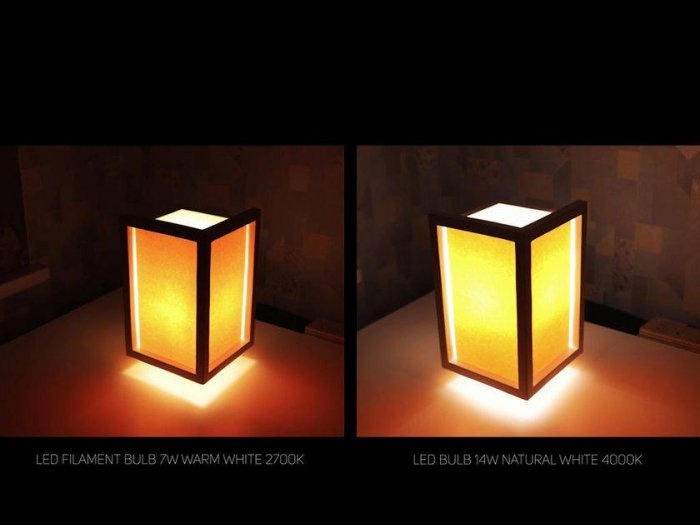
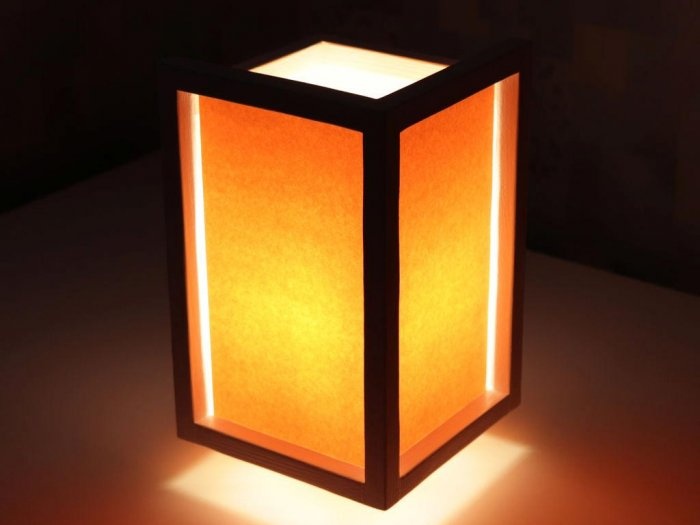
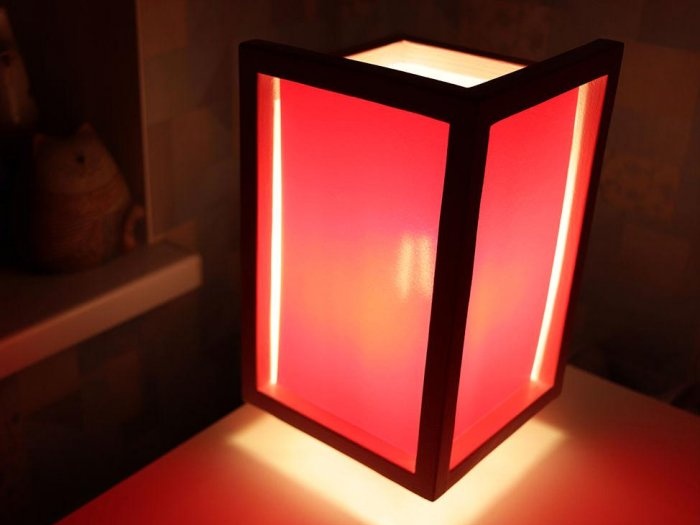
The finished night light looks very cool! Since there is no partition at the bottom, the light shines downwards, resulting in the effect that the square box is floating in the air.
Make your own simple night light in any color and decorate your room. Thank you for your attention, see you again.
If you don’t understand how to make such a night light, be sure to watch the more detailed video instructions.
A beautiful night light will perfectly decorate your bedroom or children's room, filling it with a little magic and comfort.
Materials and tools
Tool:
- Jigsaw or wood leg.
- Drill or screwdriver with drill bits.
- Hot glue gun.
- Wood glue.
- Brush and white paint on wood.
- Sandpaper.
- Scissors.
Materials:
- Wooden slats 1.5 x 1.5 cm with a total length of approximately 210 cm.
- Wooden strip 3 x 3 cm with a total length of approximately 60 cm.
- LED or fluorescent lamp, with socket.
- Power cord with plug and switch.
- White paper A4.
- Colored transparent plastic - can be taken from a plastic document folder. You can buy one at any store that sells office supplies.
Here are folders from which you can make excellent color filters for a lamp.
Making a floating night light
So, you need to carefully cut the following sections from wooden slats:
- 1.5 x 1.5 cm x 13 cm - 8 pieces.
- 1.5 x 1.5 cm x 25 cm - 3 pieces.
- 1.5 x 1.5 cm x 23 cm - 1 piece.
- 3 x 3 cm x 12 cm - 4 pieces.
We glue two pieces 25 cm long with two pieces 13 cm long. Hold the structure for 3-5 minutes until the glue securely grips the parts. To speed things up, you can use a hairdryer.
Next, we glue the 23 cm and 25 cm long pieces with two 13 cm pieces.
Then we glue four 12 cm pieces together. This will be the base of the night light.
We glue the frames together with four 13 cm pieces. You should get a kind of cube, with two high sides.
After gluing, it is advisable to load the entire structure with a clamp or weights and leave it to dry for 24 hours.
Drill a hole for the power cable.
We clean all irregularities and burrs with fine-grained sandpaper.
We mark the stand on which we will glue the cube. This is where the whole focus of the design lies: the main part will be offset relative to the stand. And when the lamp is shining, the small base will be almost invisible, as a result an interesting effect is created that the lamp is hanging in the air, at some distance from the plane.
Glue it and also leave it to dry.
We paint it with white paint on wood.
We pass the wire through the hole made earlier. We assemble the cartridge and connect the wire.
Fix the wire with hot glue.
Glue the cartridge to the base.
We cut out light filters from folders onto two planes.
Glue to the sides from the inside.
Cover the back with plain paper.
We cut out the legs from any soft or rubber substrate.
Glue to the bottom of the base.
The end result is this funny little thing.
The finished night light looks very cool! Since there is no partition at the bottom, the light shines downwards, resulting in the effect that the square box is floating in the air.
Make your own simple night light in any color and decorate your room. Thank you for your attention, see you again.
Watch the video
If you don’t understand how to make such a night light, be sure to watch the more detailed video instructions.
Similar master classes
Particularly interesting
Comments (2)

