Replacement of radiators and individual sections in a private house
With proper assembly of the heating system, which is carried out during the construction stage of the house, it will last a long time and efficiently. However, over time, radiators or individual sections may need to be replaced. There can be many reasons. The most common reasons are leaks, as well as radiator passages becoming clogged with dirt, and because of this, thermal conductivity is sharply reduced. In the first case, it may be enough to simply change one or two sections in the place where the batteries leak water. In the second case, it would be better to completely change the radiators. We will look at how to change radiators or replace sections in a private house. Typically, private homes use aluminum radiators. In apartments, cast iron is usually used, since the pressure in apartment buildings is much higher.
Replacing radiators and individual sections with your own hands
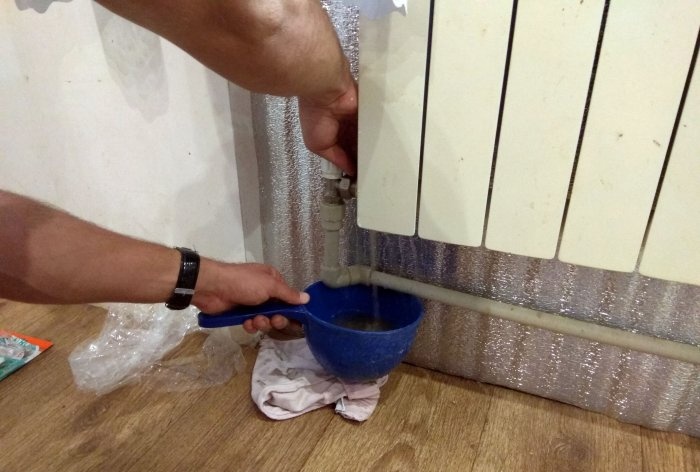
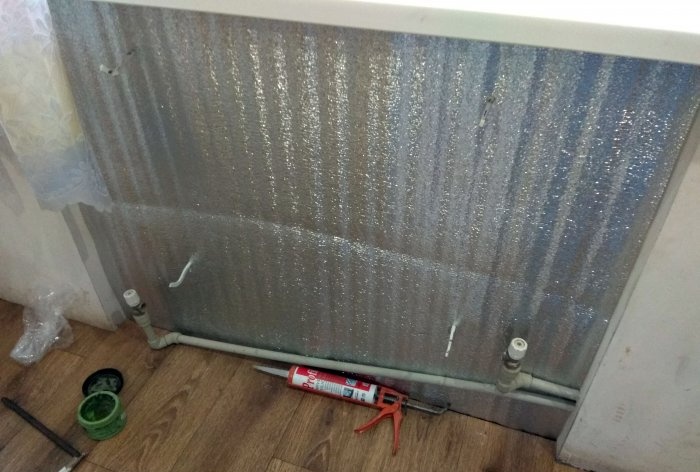
It is best to replace radiators in the summer, when the heating is turned off. However, there are emergency cases when this needs to be done during the heating season. In this case, you need to turn off the water in the entire system.After this, use the pump and pump out the water. It is necessary to pump out the maximum amount of water. Next, turn off the water near the battery you are going to change. This is done using taps at the top and bottom of the liner. There will still be water in the batteries, so have a container ready to drain it into.
This could be a bucket, basin, or ladle.
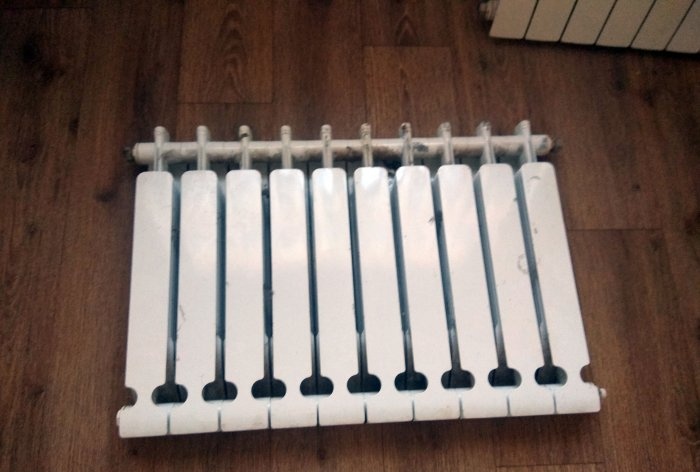
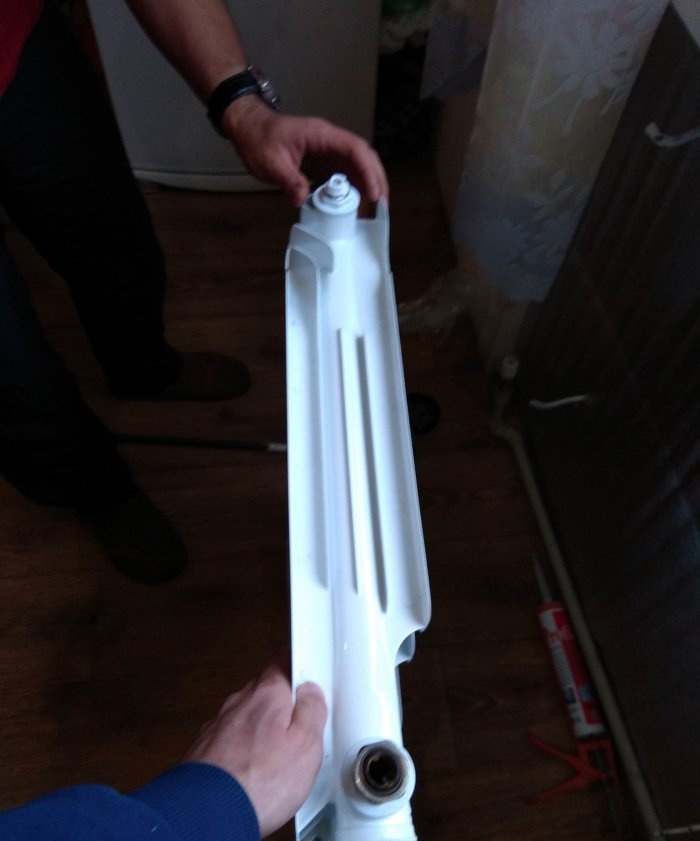
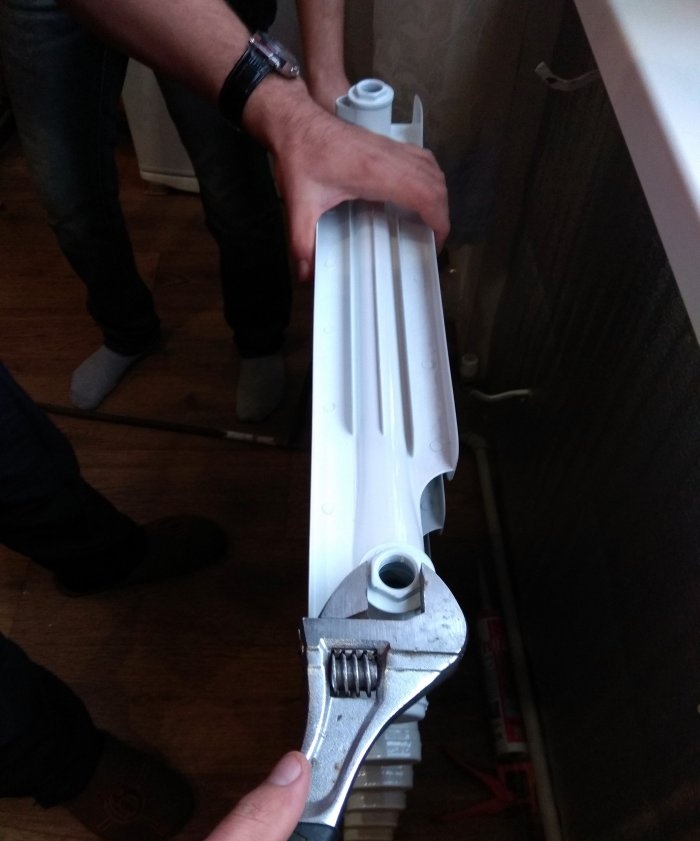
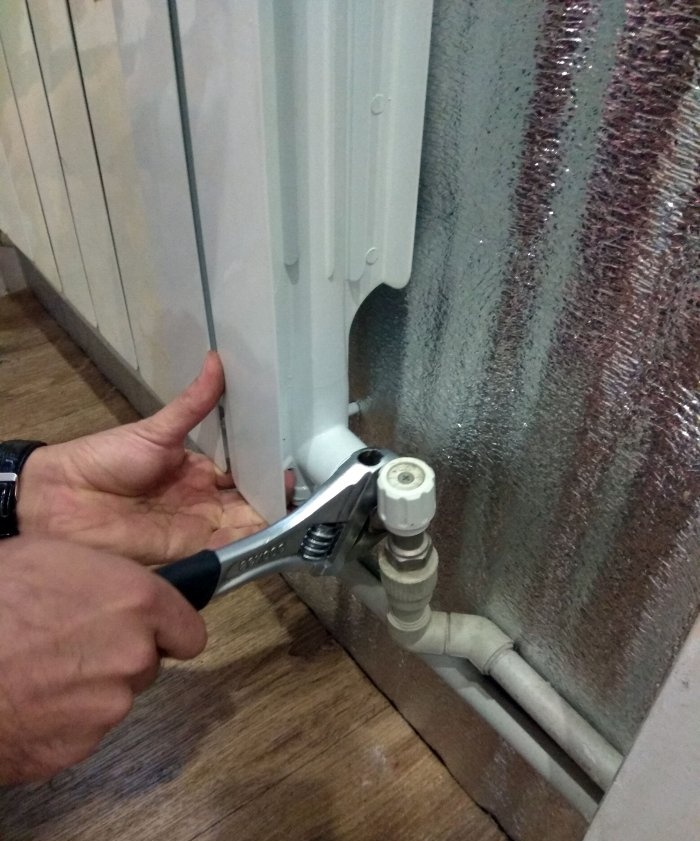
Then you can begin dismantling the old radiators. Using a wrench, or better yet an adjustable wrench, you need to unscrew all the threaded connections that connect the battery to the pipes (connections). If you want to change the battery completely, then you can buy similar radiators, the same size as before. However, do not buy radiators separately in sections, but at once, the quantity you need connected to each other.
In this case, you will simplify the job and at the same time save money, since you will not need to spend money on sealant and gaskets. Moreover, the factory connection is of high quality.
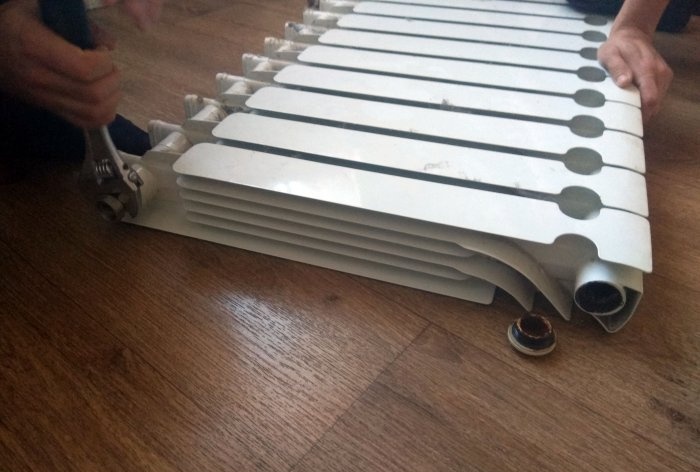
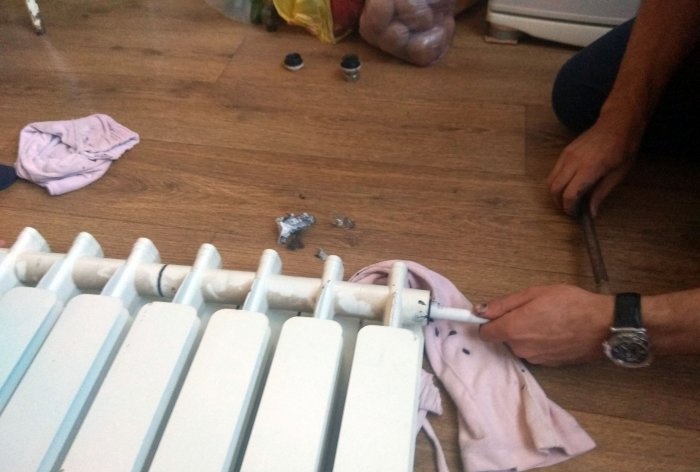
Everything will be much more complicated if you decide to replace one or more sections. First, the foot nuts, the plug, and the Mayevsky tap are unscrewed.
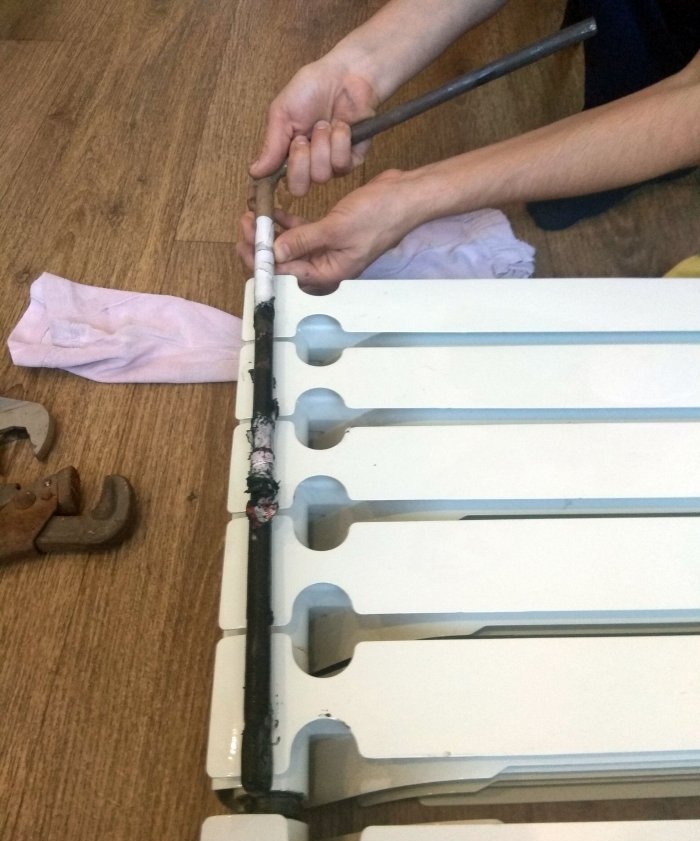
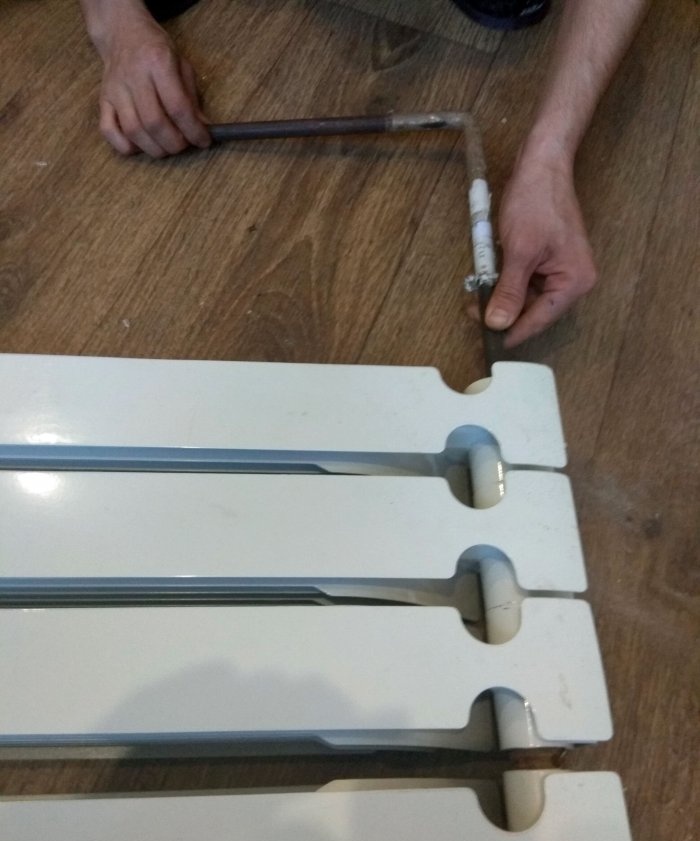
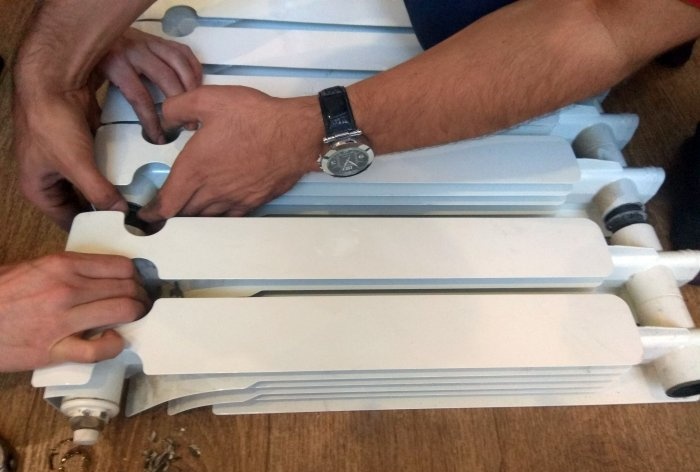
It is also necessary to have a radiator key. Each section of the battery is connected to each other by barrels (nipples) with threads on both sides.
Therefore, it is necessary to measure the distance from the edge of the radiator to the place where you need to unscrew the section.
After this, insert the key into the radiator along the distance that you measured and unscrew the nipples. For example, if you need to replace the third and fourth sections, then in this case you measure the distance from the edge to the third section, then insert a key into the radiator to the same size, and then unscrew the thread.
It is necessary to unscrew gradually on both sides.Usually, if one side unscrews clockwise, then the other side must be unscrewed counterclockwise.
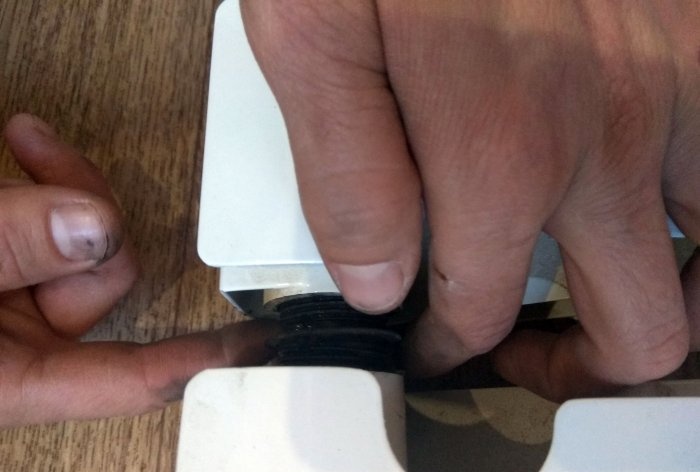
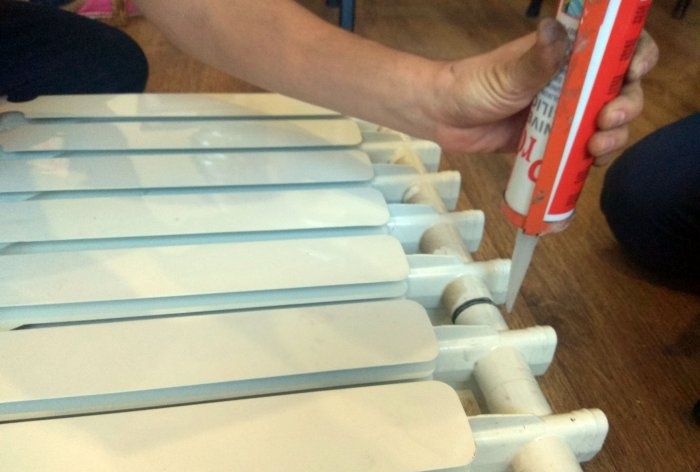
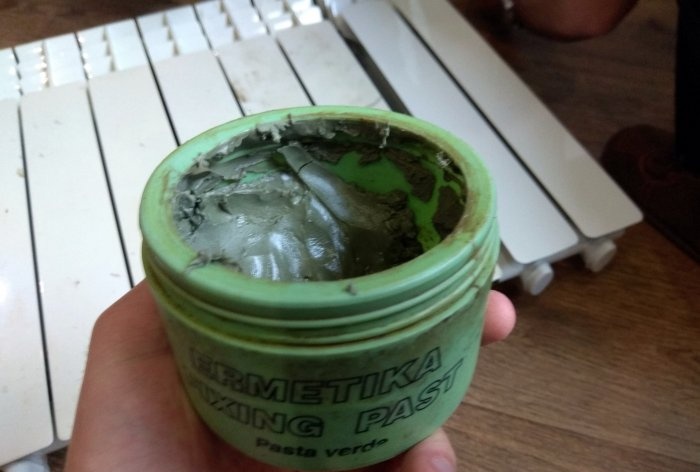
After you have disconnected the unnecessary sections, you need to screw in new ones. The connection occurs in the same way, using a radiator key. It also connects gradually. It scrolls a little on one side, then a little on the other. However, a gasket must be used at the new connection to prevent leaks again. In addition, it is necessary to lubricate the threads (nipples) with sealant.
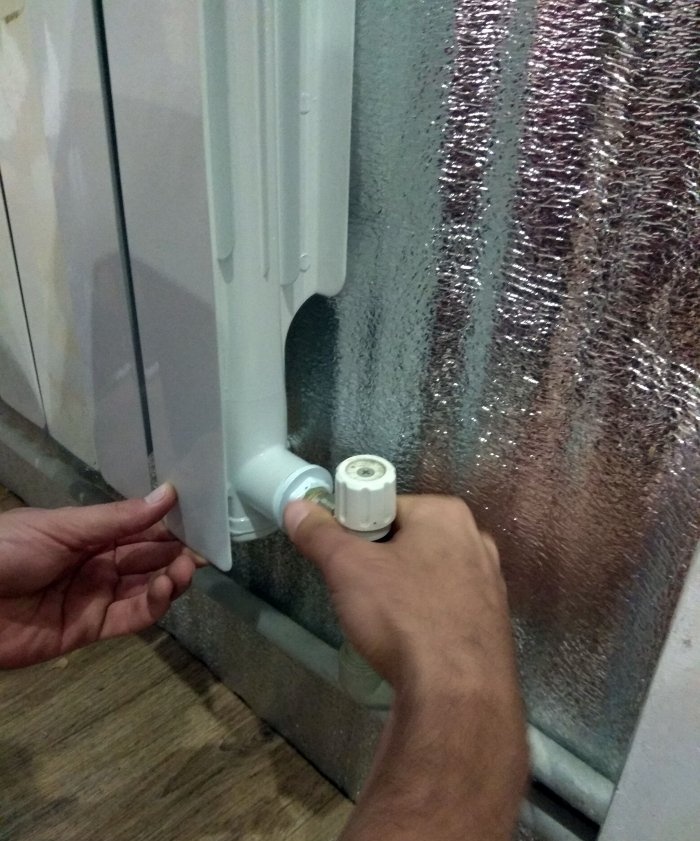
When the battery is completely assembled into the number of sections you need, you can begin installation. If you are replacing batteries or even individual sections after years, it will be better to replace the lug nuts and ball valves. They are usually sold as a set.
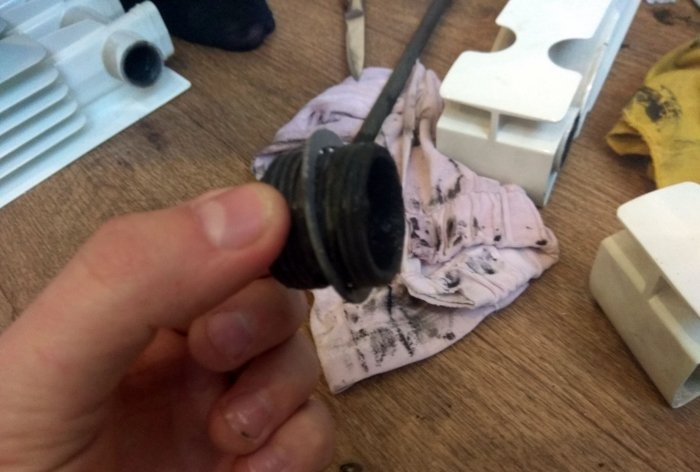
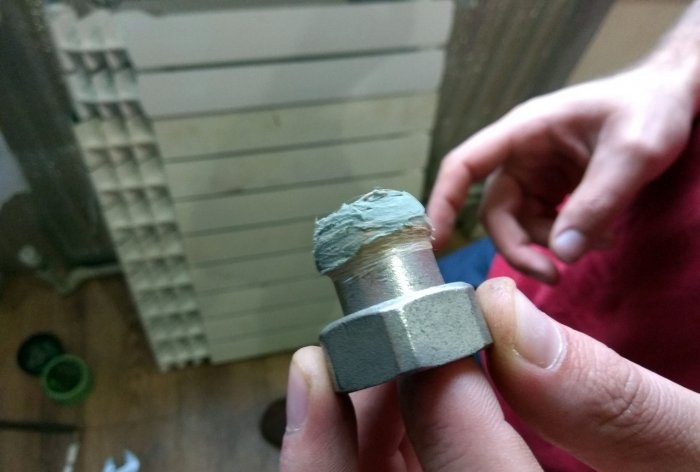
The best place to start is with the taps. First, screw the tow onto the thread. It is wound clockwise, pressing tightly against the thread. Then use a wrench to tighten the screw that connects the faucet. It is necessary to screw on the tap until the thread is completely hidden. This will eliminate the possibility of drips.
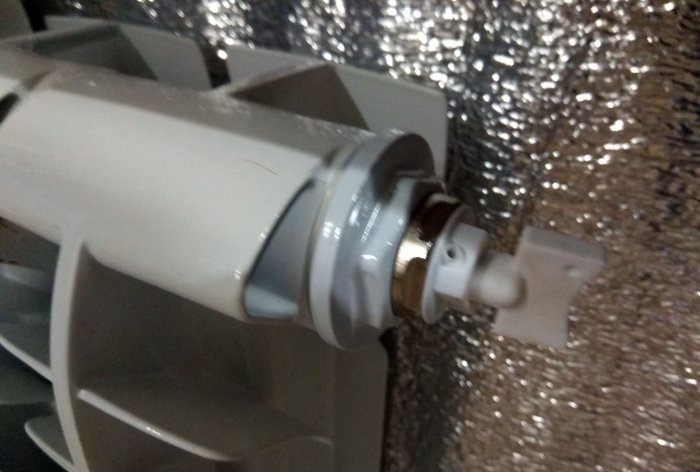
There are internal threads on both sides of the radiator that connect the battery to the heating. You need to screw the fittings into them. Since they exist with different types of threads, in order not to make a mistake, it is better to buy a set that will contain both a left and a right foot nut.
A plug is screwed into the remaining two holes in the lower part, and a Mayevsky tap is screwed into the upper part. Tow must be used in all connections.
When everything is ready, you can open the taps again and turn on the system. If you have connected everything securely, there will be no leaks.
Similar master classes
Particularly interesting

How to install a socket if there are short wires left

How to eliminate gaps between the chimney and slate

How to mix an ultra-reliable solution for the oven that does not give

There will be no more cracks: What to add to concrete to make it

Never buy ball valves without checking with me

New technology for floor insulation with penoplex
Comments (0)

