Battery charger from laptop power supply
The network has repeatedly posted options for using a laptop adapter as a charger for car and other batteries, using a car lamp as a load resistor.
You can, of course, do this, but it’s much more convenient to use a not particularly complicated modification and charge the batteries without any lamps. To do this, you don’t even need to be an advanced radio technician, but just be able to use a soldering iron and a multimeter.
We will need:
- the power supply itself,
- 25-40 watt soldering iron with a thin tip,
- variable resistor 18-22 kOhm,
- multimeter,
- several resistors with a resistance of 10; 1; 2; 3 kOhm.,
- thin soft wire.
Attentiveness and some patience will not be superfluous.
Making a charger from a laptop power supply
In our “computerized” times, few people don’t have an ancient laptop lying around, maybe not working for a long time. If not from you, then from friends. By the way, the older the product, the easier it is.
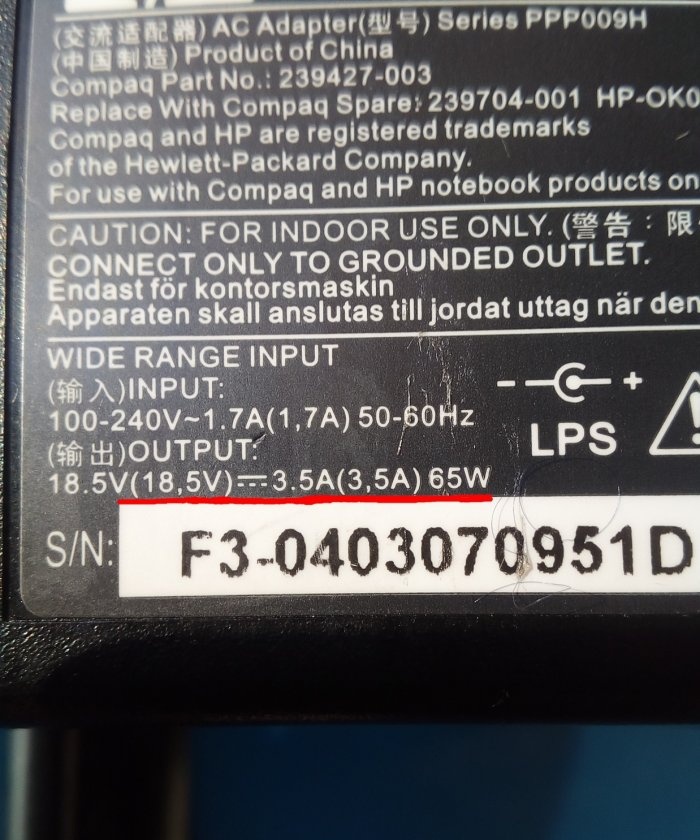
We take the power supply (adapter) from it and look for a sticker or inscription on it directly on the case.The one with an output current of 3.5 - 4.5 Amps is suitable for us.
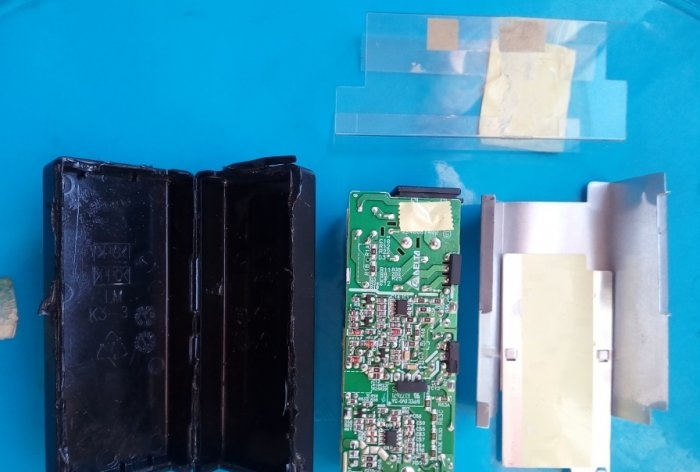
Using a flat-head screwdriver, disassemble the body along the glue line.
CAREFULLY! The body is glued together very tightly. It’s not worth breaking, and getting hurt from a broken screwdriver is not advisable.
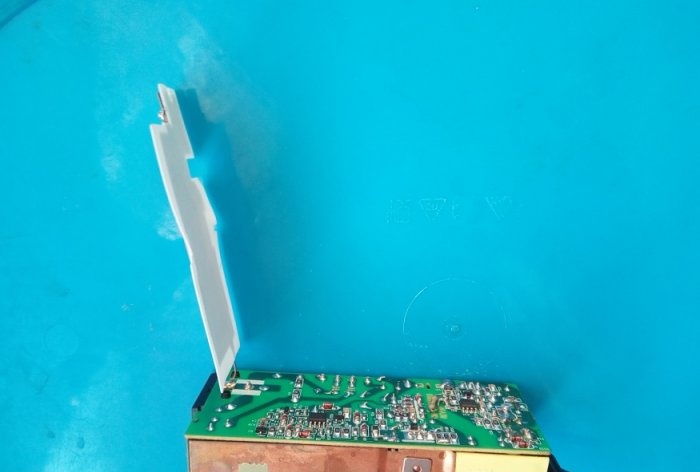
You'll get something like this:
We release the power supply board from the screen.
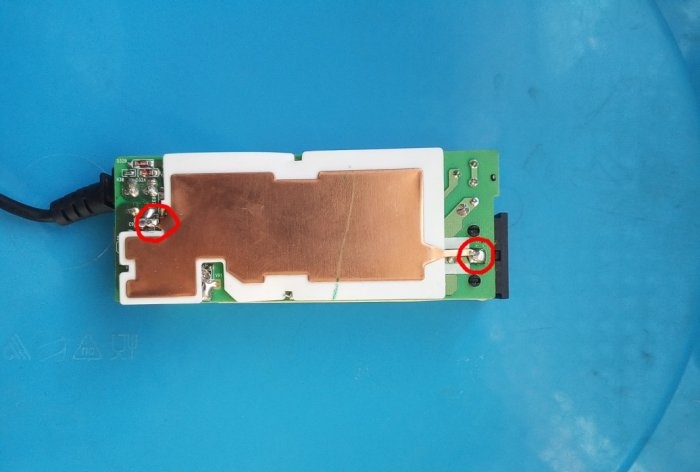
Unsoldered, if necessary... marked in red on this board.
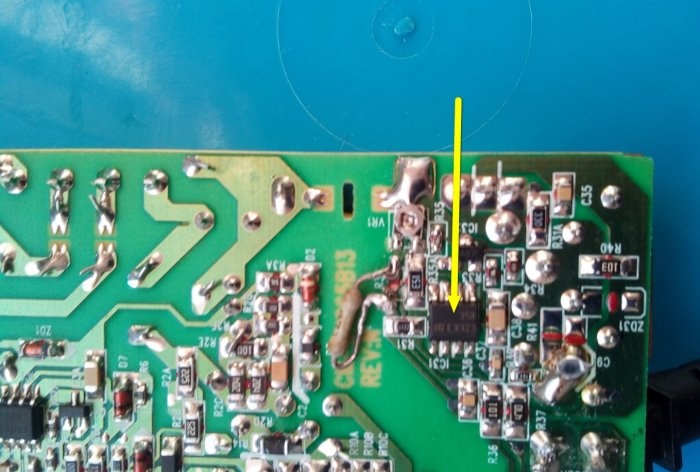
Next, we look on the board for the place where the output wire is soldered; it is located on the opposite side of the network connector.
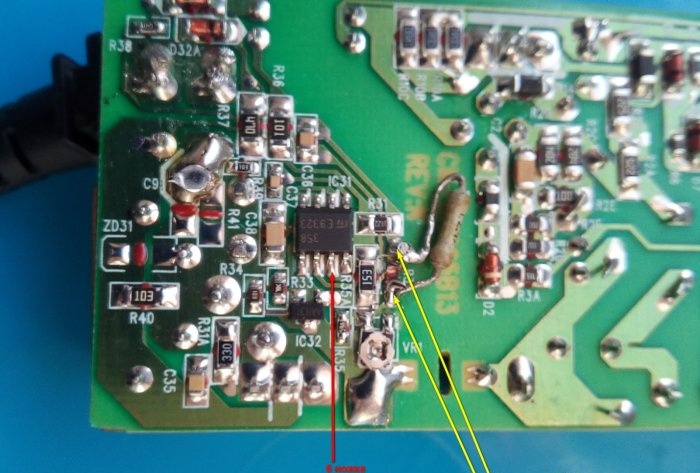
Not far from this place, as a rule, there is a small “eight-legged” chip.
We find its foot No. 6 and carefully trace it along the path to the nearest SMD resistor.
In principle, it is not necessary to know its denomination. We don't need it anyway and will be deleted.
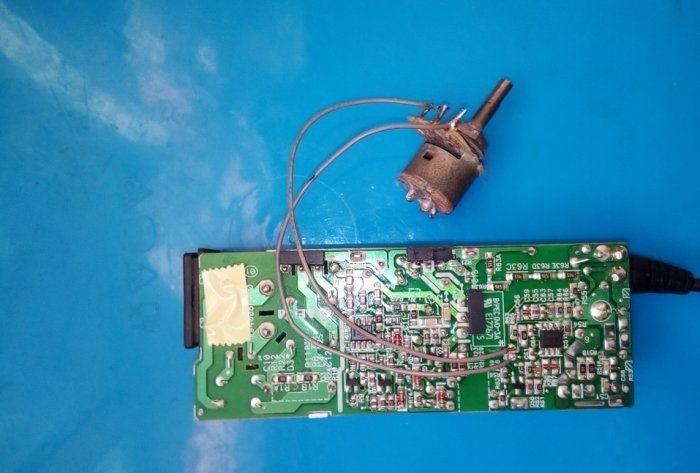
Next, we take a variable resistor with a resistance of 18-20 kOhm.
Having carefully soldered the SMD resistor, in its place we solder a variable resistor using thin soft wiring.
We put its engine in the middle position.
After all these manipulations, connect the network cable, plug it into the socket, and do not forget to be CAREFUL. Still, it’s close to 220 Volts. He fights... if you don't respect him.
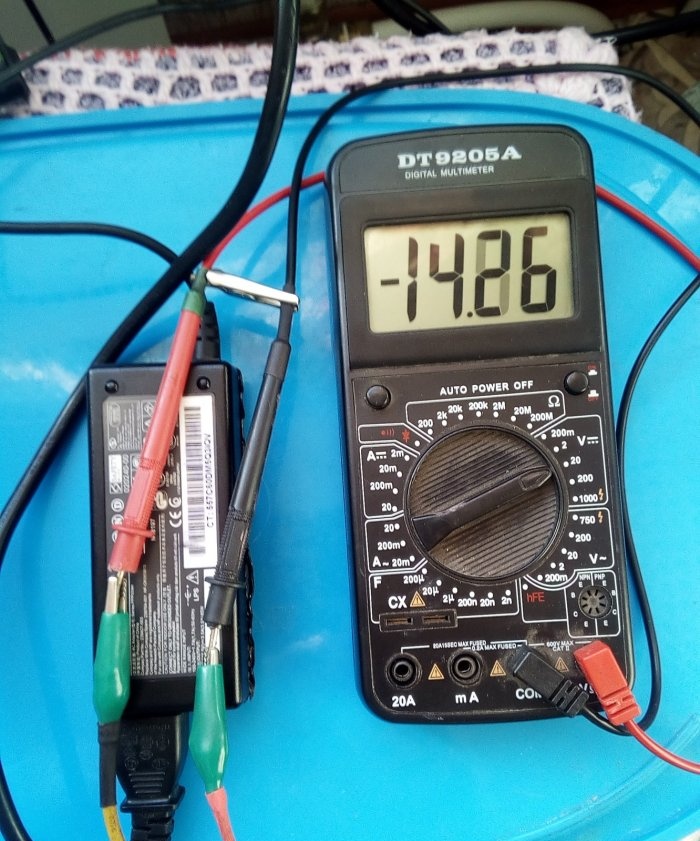
Probes multimeter, included in the “constant” measurement, we connect to the low-voltage connector of the unit (the one that should be inserted into the laptop).
Slowly rotate the resistor slider and get it on the display multimeter readings are 14 or so volts. We don't touch the engine anymore.
We turn everything off from the network, carefully, so as not to stain the parts adjacent to the soldering area with solder and not to disturb the set position of the “variable”, and unsolder the wiring from the board.
We measure the resistance of the variable resistor in the position you fixed.
It may be different for different blocks.From the resistors you have, we select by connecting in series the value shown multimeter.
For example – 10+3 or +5 kOhm.
We put the resistor soldered in this way in place so that there is no contact with other parts. If necessary, we isolate or lead wires outside the board.
We check the voltage again to ensure the quality of the soldering.
If everything is fine, we assemble the block by gluing its halves with “Chinese snot” (hot glue) or a hot soldering iron.
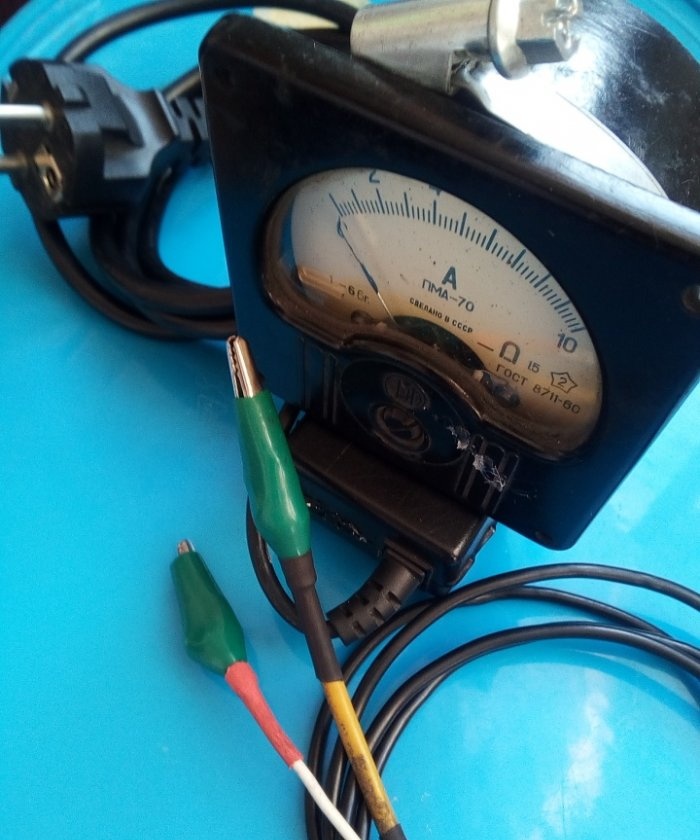
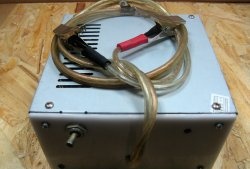
I got it like this:
True, for better control, I also installed an ammeter (which I had).
Secure it to the body with a regular clamp.
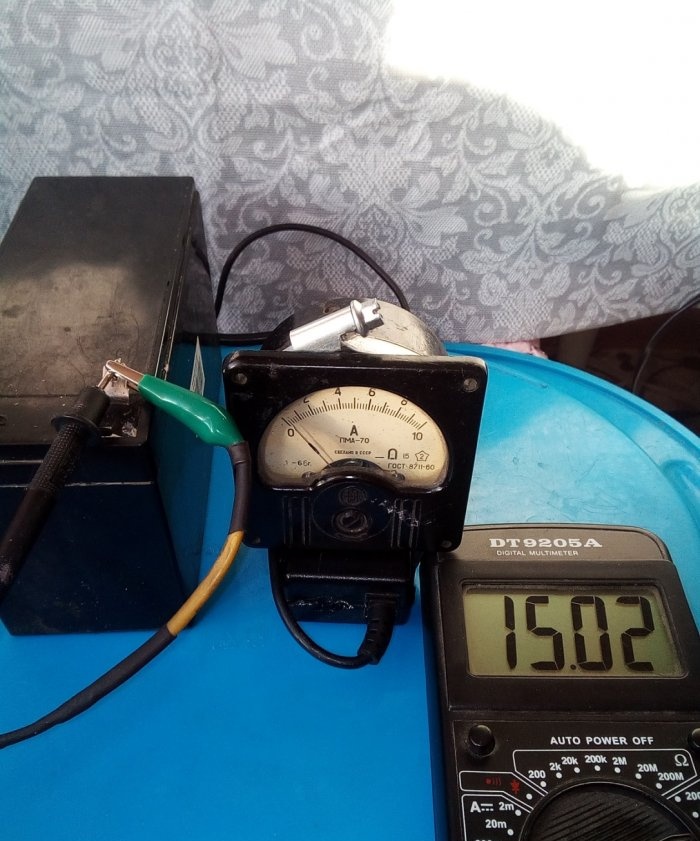
This is what the charging process looks like.
Such voltage and amperage are solely because the battery that I use for the paralyte is fully charged.
We tried charging the battery from the car. Copes without problems.
Why recharge? Because the charging current of a heavily discharged battery will obviously be more than three and a half amperes, which means that the unit will simply go into protection, as if from a short circuit, which, by the way, it is not afraid of.
I hope the information was useful.
Similar master classes
Particularly interesting

Cable antenna for digital TV in 5 minutes

A selection of simple and effective schemes.

Three-phase voltage from single-phase in 5 minutes

Starting a three-phase motor from a single-phase network without a capacitor

Eternal flashlight without batteries

How to make an inexpensive but very powerful LED lamp
Comments (30)

