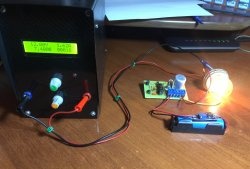
Electronic pass-through switch with any number of switches
Walk-through switches are usually used in long corridors or over long distances when you need to turn lights or electrical appliances on or off in one place and turn them on or off in another. In this case, you have to pull 3-wire or more cables.
Below is a diagram of a standard pass-through switch:
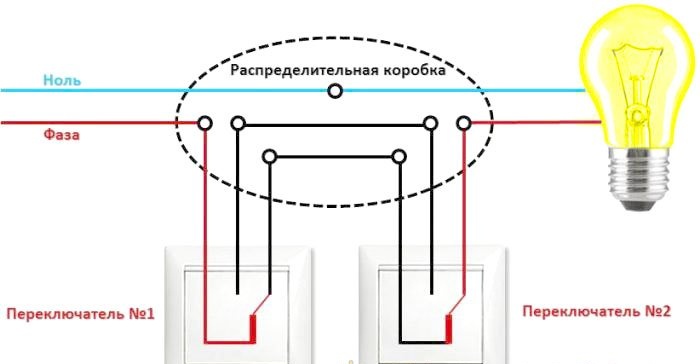
The proposed electronic switch is free from these shortcomings; it is installed in a junction box and buttons (switches) are connected from it in parallel with signal wires, which can independently turn on and off lighting or other devices.
Buttons from the bell or any other buttons without latching are used as switches (press and release - turn on the light, press and release again - turn off the light), there are also switches without latching on sale.
Will need
For production you need:
- Terminal block into the board with a pitch of 5 mm. 3 pcs. (you don’t have to install it, just solder the wires)
- Resistor 1 K 1206 - 2 pcs.
- Resistor 100 K 1206 - 6 pcs.
- Resistor 470 K 1206 - 1 pc.
- Resistor 10 K 1206 - 1 pc.
- Capacitor 0.01 uF 1206 - 1 pc.
- Capacitor 0.1 uF 1206 - 2 pcs.
- Capacitor 10 uF 1206 - 1 pc.
- Diode 4007 (any 600-800 V of suitable size) 1 pc.
- Zener diode 12 V BZV55-C12 (can be 2 pcs. for 5.6 V) 1 pc.
- Diode bridge DF10S (any suitable size for 1 A 600-1000 V) 1 pc.
- Transistor IRF840 - 1 pc.
- Chip ICM7555 (analogous to ALD555, LMC555, TS555, TLC555) - 1 pc.
All components are SMD because the circuit board is made for them.
Scheme
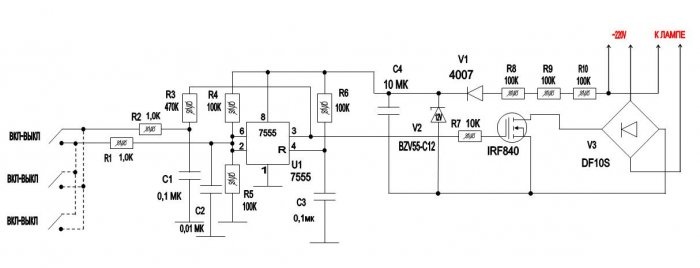
Here is the actual diagram of the device:
Description
a trigger is created on the microcircuit, R1, R2 can be set to 470 Ohm-1.5 K; they are needed to improve noise immunity and partly safety (the design has a galvanic connection to the network).Circuit R6, C3 is needed so that the trigger is always in the off state when the power is turned on.
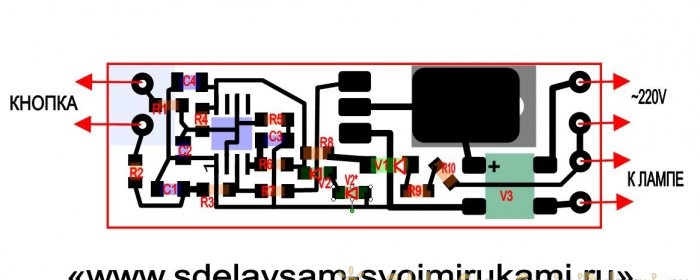
Capacitor C4 is a power filter, zener diode V2 limits the power supply to 12V / there is space on the board to install 2 5.6V zener diodes in series and when using one for 12 V, you need to put a jumper in place of the second one, it is designated V2* on the board.
Resistor R7 can be set with a nominal value of 470 Ohm -20 K; it is needed for stable opening of the transistor and suppressing its self-excitation at the moment of opening/closing.
R8-R10 suppress the mains voltage (why are there 3 of them in series? Because 1 resistor in the 1206 case is designed for a voltage of no more than 200V and for safety and reliability 3 of them are installed)Buttons or switches without latching receive a voltage of approximately 12 V and you can use any of the lowest current ones, but the circuit is connected to the network, be careful when checking!
Board assembly:
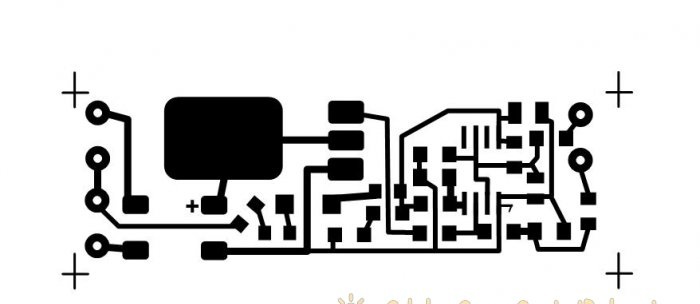
We cut out a board measuring 20x60 mm from one-sided foil fiberglass, clean it with fine sandpaper, and degrease it.We print the board on a laser printer without saving ink on glossy paper from a magazine.
You can download the PCB files here:
Using the LUT method, we apply a design and etch it in ferric chloride. We wash off the toner with acetone and clean it with fine sandpaper. We service the paths and wash off any remaining flux. We solder all the components on the track side.
Wash off the flux! it is very important! The microcircuit is quite high-resistance and if the flux is active it may not work!
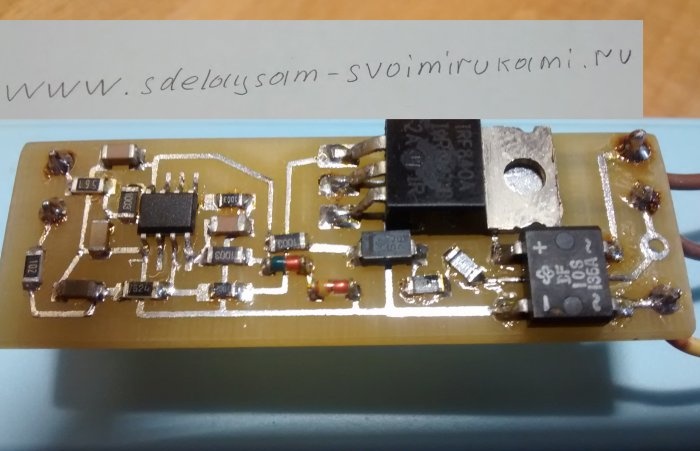
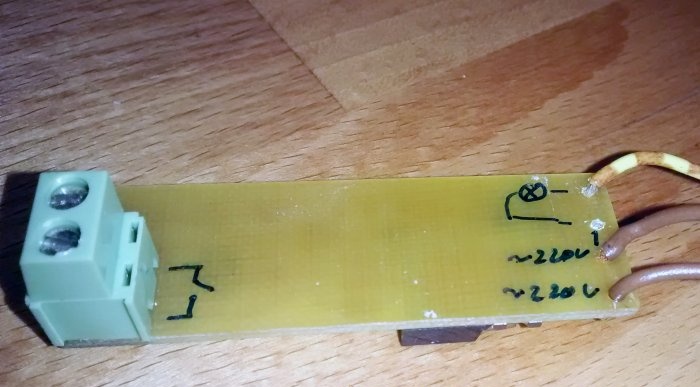
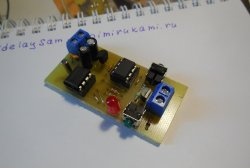
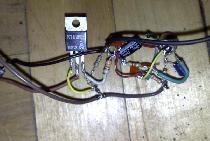
It should look something like this:
Be careful - the design is connected to a 220 V network! Take precautions!
Checking the installation!
We connect the light bulb, button, power cord. We plug it into a 220 V network. Be careful - the design is connected to a 220 V network! Take precautions!
We check the functionality. If everything works fine, take a heat-shrink tube of a suitable diameter and pack the board there for safety.
Characteristics:
Maximum load -150 W (limited by the diode bridge and transistor; when replacing them with more powerful ones, the load can be increased).
Supply voltage -180-250 V.
Power consumption when turned off is 0.1 W.
You don’t have to make a board at all if you take a breadboard and solder regular DIP elements with pins on it, connecting them with a wire.
It will just be a little bigger. If you have any questions, write and I will answer.
Similar master classes
Particularly interesting


