How to put a ladder in a bottle
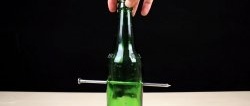
Many of us admire various crafts in glass bottles - the size of the objects is much larger than the diameter of the neck, which causes confusion as to how they ended up there. You can make such a basic craft with your own hands, and you don’t need to perform miracles. All you need is patience, basic carpentry skills and the desire to surprise your loved ones and friends. We will tell you how to place a wooden ladder in a bottle, the width of which is equal to the width of the bottle and cannot possibly fit through the neck.
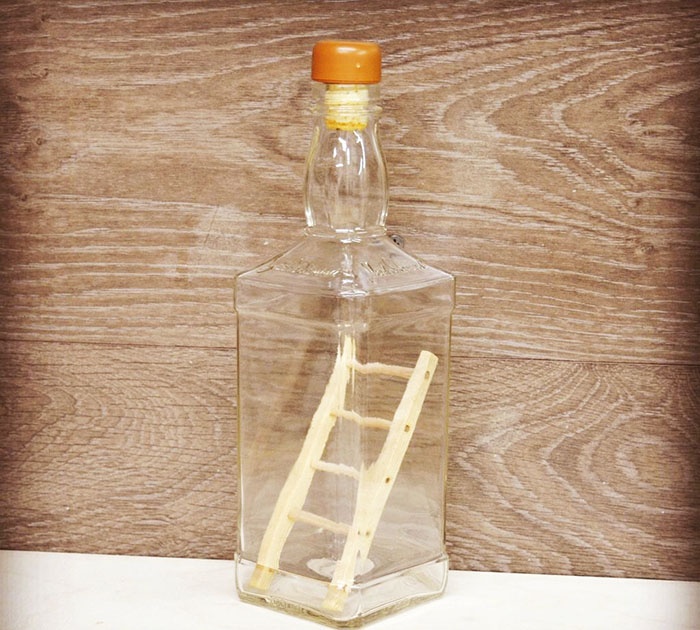
For the vertical supports of an extension ladder, you need to prepare 5x5 mm square slats; the rungs are made from round sticks with a diameter of 2–3 mm. An important condition is that for the crossbars you need to take blanks from willow or birch; other tree species bend poorly. You also need a bottle, preferably a square one, in which the craft looks more impressive.
The tools you will need are a miter box, a fine-toothed wood saw, sanding paper, a drill press, a vice and measuring tools. The bottle is soaked in a container of a suitable size, and old plastic cards are used to remove the stickers.
The first step is to prepare the bottle. Unscrew the lid and remove the remaining excise stamp stickers.
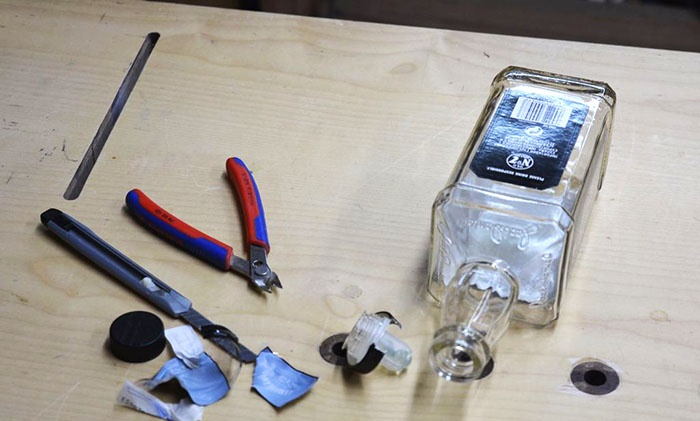
Using wire cutters, bite off the metal band around the neck and remove it along with the plastic insert.
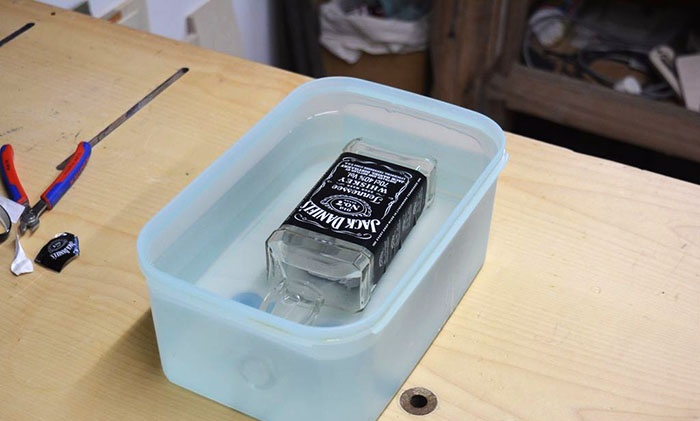
Place the bottle in a container of water and hold for a few minutes to soften the glue.
Pour out the accumulated water and use the edge of a plastic card to scrape off the labels. You can use any hard or thin object, not necessarily a card. But you should work carefully, the glass should remain smooth. Remove any remaining glue with the hard side of a dishwashing sponge.
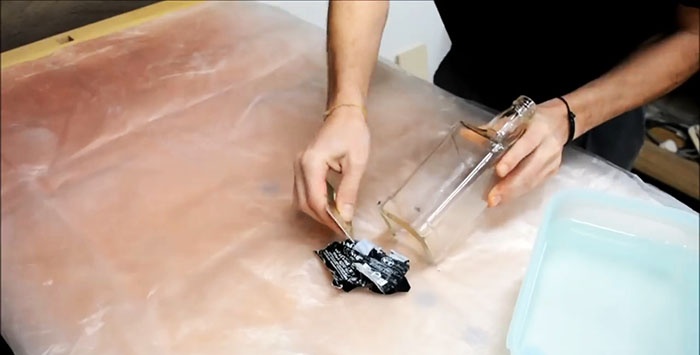
The container is ready, let it dry, but in the meantime, start making an extension ladder. The length is approximately 2–3 cm shorter than the height of the bottle, the width is 3–4 mm less than its size. Cut two blocks according to the specified dimensions, place them in a miter box and saw off the excess with a fine-toothed saw.
Place the blanks on the bottle and measure the length of the bars. As already mentioned, they are made from round birch or willow sticks. The number of steps depends on the length of the ladder, but you should try to make it look as natural and symmetrical as possible.
On the vertical stand, mark the places where the steps are attached; in our case there will be five of them. With a length of racks of 12 cm, the distance between them is 2.5 cm. One centimeter remains at the ends of the stairs.
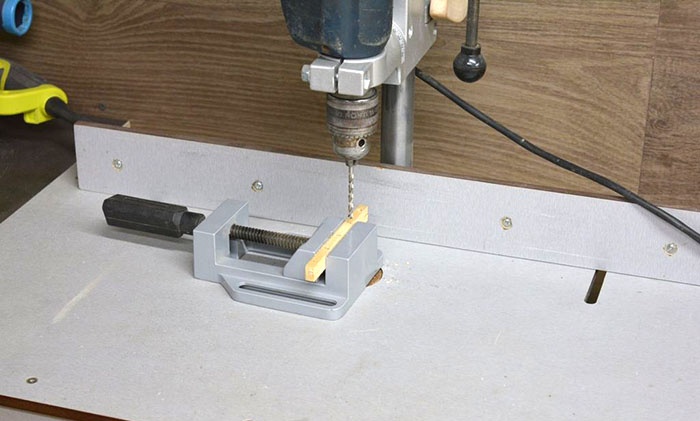
Clamp the two workpieces in a vice and drill through holes in two posts at once. The diameter should correspond to the diameter of the round sticks for the steps; the parts are assembled with slight tension.
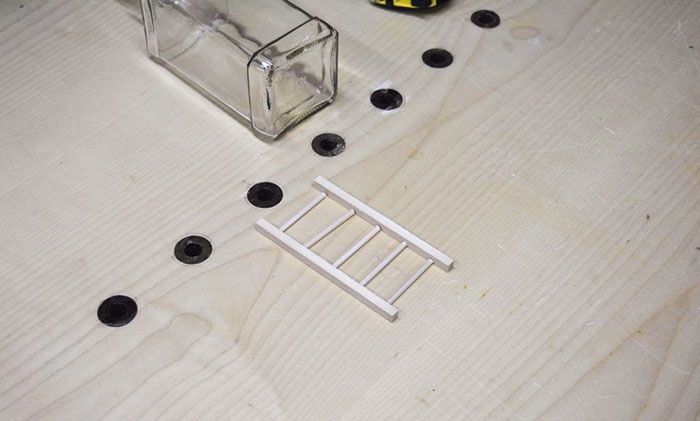
Use fine sandpaper to remove burrs and remove the sharp corners of the square posts.
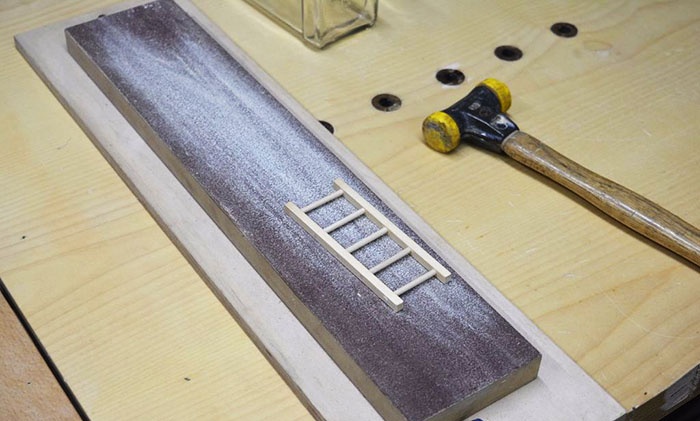
Insert steps into the holes, assemble all the elements of the staircase into one structure, and sand the surfaces again.Keep in mind that the smallest fibers will rise over time, and this will significantly worsen the appearance of the product. It is necessary to grind both along and against the direction of the fibers.
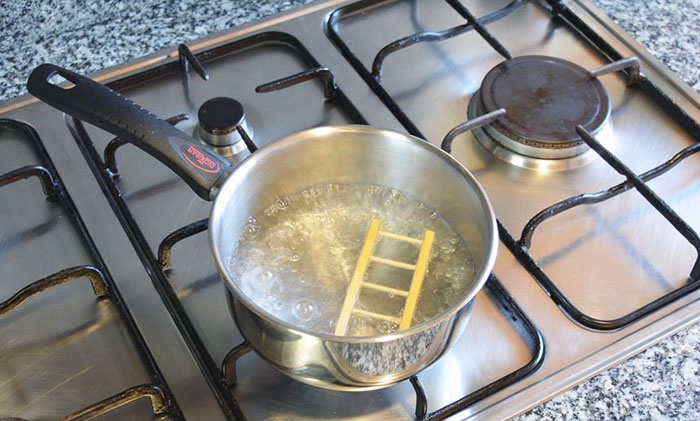
Boil water in any vessel of suitable size and lower the assembled ladder into it. Leave for about ten minutes.
Using tweezers, remove the product from the boiling water and bend it lengthwise while hot. If the steps are difficult to bend, then boil the stairs again. Wear gloves, the wood is hot. Do everything quickly; if the ladder cools down in a bent position, then it will not straighten to its original state.
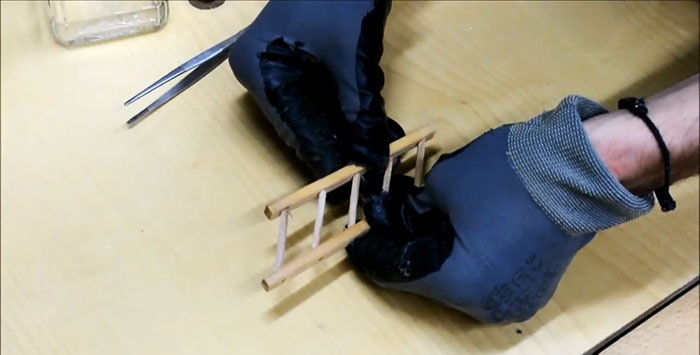
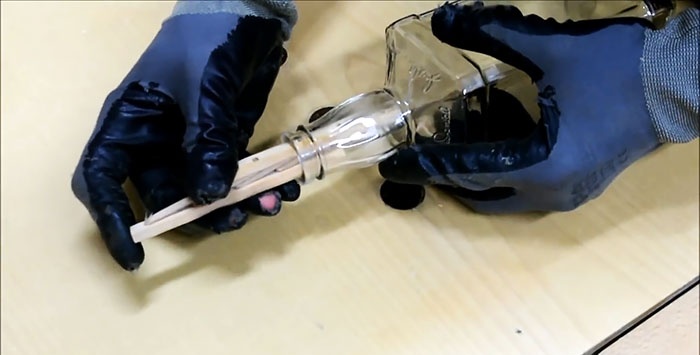
In the folded position, insert the ladder into the neck of the bottle and push it inside.
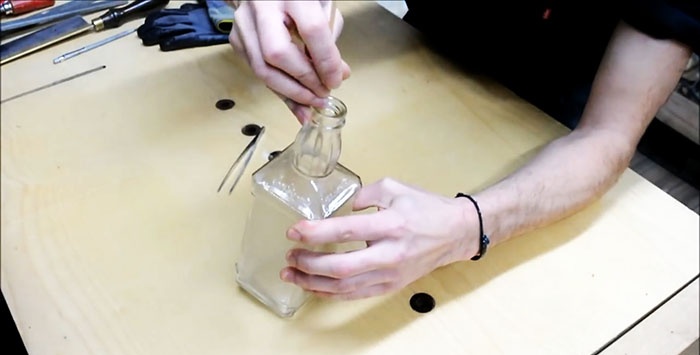
Using a thin stick, help the ladder to fully straighten and take on a natural look.
To enhance the effect, pour water into the bottle and close with a suitable stopper.
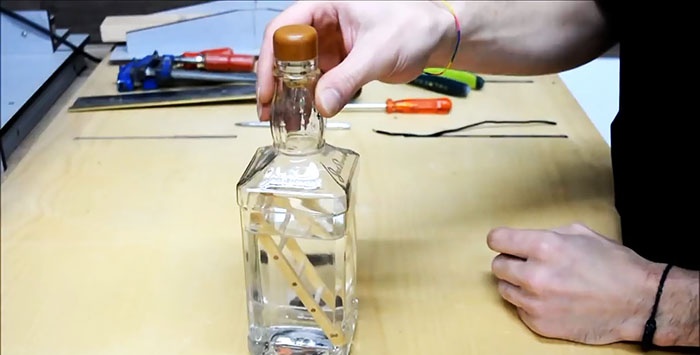
After the tree has completely taken its original shape, the water must be drained and the bottle with the neck open should be placed to dry in a warm place.

A ladder is the simplest craft, but using this principle you can stuff more original products into a bottle. It is recommended to soften very difficult ones with vinegar, ammonia or alkali solution. But we must remember that chemical compounds change the color of wood.
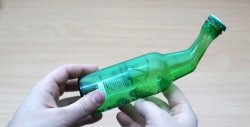
Also see an interesting way to bend the neck of a glass bottle - https://home.washerhouse.com/en/5271-kak-sognut-gorlyshko-stekljannoj-butylki.html

Tools and accessories
For the vertical supports of an extension ladder, you need to prepare 5x5 mm square slats; the rungs are made from round sticks with a diameter of 2–3 mm. An important condition is that for the crossbars you need to take blanks from willow or birch; other tree species bend poorly. You also need a bottle, preferably a square one, in which the craft looks more impressive.
The tools you will need are a miter box, a fine-toothed wood saw, sanding paper, a drill press, a vice and measuring tools. The bottle is soaked in a container of a suitable size, and old plastic cards are used to remove the stickers.
Work production technology
The first step is to prepare the bottle. Unscrew the lid and remove the remaining excise stamp stickers.
Using wire cutters, bite off the metal band around the neck and remove it along with the plastic insert.

Place the bottle in a container of water and hold for a few minutes to soften the glue.

Pour out the accumulated water and use the edge of a plastic card to scrape off the labels. You can use any hard or thin object, not necessarily a card. But you should work carefully, the glass should remain smooth. Remove any remaining glue with the hard side of a dishwashing sponge.

The container is ready, let it dry, but in the meantime, start making an extension ladder. The length is approximately 2–3 cm shorter than the height of the bottle, the width is 3–4 mm less than its size. Cut two blocks according to the specified dimensions, place them in a miter box and saw off the excess with a fine-toothed saw.
Place the blanks on the bottle and measure the length of the bars. As already mentioned, they are made from round birch or willow sticks. The number of steps depends on the length of the ladder, but you should try to make it look as natural and symmetrical as possible.
On the vertical stand, mark the places where the steps are attached; in our case there will be five of them. With a length of racks of 12 cm, the distance between them is 2.5 cm. One centimeter remains at the ends of the stairs.

Clamp the two workpieces in a vice and drill through holes in two posts at once. The diameter should correspond to the diameter of the round sticks for the steps; the parts are assembled with slight tension.

Use fine sandpaper to remove burrs and remove the sharp corners of the square posts.

Insert steps into the holes, assemble all the elements of the staircase into one structure, and sand the surfaces again.Keep in mind that the smallest fibers will rise over time, and this will significantly worsen the appearance of the product. It is necessary to grind both along and against the direction of the fibers.
Boil water in any vessel of suitable size and lower the assembled ladder into it. Leave for about ten minutes.

Using tweezers, remove the product from the boiling water and bend it lengthwise while hot. If the steps are difficult to bend, then boil the stairs again. Wear gloves, the wood is hot. Do everything quickly; if the ladder cools down in a bent position, then it will not straighten to its original state.

In the folded position, insert the ladder into the neck of the bottle and push it inside.

Using a thin stick, help the ladder to fully straighten and take on a natural look.

To enhance the effect, pour water into the bottle and close with a suitable stopper.

After the tree has completely taken its original shape, the water must be drained and the bottle with the neck open should be placed to dry in a warm place.

Conclusion
A ladder is the simplest craft, but using this principle you can stuff more original products into a bottle. It is recommended to soften very difficult ones with vinegar, ammonia or alkali solution. But we must remember that chemical compounds change the color of wood.
Also see an interesting way to bend the neck of a glass bottle - https://home.washerhouse.com/en/5271-kak-sognut-gorlyshko-stekljannoj-butylki.html
Watch the video
Similar master classes
Particularly interesting
Comments (1)

