5 useful ways to use plastic bottle caps
Typically, plastic containers have a threaded neck and a screw-on lid. Moreover, this unit is quite durable and retains its tightness even after repeated use. How not to take advantage of such properties!
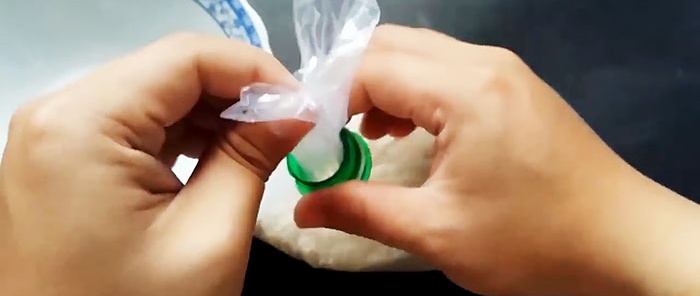
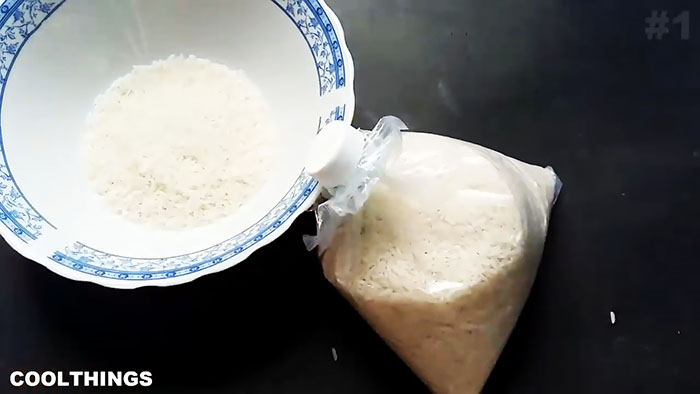
We collect the open side of a plastic bag with sugar, cereals, cleaning products, etc. into a rope, insert it into the neck with the cap unscrewed, wrap it around it and evenly distribute the film in a circle. Carefully, without unnecessary zeal, screw on the lid. The product is lightly and securely packaged.
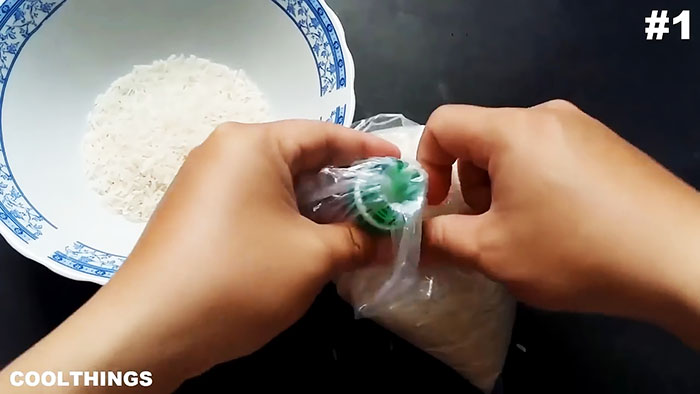
To use the contents of the package, unscrew the lid, pour out the required amount of product and screw the lid back on.
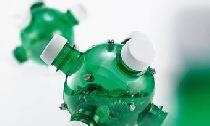
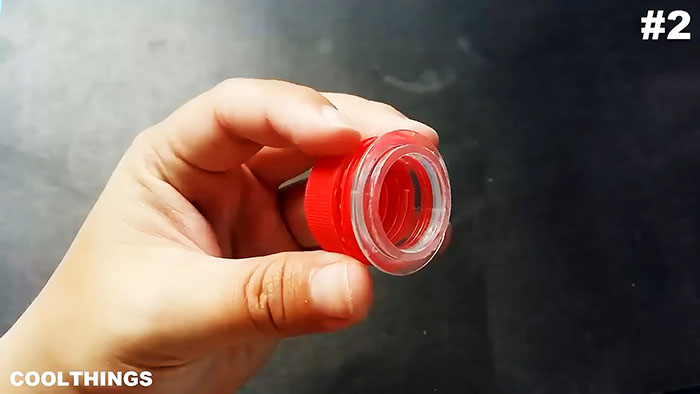
Using a construction knife, cut off the necks and caps from two plastic bottles. Using scissors, we trim the cuts almost to the stiffening ring, leaving only low shoulders. Using sandpaper, level the cutting planes, removing burrs and bumps.
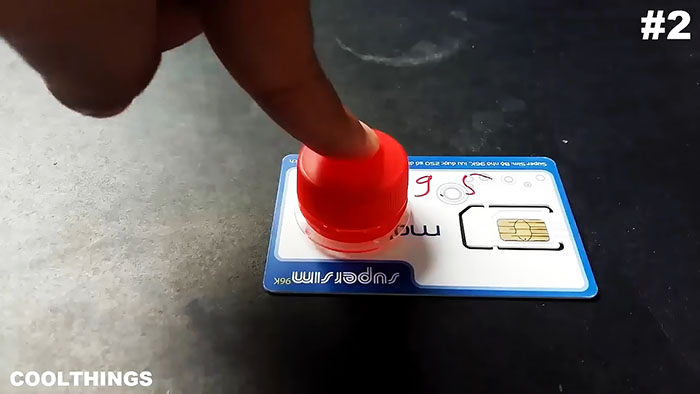
We trace the outer contour of the shoulders with a marker on a piece of thick cardboard and cut it out with scissors.
We apply glue to the cut of one neck and press a cardboard circle onto it, which we also cover with glue along the contour, and fasten the second neck to it.
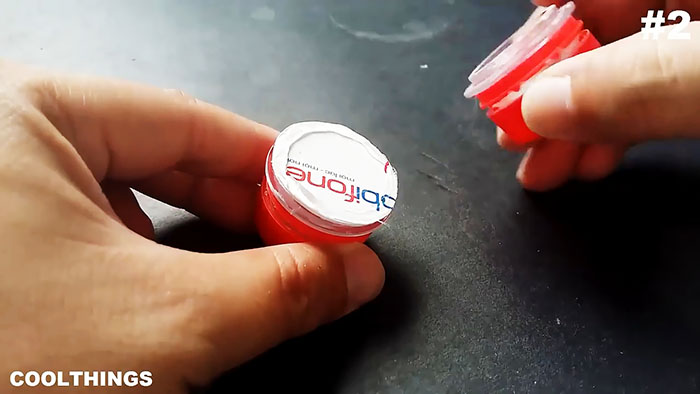
After the glue has dried, we use the resulting container to store various small items, even incompatible ones, since the cardboard circle divides the internal volume into two isolated cavities.
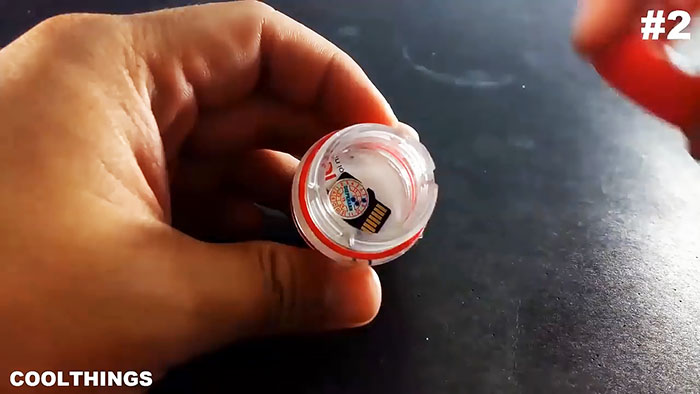
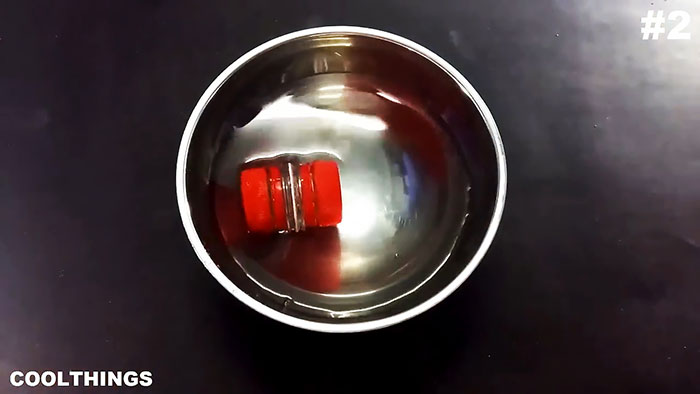
This mini-container can be used on hikes to store, for example, matches, as it does not allow moisture to pass through.
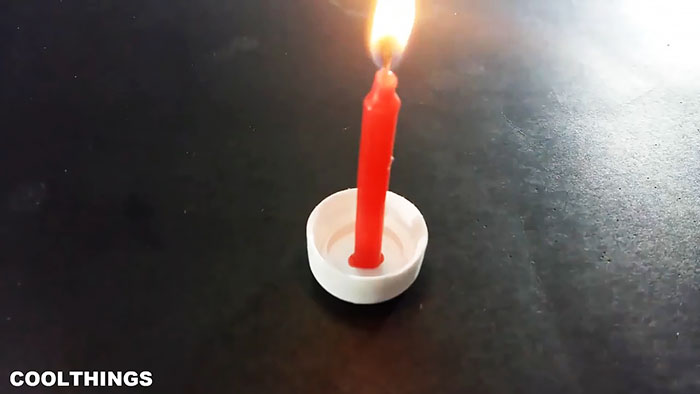
When a burning candle melts, it forms unsightly smudges on the surface that are difficult to remove.
This can be avoided by placing a lit candle in the cap of a plastic bottle. Cooled smudges can be easily removed, so the lid can be reused many times.
Holding the lid by the edge with pliers, heat it from below with the flame of a lighter until the plastic softens.
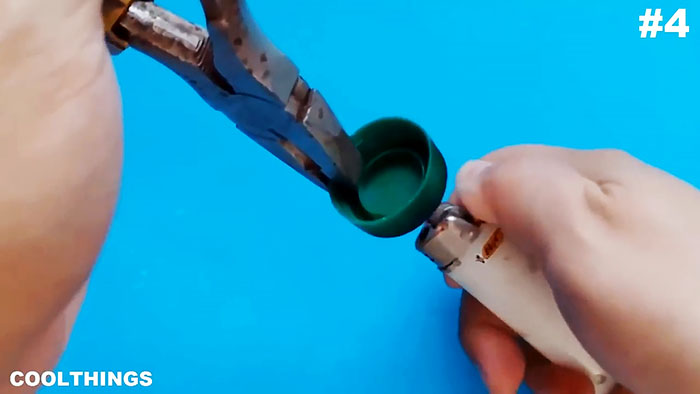
Then, without hesitation, we place a toothpick on top in the center and try, as it were, to pierce the softened plastic.
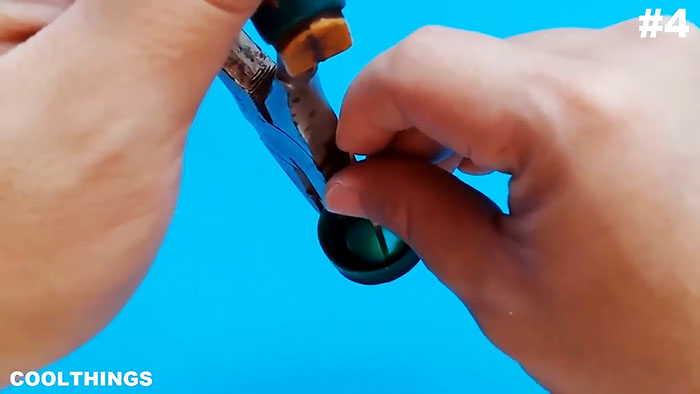
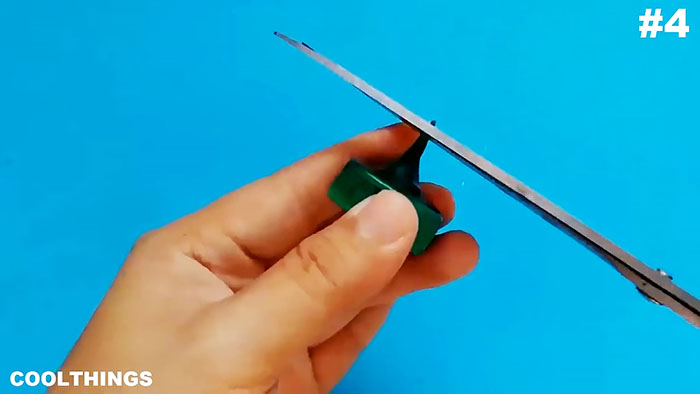
We hold the toothpick in the extreme position until the elongated and hollow inside spout hardens. Then we cut off the tip of the spout with scissors so that the cavity inside has an exit to the outside.
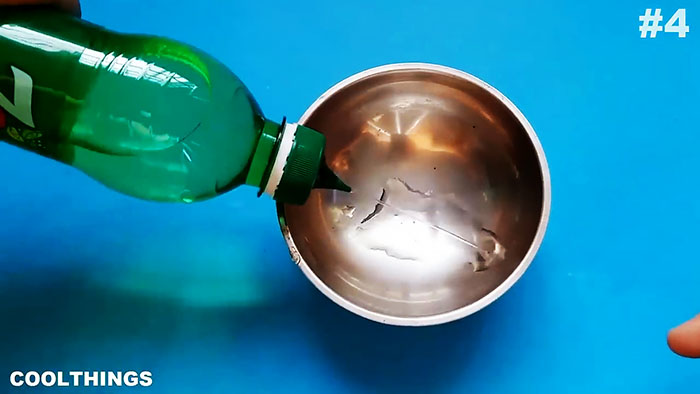
We screw the modified cap onto the water bottle and squeeze it slightly, as a result the liquid will flow out of it in an economical thin stream.
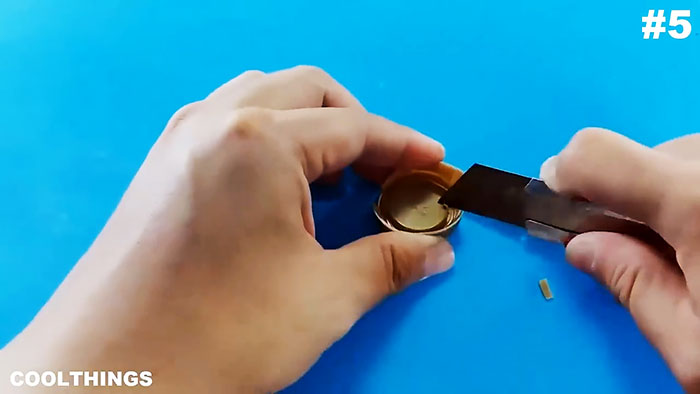
On the diametrically opposite sides of the plastic bottle cap, use a construction knife to make longitudinal cuts wide enough to hold the handle. We also remove parts of the circular stiffener in the direction of the cutouts.
We glue the modified lid bottom to the wall so that the cutouts are vertical. We install the brush handle in them with the bristles facing up.
Plastic bag clamp

We collect the open side of a plastic bag with sugar, cereals, cleaning products, etc. into a rope, insert it into the neck with the cap unscrewed, wrap it around it and evenly distribute the film in a circle. Carefully, without unnecessary zeal, screw on the lid. The product is lightly and securely packaged.

To use the contents of the package, unscrew the lid, pour out the required amount of product and screw the lid back on.

Mini container for small items
Using a construction knife, cut off the necks and caps from two plastic bottles. Using scissors, we trim the cuts almost to the stiffening ring, leaving only low shoulders. Using sandpaper, level the cutting planes, removing burrs and bumps.

We trace the outer contour of the shoulders with a marker on a piece of thick cardboard and cut it out with scissors.

We apply glue to the cut of one neck and press a cardboard circle onto it, which we also cover with glue along the contour, and fasten the second neck to it.

After the glue has dried, we use the resulting container to store various small items, even incompatible ones, since the cardboard circle divides the internal volume into two isolated cavities.

This mini-container can be used on hikes to store, for example, matches, as it does not allow moisture to pass through.

Paraffin candle stand

When a burning candle melts, it forms unsightly smudges on the surface that are difficult to remove.
This can be avoided by placing a lit candle in the cap of a plastic bottle. Cooled smudges can be easily removed, so the lid can be reused many times.
Liquid dispenser
Holding the lid by the edge with pliers, heat it from below with the flame of a lighter until the plastic softens.

Then, without hesitation, we place a toothpick on top in the center and try, as it were, to pierce the softened plastic.

We hold the toothpick in the extreme position until the elongated and hollow inside spout hardens. Then we cut off the tip of the spout with scissors so that the cavity inside has an exit to the outside.

We screw the modified cap onto the water bottle and squeeze it slightly, as a result the liquid will flow out of it in an economical thin stream.

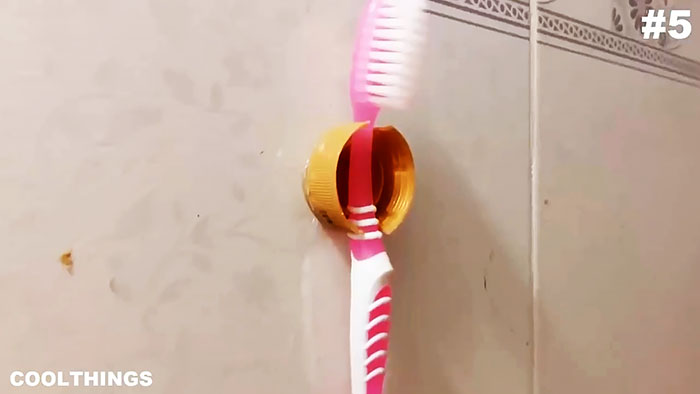
Toothbrush holder
On the diametrically opposite sides of the plastic bottle cap, use a construction knife to make longitudinal cuts wide enough to hold the handle. We also remove parts of the circular stiffener in the direction of the cutouts.

We glue the modified lid bottom to the wall so that the cutouts are vertical. We install the brush handle in them with the bristles facing up.

Watch the video
Similar master classes
Particularly interesting
Comments (1)


