Simple DIY bed
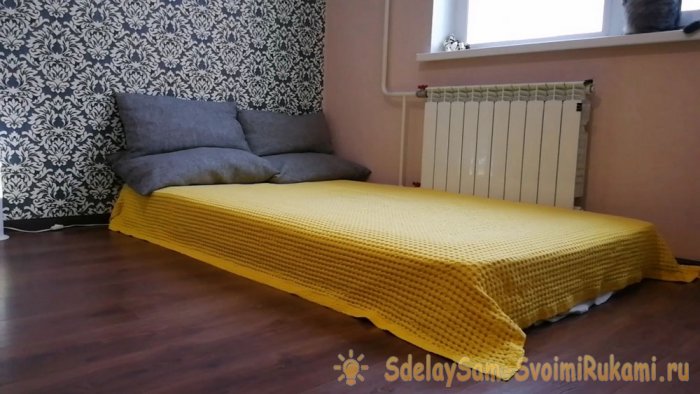
Hello, dear friends! I recently moved into a rented apartment. I chose a cheaper apartment, furniture there was practically none there. At first I had to sleep on the floor on a mattress.
At some point I got tired of it and wanted a normal bed. But since this is not my apartment, I didn’t see the point in buying a ready-made bed. Yes, and they are quite expensive. We needed a budget solution. So I thought about it and decided to make a bed with my own hands.
Total cost about $40.
To make a bed you will need:
Tools:
We buy materials from a hardware store. Try to choose the most even parts. Don't be lazy to sort through several boards.The smoother the materials, the easier it will be for you to assemble the bed.
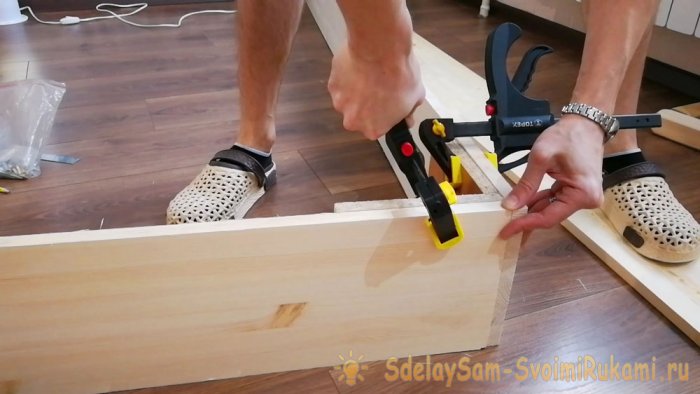
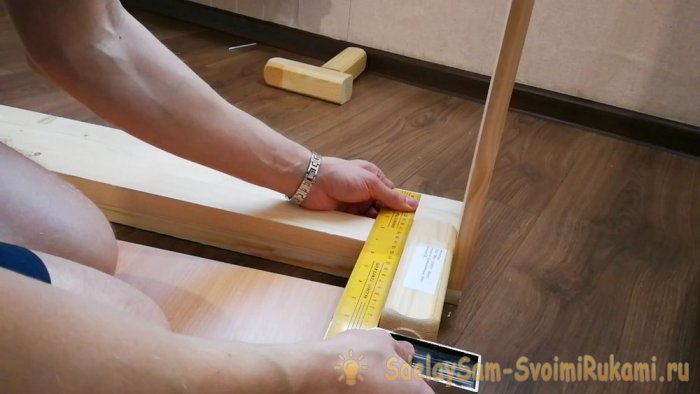
First of all, we assemble the bed frame. I set the right angle using a homemade chipboard corner. Fix with clamps
We connect two furniture panels with confirmations. 3 screws for each corner. If you want to achieve a more beautiful result, you can use an oblique screw connection.
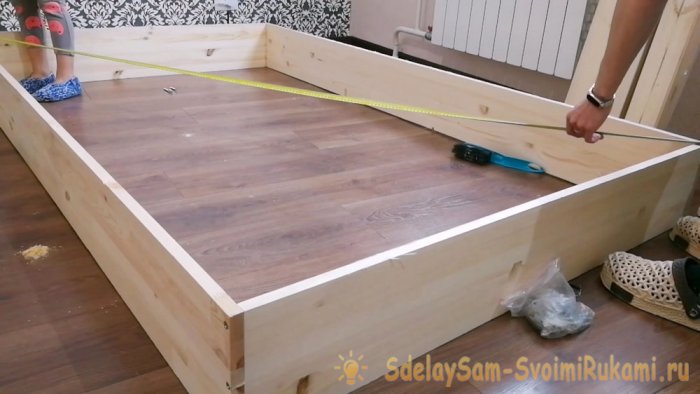
Checking the diagonals.
For the legs I used leftover balusters. I used the main part to make a table for the kitchen. The leftovers were perfect for the bed legs.
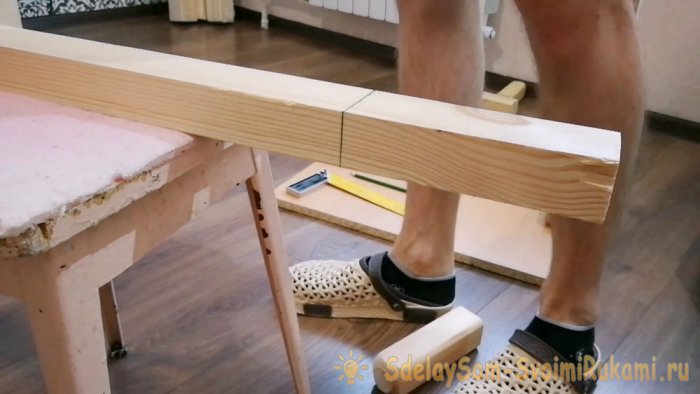
Next, we take the timber and measure it. We must saw off 2 thicknesses of furniture panels and 2 thicknesses of legs.
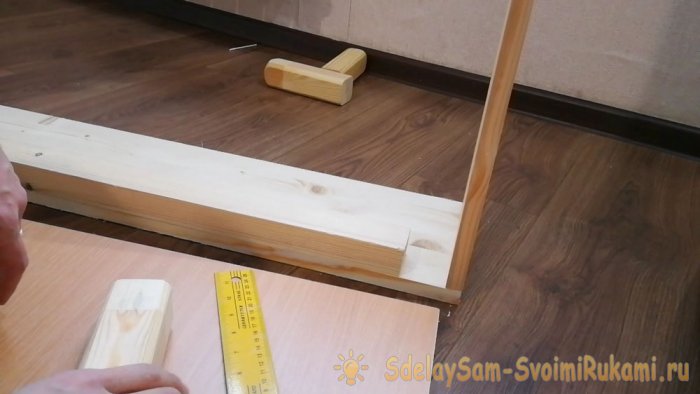
We try on the cut timber.
We insert the legs.
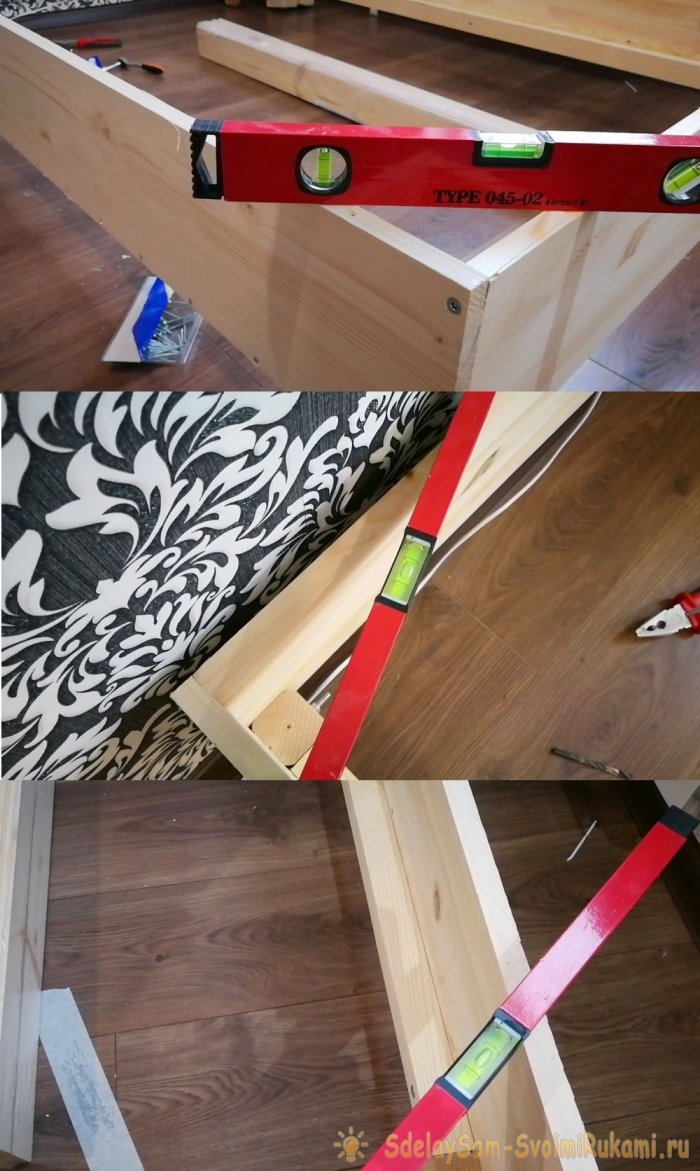
It should be a right angle.
We screw the beam to the furniture panel. I used 3.5*45 mm screws in 10 cm increments
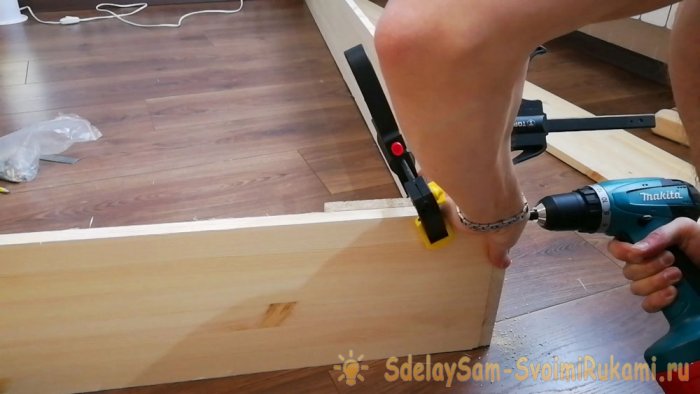
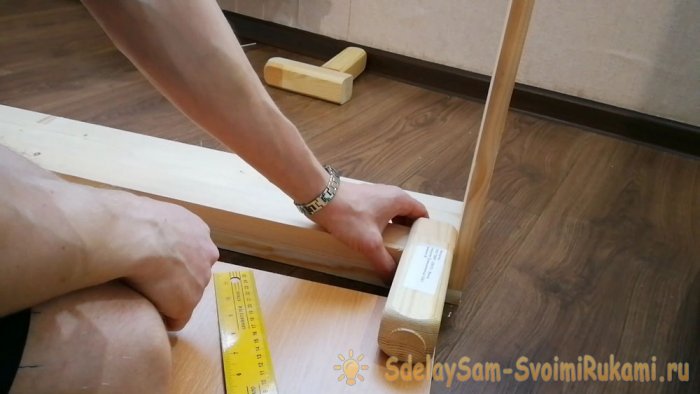
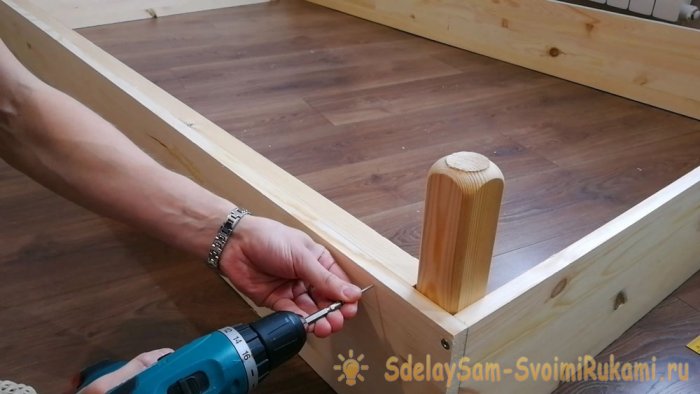
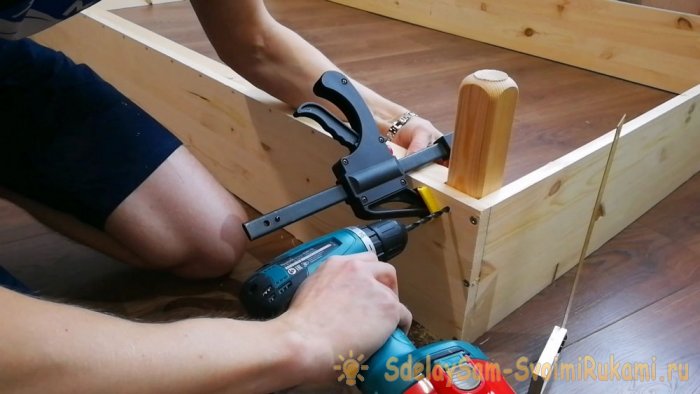
Now we fix the leg with a clamp and drill a through hole. 8 mm drill
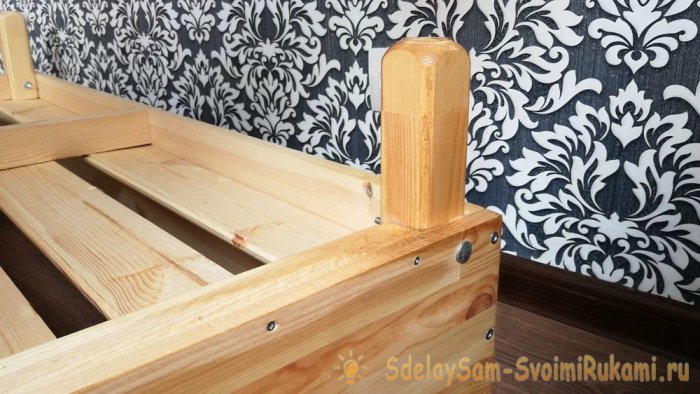
Insert the bolt and tighten it with a self-locking nut
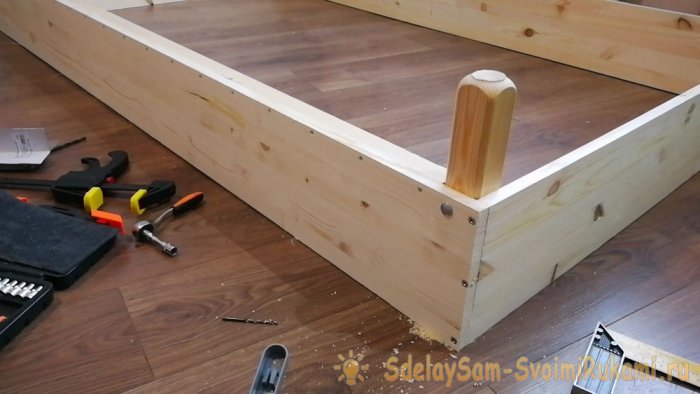
Checking the level. Great, the frame is ready.
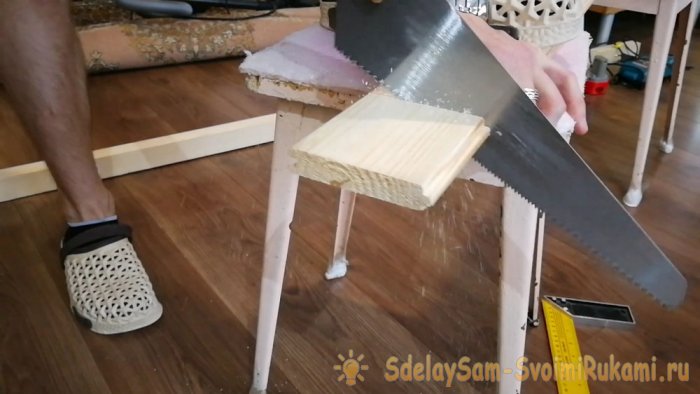
Let's start making the lamellas. The boards had to be trimmed a little. I left a small margin for expanding the tree, so I cut off 1150mm rather than 1200mm.
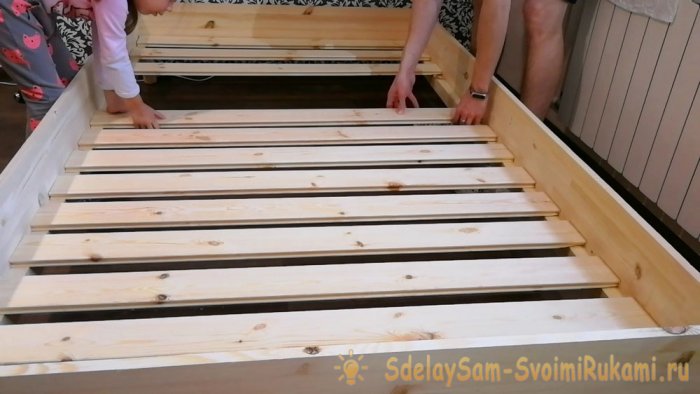
We lay out the slats. We set the same space between them.
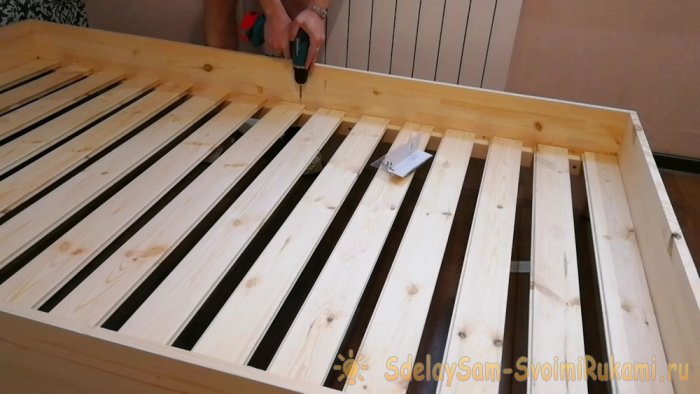
And we screw them to the beam. 2 screws on each side.
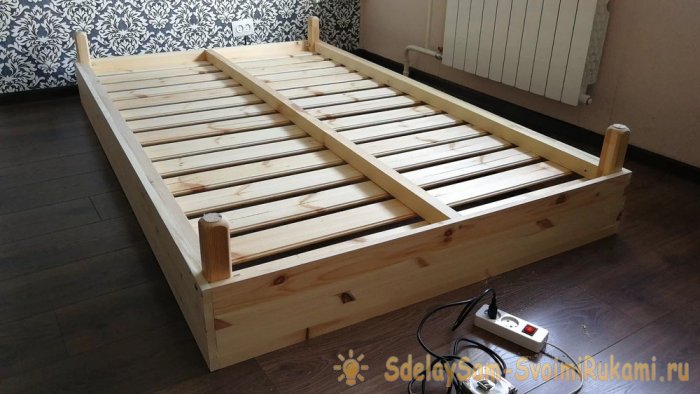
For greater reliability, I made a stiffening rib in the center of the bed.
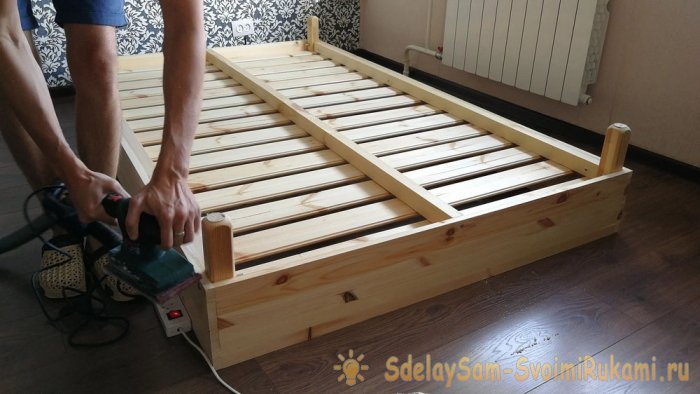
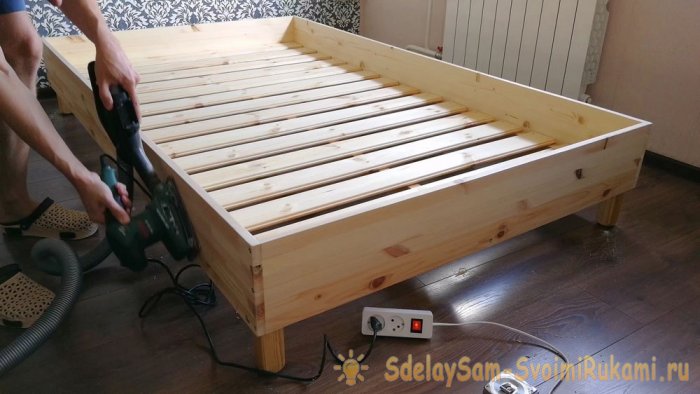
Let's start the final processing. To do this, light it with sandpaper. I only used 180 grit.
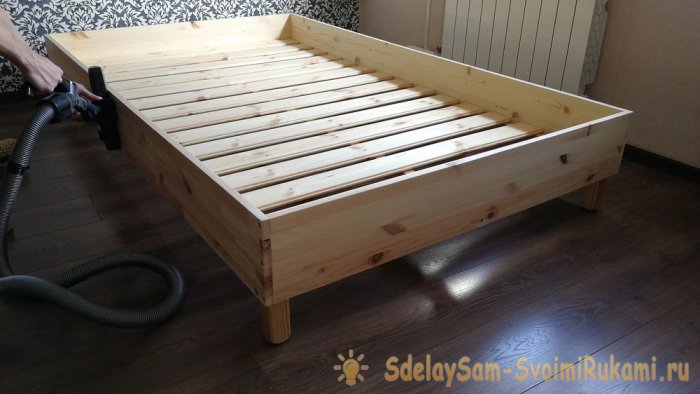
Next we remove dust. I went over it with a vacuum cleaner and rags.
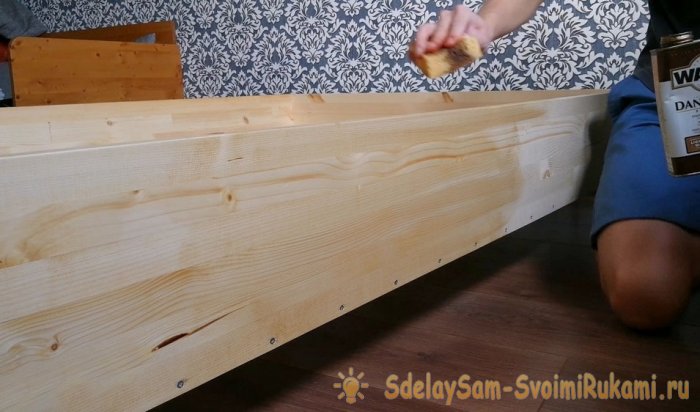
The final touch. Cover with wood oil - Watco Danish Oil (light walnut).
And don't forget about the legs.
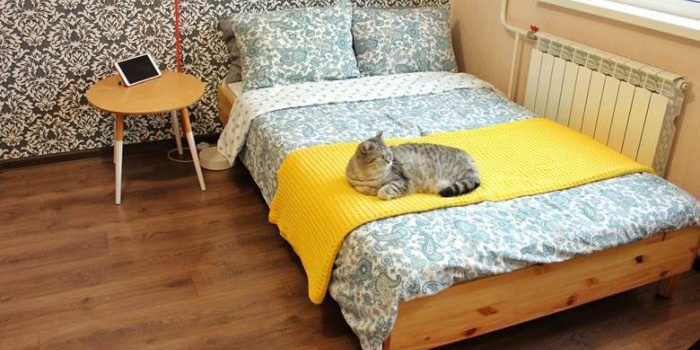
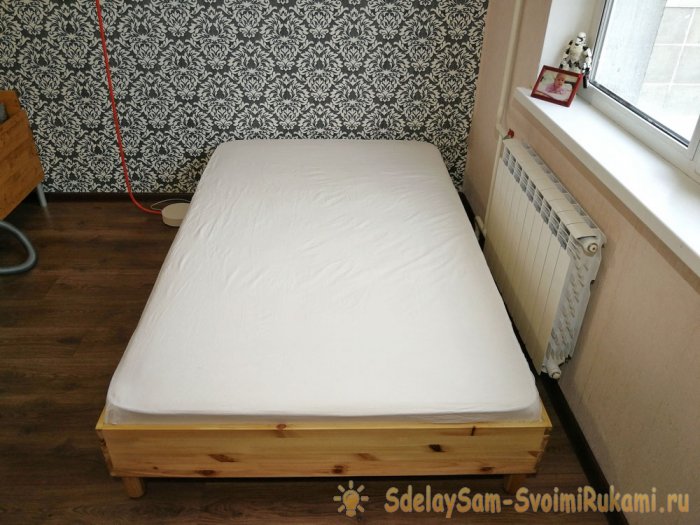
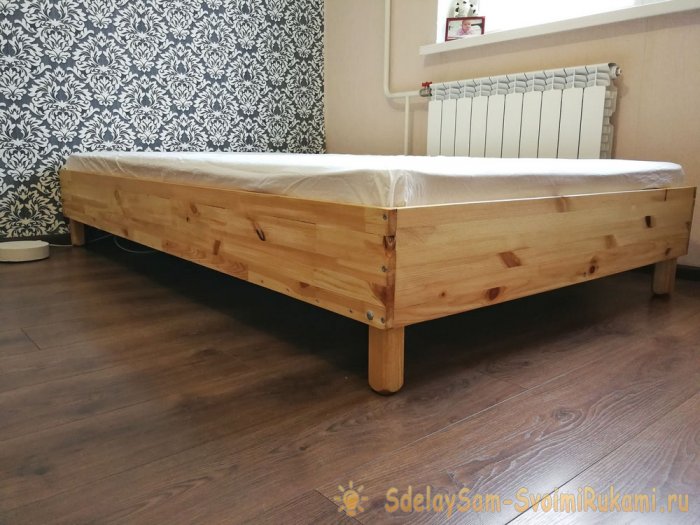
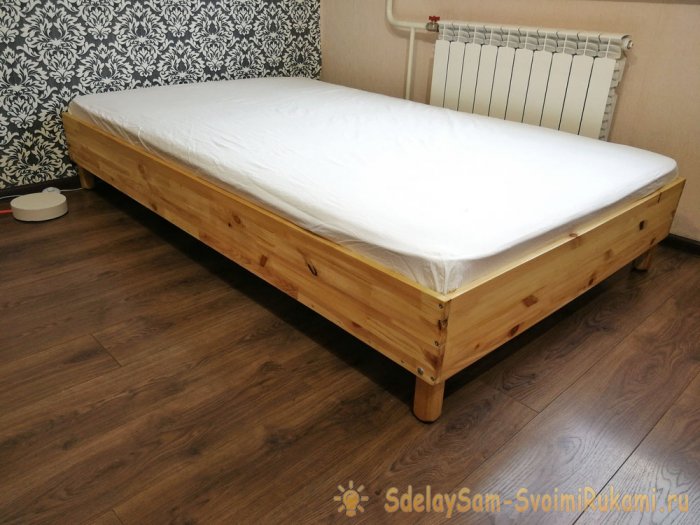
So my bed is ready. I was pleased with the result.It turned out easy, fast, and most importantly, budget-friendly. It took me about 6 hours and a little over 40 bucks to build.
I hope you liked the article. See you again!
At some point I got tired of it and wanted a normal bed. But since this is not my apartment, I didn’t see the point in buying a ready-made bed. Yes, and they are quite expensive. We needed a budget solution. So I thought about it and decided to make a bed with my own hands.
Total cost about $40.
Materials and tools
To make a bed you will need:
- Furniture panel 2000*200*18 mm, 2 pcs – $14.8.
- Furniture panel 1200*200*18 mm, 2 pieces – dollars.
- Beam 2000*35*50 mm, 3 pieces - dollars.
- Sheathing boards 1300*82*17 mm, 5 PCS. 3 packs - 11 dollars.
- Screws 3.5*45 mm 100 pcs – 1.5 dollars.
- Confirm screw 7x50 mm 14 pcs – 2 dollars.
- Screw M8*80 mm 4 pcs – 1 dollar.
- Self-locking nuts M8 4 pcs – 0.5 dollars.
Tools:
- Screwdriver.
- Saw.
- Sander.
- Roulette.
- Level.
We buy materials from a hardware store. Try to choose the most even parts. Don't be lazy to sort through several boards.The smoother the materials, the easier it will be for you to assemble the bed.
Making a simple bed with your own hands
First of all, we assemble the bed frame. I set the right angle using a homemade chipboard corner. Fix with clamps
We connect two furniture panels with confirmations. 3 screws for each corner. If you want to achieve a more beautiful result, you can use an oblique screw connection.
Checking the diagonals.
For the legs I used leftover balusters. I used the main part to make a table for the kitchen. The leftovers were perfect for the bed legs.
Next, we take the timber and measure it. We must saw off 2 thicknesses of furniture panels and 2 thicknesses of legs.
We try on the cut timber.
We insert the legs.
It should be a right angle.
We screw the beam to the furniture panel. I used 3.5*45 mm screws in 10 cm increments
Now we fix the leg with a clamp and drill a through hole. 8 mm drill
Insert the bolt and tighten it with a self-locking nut
Checking the level. Great, the frame is ready.
Let's start making the lamellas. The boards had to be trimmed a little. I left a small margin for expanding the tree, so I cut off 1150mm rather than 1200mm.
We lay out the slats. We set the same space between them.
And we screw them to the beam. 2 screws on each side.
For greater reliability, I made a stiffening rib in the center of the bed.
Let's start the final processing. To do this, light it with sandpaper. I only used 180 grit.
Next we remove dust. I went over it with a vacuum cleaner and rags.
The final touch. Cover with wood oil - Watco Danish Oil (light walnut).
And don't forget about the legs.
So my bed is ready. I was pleased with the result.It turned out easy, fast, and most importantly, budget-friendly. It took me about 6 hours and a little over 40 bucks to build.
I hope you liked the article. See you again!
Watch the video
Similar master classes
Particularly interesting
Comments (3)

