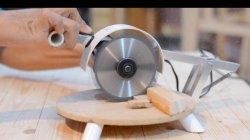
How to make a compact table saw from a grinder
Even a factory-made portable table saw costs several thousand rubles. In order not to waste money, such a tool can be made from an angle grinder (angle grinder) and at the same time its technical and operational characteristics will be no worse than a similar factory version.
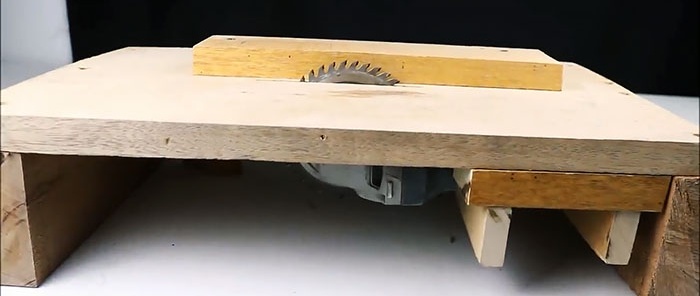
To transform an angle grinder into a compact table saw, you will not need too many fairly common and inexpensive materials and products:
To make the parts and assemble them together, we will have to use: a portable circular saw, a drill, a hand screwdriver and a wood chisel.
We place the angle grinder in working position on a piece of thick wooden board, and use a marking pencil to mark the planned contour.
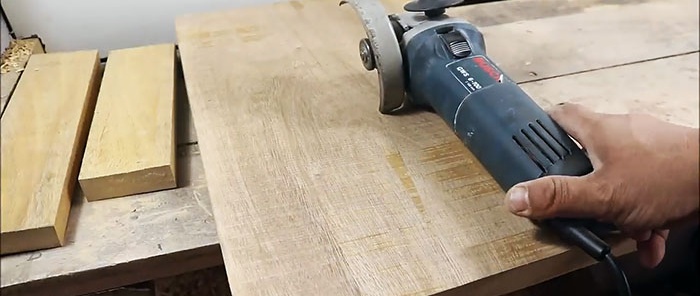
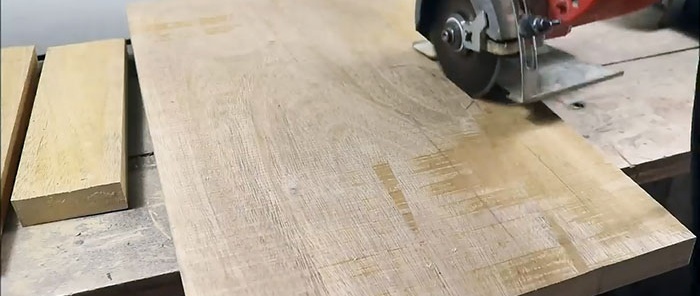
Using a portable circular saw, we saw off the contour marked on the board to approximately the middle, and remove the protective casing and handle from the grinder for holding the tool when performing some operations.
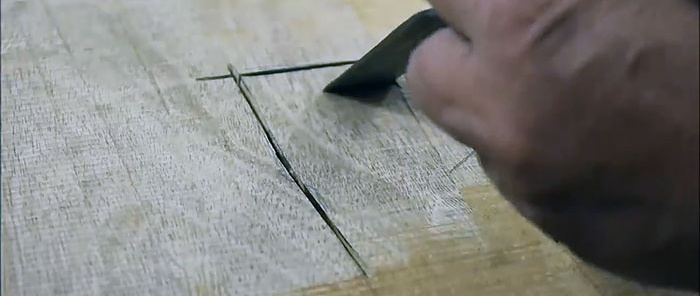
Using a wide and sharp carpenter's chisel, we select a previously sawn contour in a wooden board, adjusting the profile and depth of the recess by periodically trying on an angle grinder.
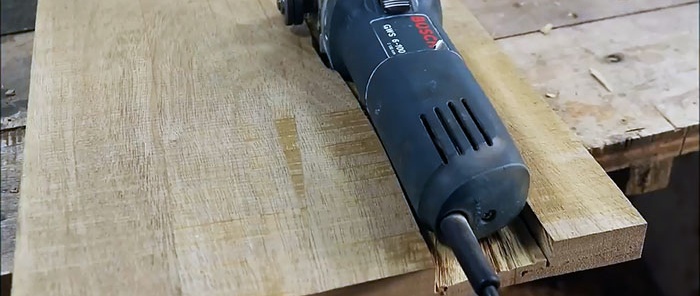
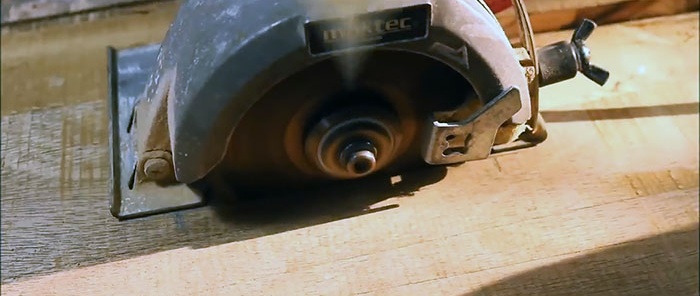
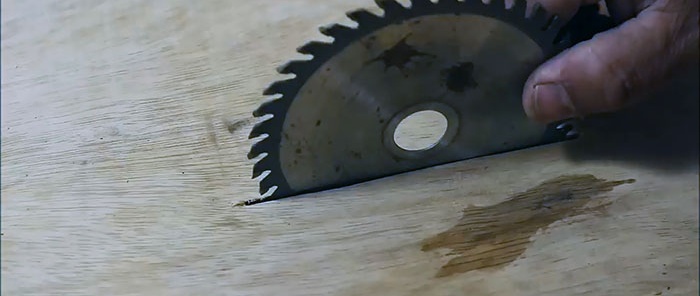
On the contrary, and symmetrically to the spindle of the angle grinder, we use a circular saw to make a through slot in the board in which the disk mounted on the angle grinder will rotate. We place the grinder in the recess, and place the disk in the slot.
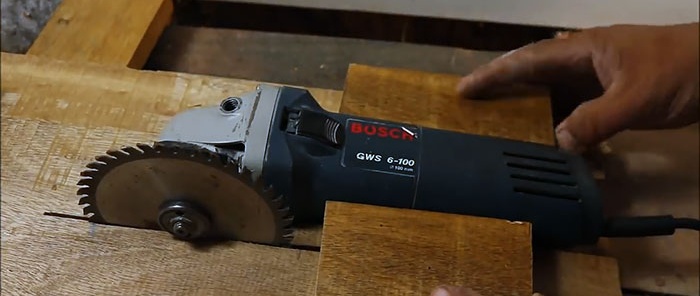
On the sides, close to the body of the angle grinder, we lay two bars, which we fasten to the bottom board with the help of several screws.
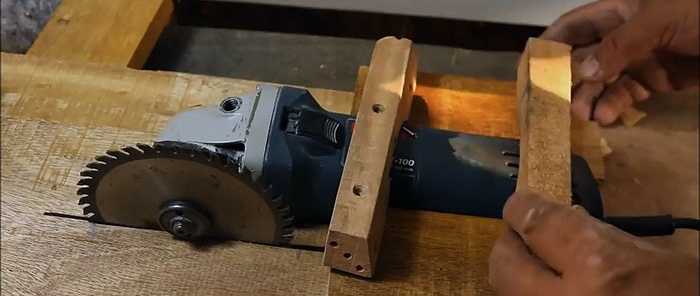
On top of the grinder body, we place two bars transversely in two planes with recesses corresponding to the contour of the tool body in this section. We screw the transverse elements with screws to the two previously laid bars.
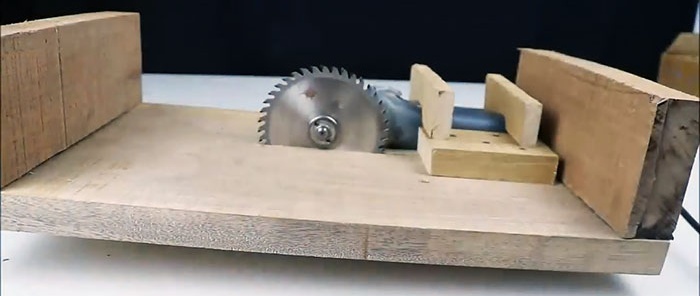
On the board that serves as the base of our homemade tool, on the side where the grinder is located, along the edges we place transversely pieces of boards equal to the width of the base and in height greater than the reach of the disk.
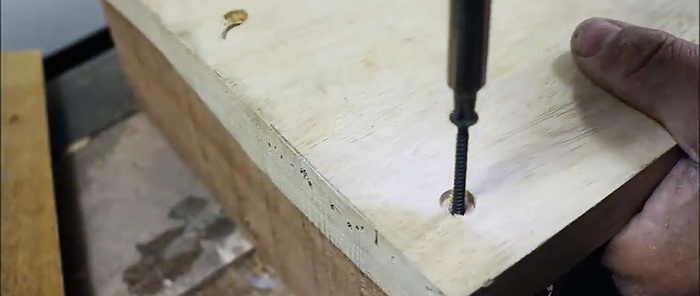
Then we turn the structure over and, using a suitable pen drill, make recesses for the screw heads, which we then screw in, using them as markings.
On the front side, next to the disk, we place the guide bar longitudinally and secure it to the base with two screws, by loosening which, the guide can be moved towards the disk or moved away from it, respectively, reducing or increasing the transverse size of the unraveling material.

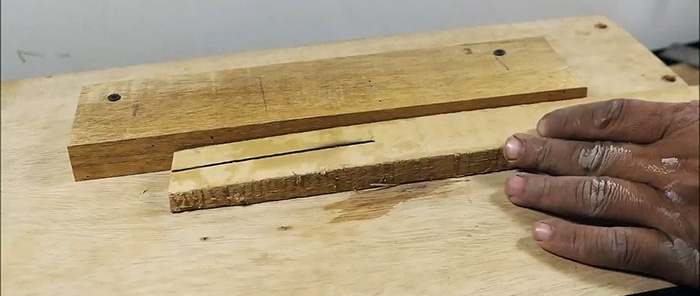
If necessary, you can use our homemade saw to make a T-shaped section in long material.

Will need
To transform an angle grinder into a compact table saw, you will not need too many fairly common and inexpensive materials and products:
- ordinary grinder;
- a piece of thick board;
- saw blade;
- marking pencil;
- wooden blocks of different sizes;
- wood screws.
To make the parts and assemble them together, we will have to use: a portable circular saw, a drill, a hand screwdriver and a wood chisel.
The process of making a table saw from a grinder
We place the angle grinder in working position on a piece of thick wooden board, and use a marking pencil to mark the planned contour.

Using a portable circular saw, we saw off the contour marked on the board to approximately the middle, and remove the protective casing and handle from the grinder for holding the tool when performing some operations.

Using a wide and sharp carpenter's chisel, we select a previously sawn contour in a wooden board, adjusting the profile and depth of the recess by periodically trying on an angle grinder.


On the contrary, and symmetrically to the spindle of the angle grinder, we use a circular saw to make a through slot in the board in which the disk mounted on the angle grinder will rotate. We place the grinder in the recess, and place the disk in the slot.


On the sides, close to the body of the angle grinder, we lay two bars, which we fasten to the bottom board with the help of several screws.
On top of the grinder body, we place two bars transversely in two planes with recesses corresponding to the contour of the tool body in this section. We screw the transverse elements with screws to the two previously laid bars.


On the board that serves as the base of our homemade tool, on the side where the grinder is located, along the edges we place transversely pieces of boards equal to the width of the base and in height greater than the reach of the disk.

Then we turn the structure over and, using a suitable pen drill, make recesses for the screw heads, which we then screw in, using them as markings.

On the front side, next to the disk, we place the guide bar longitudinally and secure it to the base with two screws, by loosening which, the guide can be moved towards the disk or moved away from it, respectively, reducing or increasing the transverse size of the unraveling material.

If necessary, you can use our homemade saw to make a T-shaped section in long material.

Watch the video
Similar master classes
Particularly interesting
Comments (0)


