How to make a sandblaster from a gas cylinder
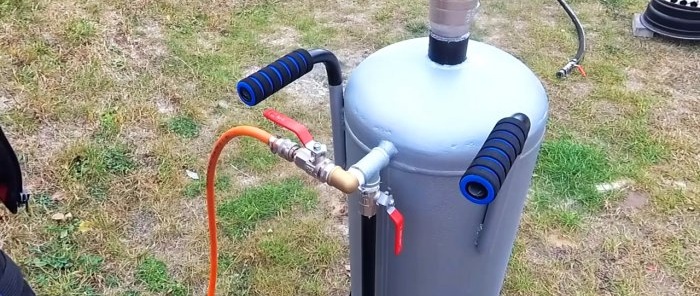
The price of a factory sandblasting unit starts from 10 thousand rubles. But you can assemble it yourself, spending 10 times less money. This device easily cleans surfaces of rust, scale, old paint, etc. By changing the performance of the installation, it is possible to carry out stripping, cleaning and grinding.
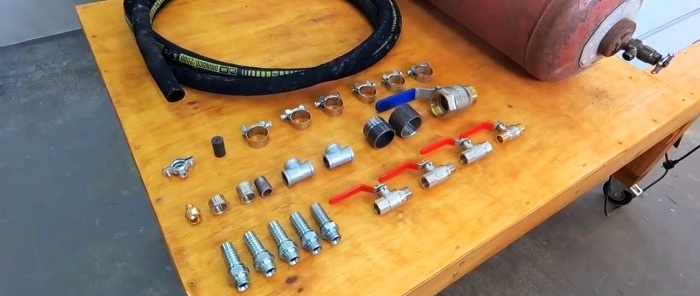
To assemble a sandblasting machine, you will need the following materials and products:
In our work we will use: a grinder, a gas burner or soldering iron, keys, a spray gun, a paint brush and other tools.
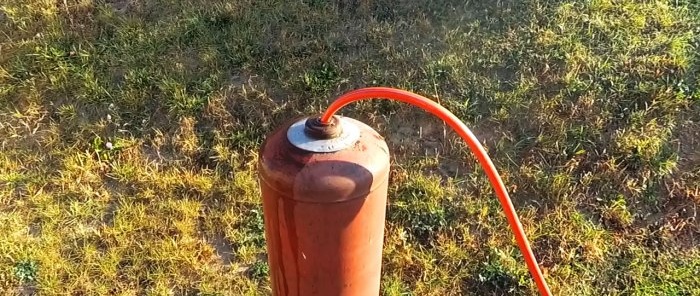
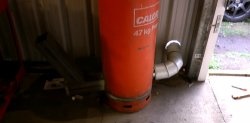
We take an old gas cylinder as a base and rinse it with water.
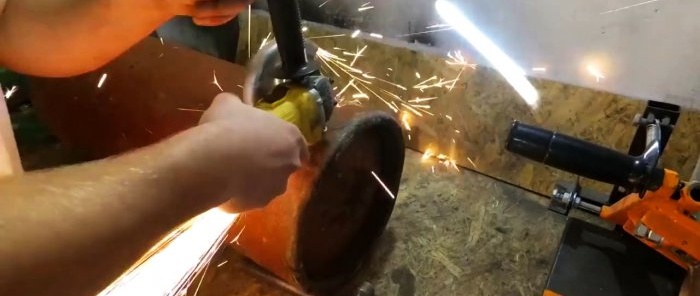
Using a grinder, we cut off the shoe - the lower ring support, which gives the cylinder stability, which we will not need.
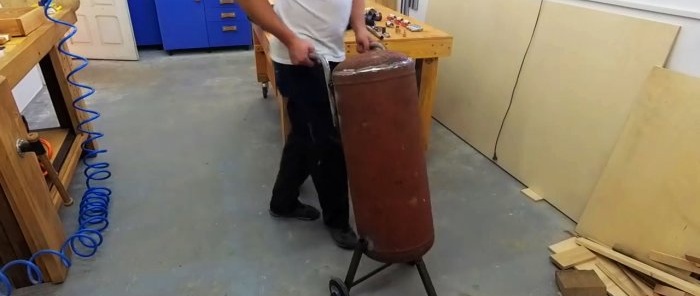
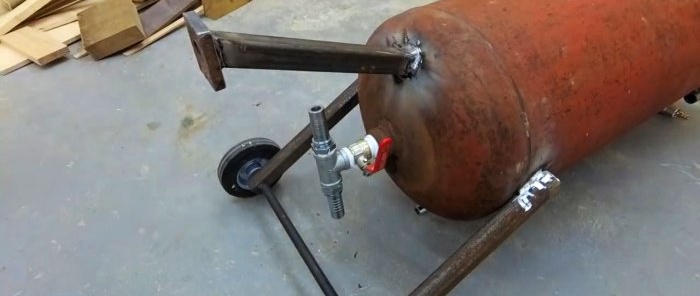
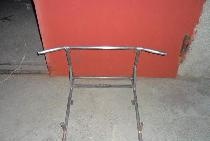
At the level of the lower bottom, we weld two handles from a round pipe, and to the upper bottom - a support part made of a profile pipe, a steel rod, two wheels and a stop-leg on the opposite side of the cylinder.
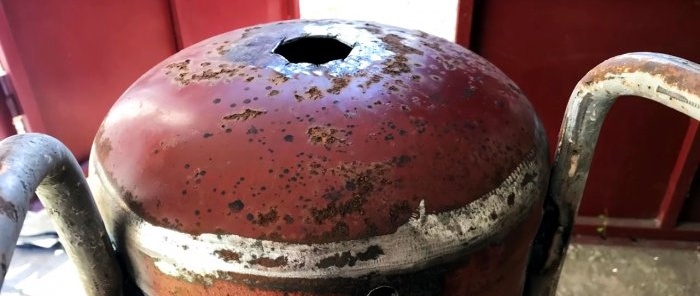
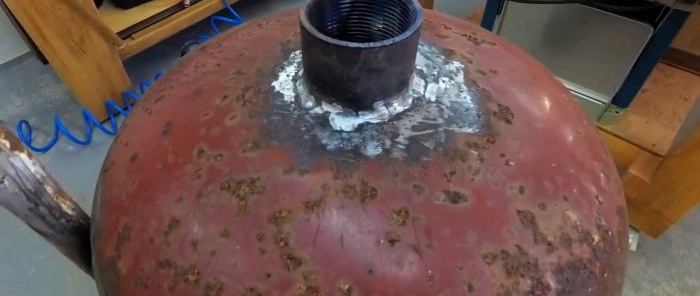
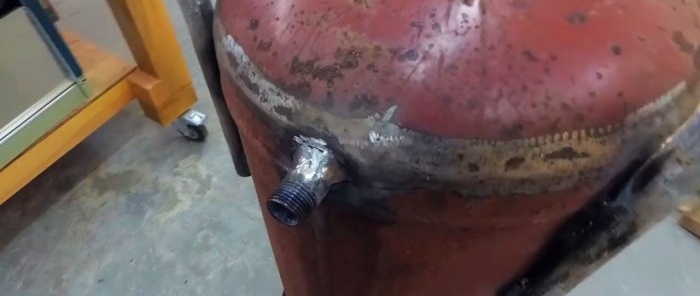
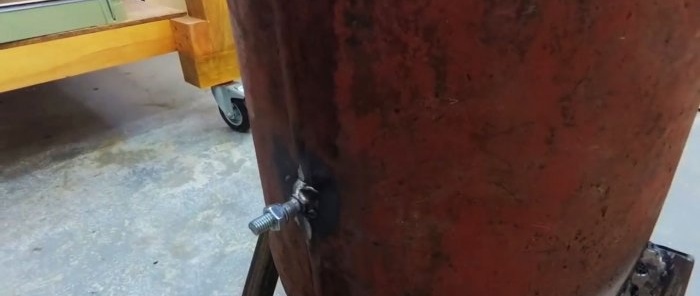
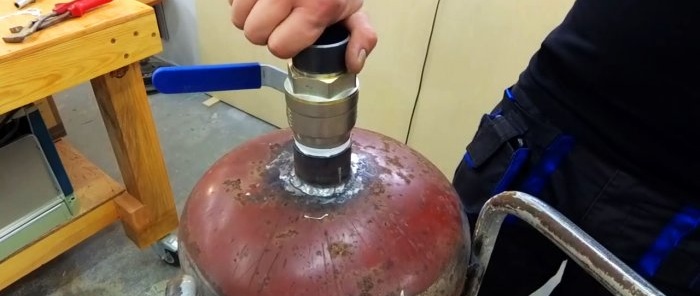
In the center of the lower bottom we make a hole and solder a 50 mm coupling with an internal thread to it, on the side where the bottom meets the shell - another 15 mm with an external thread, closer to the upper bottom under a 15 mm coupling - a bolt with a nut.
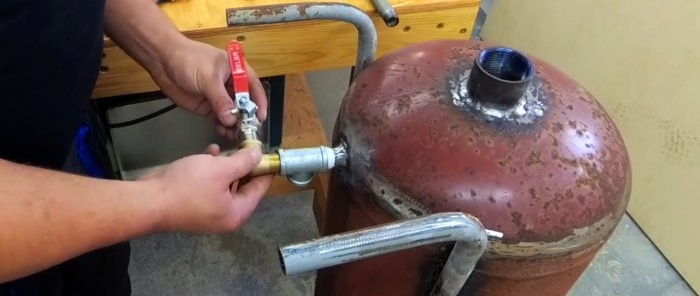
We screw a tee onto the thread of the 15 mm coupling, directing the outlet exactly downwards. We screw a tap onto one end of the tube. Then, having removed the handle, we screw its other end into the tee outlet and return the handle back.
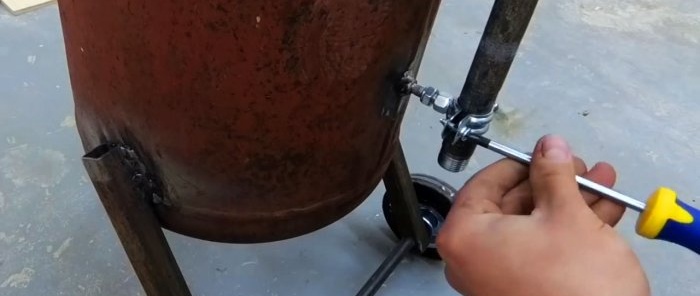
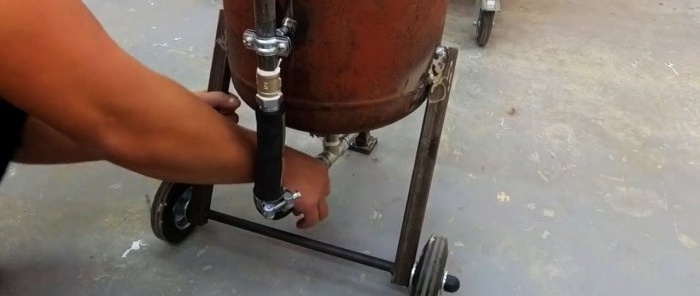
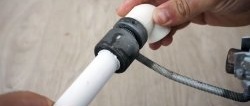
We fasten the bottom of the tube with a clamp to a bolt soldered to the shell of the cylinder. We screw a fitting under the hose onto it using a coupling.
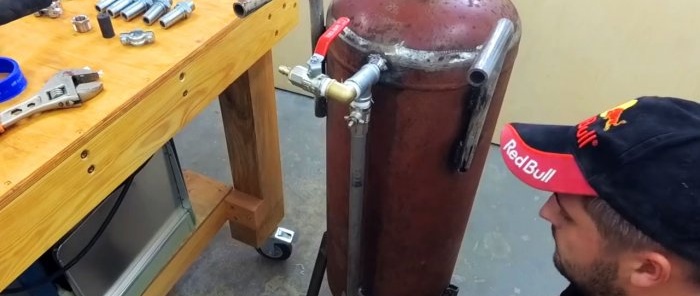
We assemble a tee with bends and a tap on the outlet with a coupling, which we screw into the hole in the upper bottom of the cylinder. We screw a faucet with a 50 mm coupling into the coupling soldered to the hole in the lower bottom.
On the fitting of the tap screwed into the hole in the upper bottom of the cylinder, from the side of the vertical tube, we attach a short piece of sandblasting hose, the second end of which is connected to the fitting of the tube.
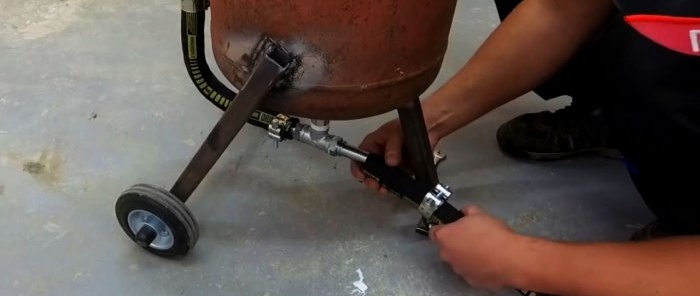
We put the working branch of the sandblasting hose on the second fitting of the tap.
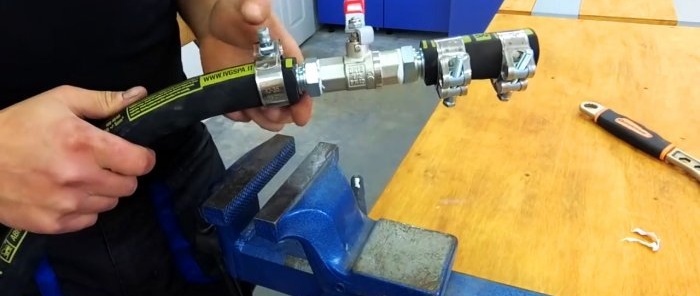
From its free end we cut off a small piece into which we insert a boron carbide nozzle on one side and a fitting on the other, where we install a tap also with a fitting. We connect this assembly through the fitting on the tap to the end of the sandblasting hose. We seal all threads with fum tape and secure the connections with clamps.
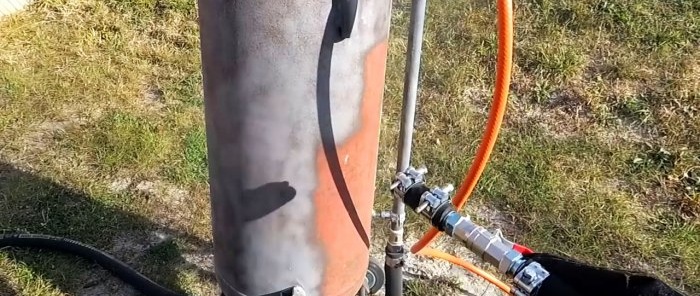
Our device is ready for use. We check it by removing the old paint from the cylinder.
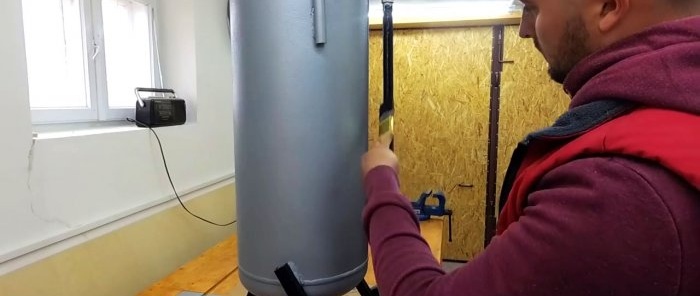
Then we paint it gray with a spray gun.We paint the vertical tube, the ends of the handles, the coupling for filling sand and the entire supporting part black with a brush.
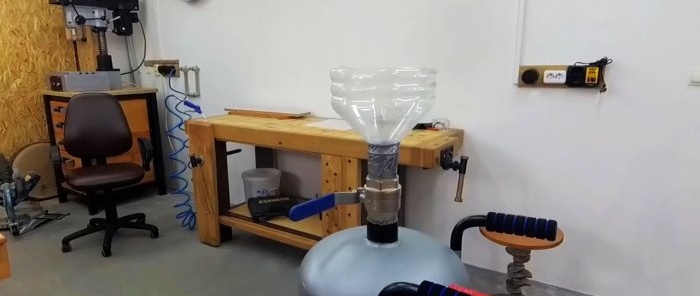
We install the wheels and remove the protection from areas that cannot be painted. We place a funnel on the filling unit and secure it to the coupling with tape.
We put grips on our hands. Once again we check the operation of the cranes, assemble the sandblasting hose and roll the installation out onto the street.
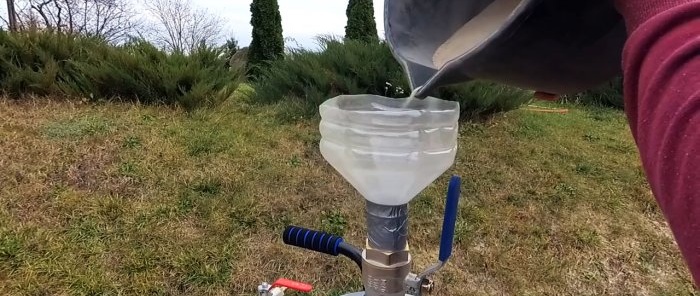
With the tap open, pour sand into the funnel and then close the tap.
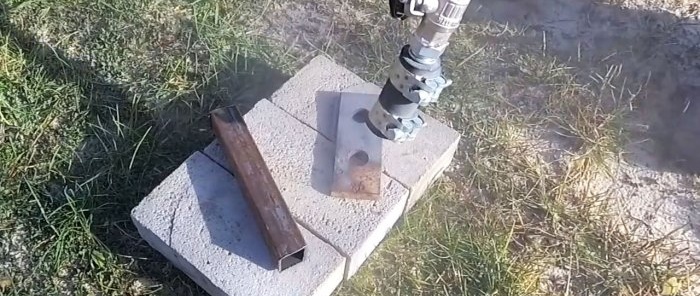
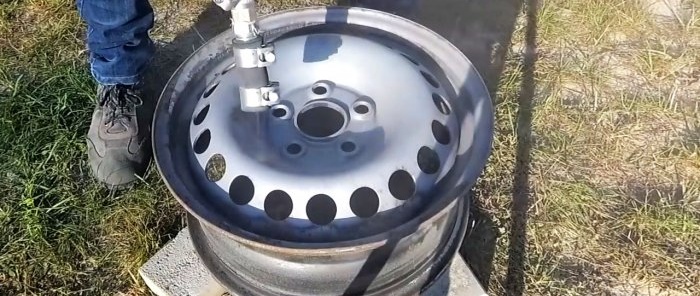
We connect the compressor outlet hose to the air fitting and open the tap. We direct the nozzle at the parts for cleaning and make sure that the device meets its purpose.
Will need
To assemble a sandblasting machine, you will need the following materials and products:
- sandblasting sleeve;
- boron carbide nozzle;
- taps, couplings, clamps and other fittings;
- gas cylinder 50 l;
- steel tube with threaded ends;
- rubber handles (grips) – 2 pcs.;
- profile pipe, axle and two wheels;
- paint in two colors.
In our work we will use: a grinder, a gas burner or soldering iron, keys, a spray gun, a paint brush and other tools.
Device assembly process
We take an old gas cylinder as a base and rinse it with water.
Using a grinder, we cut off the shoe - the lower ring support, which gives the cylinder stability, which we will not need.
At the level of the lower bottom, we weld two handles from a round pipe, and to the upper bottom - a support part made of a profile pipe, a steel rod, two wheels and a stop-leg on the opposite side of the cylinder.
In the center of the lower bottom we make a hole and solder a 50 mm coupling with an internal thread to it, on the side where the bottom meets the shell - another 15 mm with an external thread, closer to the upper bottom under a 15 mm coupling - a bolt with a nut.
We screw a tee onto the thread of the 15 mm coupling, directing the outlet exactly downwards. We screw a tap onto one end of the tube. Then, having removed the handle, we screw its other end into the tee outlet and return the handle back.
We fasten the bottom of the tube with a clamp to a bolt soldered to the shell of the cylinder. We screw a fitting under the hose onto it using a coupling.
We assemble a tee with bends and a tap on the outlet with a coupling, which we screw into the hole in the upper bottom of the cylinder. We screw a faucet with a 50 mm coupling into the coupling soldered to the hole in the lower bottom.
On the fitting of the tap screwed into the hole in the upper bottom of the cylinder, from the side of the vertical tube, we attach a short piece of sandblasting hose, the second end of which is connected to the fitting of the tube.
We put the working branch of the sandblasting hose on the second fitting of the tap.
From its free end we cut off a small piece into which we insert a boron carbide nozzle on one side and a fitting on the other, where we install a tap also with a fitting. We connect this assembly through the fitting on the tap to the end of the sandblasting hose. We seal all threads with fum tape and secure the connections with clamps.
Our device is ready for use. We check it by removing the old paint from the cylinder.
Then we paint it gray with a spray gun.We paint the vertical tube, the ends of the handles, the coupling for filling sand and the entire supporting part black with a brush.
We install the wheels and remove the protection from areas that cannot be painted. We place a funnel on the filling unit and secure it to the coupling with tape.
We put grips on our hands. Once again we check the operation of the cranes, assemble the sandblasting hose and roll the installation out onto the street.
With the tap open, pour sand into the funnel and then close the tap.
We connect the compressor outlet hose to the air fitting and open the tap. We direct the nozzle at the parts for cleaning and make sure that the device meets its purpose.
Watch the video
Similar master classes
Particularly interesting
Comments (1)

