Do-it-yourself multi-channel Li-ion charging
Another charging station. The guys from laser tag have updated their weapons staff. In this batch, the equipment is powered by a Li-ion battery. We received a task to make multi-channel charging for simultaneous charging of 20-25 weapons. China comes to the rescue again; charging boards for Li-ion have been purchased.
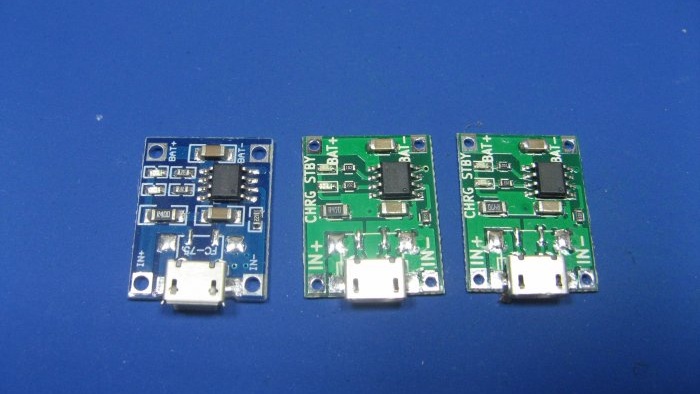
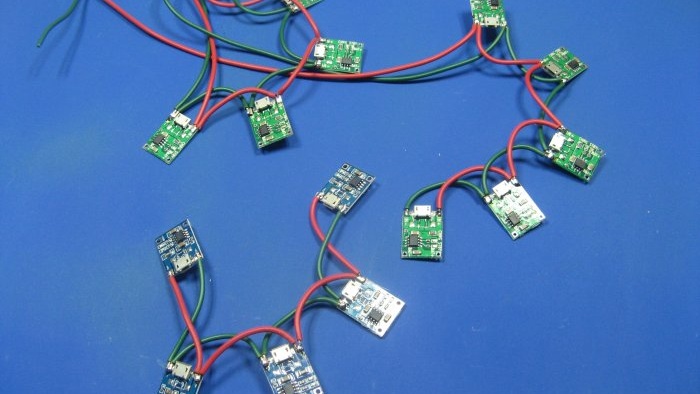
Charging boards are known to many. It was purchased for a design in different colors. The meaning of their work is the same.
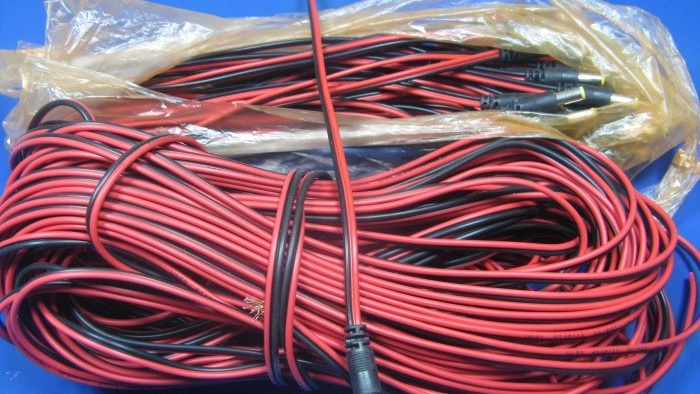
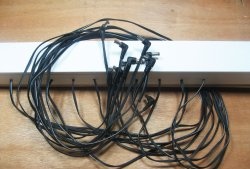
The wires with the connector will have to be extended. Sold in 25 cm length, I will extend it with a similar wire. The length will be about one meter.
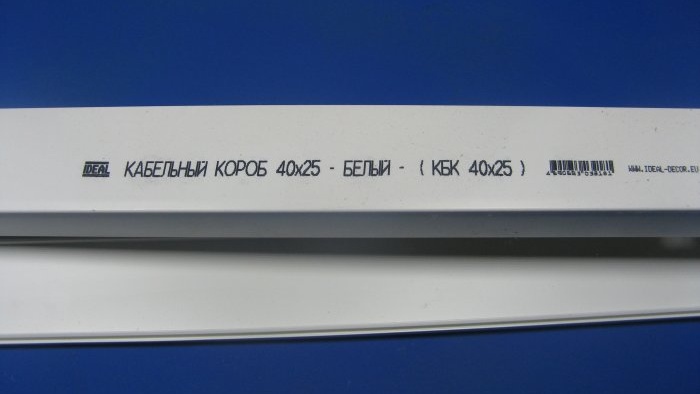
Cable box as in the photo. You can take any, but this one was perfect.
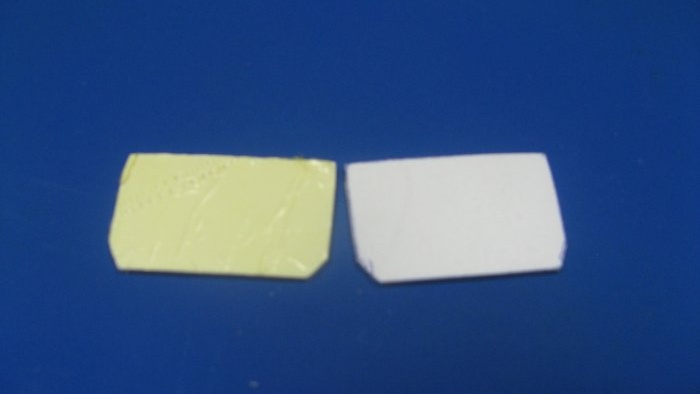
I immediately cut out the plugs for the box from plastic.
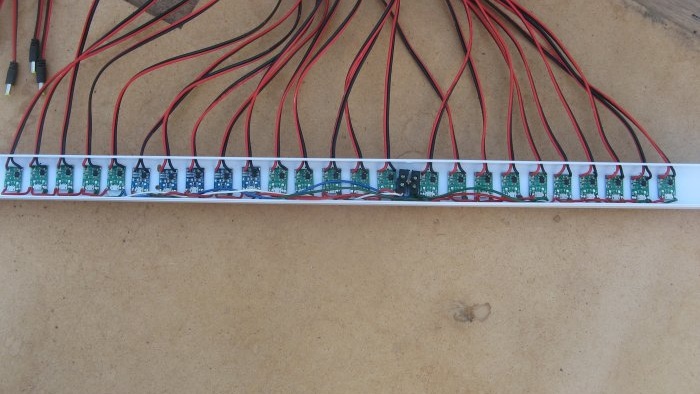
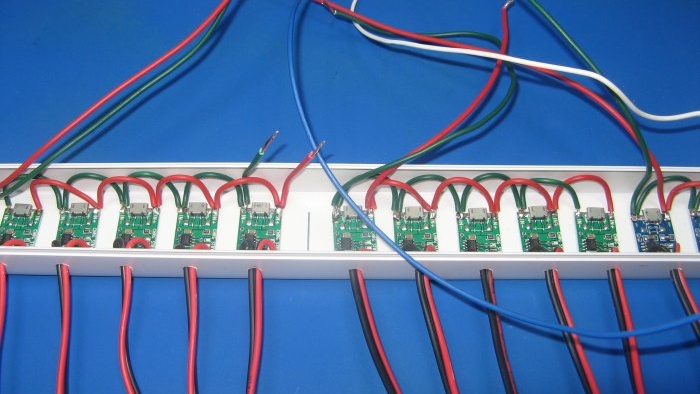
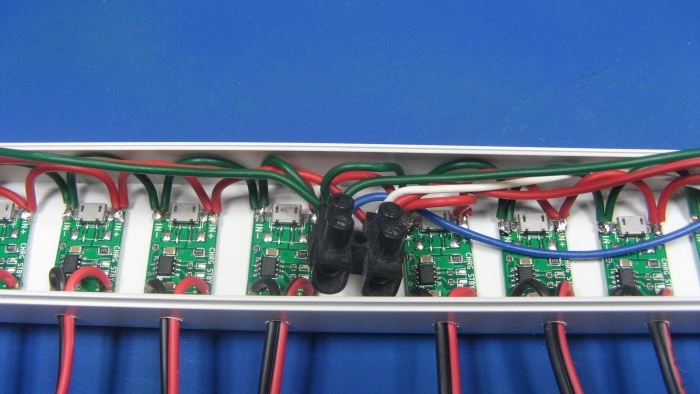
You need to solder the scarves into such rulers. I soldered 5 pieces. This relieved the load on the wires. The wire will support more boards, but I made 5 of them. I will make 5 of these lines.
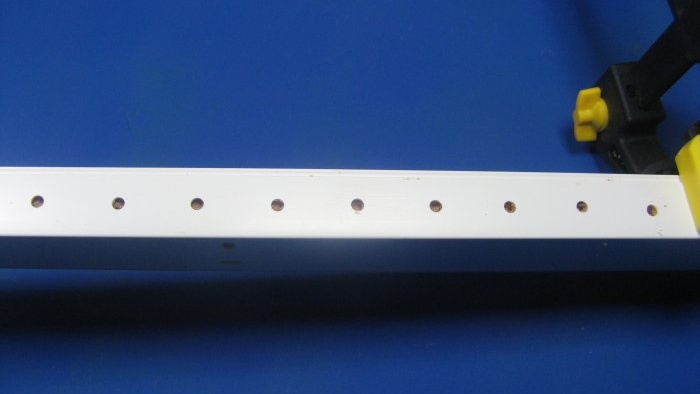
In the box, after 3 cm, I drill holes. I chose the distance that suits the boards.
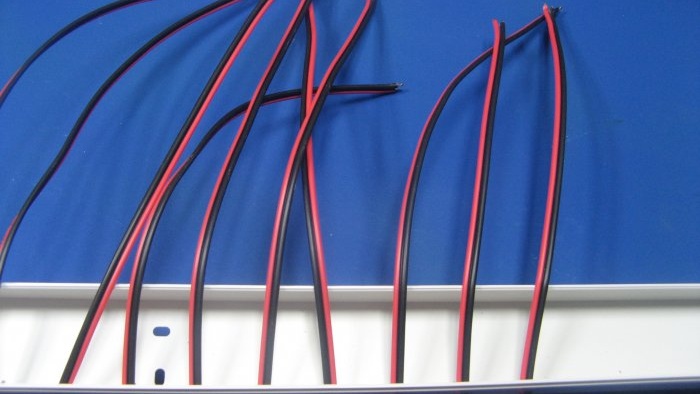
I insert wires into the holes.
I glue the boards with double-sided tape. I will connect the wires from all the lines in parallel.
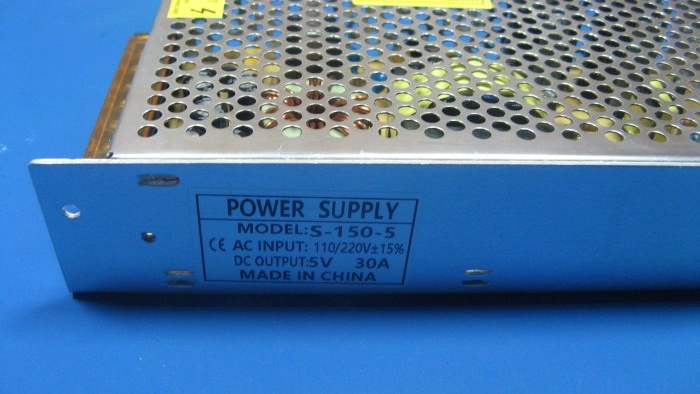
I will use a ready-made power supply as a power source.
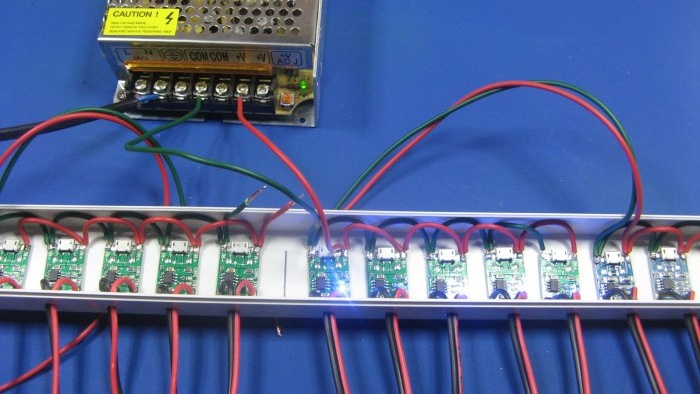
We connect the rulers one by one and check the operation.
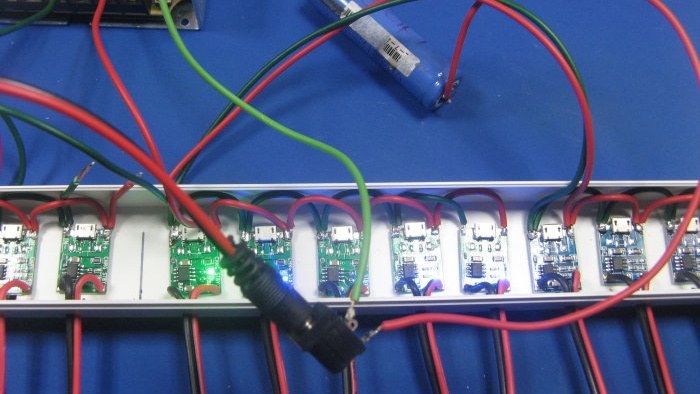
As a test “module”, I will use a regular Li-ion, with a mating connector soldered to it. Checking the glow change LED.
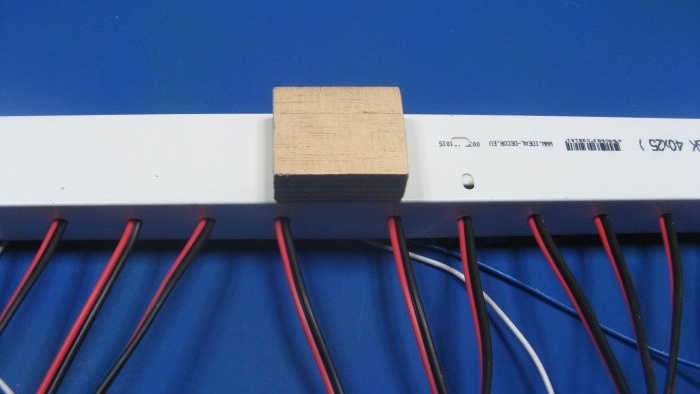
I will place wooden rectangles at the bottom of the box. You can install the rail, I screwed what was at hand.
I connect all the rulers on the block. I will screw the block into a wooden rectangle.
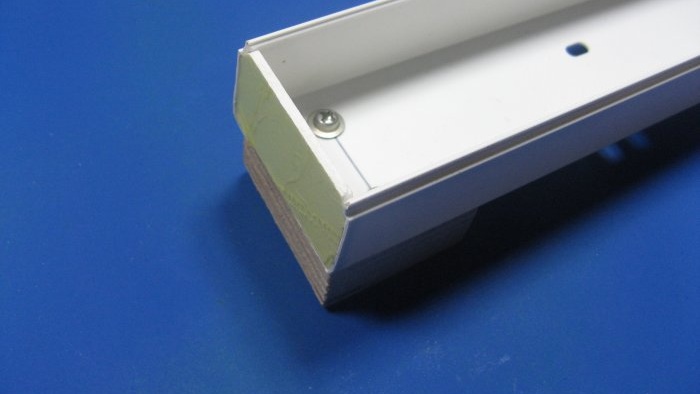
I glue the plugs to the box. I screw the outer ones onto two self-tapping screws. You will need to drill a hole to mount the structure on the wall.
This is the design we got. It will be connected to the power supply using a cable. Most likely 2*2.5 mm2.
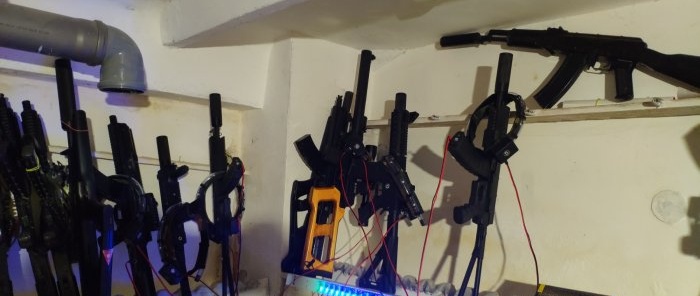
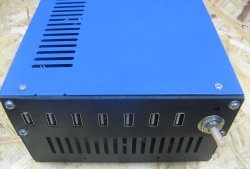
This is what charging looks like from the outside (client's photo). A week has passed, the flight is normal.
Accessories for homemade products
- - charging boards on TP4056 - ;
- - wires;
- - cylindrical connectors;
- - cable channel;
- - sheet plastic;
- - tools.
Charging boards are known to many. It was purchased for a design in different colors. The meaning of their work is the same.
The wires with the connector will have to be extended. Sold in 25 cm length, I will extend it with a similar wire. The length will be about one meter.
Cable box as in the photo. You can take any, but this one was perfect.
I immediately cut out the plugs for the box from plastic.
Manufacturing
You need to solder the scarves into such rulers. I soldered 5 pieces. This relieved the load on the wires. The wire will support more boards, but I made 5 of them. I will make 5 of these lines.
In the box, after 3 cm, I drill holes. I chose the distance that suits the boards.
I insert wires into the holes.
I glue the boards with double-sided tape. I will connect the wires from all the lines in parallel.
I will use a ready-made power supply as a power source.
We connect the rulers one by one and check the operation.
As a test “module”, I will use a regular Li-ion, with a mating connector soldered to it. Checking the glow change LED.
I will place wooden rectangles at the bottom of the box. You can install the rail, I screwed what was at hand.
I connect all the rulers on the block. I will screw the block into a wooden rectangle.
I glue the plugs to the box. I screw the outer ones onto two self-tapping screws. You will need to drill a hole to mount the structure on the wall.
This is the design we got. It will be connected to the power supply using a cable. Most likely 2*2.5 mm2.
This is what charging looks like from the outside (client's photo). A week has passed, the flight is normal.
Watch the video
Similar master classes
Particularly interesting

Cable antenna for digital TV in 5 minutes

A selection of simple and effective schemes.

Three-phase voltage from single-phase in 5 minutes

Starting a three-phase motor from a single-phase network without a capacitor

Eternal flashlight without batteries

How to make an inexpensive but very powerful LED lamp
Comments (2)

