A simple DIY distiller
Hello, today we’ll talk about distillation. This is distillation, the evaporation of a liquid followed by cooling and condensation of vapors. Accordingly, the product is the distillate or residue. The first mention of distillation dates back to the first century, and this process is used in a variety of fields: the chemical industry, laboratory practice, perfumery, distilling, etc. Making a simple distiller at home is quite easy.
We will need:
- Sealed cube.
- Stainless steel pipe (diameter about 2 cm and length about 30 cm).
- Plumbing pipe (diameter about 5 cm and length about 25 cm).
- Silicone hoses (outer diameter 1 cm and 0.8 cm).
- Silicone sealant.
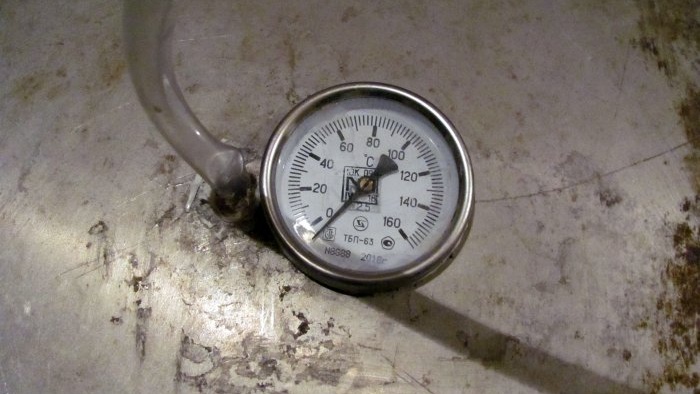
- Thermometer (industrial).
Distiller device:
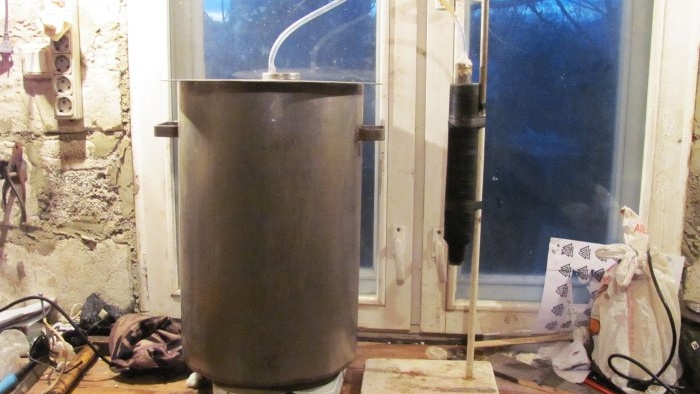
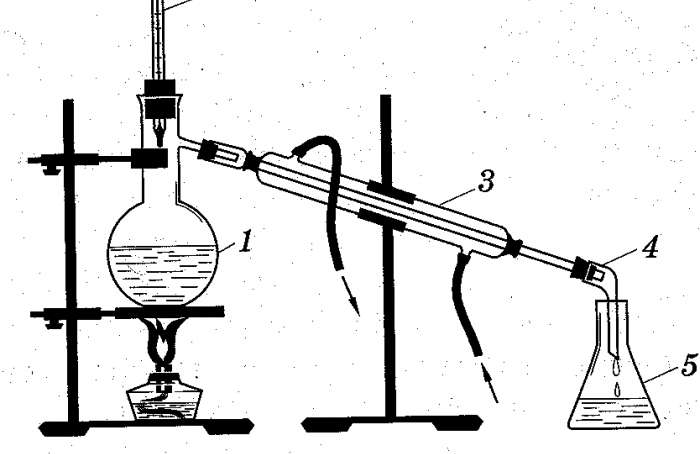
So, the distiller works quite simply. Its main parts are a heated cube into which the distilled liquid is poured; when heated, it begins to evaporate; then the refrigerator, in which the vapors are collected and cooled, the condensate is the distillate. The third component is the connecting tubes (steam line).
Here is a schematic representation of what a distillation apparatus is.So, before moving on to production, I’ll say a few words about preparation and search for materials. The most difficult task turned out to be finding the cube itself. A cube is a sealed container into which the original (distilled) product is poured. An aluminum can for milk is suitable; in Soviet times, our grandfathers made distillers only from them, you know why. So, if you need a distiller for the same purposes (moonshine), then use only food-grade metals - ideally food-grade stainless steel or copper. Aluminum will also work, but it can still be harmful after some time of use. But galvanized utensils or iron are poison. Enameled containers are also suitable, if the enamel is intact, of course. Also, use only silicone. No rubber! So, in my case, the cube is a tank welded by my grandfather a hundred years ago from stainless steel. According to the idea, any stainless steel should be food grade.
Making a cube:
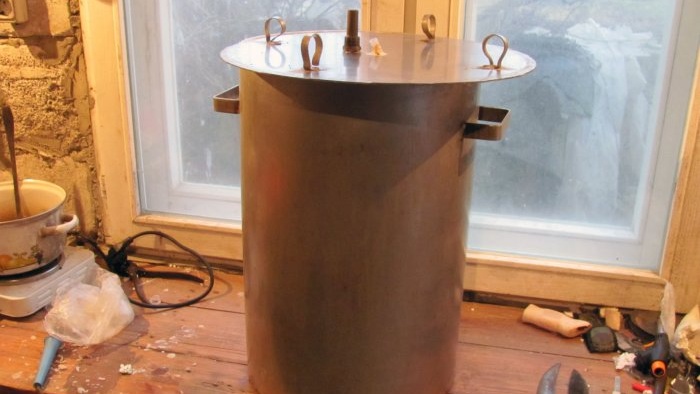
The tank, as I said, must be sealed so that the vapors do not evaporate. In addition to wasting distillate, these vapors can be dangerous to breathe and can also be flammable. So tightness is the main rule.
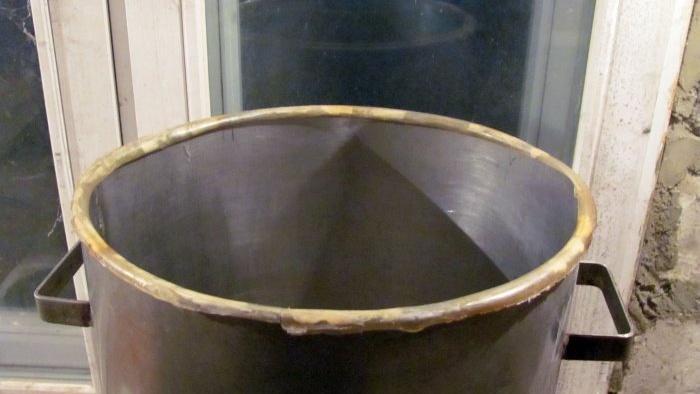
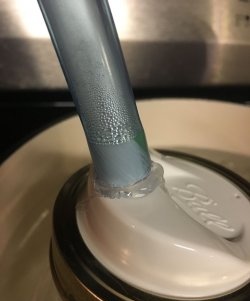
For tightness, a silicone gasket is laid between the tank and the lid. I cut the silicone hose lengthwise and sealed it to the edge with sealant.
There are two holes drilled in the cover. We insert a silicone hose into one, through which the vapor will flow, and the other for a thermometer. By the way, both can be bought inexpensively in distillery stores.
Making a refrigerator:
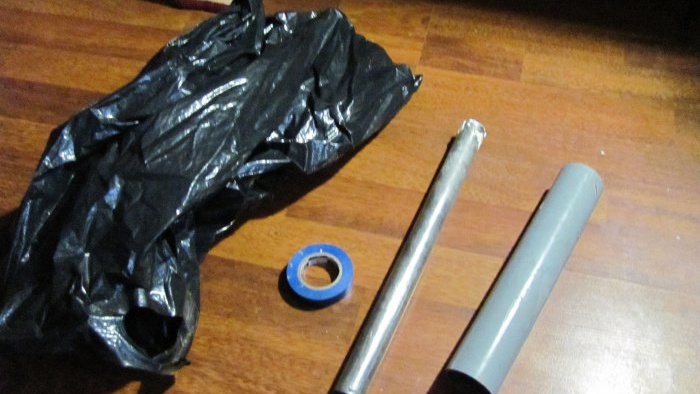
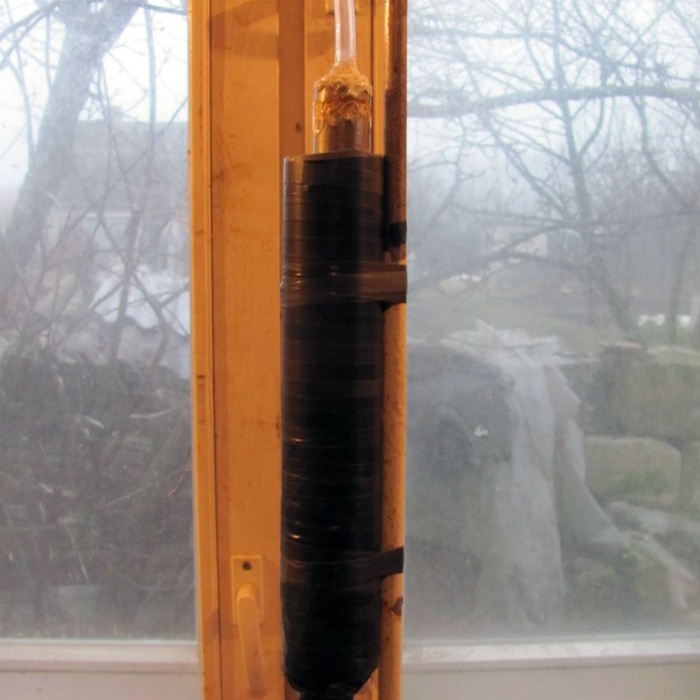
So, the vapors must collect and cool somewhere. That's what a refrigerator is for. The stainless steel pipe must be secured inside the plumbing pipe. And, of course, it’s hermetically sealed. But this is for other reasons.The stainless steel pipe will be cooled by cold water, which is poured into the plumbing pipe. That is, tightness is needed so that the coolant does not leak anywhere. Therefore, we will do it very professionally and reliably. Here's what you'll need, a black bag and duct tape:
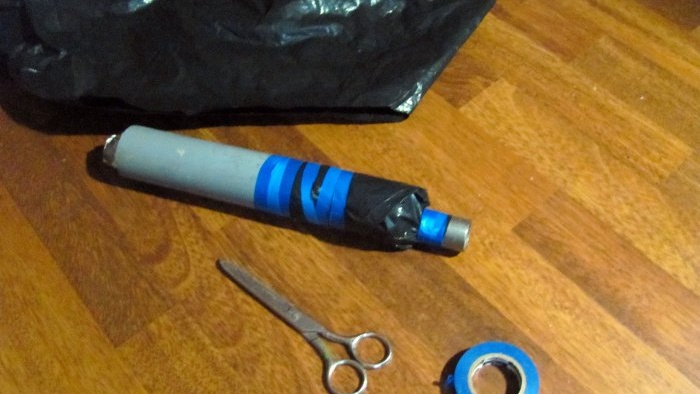
We cut off a corner from the bag, and a longer one, we stuff a stainless steel pipe into it, and insert it into the plumbing pipe. Well, we wrap it with blue electrical tape, where would we be without it.
And after that, cut off the second corner from the bag and repeat the procedure. It is very moisture resistant and airtight, not a single drop of water will spill out of the refrigerator. In general, the main thing is that the distillate does not leak anywhere, this is no time for jokes.
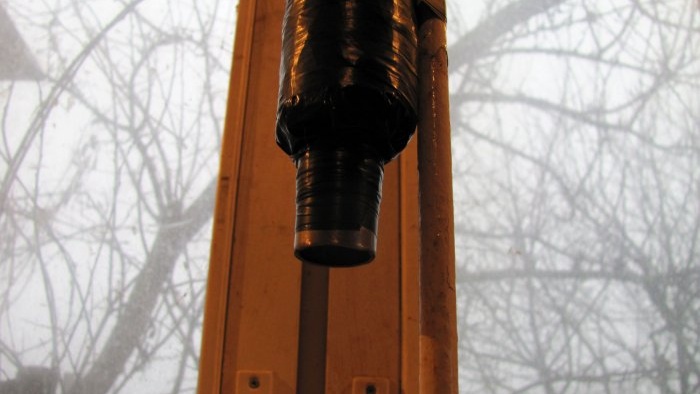
Also, I wrapped the entire refrigerator on top with black electrical tape, but this is purely for beauty, although the tightness has increased.
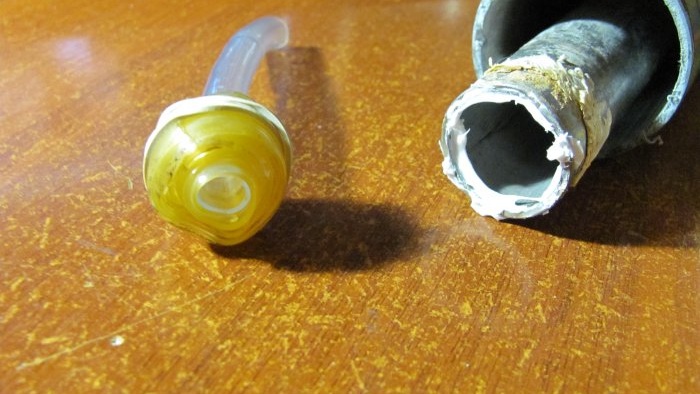
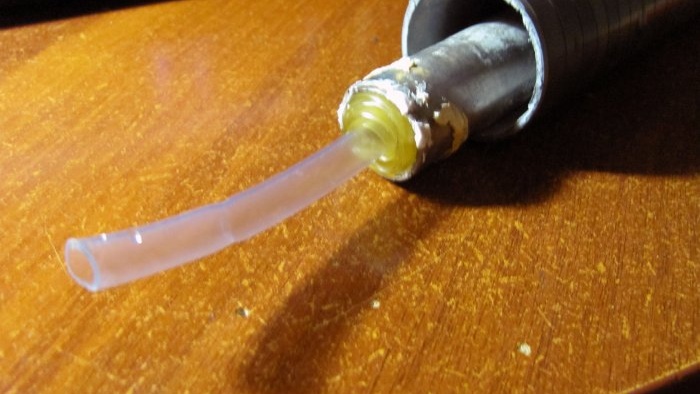
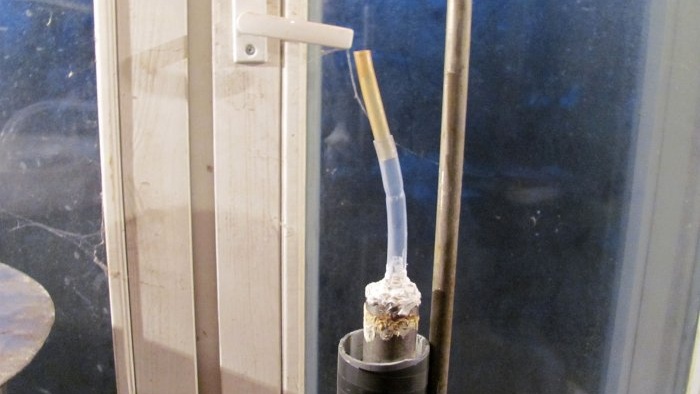
Now we install a silicone hose into the stainless steel pipe. So the diameters are different, so we’ll make an adapter from the same silicone.
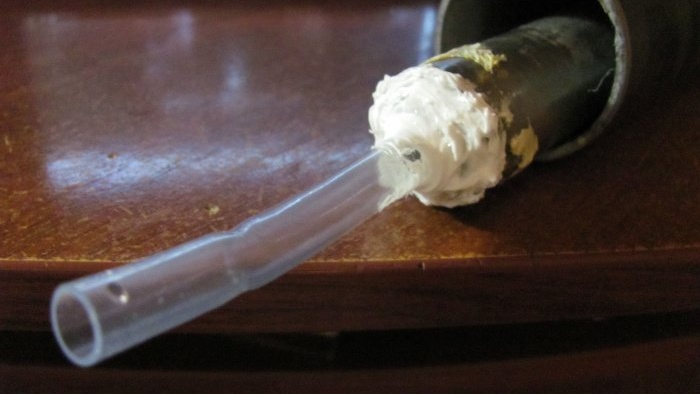
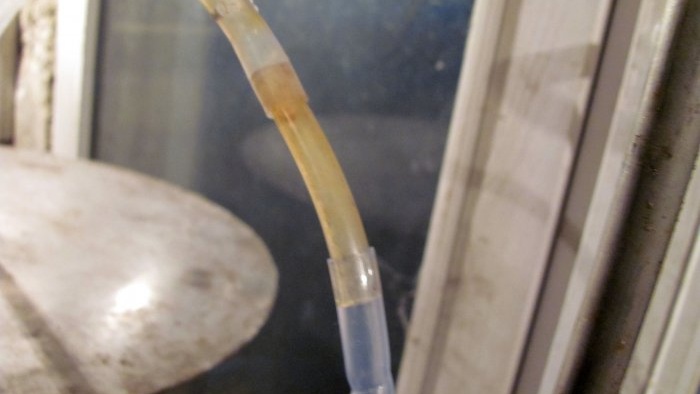
I cut the silicone tube lengthwise and wrapped it around the second one, then inserted it into the stainless steel and sealed it with sealant.
The connection of the tubes from the cube and from the refrigerator is ensured by a tube of smaller diameter, which acts as an adapter.
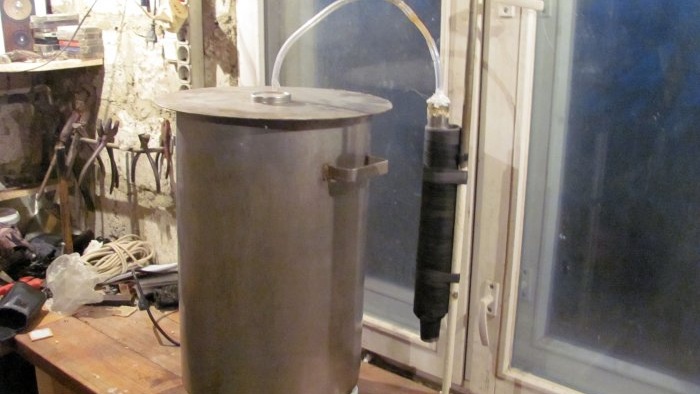
Now the cube is on the fire (I have an electric stove) and the refrigerator is on the chemical stand. The refrigerator must be filled with cold water. We made the simplest non-flowing one, that is, you will have to fill and empty it yourself. In general, we fill it with water, throw one tube into the refrigerator and “suck out” the water so that it pours out constantly, according to the principle of communicating vessels. To do this, the end of the tube must be below the container. On the other hand, we throw another hose into the refrigerator through which cold water will flow. There should be no problems here; you can remove the hose from the kitchen faucet, or use a pump to pump it out even from the well.
This is the simplest distiller.Made, as usual, from whatever is lying around, and quite cheap. Moreover, it is absolutely working, you can distill anything!
Similar master classes
Particularly interesting
Comments (2)

