How to make your own polymer mass for repairs
You can purchase polymer clay for repairing small plastic parts with virtually no problems. Any colors, volumes and compositions. With its help, you can not only repair damaged plastic parts, but also make, for example, a handle for a knife, use it for sculpting decorative fragments, and artistic modeling. However, there is one point that is slightly annoying when working with this interesting substance - after making, for example, some figurine from polymer clay, it should be fired in a kiln or oven at a low temperature. Approximately 100-130 degrees Celsius. If this is not done, the hardening mass may crack during the drying process, and if it is kept in the oven at a higher temperature, it will become very fragile. Polymer clay is definitely a very good material when used correctly. Although, there is only one name for clay - this substance is made on the basis of polyvinyl chlorides (PVC), and several types of liquid plasticizers, with the addition of thickeners and dyes...
And, nevertheless, there are several ways to obtain a mass that is similar in structure, quite easily and simply, with minimal investment of money and time. In this case, the mass will not be inferior to polymer clay in terms of the quality of the final result. And it even has a number of advantages: it does not need to be burned, it has no odor, and it is absolutely harmless, since it contains practically no chemicals, with the possible exception of dye. Of course, in its entirety, it is no longer possible to call this mass polymer, but, as mentioned above, in appearance and quality, it is no worse.
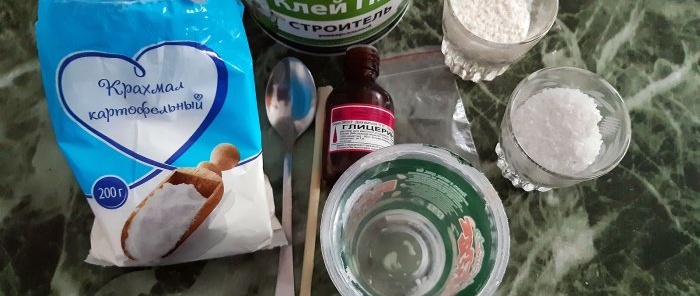
Will need
- PVA construction adhesive.
- Potato starch (or other).
- Flour of the highest grade.
- Salt.
- Tea spoon.
- Dye (optional).
- Plastic cup and stirring stick.
- A sealed plastic bag (preferably with a zip-lock fastener).
Making mass
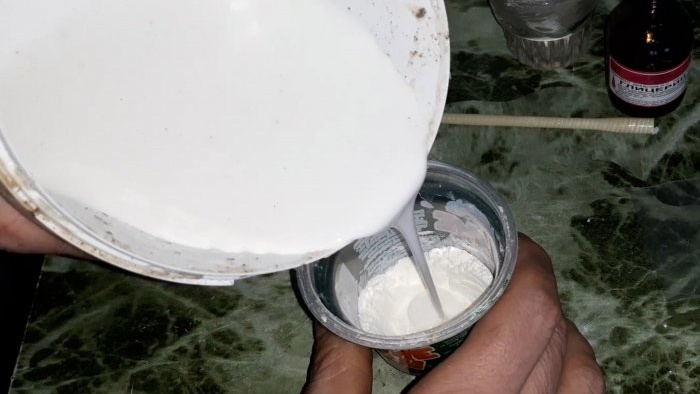
First, prepare and mix the bulk ingredients. Place two teaspoons of starch, one teaspoon of flour, and half a teaspoon of salt in a plastic glass. If you need a mass of a certain color, add dye. So, after mixing, we begin to gradually add PVA glue.
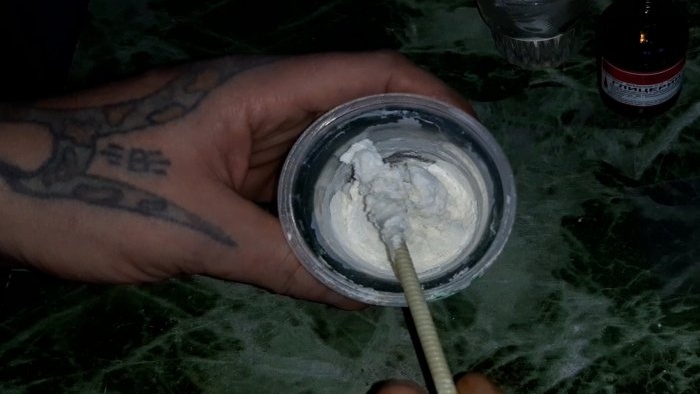
Mix.
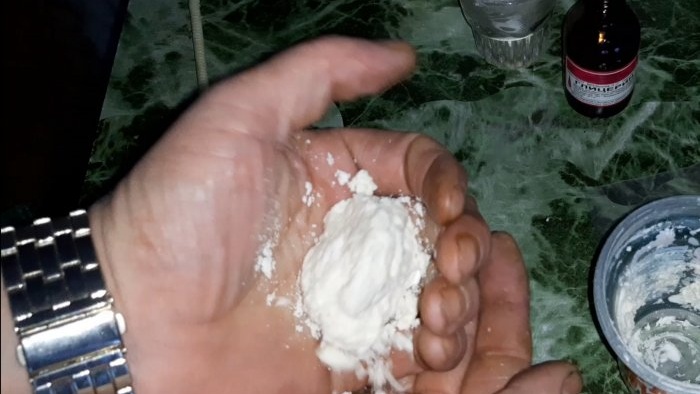
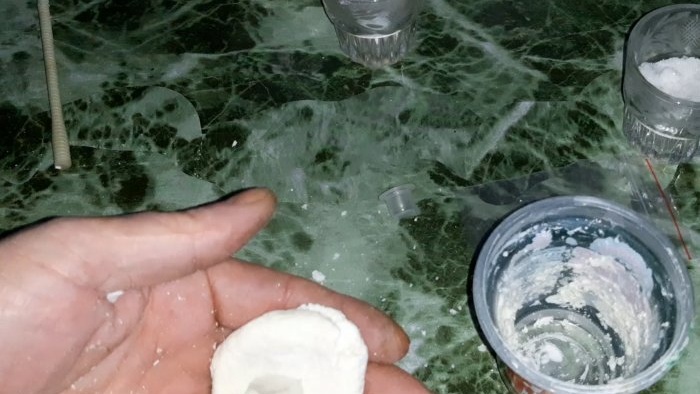
You should have the structure of a tough dough. If the mass turns out to be liquid (if there is too much glue), you need to add starch. As soon as the mixture begins to stick to the walls of the glass and the stick in large lumps, you can shake it out of the glass into your palm and knead it with your hands.
Now that the mass is almost ready, add about one cube of glycerin with a syringe, or by eye.
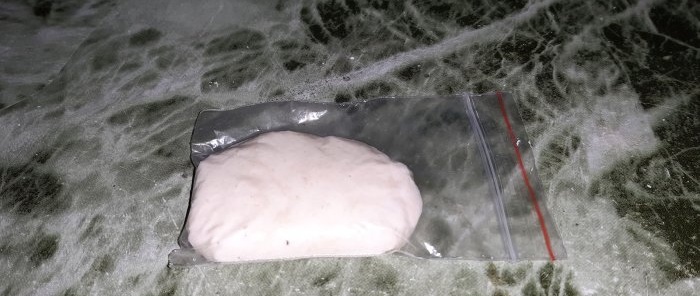
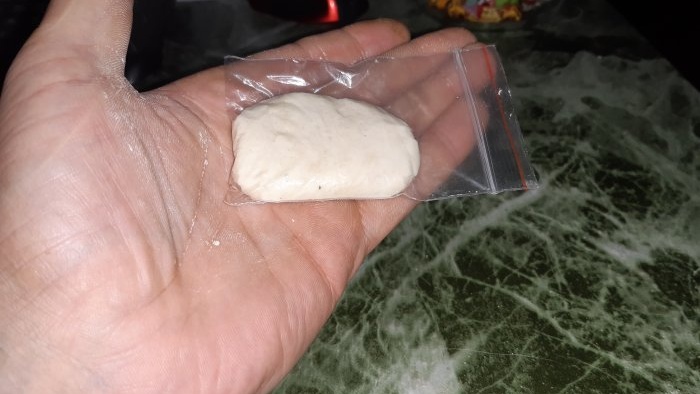
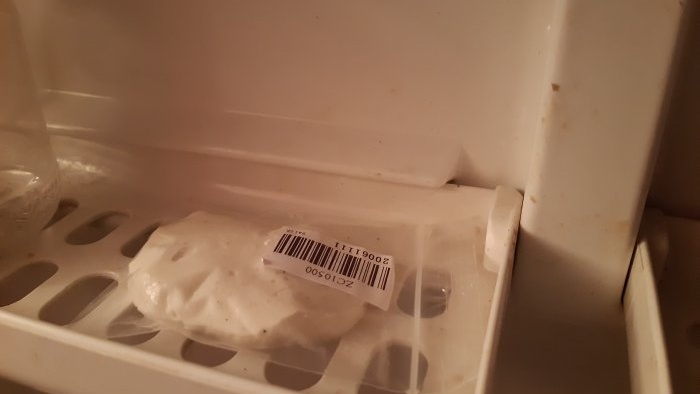
This will give the mass additional elasticity. We intensively knead the mass for another five to seven minutes. With that, the mass is ready.If, after using it in any task for which the mass was made, you have some amount of this mass left, do not rush to throw it away - it is perfectly preserved in sealed packaging. Place leftovers in a sealable plastic bag and refrigerate.
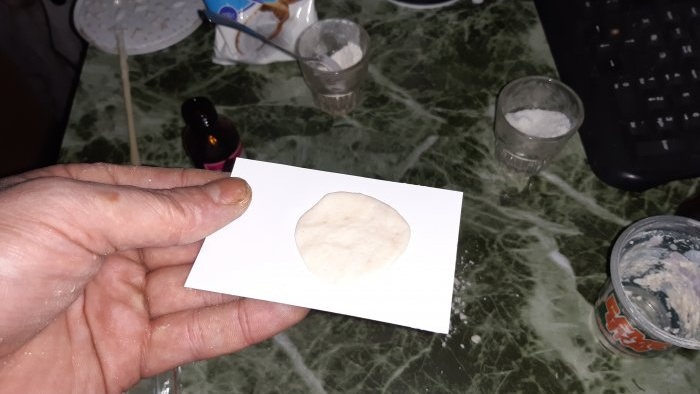
It poses absolutely no danger to food. Without access to oxygen, it does not lose its qualities and properties for a very long time. Personally, I successfully used the remains preserved in this way, a month and a half after production. This material dries until completely hardened, approximately 20-25 hours. It all depends on the thickness of your product. After production, I left a small sample on the paper, and after 24 hours I decided to conduct several strength tests with the hardened mass.
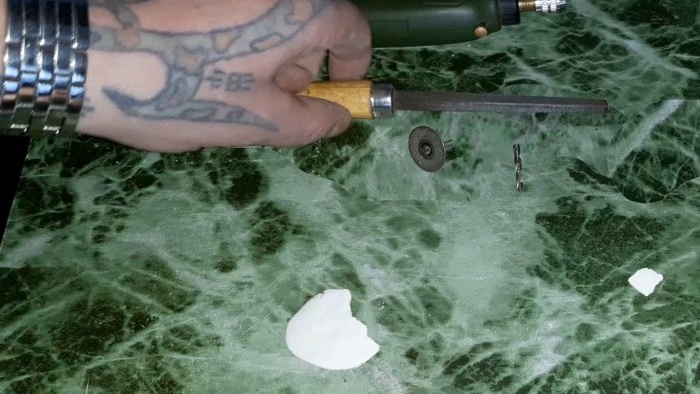
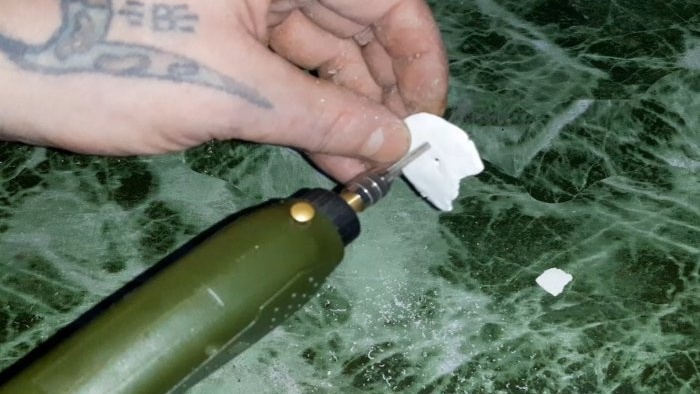
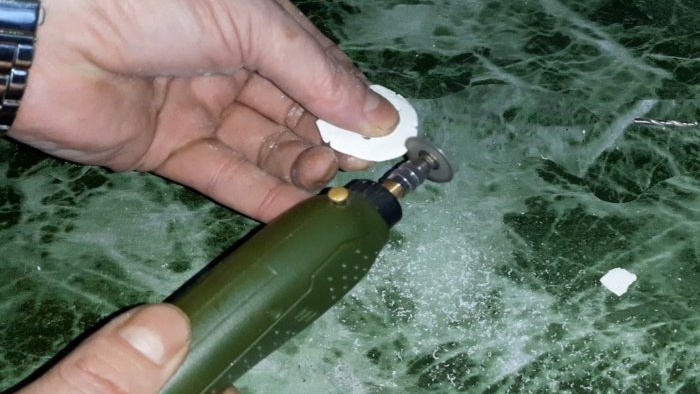
I broke it, drilled it, sawed it, sharpened it.
The result is very good! The hardness is similar to the dense plastic from which housings for household appliances are made. Also, in terms of strength, it resembles a frozen two-component “cold welding” adhesive. It just doesn't stink!

