How to make a miniature 2 in 1 circular grinding machine for modeling
When assembling scaled-down models of ships and other equipment, it is necessary to make small parts from wood, the manual adjustment of which takes a lot of time. To speed up this process and achieve high accuracy of the resulting components, you can assemble a miniature circular grinding machine.
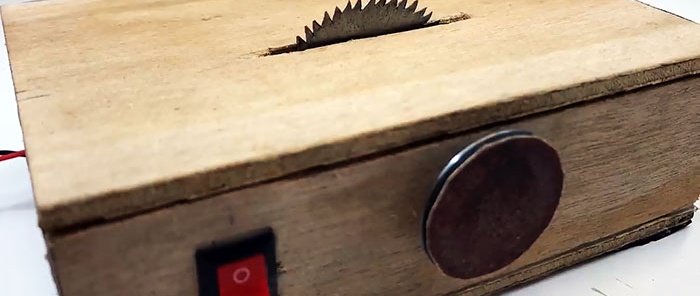
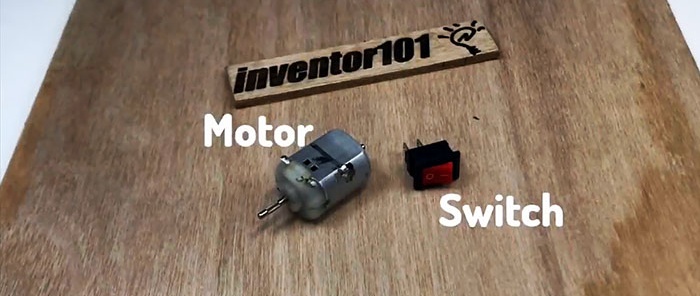
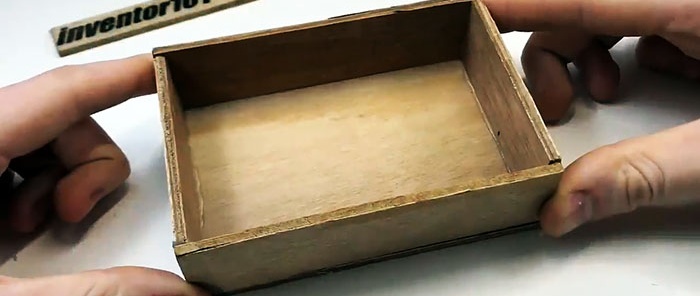
The frame of the machine in the form of a box is made from thin sheet plywood.
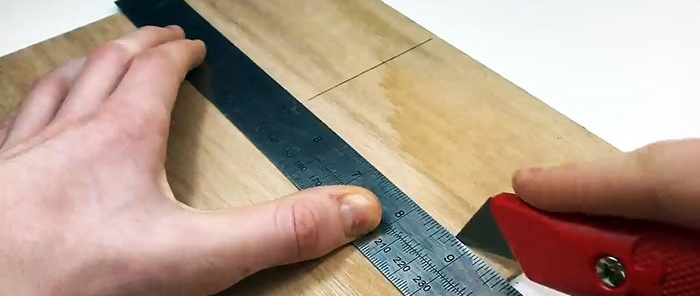
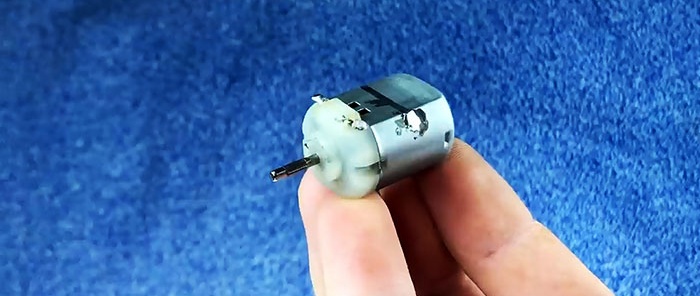
It will house the motor. The base of the box is made 80x120 mm, and the side walls are cut to a height of 30 mm. You can make other sizes if a larger motor is available. The cut parts are glued into a box with hot glue.
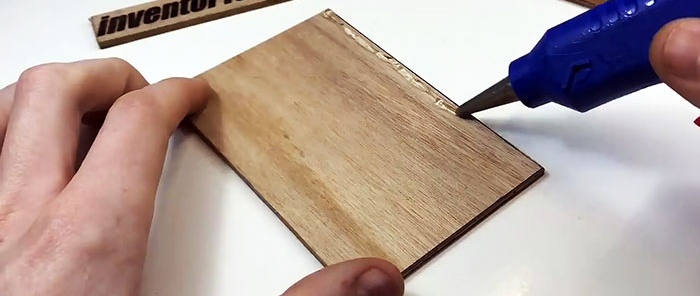
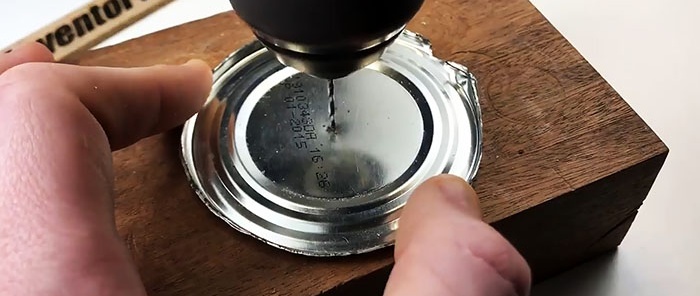
A disc is cut out of a tin lid for rolling up cans. A central hole is made in it with a thin drill corresponding to the diameter of the shaft on the motor.
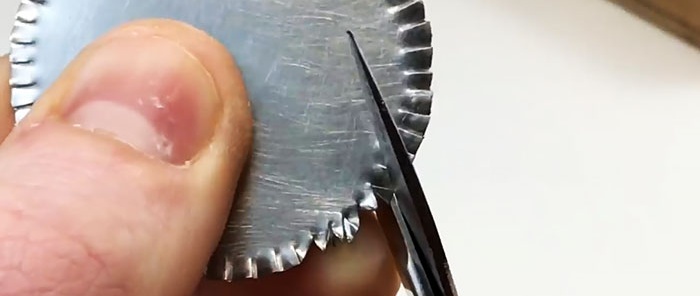
Next, the teeth are cut on the disk using scissors.They move to the sides, alternating directions left and right. The result is a lightweight saw blade.
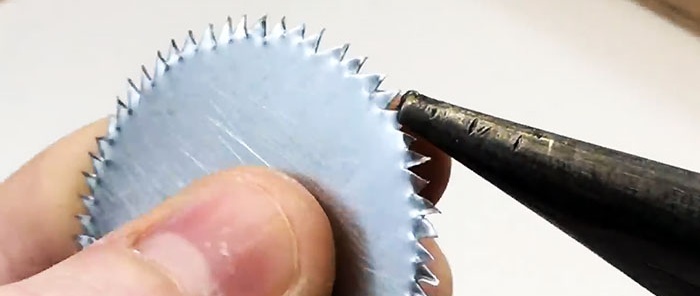
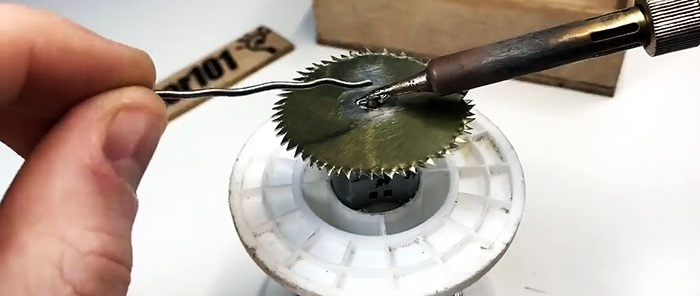
At the next stage of assembly, you need to install the saw blade on the motor shaft. To do this, it must first be stripped down the center to bare metal. The disk is soldered onto the short shaft of the electric motor.
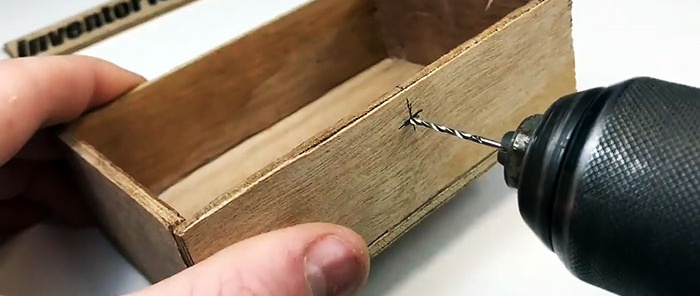
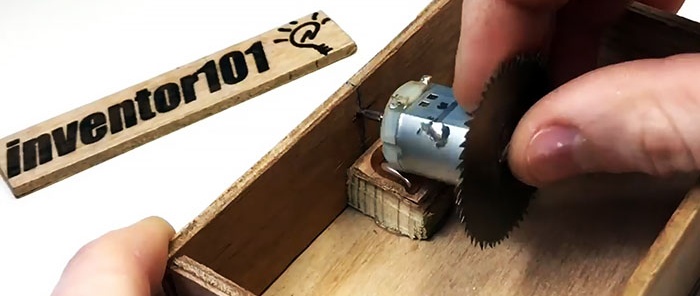
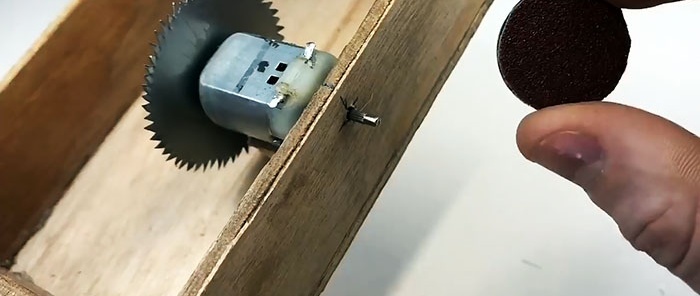
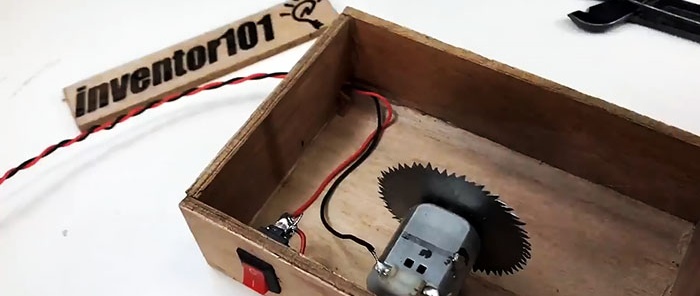
Next, the engine is glued into the box onto a block stand. In this case, its long shaft must extend outside the housing, so a hole will need to be made for it.
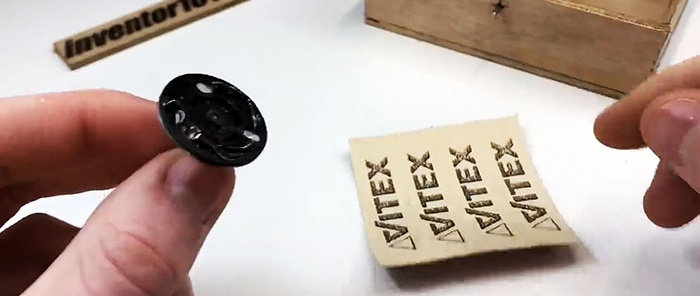
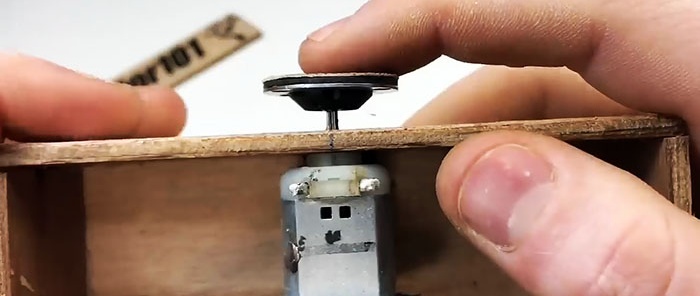
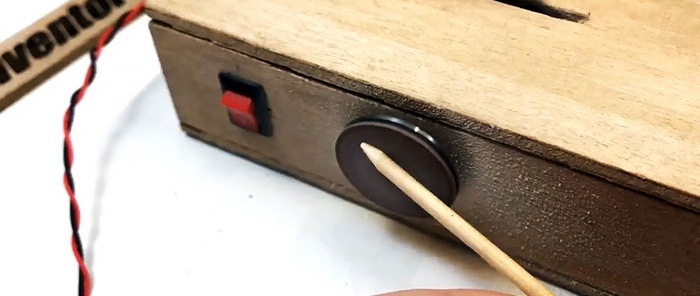
A large diameter pulley is installed on the motor shaft protruding from the housing, which can be removed when disassembling an old tape recorder, inkjet printer or scanner. It is also possible to simply cut a disk out of plastic and glue it onto the shaft. Sandpaper is then glued to the disc or pulley.
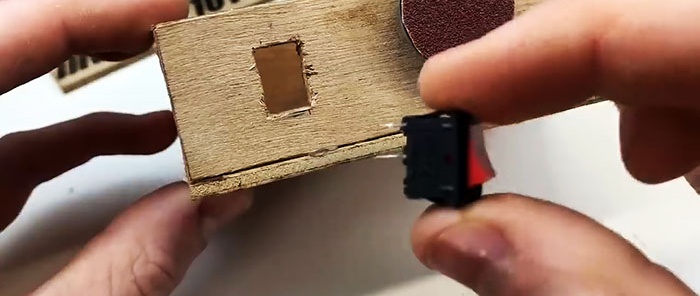
A key switch is cut into the machine body and glued. Through it, wires from the power supply are soldered to the motor. To prevent them from dangling, they can also be secured with hot glue.
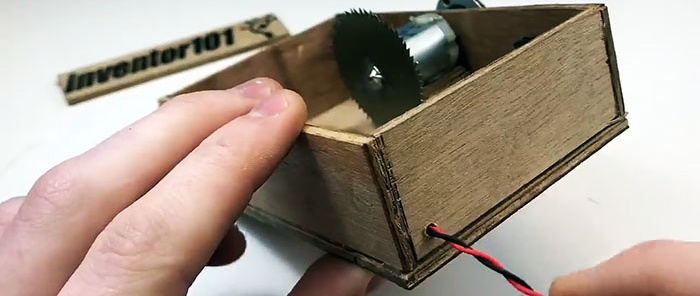
A slot is made in the tabletop of the machine for the saw blade. In order for it to be securely attached and at the same time easily removed, you need to glue 4 plywood stops to it, similar to table legs. The resulting table will be tightly inserted into the machine box.
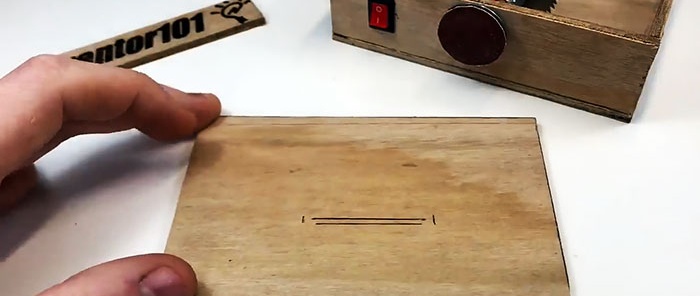
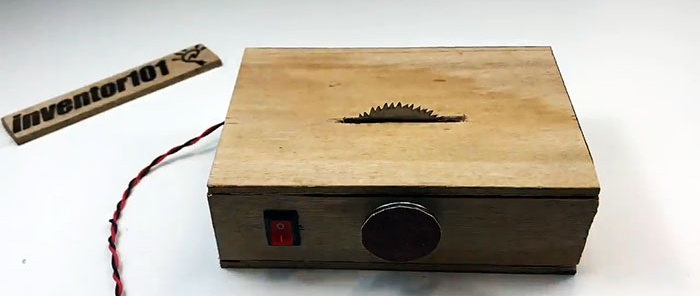
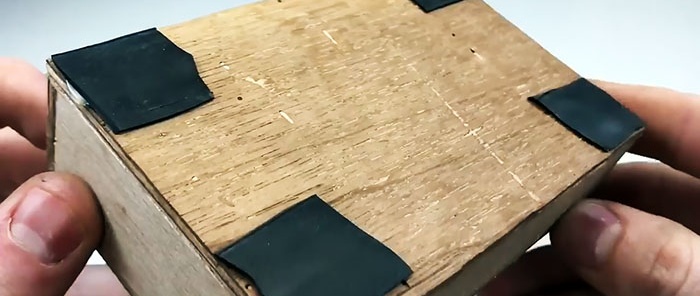
To prevent the machine from sliding, rubber pads cut from a car or bicycle inner tube are glued to its bottom.
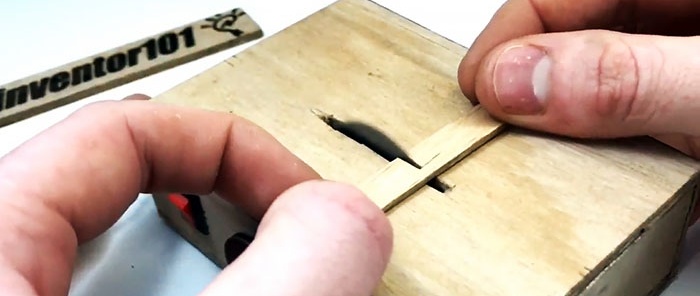
This machine can be used for cutting veneer into miniature boards, cutting thin pieces of wood, and sanding them on a side sanding disc. When working on it, sawdust practically does not fly around the room, since it accumulates in the box.

Materials:
- plywood 3 or 4 mm;
- miniature DC electric motor;
- key switch;
- wires;
- power unit;
- sandpaper;
- pulley for the motor;
- sunset cover;
- old wheel camera.

Manufacturing of the machine
The frame of the machine in the form of a box is made from thin sheet plywood.

It will house the motor. The base of the box is made 80x120 mm, and the side walls are cut to a height of 30 mm. You can make other sizes if a larger motor is available. The cut parts are glued into a box with hot glue.


A disc is cut out of a tin lid for rolling up cans. A central hole is made in it with a thin drill corresponding to the diameter of the shaft on the motor.

Next, the teeth are cut on the disk using scissors.They move to the sides, alternating directions left and right. The result is a lightweight saw blade.


At the next stage of assembly, you need to install the saw blade on the motor shaft. To do this, it must first be stripped down the center to bare metal. The disk is soldered onto the short shaft of the electric motor.


Next, the engine is glued into the box onto a block stand. In this case, its long shaft must extend outside the housing, so a hole will need to be made for it.


A large diameter pulley is installed on the motor shaft protruding from the housing, which can be removed when disassembling an old tape recorder, inkjet printer or scanner. It is also possible to simply cut a disk out of plastic and glue it onto the shaft. Sandpaper is then glued to the disc or pulley.


A key switch is cut into the machine body and glued. Through it, wires from the power supply are soldered to the motor. To prevent them from dangling, they can also be secured with hot glue.


A slot is made in the tabletop of the machine for the saw blade. In order for it to be securely attached and at the same time easily removed, you need to glue 4 plywood stops to it, similar to table legs. The resulting table will be tightly inserted into the machine box.


To prevent the machine from sliding, rubber pads cut from a car or bicycle inner tube are glued to its bottom.

This machine can be used for cutting veneer into miniature boards, cutting thin pieces of wood, and sanding them on a side sanding disc. When working on it, sawdust practically does not fly around the room, since it accumulates in the box.


Watch the video
Similar master classes
Particularly interesting
Comments (3)


