Do-it-yourself 12 V boat electric motor
Many people enjoy fishing and boat trips on the water. The hobby for this active outdoor recreation is popular, especially if you have at least a small plastic boat with 1-2 seats. Budget versions of such boats are made without a motor, so you have to row oars through the water. What if you make a compact and inexpensive electric drive with your own hands that can be controlled like a steering wheel?

Tools: Drill or screwdriver; Hot glue gun; Glue for PVC pipes; Soldering iron with solder; Marking and plumbing tools (knife, pliers, etc.).
The main task is to seal the engine, protecting it from water.Cover the end of the engine with the shaft with a sheet of paper, and mark the mounting holes for the screws with a marker.

We transfer them to a PVC plug with a center mark. We drill holes for fasteners with a 3 mm drill, in the center - 12 mm.
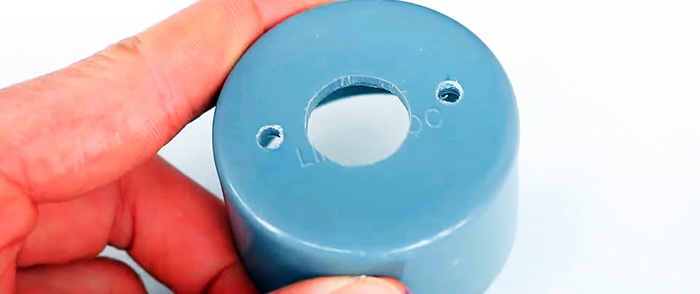
We turn the plug over, coat it with hot glue, and put it on the engine, while centering the holes for the fasteners.
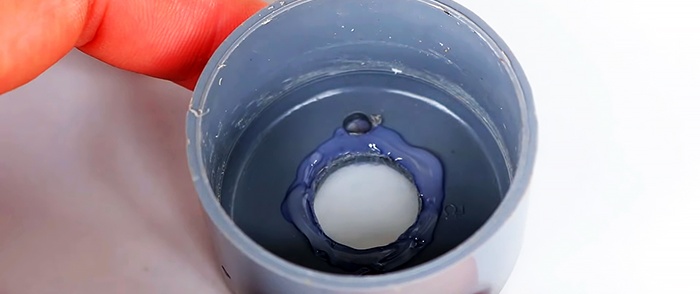
Before fastening the screws, lubricate their seats with hot glue to ensure a tight seal. You can also use silicone.
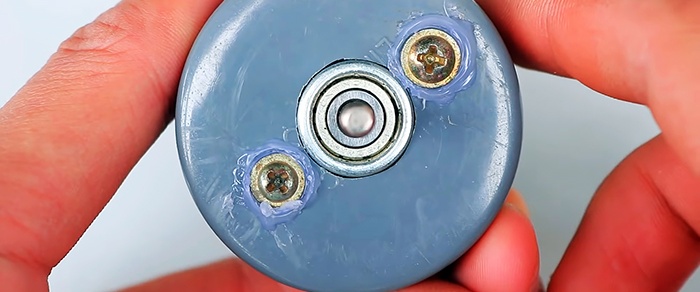
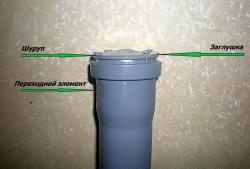
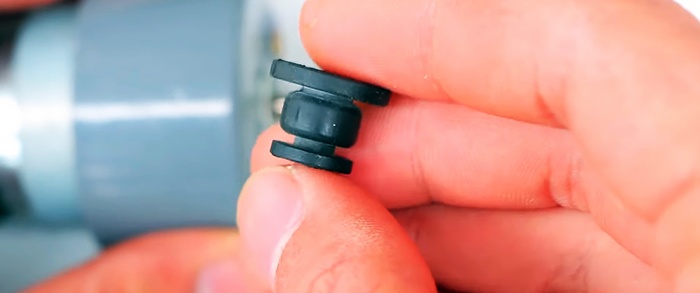
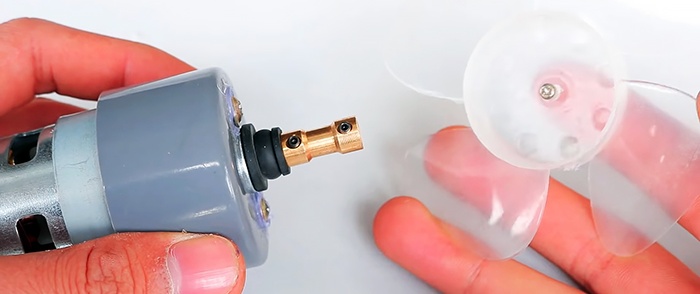
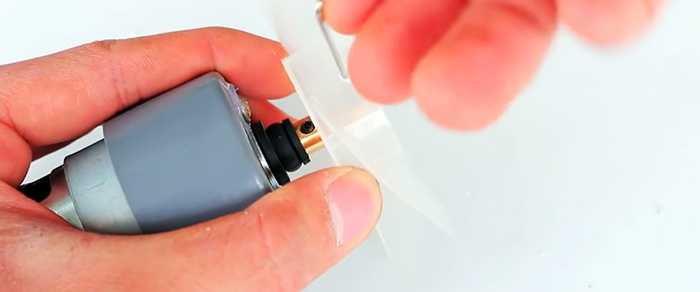
We put a rubber seal (oil seal) on the shaft, and then an adapter to secure the fan impeller. It is secured with small hidden hex screws. We put it in a tensioner, pressing the oil seal against the engine.
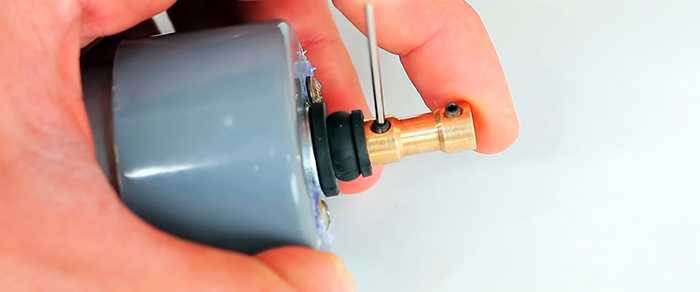
Small plastic impellers have a small pipe for mounting on the shaft. We carefully screw a self-tapping screw or screw into this hollow element in order to strengthen its axis. Under the blades, on opposite sides, we drill a hole for a hex key, with which we will fix the impeller in the adapter. It must be clamped tightly, otherwise, due to the resistance of the water, it may simply be torn off the shaft.
We solder the power cable contacts to the outputs on the engine.
We put a 50 mm piece of pipe on the engine body, and on top of it we put a PVC tee with a half-inch outlet on the glue. We bring the cable out through the free hole in the tee. All connections must be properly sealed.
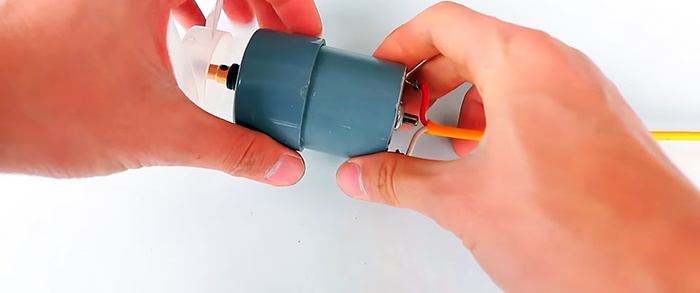
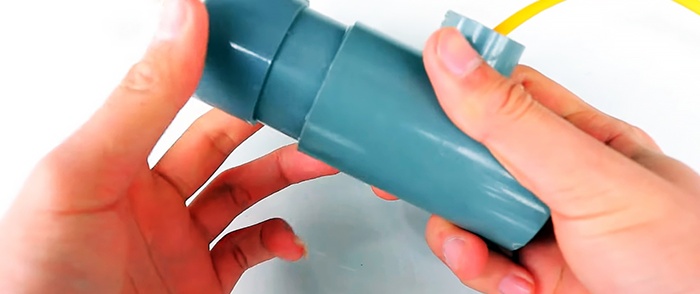
We calculate the next section of the PVC pipe so that after inserting into the plug there is a gap of about 1 cm. We glue these two parts together and insert them into the tee with glue.
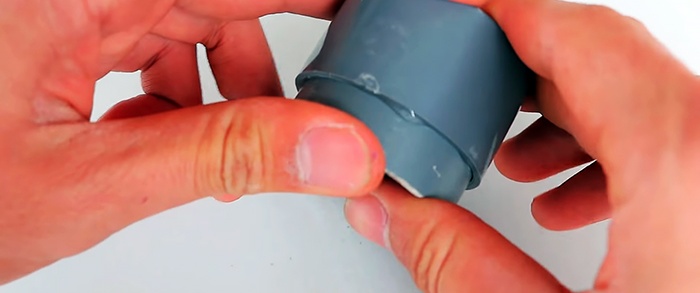
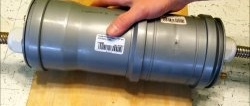
The protective housing for the engine is ready. All that remains is to attach a comfortable handle to it, by which you can hold it in the boat. We insert a half-inch PVC pipe into the pipe on the tee, and bring the cable out through it.
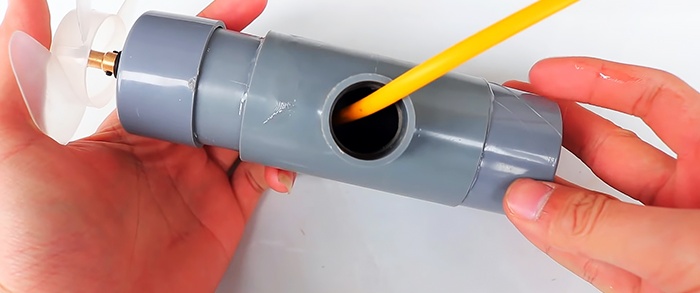
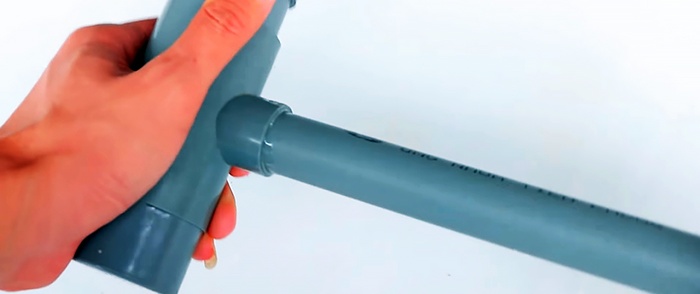
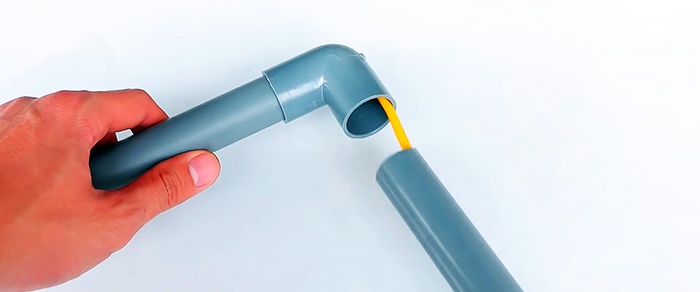
We connect another such pipe to the previous one with a 90-degree corner fitting. All connections need to be glued. At the end of the last pipe we drill a hole for a toggle button for the electric drive.

We solder the removed contacts to the button, after which we put it on hot-melt adhesive. We insulate the contacts with heat shrink or electrical tape.
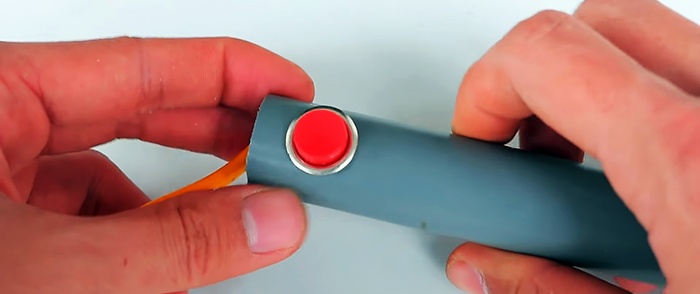
We fix the cable at the end of the pipe with a nylon tie to avoid breaking the contacts. The device is ready for installation on a boat.

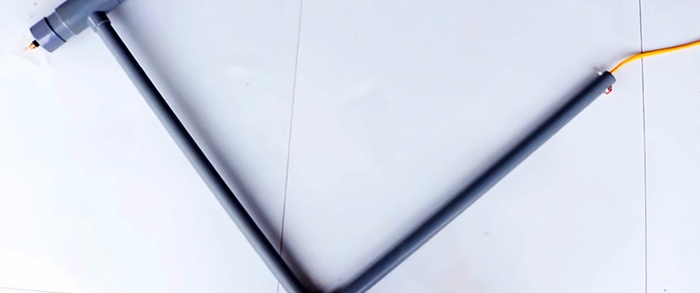
This type of boat motor is designed for a small, lightweight plastic boat. The power of the engine determines the force of movement of the impeller in the water. The device is attached to the boat frame with an adapter bracket made of wire or a suitable material. The operation of the engine and impeller is designed at the very surface, since the device, with greater depth, may simply not withstand the resistance of the water or make the boat move excessively weak.
The device operates on direct current from a 12 V battery. The type of battery does not matter (lead-acid or lithium), however, it is worth making a sealed case for it to protect against short circuits due to water entering the contact group.
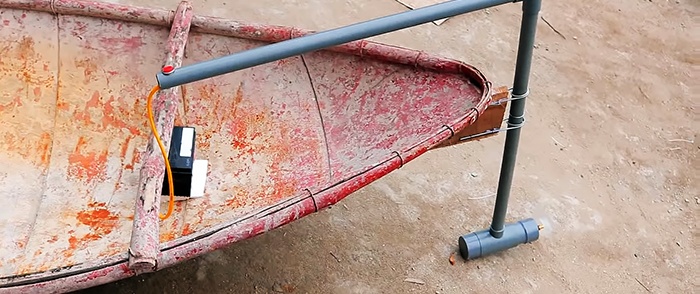
Otherwise, this is a completely working idea, the embodiment of which can already be found on the market in finished form. This option will allow you to save as much as possible on costs and get a useful device for recreation on the water.



Materials
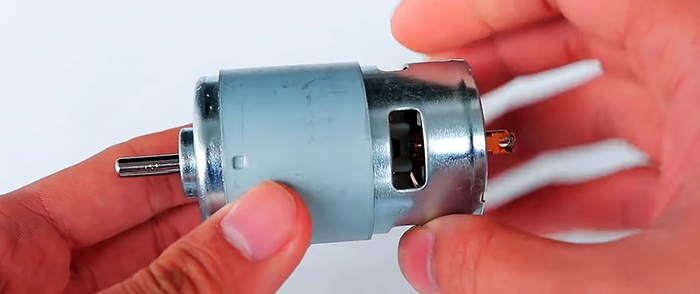
- DC motor, 775 series 12 V, 150 W - ;
- Plastic impeller from a refrigerator fan or computer cooler;
- Rubber seal (oil seal) on the shaft;
- External PVC plug, diameter 50 mm – 2 pcs;
- PVC pipe diameter 50 mm (offcuts);
- PVC pipe diameter 1/2 inch;
- 90 degree angle, 1/2 inch diameter;
- Two-core copper cable;
- Battery;
- Heat shrink or electrical tape;
- Two-position toggle button.
Tools: Drill or screwdriver; Hot glue gun; Glue for PVC pipes; Soldering iron with solder; Marking and plumbing tools (knife, pliers, etc.).
Manufacturing of a boat electric motor
The main task is to seal the engine, protecting it from water.Cover the end of the engine with the shaft with a sheet of paper, and mark the mounting holes for the screws with a marker.

We transfer them to a PVC plug with a center mark. We drill holes for fasteners with a 3 mm drill, in the center - 12 mm.

We turn the plug over, coat it with hot glue, and put it on the engine, while centering the holes for the fasteners.

Before fastening the screws, lubricate their seats with hot glue to ensure a tight seal. You can also use silicone.

We put a rubber seal (oil seal) on the shaft, and then an adapter to secure the fan impeller. It is secured with small hidden hex screws. We put it in a tensioner, pressing the oil seal against the engine.


Small plastic impellers have a small pipe for mounting on the shaft. We carefully screw a self-tapping screw or screw into this hollow element in order to strengthen its axis. Under the blades, on opposite sides, we drill a hole for a hex key, with which we will fix the impeller in the adapter. It must be clamped tightly, otherwise, due to the resistance of the water, it may simply be torn off the shaft.


We solder the power cable contacts to the outputs on the engine.
We put a 50 mm piece of pipe on the engine body, and on top of it we put a PVC tee with a half-inch outlet on the glue. We bring the cable out through the free hole in the tee. All connections must be properly sealed.


We calculate the next section of the PVC pipe so that after inserting into the plug there is a gap of about 1 cm. We glue these two parts together and insert them into the tee with glue.

The protective housing for the engine is ready. All that remains is to attach a comfortable handle to it, by which you can hold it in the boat. We insert a half-inch PVC pipe into the pipe on the tee, and bring the cable out through it.


We connect another such pipe to the previous one with a 90-degree corner fitting. All connections need to be glued. At the end of the last pipe we drill a hole for a toggle button for the electric drive.


We solder the removed contacts to the button, after which we put it on hot-melt adhesive. We insulate the contacts with heat shrink or electrical tape.

We fix the cable at the end of the pipe with a nylon tie to avoid breaking the contacts. The device is ready for installation on a boat.


Practical part
This type of boat motor is designed for a small, lightweight plastic boat. The power of the engine determines the force of movement of the impeller in the water. The device is attached to the boat frame with an adapter bracket made of wire or a suitable material. The operation of the engine and impeller is designed at the very surface, since the device, with greater depth, may simply not withstand the resistance of the water or make the boat move excessively weak.
The device operates on direct current from a 12 V battery. The type of battery does not matter (lead-acid or lithium), however, it is worth making a sealed case for it to protect against short circuits due to water entering the contact group.

Otherwise, this is a completely working idea, the embodiment of which can already be found on the market in finished form. This option will allow you to save as much as possible on costs and get a useful device for recreation on the water.


Watch the video
Similar master classes
Particularly interesting
Comments (2)


