Check valve made of two syringes
Experienced aquarists know well that if an air compressor is placed below the water level, it will sooner or later flood. A simple device called a check valve allows you to avoid such an extremely negative development of events. You can make it yourself from available materials, and this process is described in detail in the article brought to your attention.
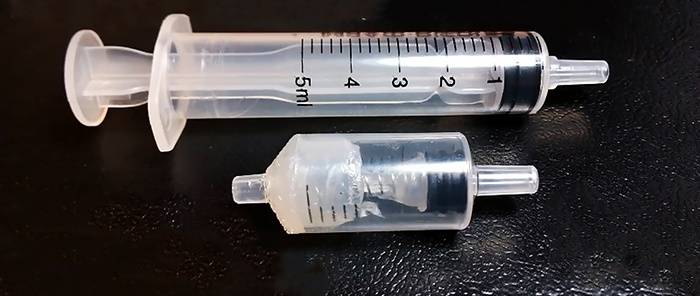
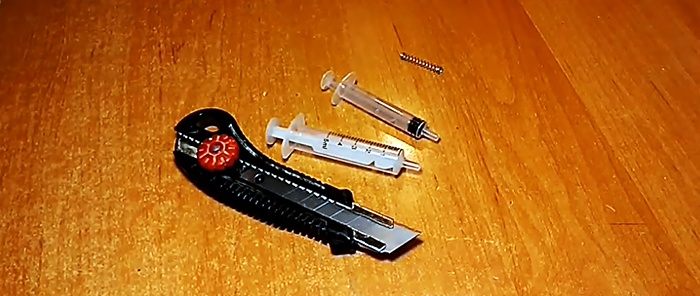
We disassemble the syringes, cut the piston rod of the smaller one at the place of the first narrowing.
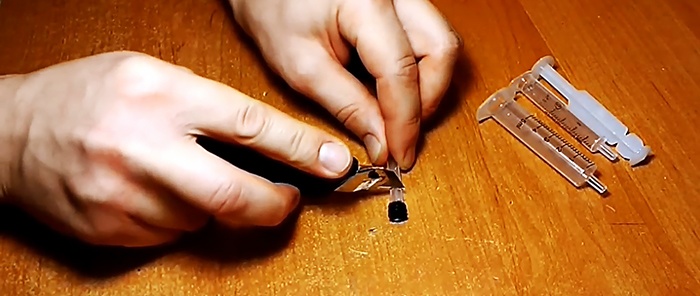
We cut the stiffening ribs of the rod so that a spring can be put on it.
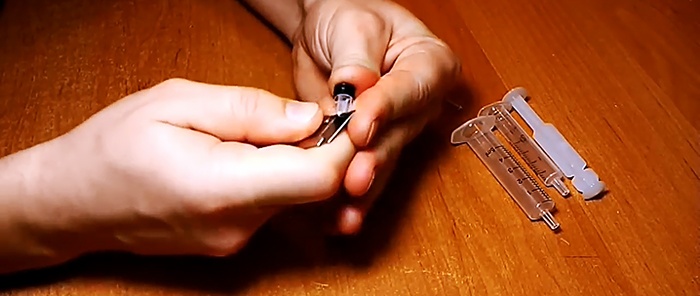
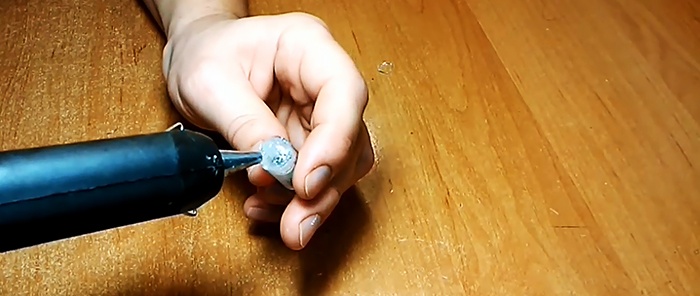
Apply glue to the rod and put a spring on it, let the composition dry.
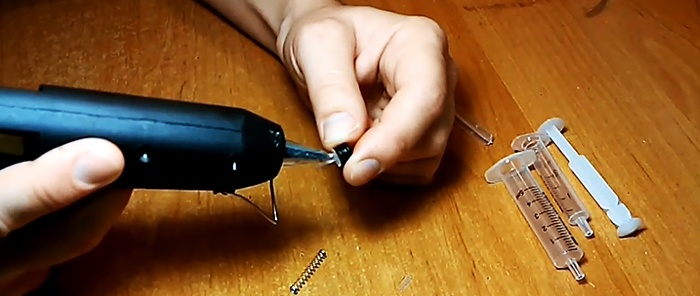
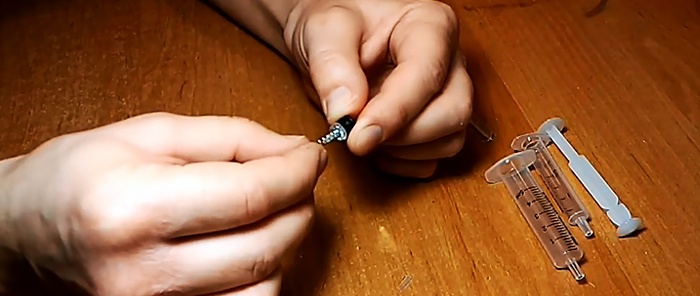
We cut off about half of a five-millimeter syringe and use the front part.
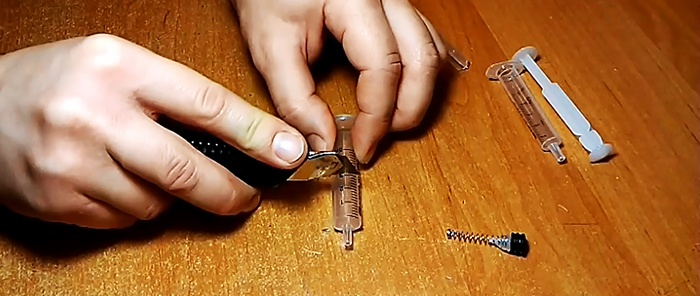
Using pliers, carefully shorten the spring so that it slightly protrudes from the cut of the 5 ml syringe.
From a 2 ml syringe, cut off a small piece near the spout and liberally apply glue to it.
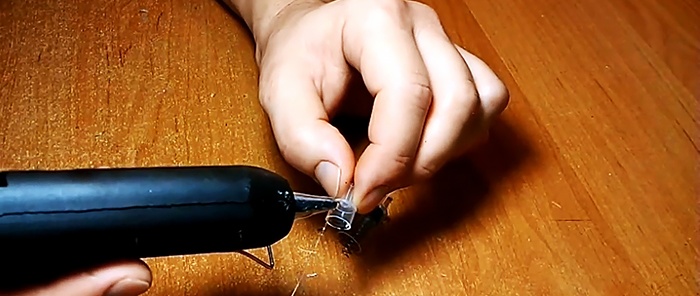
We insert the part into a section of a syringe with a valve and let the glue cure for polymerization.
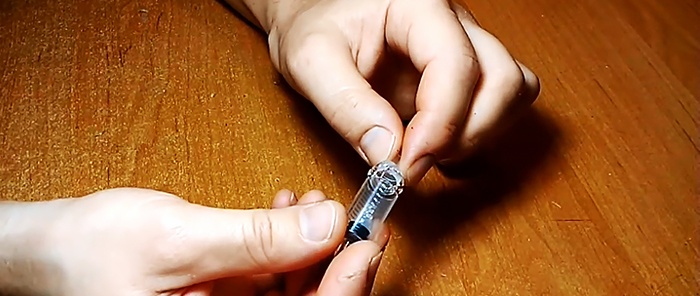
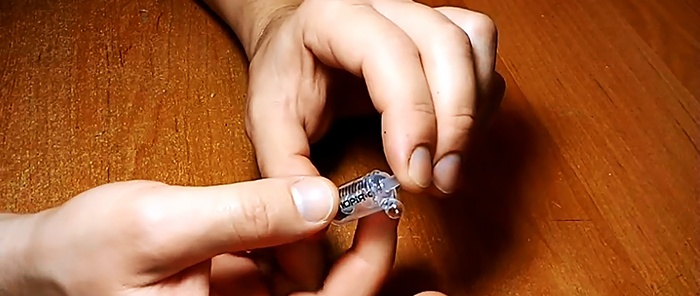
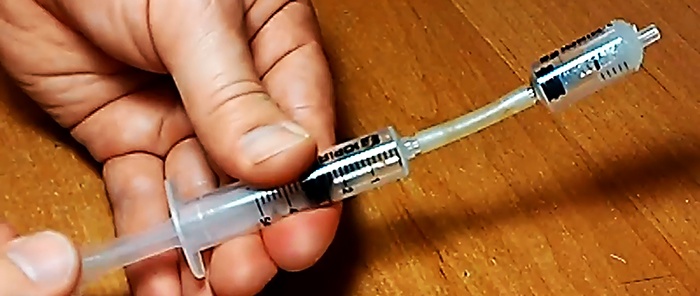
Additionally, fill it with adhesive on top, allow it to dry completely and test it with a syringe. We connect the latter to the valve as shown in the figure and pull out the piston. With a properly functioning check valve, external pressure should return the piston to its original position.
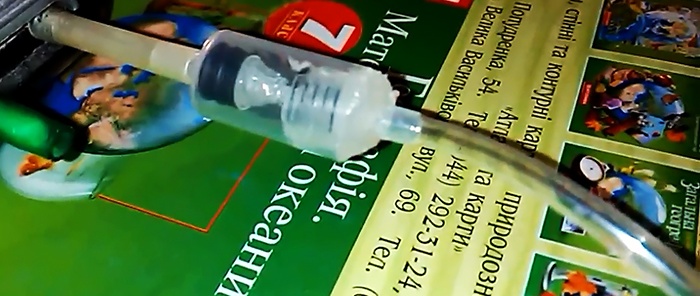
We install a valve at the outlet of the air compressor, and throw the tube into the aquarium, the air is supplied regularly and saturates the water with oxygen.
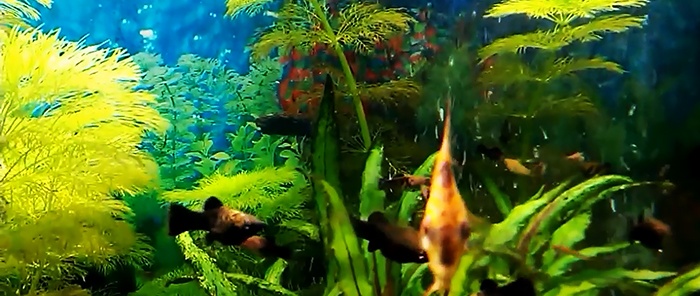
At the same time, in the event of a power outage, there will be no reverse flow of water; the valve piston pressed by the spring prevents this.


Materials and tools
- disposable syringes volume 5 ml and 2 ml;
- spring from a fountain pen;
- stationery or penknife;
- hot glue gun.

Check valve manufacturing process
We disassemble the syringes, cut the piston rod of the smaller one at the place of the first narrowing.

We cut the stiffening ribs of the rod so that a spring can be put on it.

Apply glue to the rod and put a spring on it, let the composition dry.


We cut off about half of a five-millimeter syringe and use the front part.

Using pliers, carefully shorten the spring so that it slightly protrudes from the cut of the 5 ml syringe.
From a 2 ml syringe, cut off a small piece near the spout and liberally apply glue to it.

We insert the part into a section of a syringe with a valve and let the glue cure for polymerization.


Additionally, fill it with adhesive on top, allow it to dry completely and test it with a syringe. We connect the latter to the valve as shown in the figure and pull out the piston. With a properly functioning check valve, external pressure should return the piston to its original position.


We install a valve at the outlet of the air compressor, and throw the tube into the aquarium, the air is supplied regularly and saturates the water with oxygen.

At the same time, in the event of a power outage, there will be no reverse flow of water; the valve piston pressed by the spring prevents this.


Watch the video
Similar master classes
Particularly interesting
Comments (2)

