Second life for an old laptop with a broken screen
A damaged laptop display is not a death sentence. Instead of costly matrix replacement, the device can be converted into a portable desktop computer in a home workshop or on the balcony. We will make the case from hardwood with a colorful texture, use a TV as a display, thereby getting a smart TV.
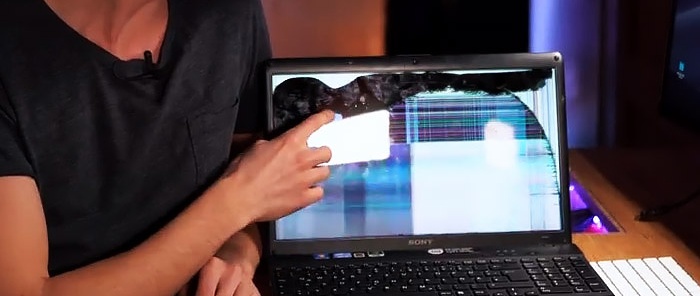
In addition to the contents of the laptop, you need the following tools and materials:
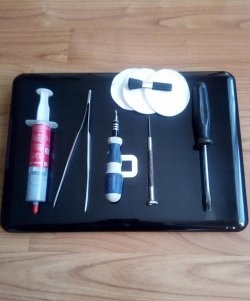
Using a laptop repair kit, we disassemble the device case and remove the components.
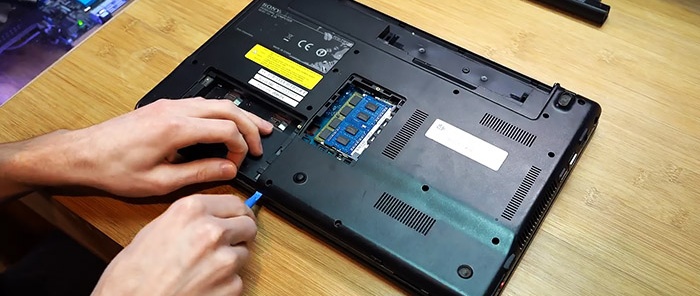
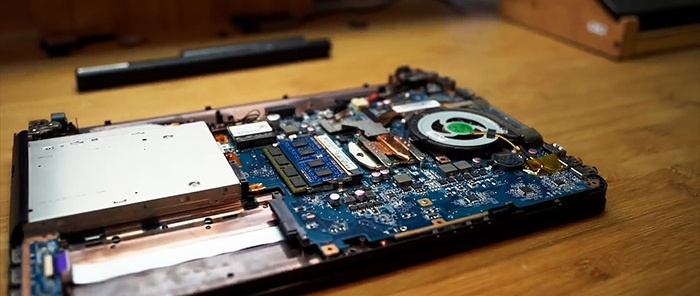
Don’t forget to unscrew the mounting screws and disconnect the cables and plugs.
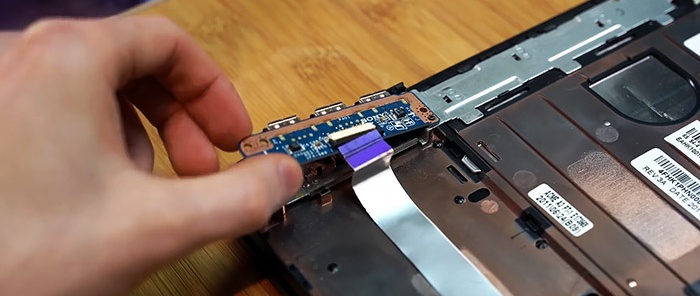
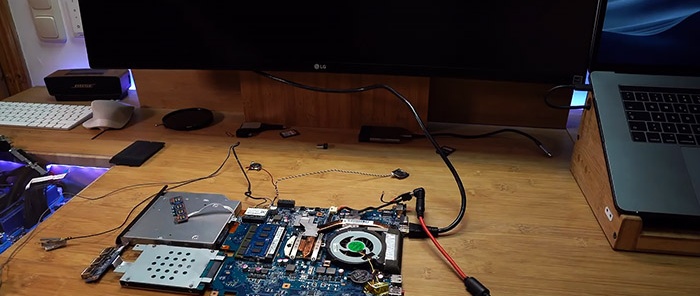
Remove the rubber feet. We disassemble the display case and remove the webcam with a cable to connect it. Let's make sure that nothing was damaged during disassembly: connect the components on the table and start the device.
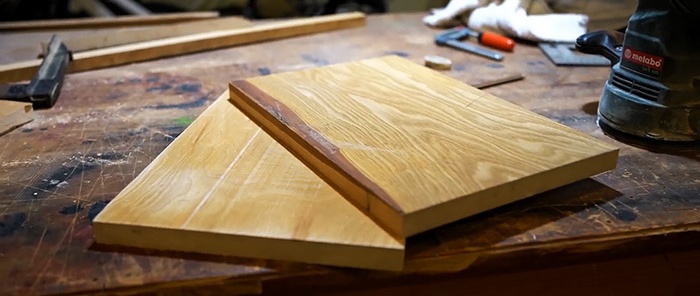
We cut the boards or boards to sizes slightly larger than the dimensions of the motherboard (8-12 mm on all sides).
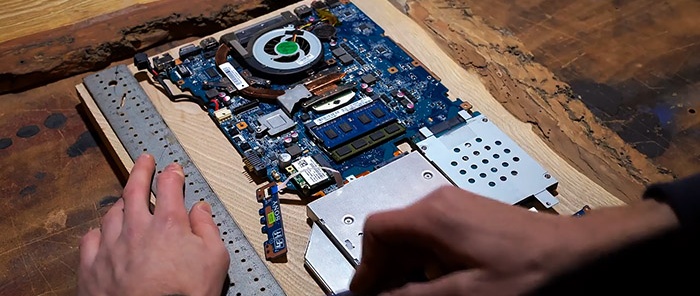
We place the system board on the board so that 8-12 mm remains to the edges, and trace it with a pencil.
Using a router with a straight groove cutter, we select a seat for the motherboard.
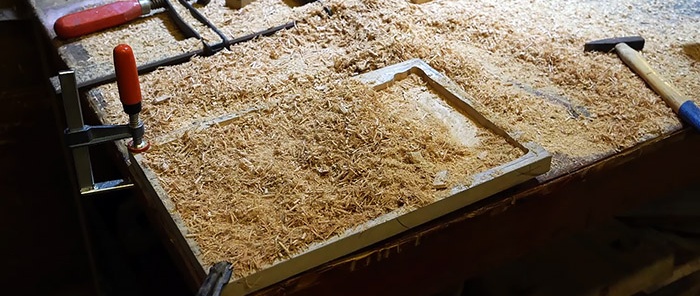
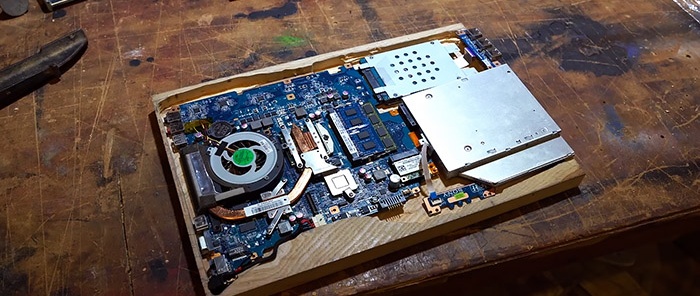
The main contour can be set with a thick cutter (12 mm), and the contours with a thin one (6 mm) or use a cutter for a slotting machine.
A hastily made carriage will simplify the process and increase accuracy. We do the same with the second shield - we select a place for the hard drive, processor fan and free circulation of hot air.
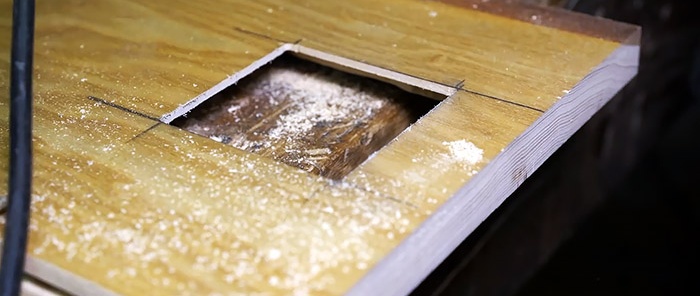
Use a thin groove cutter to select grooves to remove warm air from the housing. We clamp the shield vertically between two planes along which the router platform will move.
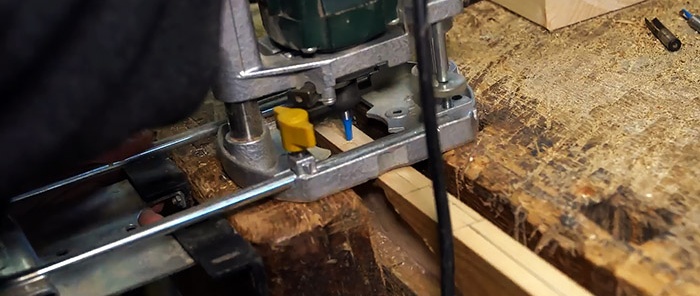
We sand the boards with emery cloth. Perpendicular to the slots, select a longitudinal groove. For the speakers, we make a hole with a core drill, using a jigsaw or router. We cut a metal mesh with dimensions slightly larger than the holes for air and speakers.
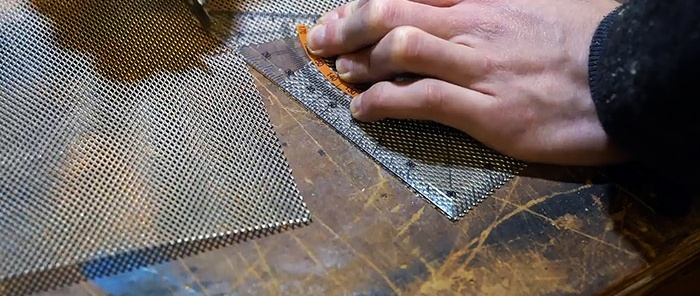
We glue the mesh inside the case to prevent foreign objects from getting inside.
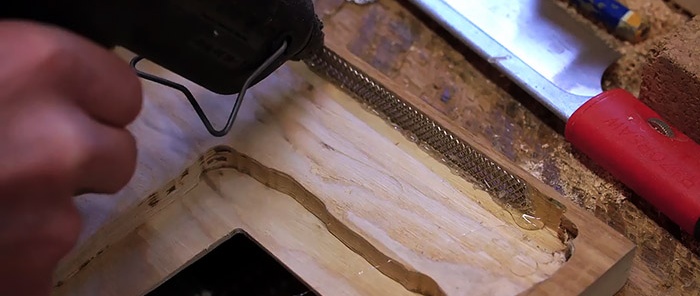
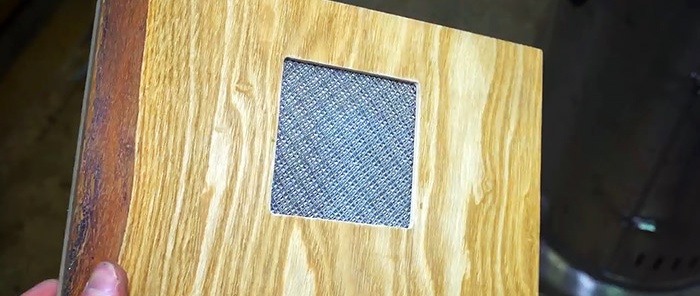
We mark and make holes for the connectors using a chisel, screwdriver, or drill.
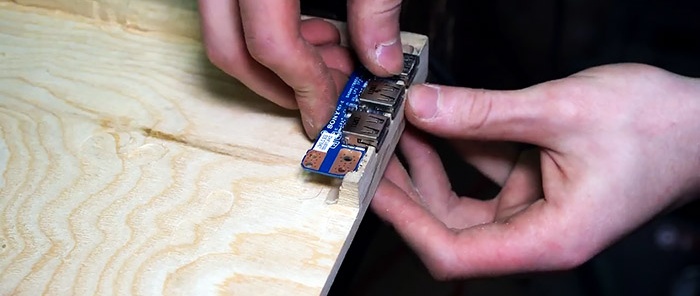
Using a chisel we give all the grooves and holes an aesthetic appearance, and sand the body with emery cloth.
We make a power button: we drill holes, insert a round piece of such diameter into it that it fits tightly into the hole.
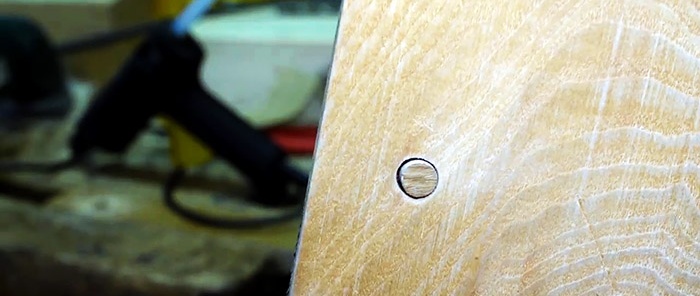
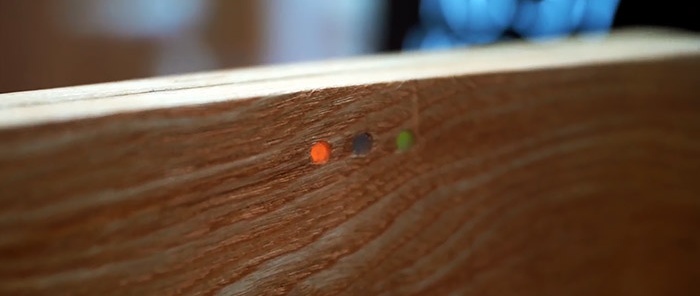
Drill 3 holes for indicators.
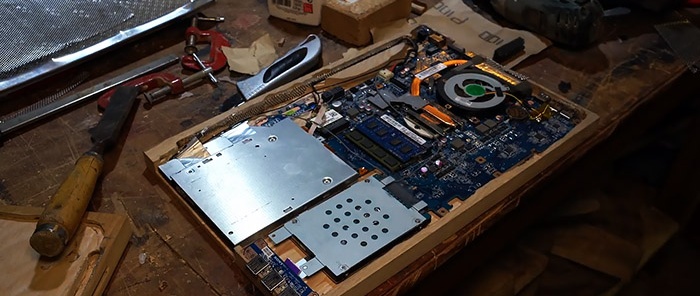
We install and connect the components (except for the speakers) and fix them.
The board with indicators and the power plug can be fixed with glue.
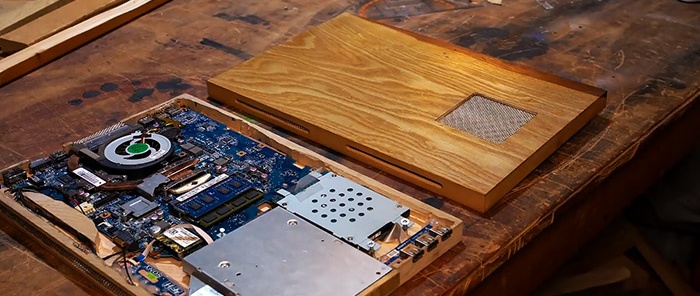
We cut out the cover for the drive so that it does not visually differ from the case. We attach the overlay.We glue the speakers to the grid. Using a hand saw and a router (jigsaw, band saw), we cut out the legs.
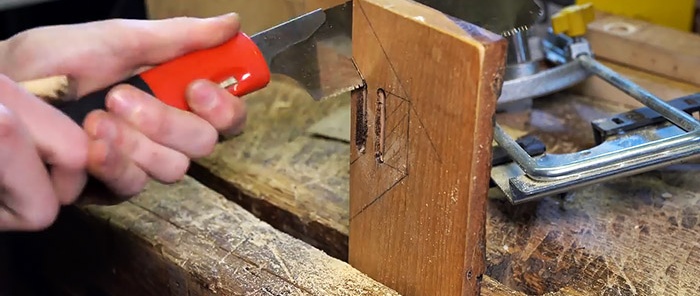
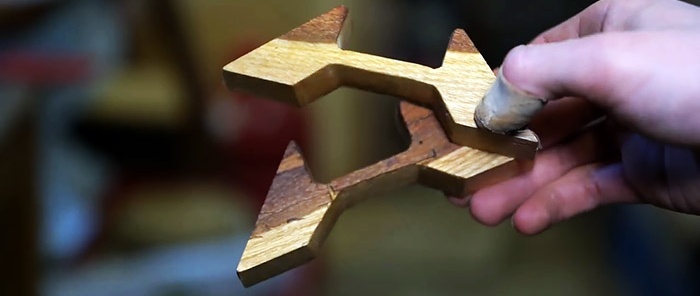
Using a rasp and sandpaper we finalize their shape. If desired, we decorate the body (with carvings, burnt patterns, milling ribs) and cover it with oil. Glue the elastic bands to the legs. We connect the speakers and check everything thoroughly (you can use the device for a couple of hours/days to make sure that everything is functioning properly). Apply glue to the contacting areas of the body parts and glue them together.
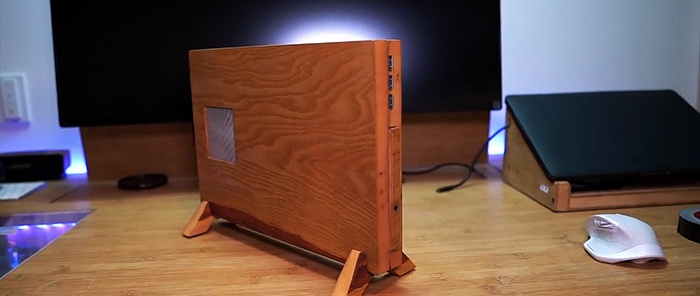
The pressing time and duration of the process depends on the glue. We attach the legs and turn it on.
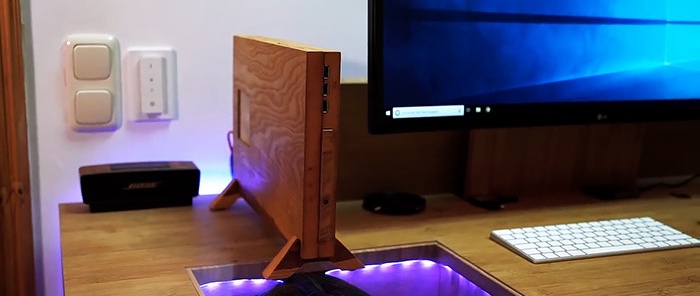
When working with the tool, remember safety precautions. The laptop must be disassembled and reassembled carefully to avoid damage to the cables. You can install the webcam in a convenient place, for example, above the TV. Instead of glue, the two parts of the body can be fastened with self-tapping screws. They will simplify disassembly, for example, for cleaning dust.

What you will need
In addition to the contents of the laptop, you need the following tools and materials:
- laptop case disassembly kit;
- manual router with a set of cutters;
- circular and hand saws;
- marking and measuring tools;
- 2 boards 25 mm thick (planed) or panels according to body size ~300 × 400 mm;
- metal grid;
- drill or screwdriver with drills;
- a pair of chisels and sandpaper;
- glue.
Manufacturing process
Using a laptop repair kit, we disassemble the device case and remove the components.


Don’t forget to unscrew the mounting screws and disconnect the cables and plugs.

Remove the rubber feet. We disassemble the display case and remove the webcam with a cable to connect it. Let's make sure that nothing was damaged during disassembly: connect the components on the table and start the device.

We cut the boards or boards to sizes slightly larger than the dimensions of the motherboard (8-12 mm on all sides).

We place the system board on the board so that 8-12 mm remains to the edges, and trace it with a pencil.

Using a router with a straight groove cutter, we select a seat for the motherboard.


The main contour can be set with a thick cutter (12 mm), and the contours with a thin one (6 mm) or use a cutter for a slotting machine.
A hastily made carriage will simplify the process and increase accuracy. We do the same with the second shield - we select a place for the hard drive, processor fan and free circulation of hot air.

Use a thin groove cutter to select grooves to remove warm air from the housing. We clamp the shield vertically between two planes along which the router platform will move.

We sand the boards with emery cloth. Perpendicular to the slots, select a longitudinal groove. For the speakers, we make a hole with a core drill, using a jigsaw or router. We cut a metal mesh with dimensions slightly larger than the holes for air and speakers.

We glue the mesh inside the case to prevent foreign objects from getting inside.


We mark and make holes for the connectors using a chisel, screwdriver, or drill.

Using a chisel we give all the grooves and holes an aesthetic appearance, and sand the body with emery cloth.
We make a power button: we drill holes, insert a round piece of such diameter into it that it fits tightly into the hole.

Drill 3 holes for indicators.

We install and connect the components (except for the speakers) and fix them.

The board with indicators and the power plug can be fixed with glue.

We cut out the cover for the drive so that it does not visually differ from the case. We attach the overlay.We glue the speakers to the grid. Using a hand saw and a router (jigsaw, band saw), we cut out the legs.


Using a rasp and sandpaper we finalize their shape. If desired, we decorate the body (with carvings, burnt patterns, milling ribs) and cover it with oil. Glue the elastic bands to the legs. We connect the speakers and check everything thoroughly (you can use the device for a couple of hours/days to make sure that everything is functioning properly). Apply glue to the contacting areas of the body parts and glue them together.

The pressing time and duration of the process depends on the glue. We attach the legs and turn it on.

When working with the tool, remember safety precautions. The laptop must be disassembled and reassembled carefully to avoid damage to the cables. You can install the webcam in a convenient place, for example, above the TV. Instead of glue, the two parts of the body can be fastened with self-tapping screws. They will simplify disassembly, for example, for cleaning dust.
Watch the video
Similar master classes
Particularly interesting
Comments (7)

