How to make a machine for stripping insulation from any wires
The presence of such a machine will allow you to quickly and easily remove wires from plastic or similar insulation. It can be made from waste materials using simple tools, with minimal carpenter and mechanic skills.
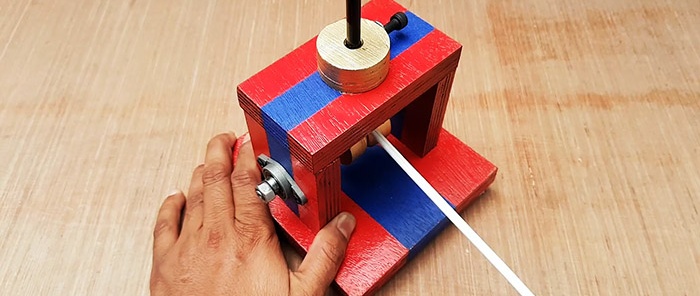
To make this device, we will prepare the following materials and products:
For work we will need: drilling machine, drill with attachments, clamps, vice, etc.
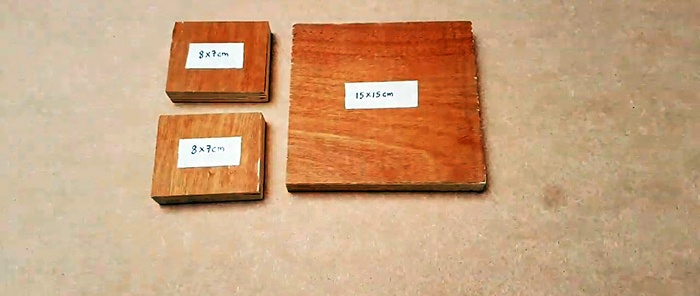
We cut out the following formats from scraps of multilayer plywood using any sawing tool: two - 8x7 cm, one each - 12x7 cm and 15x15 cm.
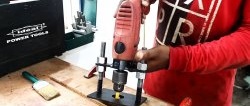
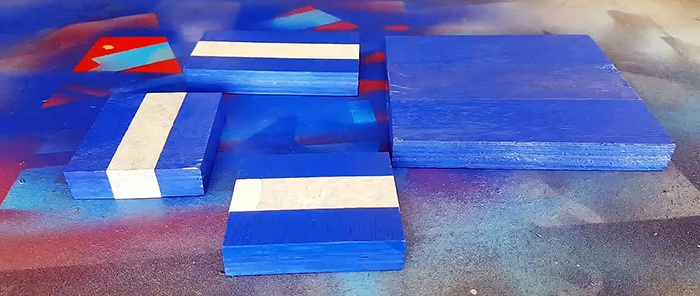
In identical fragments, use a drilling machine to make through holes of the required size in the center. We paint the plywood elements all around with blue paint.
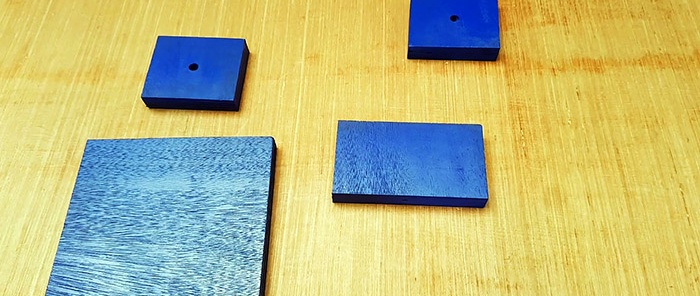
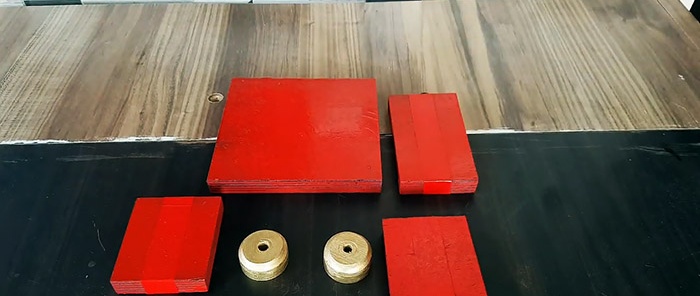
As soon as it dries, we stick a strip of construction tape in the center on all the elements, and two on the largest one.After that, we paint the front side of all fragments red.
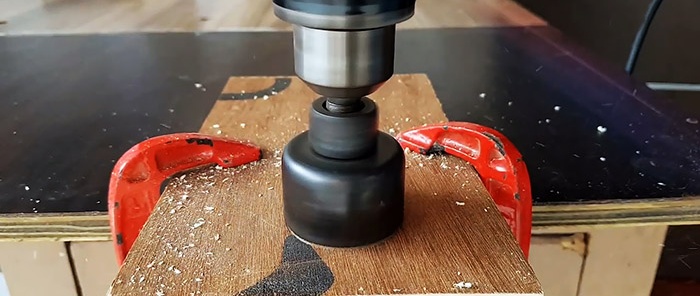
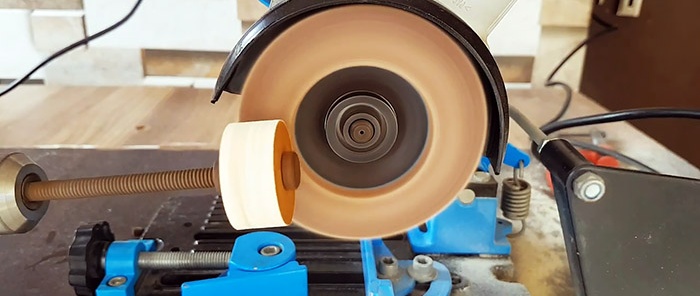
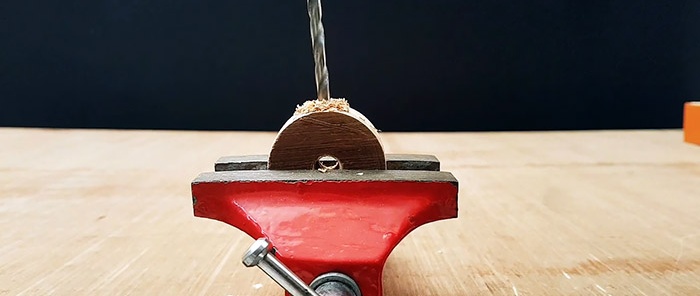
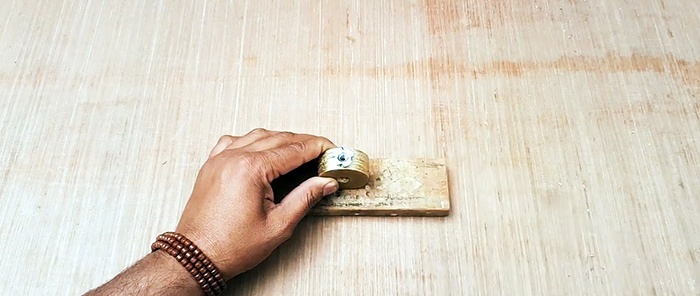
From 11-layer plywood, using a core drill of the required diameter, we cut out two circles, in the center of which we drill holes. Next, having secured them in the drill chuck with a pin and nuts, we process them on the grinder disk to the required dimensions and chamfer one end. For strength and smoothness, we coat the discs with varnish.
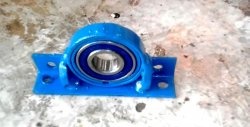
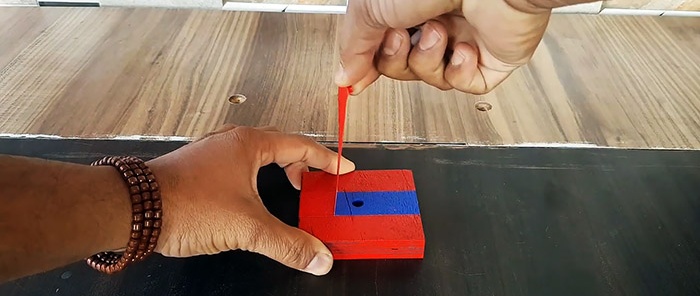
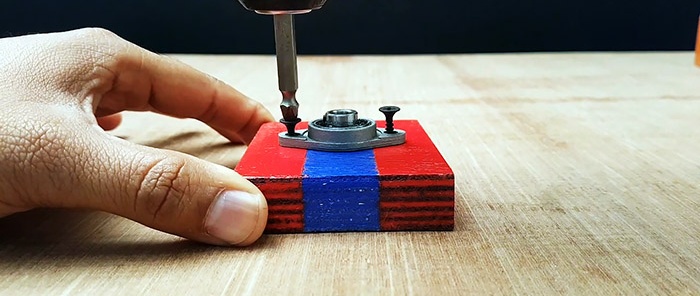
Remove the tape and begin assembling the machine. We fix the bearing in the housing in the center onto one 8x7 cm plate with screws.
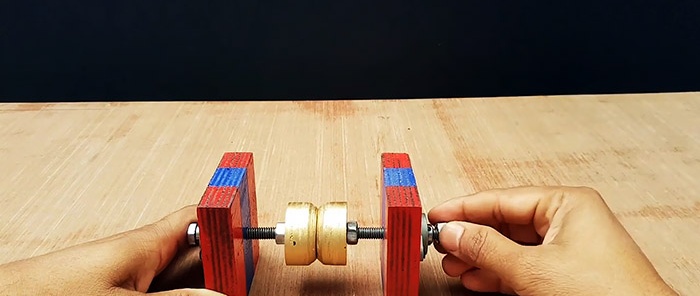
We insert a long bolt into the hole on the outside of the second similar fragment, screw a nut onto it, then place the disks with the chamfers inward and lightly press them with the second nut. We complete the assembly by installing the plate with the bearing outward and securing it with a third nut.
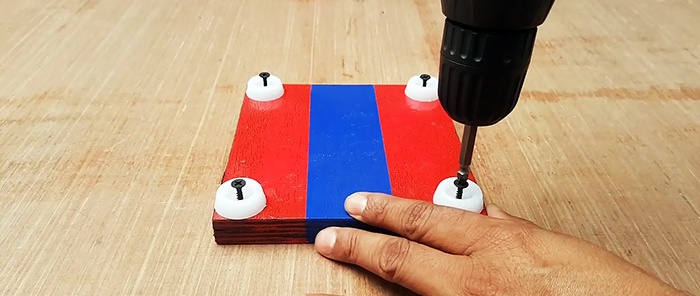
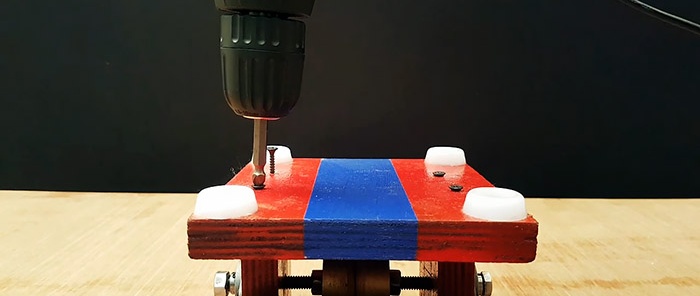
We fasten four plastic supports to the base 15x15 cm from the bottom at the corners with screws, turn it over and install the assembly across the center, which we fasten with screws on both sides through the base.
On top of the 8x7 cm posts, covering the ends with glue, lay them horizontally and fasten the 12x7 cm plate with screws, having previously drilled a hole in it in the center.
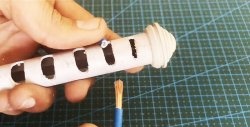
On top of the 12x7 cm jumper hole we glue a plywood circle with intersecting central and diagonal holes, into which, respectively, we insert a knife with a round handle and drive in a driving nut and screw in a bolt.
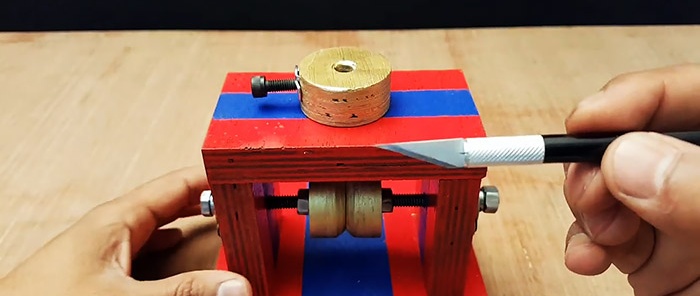
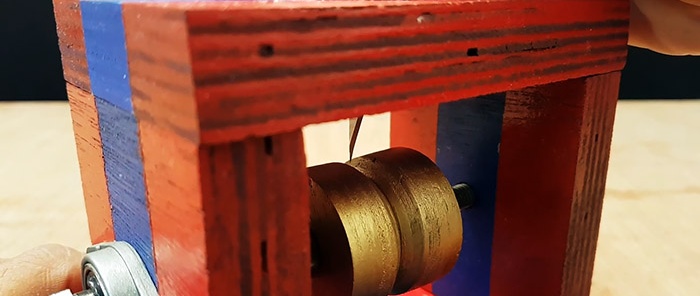
Moreover, the gap between the tip of the knife and the surface of the annular recess created by the chamfers of the disks should be minimal.
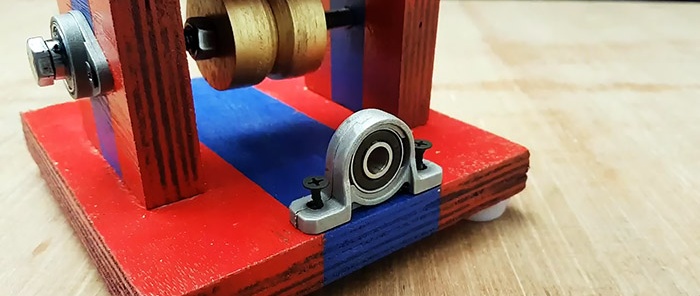
We fix the second bearing in the housing with screws in the center of the 15x15 cm base, orienting it, and, securing it, along the side right along the edge. This was the last operation, after which our machine is completely ready for work.
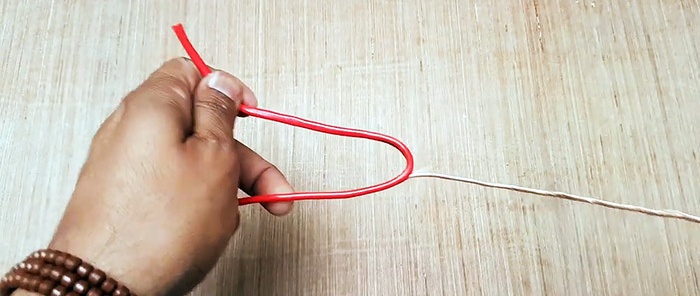
Insert a wire into the bearing hole on the base, wrap the knife blade around the wires and pull it towards you.
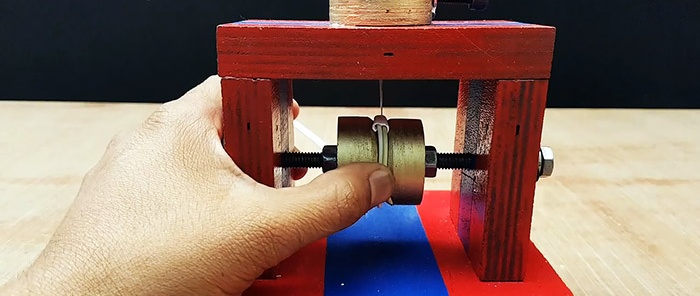
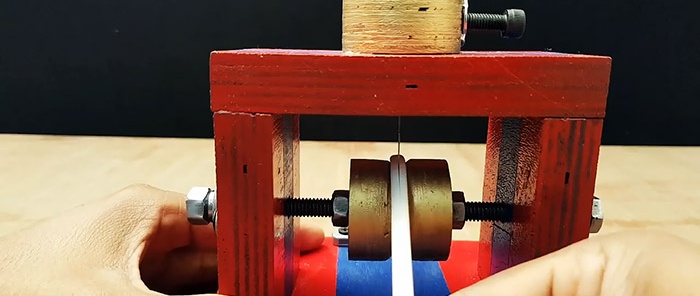
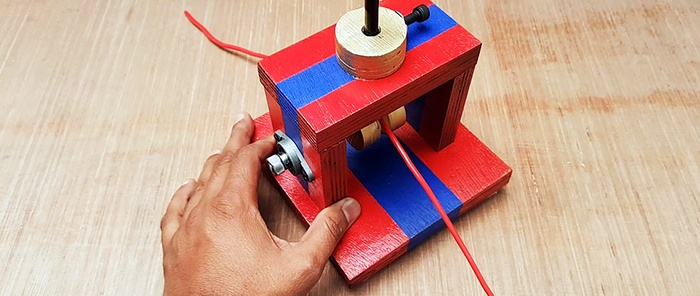
As a result, the knife cuts the insulation strictly in the center, since the recess formed by the disks centers the wire.

Will need
To make this device, we will prepare the following materials and products:
- remnants of multilayer plywood;
- spray paint cans;
- construction tape;
- two bearings in the housing;
- long bolt and set of nuts;
- plastic supports;
- different screws;
- wood glue (PVA);
- driving nut with bolt;
- a small knife like a shoemaker's.
For work we will need: drilling machine, drill with attachments, clamps, vice, etc.
Machine manufacturing process
We cut out the following formats from scraps of multilayer plywood using any sawing tool: two - 8x7 cm, one each - 12x7 cm and 15x15 cm.

In identical fragments, use a drilling machine to make through holes of the required size in the center. We paint the plywood elements all around with blue paint.

As soon as it dries, we stick a strip of construction tape in the center on all the elements, and two on the largest one.After that, we paint the front side of all fragments red.

From 11-layer plywood, using a core drill of the required diameter, we cut out two circles, in the center of which we drill holes. Next, having secured them in the drill chuck with a pin and nuts, we process them on the grinder disk to the required dimensions and chamfer one end. For strength and smoothness, we coat the discs with varnish.


Remove the tape and begin assembling the machine. We fix the bearing in the housing in the center onto one 8x7 cm plate with screws.

We insert a long bolt into the hole on the outside of the second similar fragment, screw a nut onto it, then place the disks with the chamfers inward and lightly press them with the second nut. We complete the assembly by installing the plate with the bearing outward and securing it with a third nut.


We fasten four plastic supports to the base 15x15 cm from the bottom at the corners with screws, turn it over and install the assembly across the center, which we fasten with screws on both sides through the base.

On top of the 8x7 cm posts, covering the ends with glue, lay them horizontally and fasten the 12x7 cm plate with screws, having previously drilled a hole in it in the center.

On top of the 12x7 cm jumper hole we glue a plywood circle with intersecting central and diagonal holes, into which, respectively, we insert a knife with a round handle and drive in a driving nut and screw in a bolt.


Moreover, the gap between the tip of the knife and the surface of the annular recess created by the chamfers of the disks should be minimal.


We fix the second bearing in the housing with screws in the center of the 15x15 cm base, orienting it, and, securing it, along the side right along the edge. This was the last operation, after which our machine is completely ready for work.

Insert a wire into the bearing hole on the base, wrap the knife blade around the wires and pull it towards you.


As a result, the knife cuts the insulation strictly in the center, since the recess formed by the disks centers the wire.

Watch the video
Similar master classes
Particularly interesting
Comments (0)


