How to turn a drill into a router using simple equipment
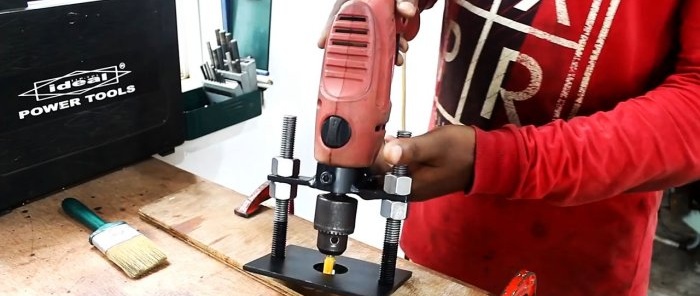
It is not necessary to buy a factory-made milling cutter if there is a need for such a device, because it costs a lot of money. You can make it yourself from a household drill and the simplest materials.
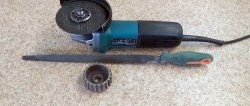
To transform a drill into a vertical router, before starting work, we will prepare the following materials and products:
To make the equipment and assemble it, we will need: a circular saw, a lathe and a drilling machine, a grinder, various files, a boring machine with two cutters, a tap with a driver, welding, a caliper, etc.
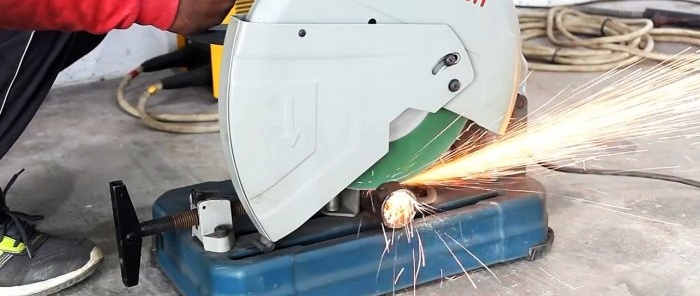
Using a pendulum saw, we cut a ring of the required width from the steel pipe.
We trim the ends on a lathe, remove burrs and smooth the edges. Using a boring head, we obtain the desired size of the internal diameter.
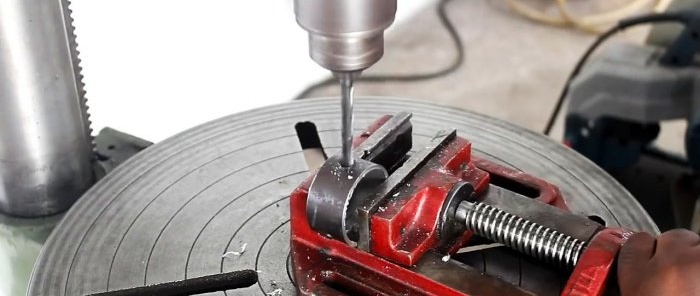
Using a drilling machine, we make three radial holes in the center of the side surface of the ring, spaced 120 degrees from each other.
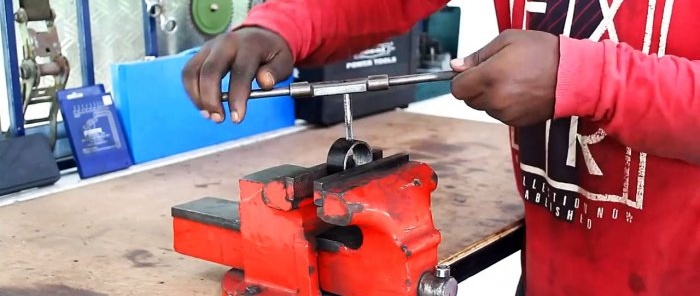
We clamp the ring in a vice and use a round file to remove burrs from the holes. Then we cut threads into them using a tap and a driver.
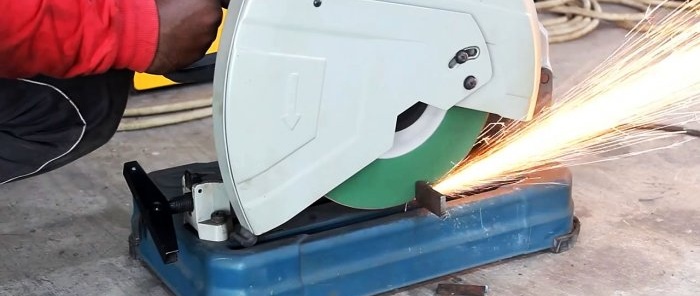
We cut off two identical fragments from the metal strip with a pendulum saw.
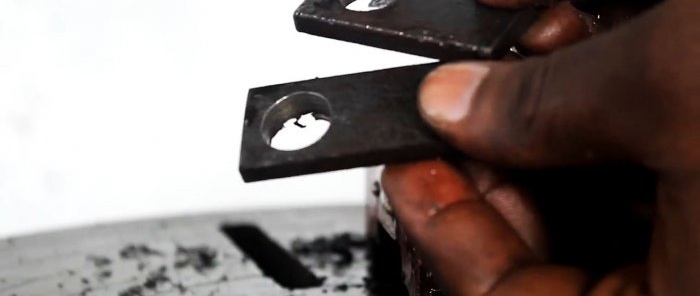
We make holes in them from one end on a drilling machine, using first a small and then a large drill.
We weld the strips with the holes outward to the bottom of the side surface of the ring in diametrically opposite directions.
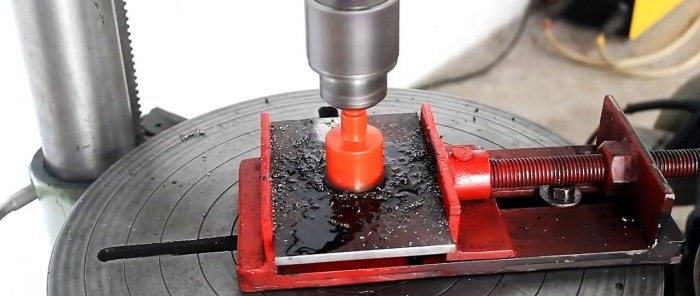
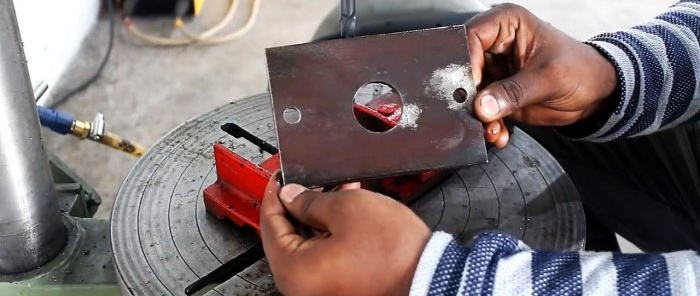
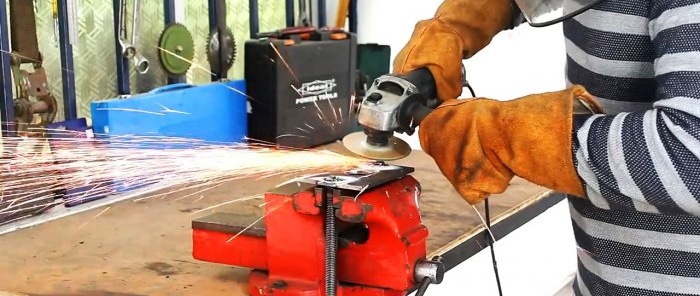
Using a grinder with a cutting disc, we separate a part with a given width, length and thickness from the steel plate. Having removed the burrs and rounded the edges, we make a through hole in the center of the plate on a drilling machine using a core drill.
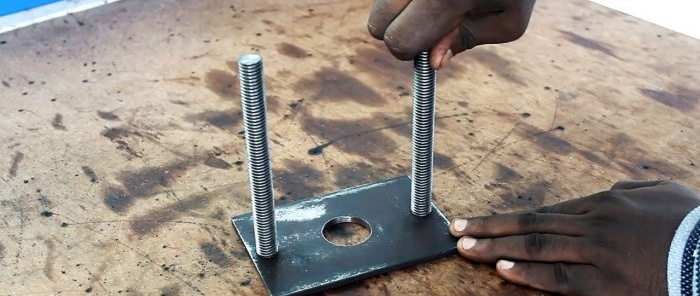
Then, using a twist drill of the required diameter, we make two more through holes located along the long axis of symmetry of the plate closer to its edges.
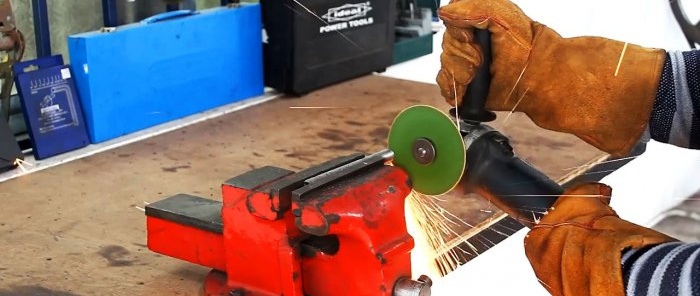
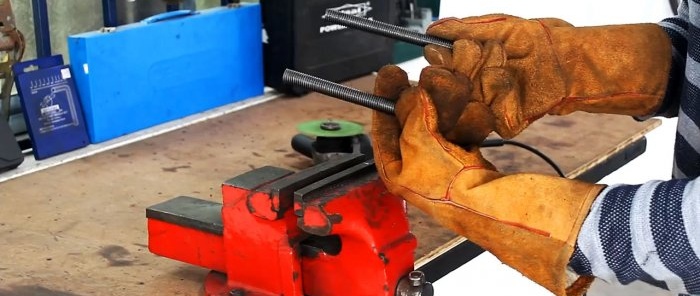
We cut off from the long bolts (studs) according to the markings the parts with heads that we will no longer need.
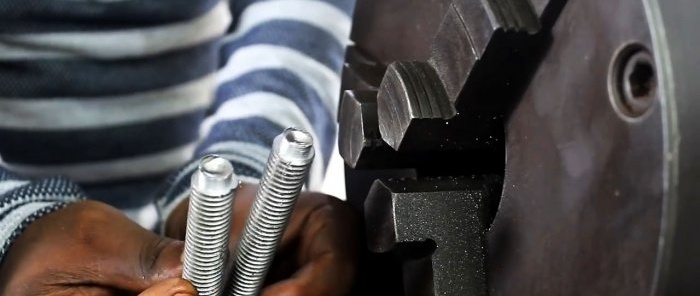
We end the remaining threaded rods on a lathe and, on the one hand, grind them to the specified length and diameter.
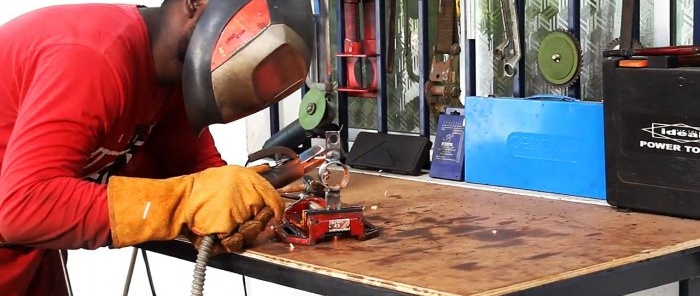
We install the rods with grooves into the holes in the plate and weld them on the reverse side using electric arc welding. We carefully process the welding areas with a grinder and a cutting disc.
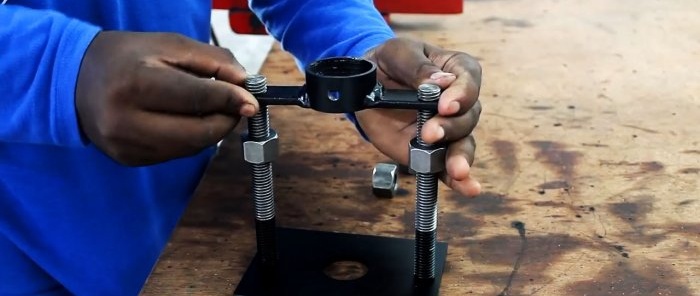
Screw one nut onto the stand rods, then install a ring with welded plates using the holes in them. We tighten one more nut on top.
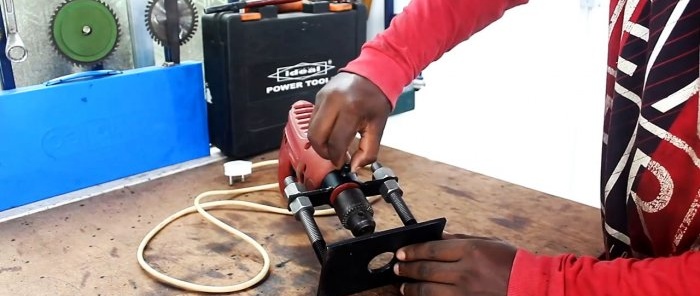
We insert the drill into the ring from above until it fits into the ring with a cylindrical belt on the body. We fix the drill with three bolts screwed into the holes on the side surface of the ring.
We insert a wood cutter into the drill chuck and clamp it there.Then, lowering or raising the lower nuts on the stand rods, we set the required cutter overhang and tighten the upper nuts.
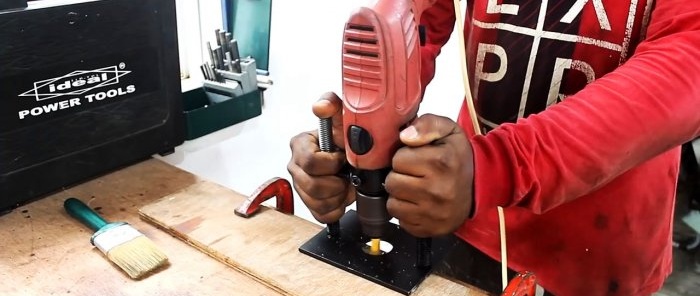
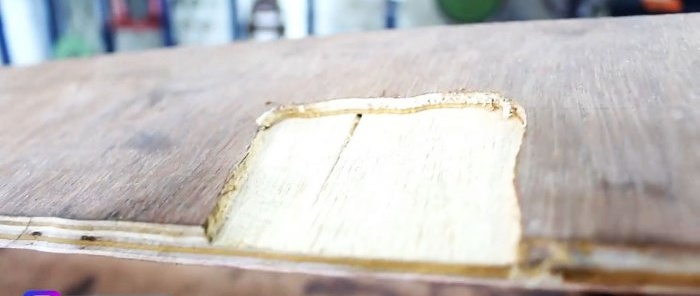
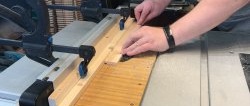
To check the milling cutter in operation, turn on the drill, grab the rods in the area of the nuts with your hands, place its base on the surface of the workpiece and bring the cutter to its end. Lightly pressing down, move the router in the desired direction. At the same time, we coordinate the feed rate with the cutter speed.
Will need
To transform a drill into a vertical router, before starting work, we will prepare the following materials and products:
- round pipe;
- steel strip and plate;
- foundation or anchor bolts;
- four nuts;
- electric drill;
- three locking bolts;
- wood cutter.
To make the equipment and assemble it, we will need: a circular saw, a lathe and a drilling machine, a grinder, various files, a boring machine with two cutters, a tap with a driver, welding, a caliper, etc.
The manufacturing process of a drill-based router
Using a pendulum saw, we cut a ring of the required width from the steel pipe.
We trim the ends on a lathe, remove burrs and smooth the edges. Using a boring head, we obtain the desired size of the internal diameter.
Using a drilling machine, we make three radial holes in the center of the side surface of the ring, spaced 120 degrees from each other.
We clamp the ring in a vice and use a round file to remove burrs from the holes. Then we cut threads into them using a tap and a driver.
We cut off two identical fragments from the metal strip with a pendulum saw.
We make holes in them from one end on a drilling machine, using first a small and then a large drill.
We weld the strips with the holes outward to the bottom of the side surface of the ring in diametrically opposite directions.
Using a grinder with a cutting disc, we separate a part with a given width, length and thickness from the steel plate. Having removed the burrs and rounded the edges, we make a through hole in the center of the plate on a drilling machine using a core drill.
Then, using a twist drill of the required diameter, we make two more through holes located along the long axis of symmetry of the plate closer to its edges.
We cut off from the long bolts (studs) according to the markings the parts with heads that we will no longer need.
We end the remaining threaded rods on a lathe and, on the one hand, grind them to the specified length and diameter.
We install the rods with grooves into the holes in the plate and weld them on the reverse side using electric arc welding. We carefully process the welding areas with a grinder and a cutting disc.
Screw one nut onto the stand rods, then install a ring with welded plates using the holes in them. We tighten one more nut on top.
We insert the drill into the ring from above until it fits into the ring with a cylindrical belt on the body. We fix the drill with three bolts screwed into the holes on the side surface of the ring.
We insert a wood cutter into the drill chuck and clamp it there.Then, lowering or raising the lower nuts on the stand rods, we set the required cutter overhang and tighten the upper nuts.
To check the milling cutter in operation, turn on the drill, grab the rods in the area of the nuts with your hands, place its base on the surface of the workpiece and bring the cutter to its end. Lightly pressing down, move the router in the desired direction. At the same time, we coordinate the feed rate with the cutter speed.
Watch the video
Similar master classes
Particularly interesting
Comments (2)

