DIY shoe cabinet
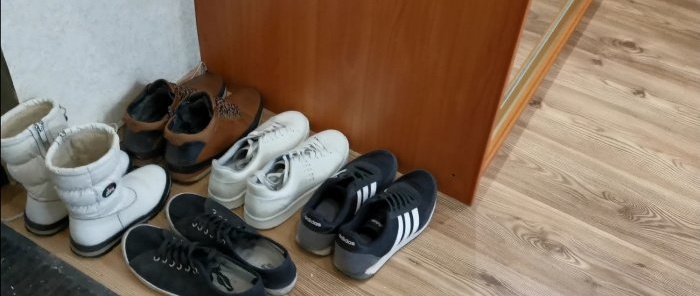
Good afternoon I decided to put my seasonal shoes in order and decided to make a simple and convenient shoe cabinet with my own hands.
Drawing and materials
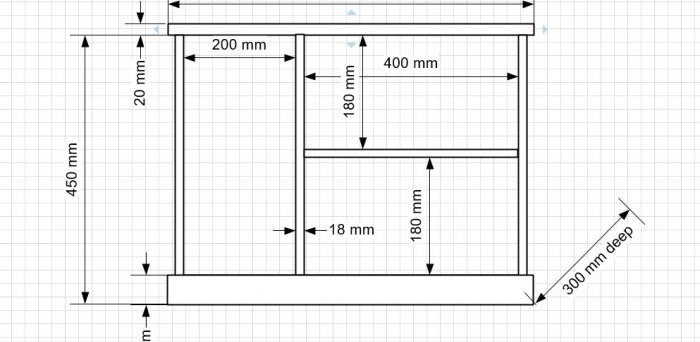
We needed a compact cabinet to match the size of the built-in wardrobe in the hallway. First of all, I drew a drawing on paper.
The body of the cabinet was made from pine furniture panels, the “seat” from oak panels, and the back wall from laminated fiberboard. For decoration I used corrugated alder slats.
Making a shoe cabinet
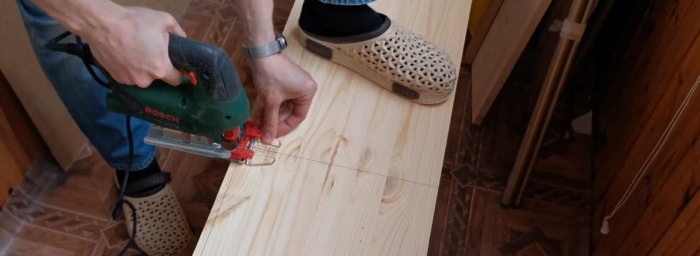
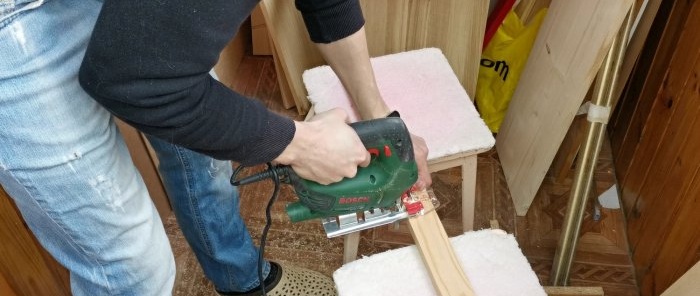
I cut the pine boards to the required sizes.
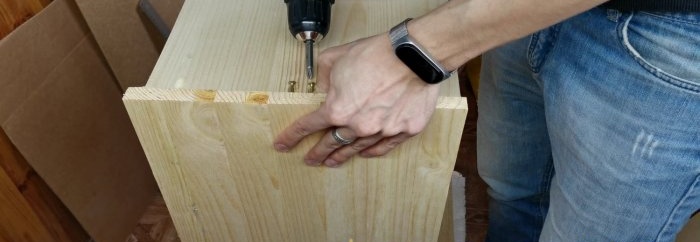
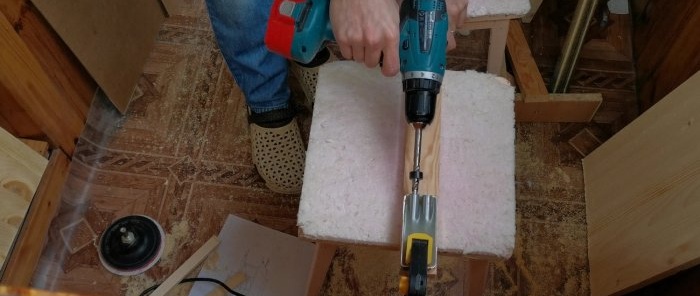
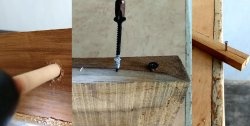
The main type of connection is an oblique screw. I did not use it on details that would be hidden from view.
I cut 2 bars and secured them to the top of the box.
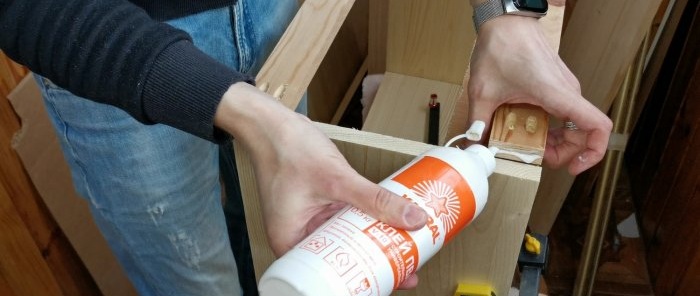
I connected it with an oblique screw and glued all the joints with PVA wood glue.
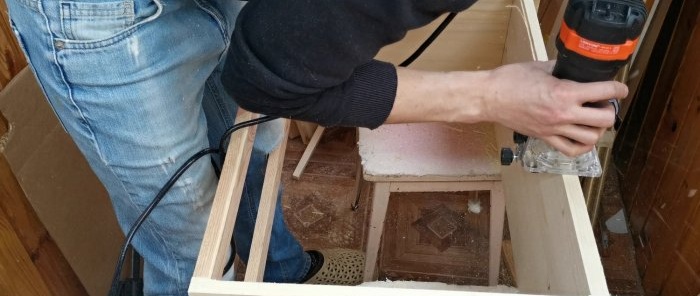
The frame is ready. I used an edge router to make a groove for the back wall made of fiberboard.
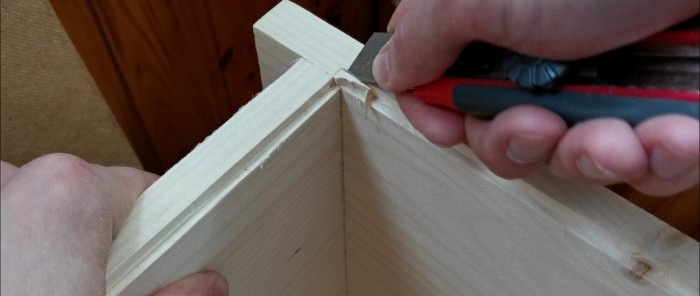
The cutter made the corners rounded. I used a utility knife to remove all the excess.
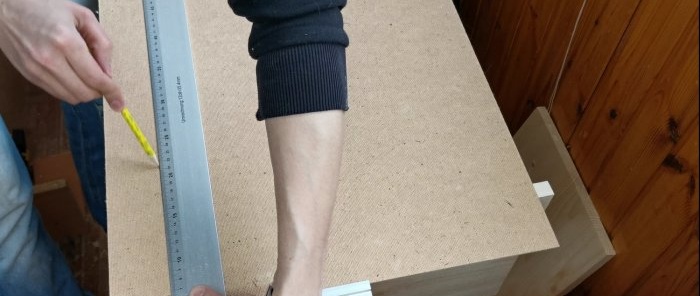
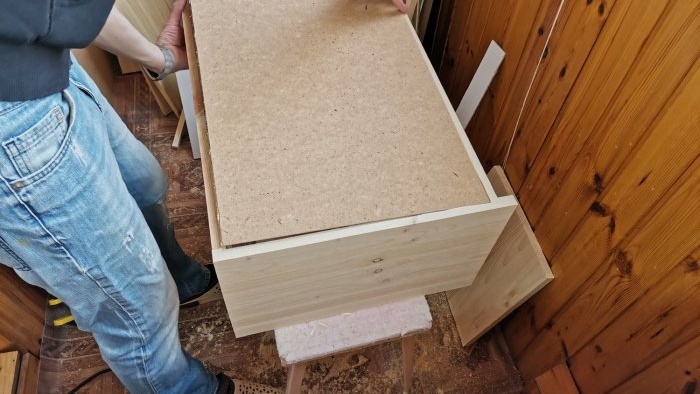
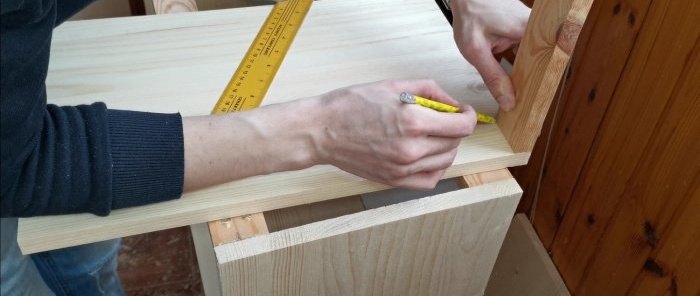
Marked and cut the fiberboard to the required size.
I cut out a wall/partition for the cabinet. I had to cut 2 grooves for the upper cross rails.
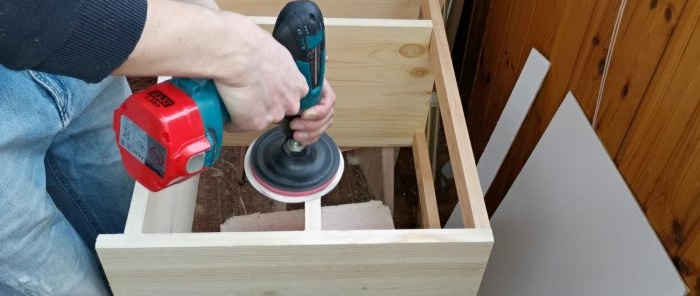
I sanded the cabinet with 180 grit sandpaper.
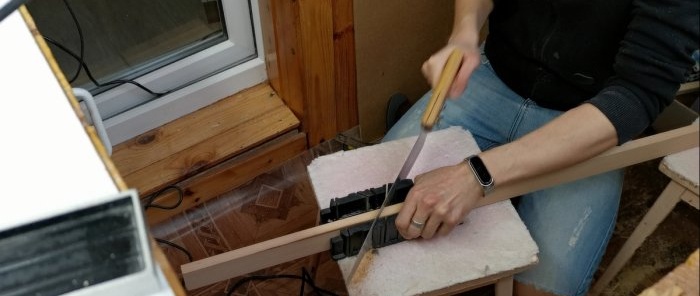
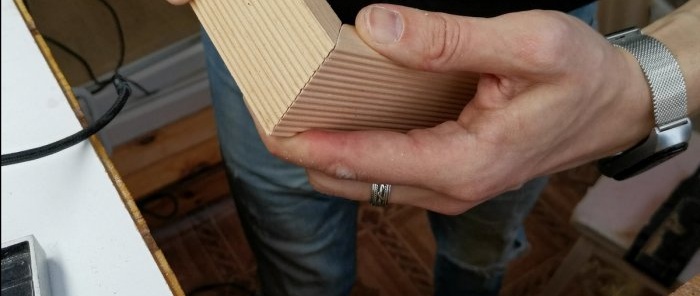
To cover the legs of the nightstand, I made a decorative frame from grooved slats.
Pre-assembly.
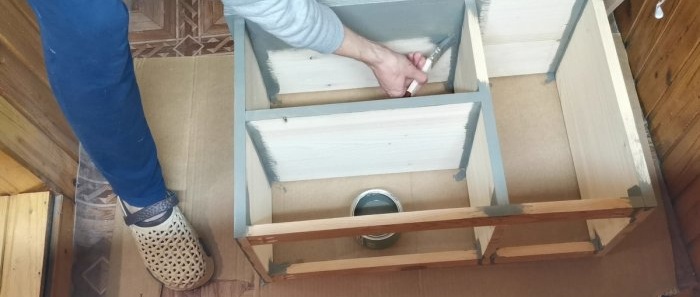
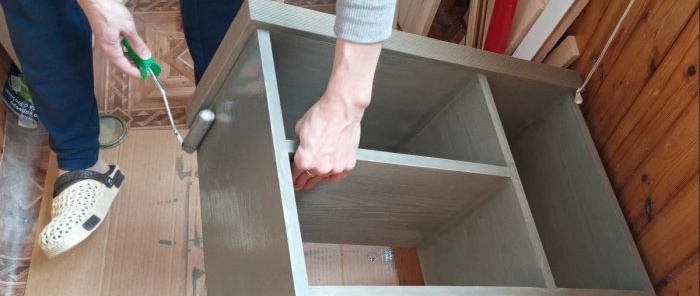
I'm starting to paint. I applied one coat of primer and then 2 coats of paint. I used Sniezhka supermal paint (oil-phthalic enamel for wood and metal)
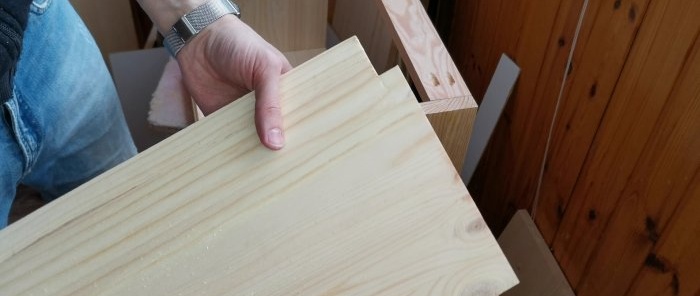
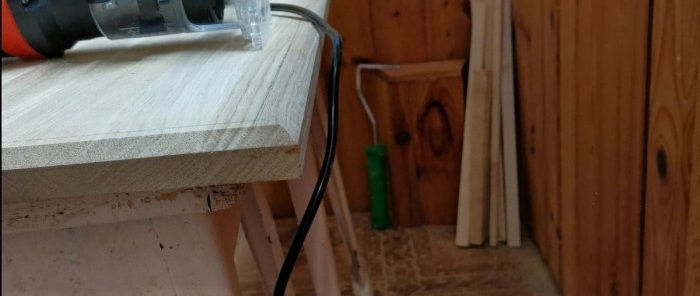
For the seat, I took an oak furniture panel. I cut it to the required size. I made the edge with a router.
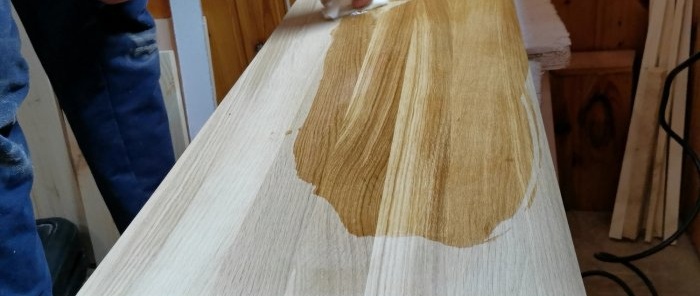
Sanded and coated with protective linseed oil Watco Danish Oil.
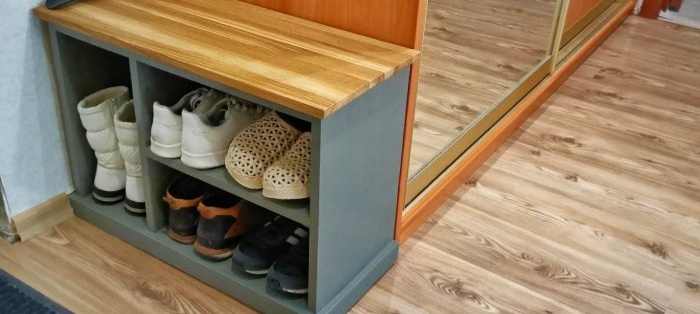
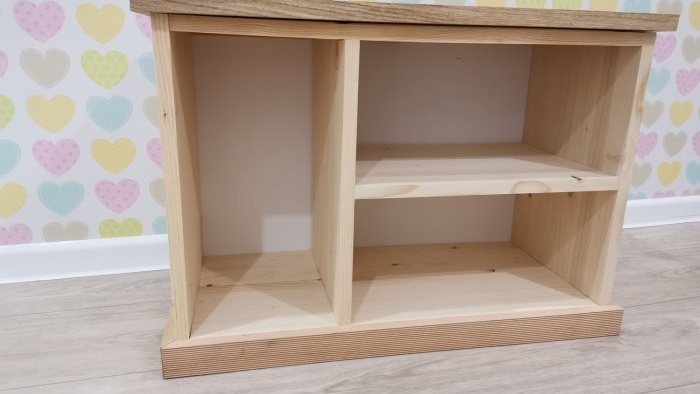
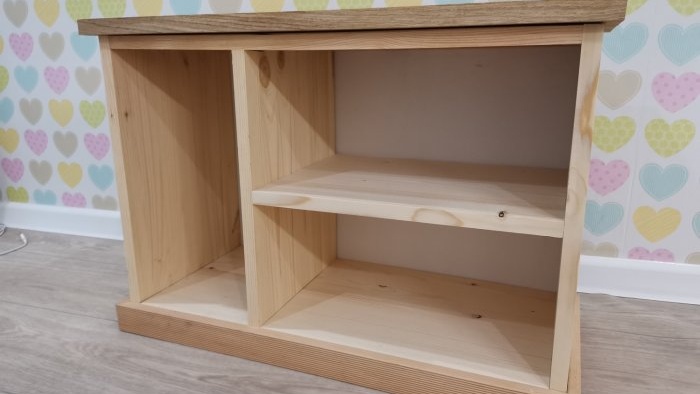
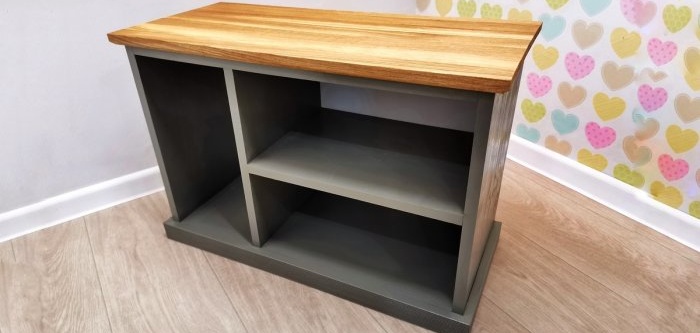
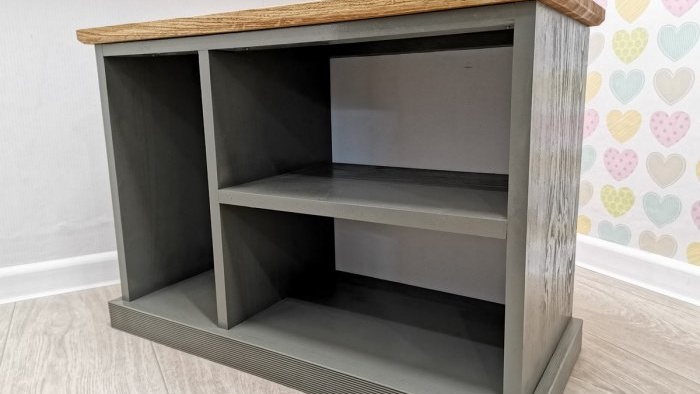
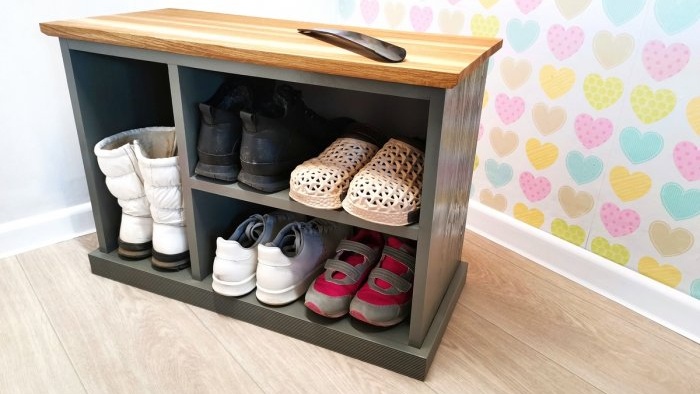
This is the bedside table I got.
Fits 5 pairs of shoes.
That's all. I hope you liked my homemade product.
Watch the video
You can see more details in my video.
Similar master classes
Particularly interesting
Comments (0)

