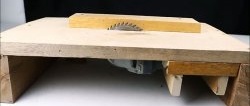
How to make a compact circular saw from a drill with adjustable cutting depth
Such a mini-device with a variable saw exit height above the work table will allow you to quickly and easily perform many small operations without resorting to other saw tools. To make it, you will need a minimum of money, time and basic carpentry skills.
You should prepare in advance:
To work you will need: measuring tool, awl and hammer, drill, wrenches, jigsaw, clamp, etc.
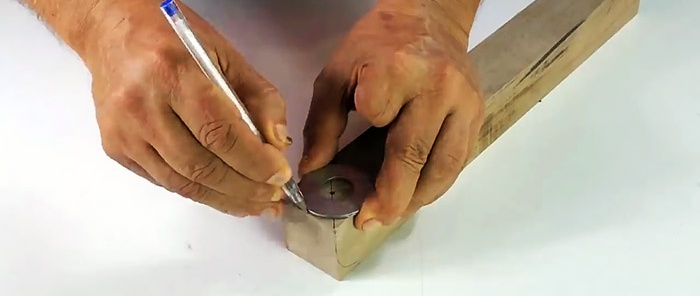
We mark one end of the side of a square-section wooden beam for drilling and rounding the corners. In the center of the second end we mark the place where the blind axial hole is drilled, as well as the center of the beam.
Using a Forstner drill, we make identical recesses in the middle of the beam from opposite sides. We drill the jumper between them with a drill of a smaller diameter.
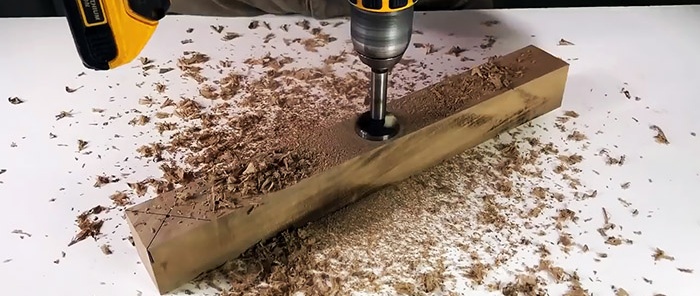
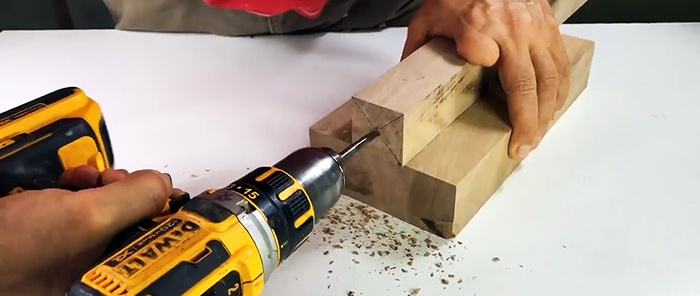
At one end we make a hole with an axis parallel to the drilling axis in the center. We round adjacent corners. At the end on the other side of the beam we make a blind axial hole.
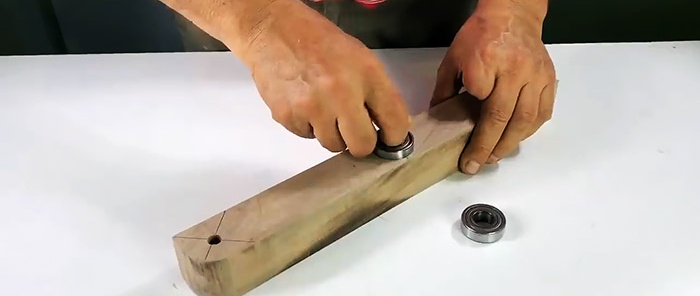
We press the bearings into the recesses in the center, knocking them with a hammer through a wooden block.
We wrap two belts of construction tape around the stud, symmetrically to the center, to select the gap between the stud and the holes in the bearings.
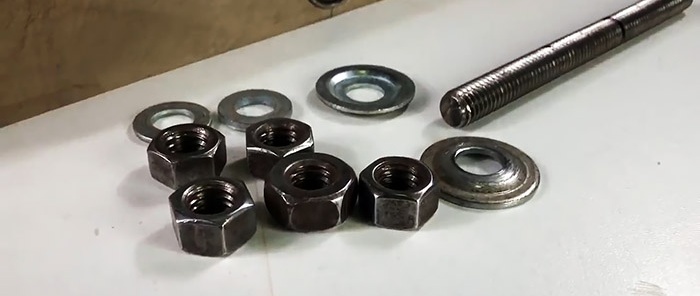
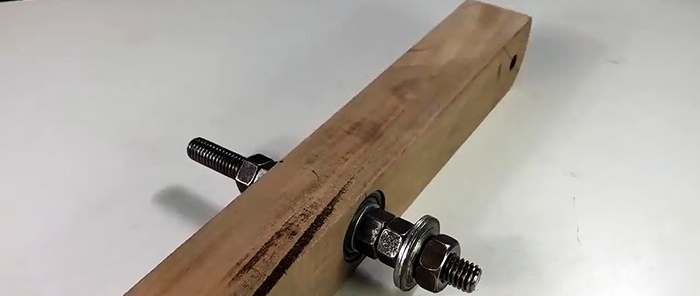
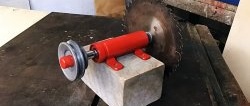
We put washers on the ends of the studs, tighten the nuts and tighten them with wrenches. To prevent them from loosening, we lock them with second nuts. Then we put two profile washers on one end of the stud and screw on the nut to tighten the disc.
At the end of a small wooden block of square cross-section we mark and drill a blind axial hole.
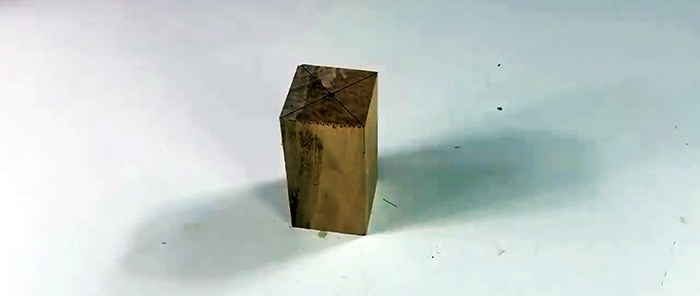
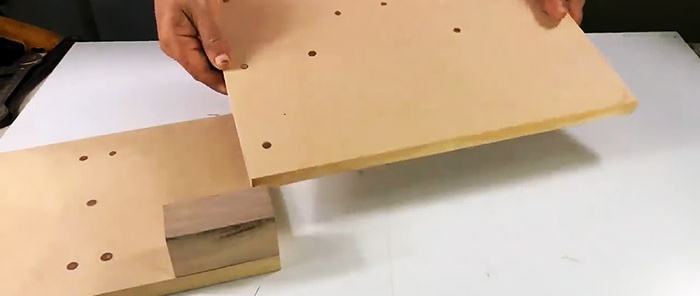
We place it under one of the corners of a square cut from an MDF panel and secure it with screws. We orient the block with the hole inward.
We place the square of the MDF panel vertically so that the block is on top. We apply a rectangle of MDF panel with a width equal to the side of the square to the bottom of the square from the side of the square and fasten it with screws. We attach a beam with a pin axis in the center with a rounded end to a short beam with a bolt and washer.
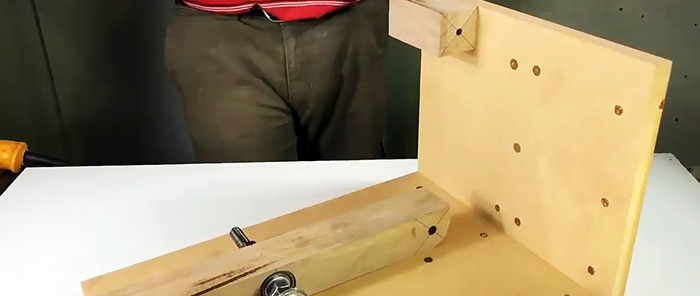
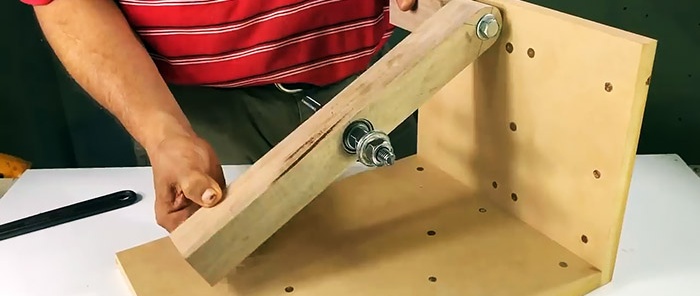
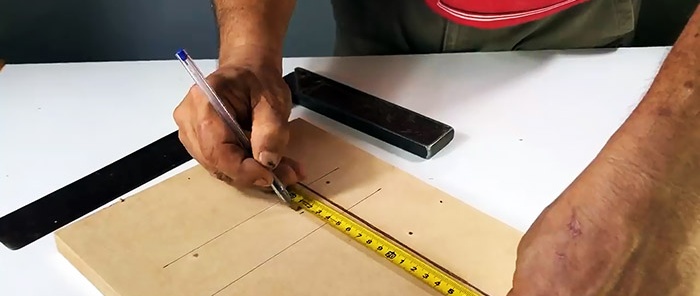
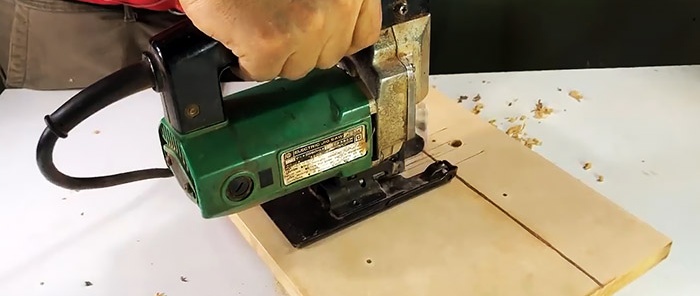
On the second square of the MDF panel we mark a vertical groove, the longitudinal axis of which would always coincide with the center of the hole in the end of the beam when rotated around its axis. We drill holes in the square using a drill at the ends of the groove markings and cut it out with a jigsaw.
We fasten the square with the groove vertically to the end of the base rectangle with screws.
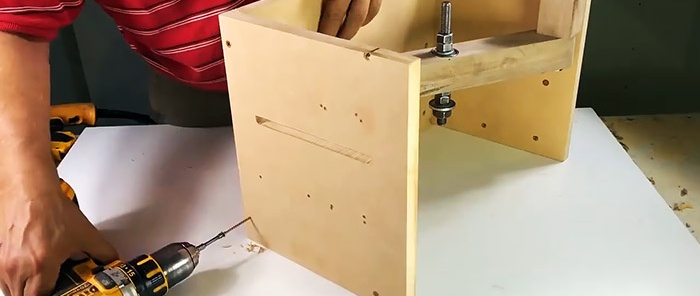
From the outside, we insert into the groove an L-shaped bent pin with a pointed end and a wing nut, which we screw into the hole at the end of the beam with the axle.
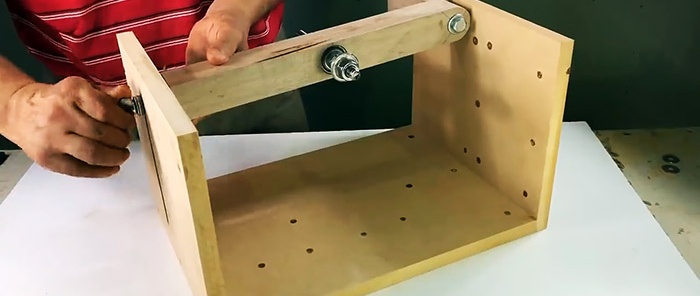
Symmetrically to the center of the beam, we attach a rectangular console from the MDF panel from below, directing it towards the short beam, and securing it with bolts with a semicircular head and a tenon.
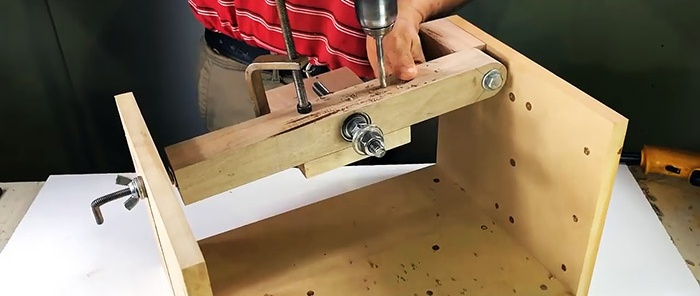
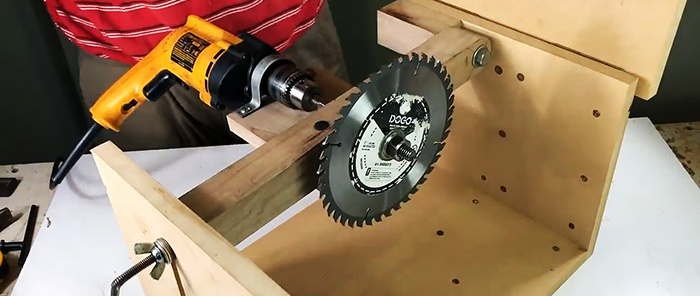
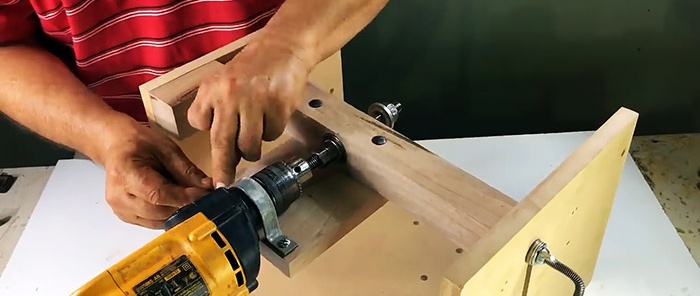
We fix the drill chuck at the end of the axle pin. We use a half-clamp to wrap around the ring belt on the tool body, insert screws into the holes of the clamp and the MDF panel shelf and tighten them with nuts from below.
We place a rectangle of MDF panel on top of the vertical elements and fasten it from the outside to the rack with a bar using two mortise door hinges. Having folded the top panel, we attach the saw blade to the stud-axle using profile washers and a nut.
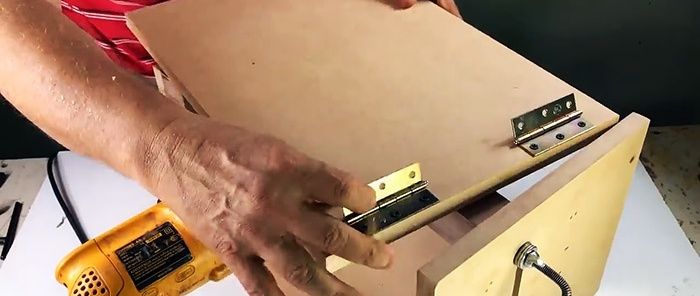

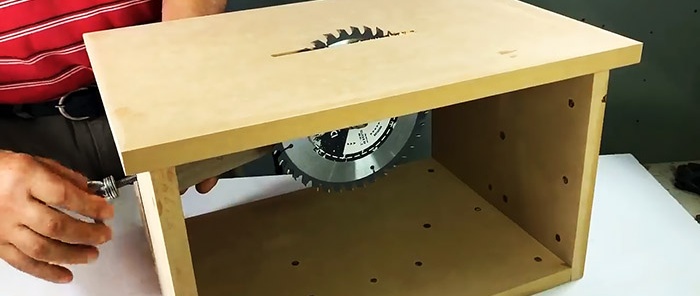
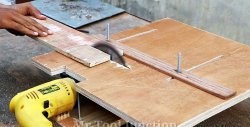
Turn on the drill and slowly lower the folding element from the MDF panel, turning it around the hinges until it rests on the second stand. In this case, the disk will cut a groove in it, and we will get the working surface of the circular saw.
Loosen the wing nut and move the L-shaped pin along the groove, set the desired cutting depth, tighten the wing nut and get to work.

Will need
You should prepare in advance:
- wooden beam;
- ball bearings;
- studs, washers, nuts, bolts and screws;
- profile washers;
- MDF board;
- drill;
- steel half clamp;
- mortise door hinges;
- saw blade, etc.
To work you will need: measuring tool, awl and hammer, drill, wrenches, jigsaw, clamp, etc.
Circular manufacturing process
We mark one end of the side of a square-section wooden beam for drilling and rounding the corners. In the center of the second end we mark the place where the blind axial hole is drilled, as well as the center of the beam.

Using a Forstner drill, we make identical recesses in the middle of the beam from opposite sides. We drill the jumper between them with a drill of a smaller diameter.

At one end we make a hole with an axis parallel to the drilling axis in the center. We round adjacent corners. At the end on the other side of the beam we make a blind axial hole.

We press the bearings into the recesses in the center, knocking them with a hammer through a wooden block.

We wrap two belts of construction tape around the stud, symmetrically to the center, to select the gap between the stud and the holes in the bearings.


We put washers on the ends of the studs, tighten the nuts and tighten them with wrenches. To prevent them from loosening, we lock them with second nuts. Then we put two profile washers on one end of the stud and screw on the nut to tighten the disc.
At the end of a small wooden block of square cross-section we mark and drill a blind axial hole.

We place it under one of the corners of a square cut from an MDF panel and secure it with screws. We orient the block with the hole inward.
We place the square of the MDF panel vertically so that the block is on top. We apply a rectangle of MDF panel with a width equal to the side of the square to the bottom of the square from the side of the square and fasten it with screws. We attach a beam with a pin axis in the center with a rounded end to a short beam with a bolt and washer.


On the second square of the MDF panel we mark a vertical groove, the longitudinal axis of which would always coincide with the center of the hole in the end of the beam when rotated around its axis. We drill holes in the square using a drill at the ends of the groove markings and cut it out with a jigsaw.


We fasten the square with the groove vertically to the end of the base rectangle with screws.

From the outside, we insert into the groove an L-shaped bent pin with a pointed end and a wing nut, which we screw into the hole at the end of the beam with the axle.

Symmetrically to the center of the beam, we attach a rectangular console from the MDF panel from below, directing it towards the short beam, and securing it with bolts with a semicircular head and a tenon.

We fix the drill chuck at the end of the axle pin. We use a half-clamp to wrap around the ring belt on the tool body, insert screws into the holes of the clamp and the MDF panel shelf and tighten them with nuts from below.

We place a rectangle of MDF panel on top of the vertical elements and fasten it from the outside to the rack with a bar using two mortise door hinges. Having folded the top panel, we attach the saw blade to the stud-axle using profile washers and a nut.


Turn on the drill and slowly lower the folding element from the MDF panel, turning it around the hinges until it rests on the second stand. In this case, the disk will cut a groove in it, and we will get the working surface of the circular saw.
Loosen the wing nut and move the L-shaped pin along the groove, set the desired cutting depth, tighten the wing nut and get to work.
Watch the video
Similar master classes
Particularly interesting
Comments (4)

