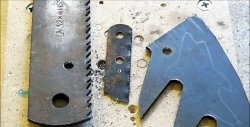
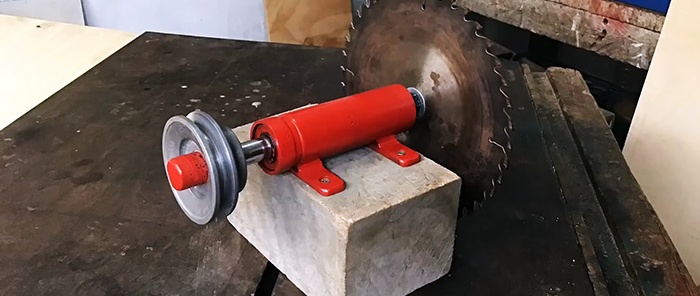
How to make a shaft for a circular saw from scrap materials
The price of the simplest circular saw starts from four thousand rubles. But you can make it yourself from available materials, spending not too much time and having basic plumbing skills. The most difficult element in its manufacture is the shaft.
For work we will need:
To realize your plans, you will have to work with a hammer, a tubular nozzle, an angle grinder, a drill, a welding machine, etc.
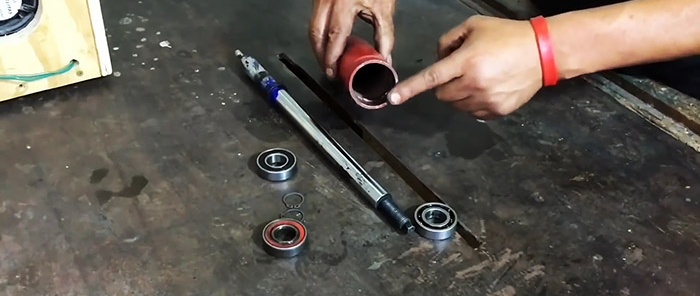
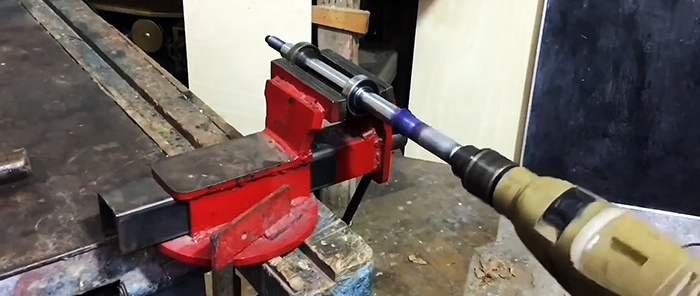
Let's start the work with the main unit - the saw blade shaft, which will be composite. We press bearings onto the shock absorber rod, which we clamp in a vice, and rotate the rod through the adapter clamped in the drill chuck.
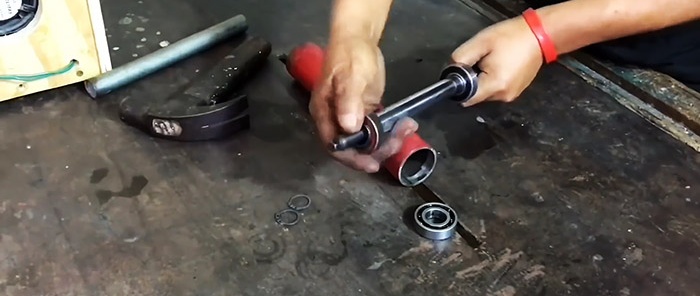
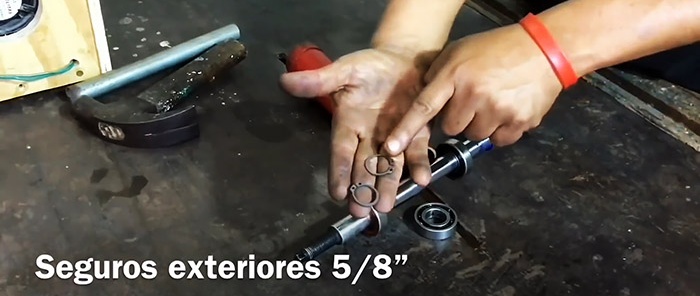
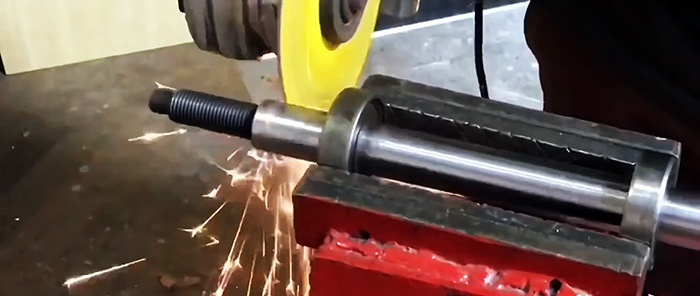
Using a grinder, in the designated places on the rod, we cut annular grooves for retaining rings, designed to prevent the bearings from moving in the axial direction.
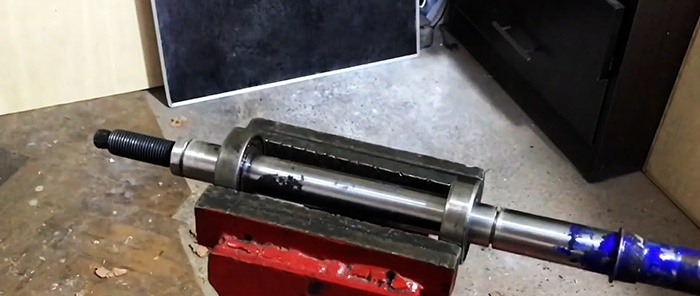
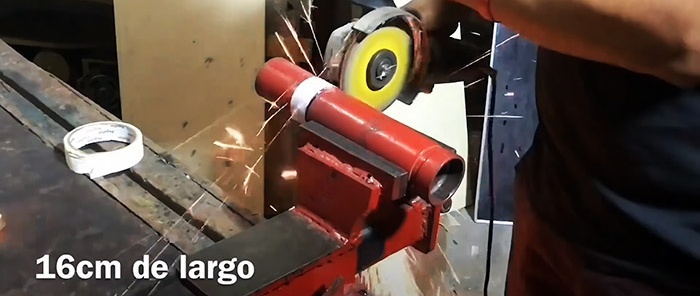
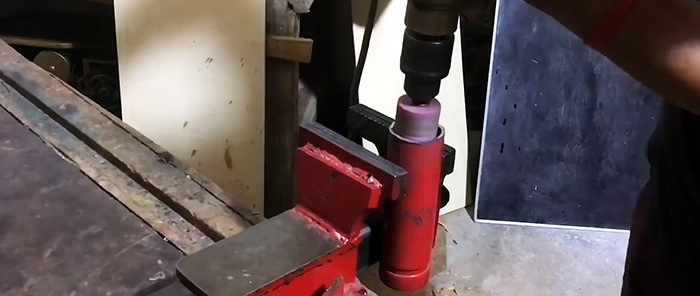
We cut off the adapter and remove its tubular end from the rod. From a piece of pipe we cut out a piece 16 cm long and grind it with a drill with an attachment to the size of the bearing 6004 internal diameter.
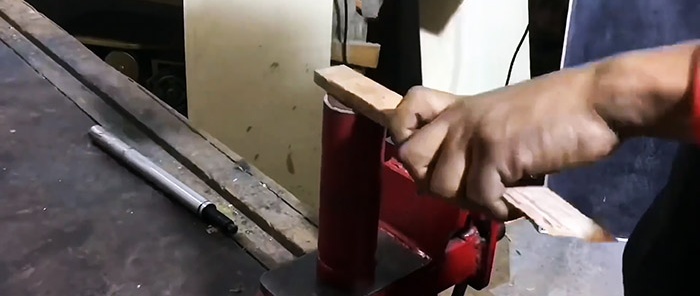
We place a bearing on the end of a vertically installed pipe and press it flush with the end of the pipe through a wooden block with light blows of a hammer. We install a retaining ring in the groove on the rod and press the second bearing against it.
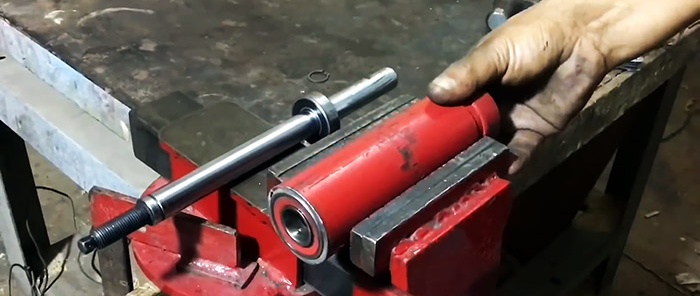
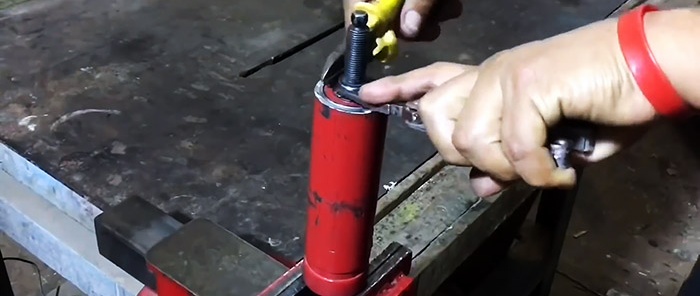
We clamp the tube with the bearing in a vice and insert the rod from the open end until the bearing on it fits flush into the pipe. If necessary, lightly tap the rod with a hammer. Install the second retaining ring at the other end of the rod.
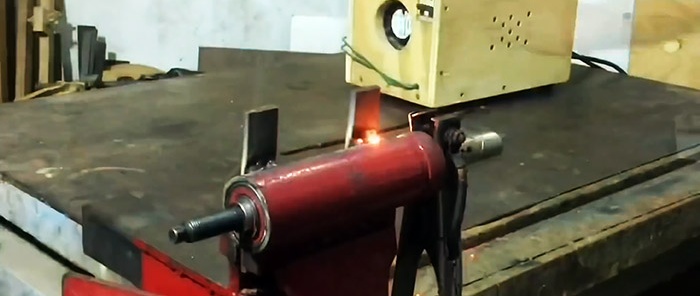
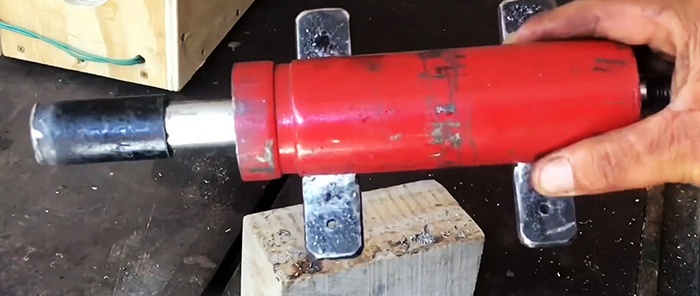
We weld two steel plates with a cross-section of 25×6 mm from the outside transversely to the pipe so that they are in the same plane and located closer to the ends. We beat off the slag and grind the seams with a grinder. The corners of the plates are rounded.
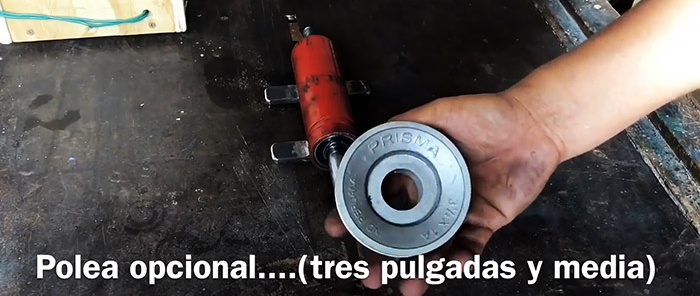
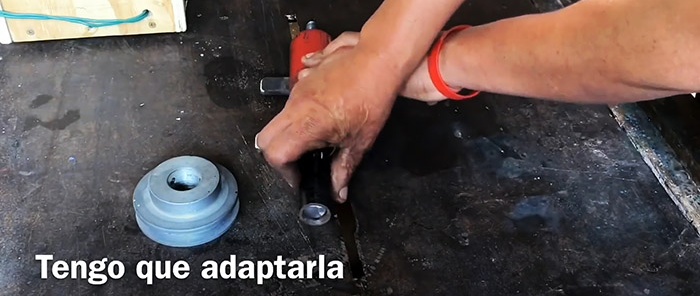
A pulley with a diameter of 90 mm is installed on the axle through an adapter sleeve, the wall thickness of which compensates for the difference between the diameter of the axle and the mounting hole of the pulley. To do this, we put the bushing on the axle, but not all the way - we leave a ring band to weld them together. We clean the welding area with a grinder.
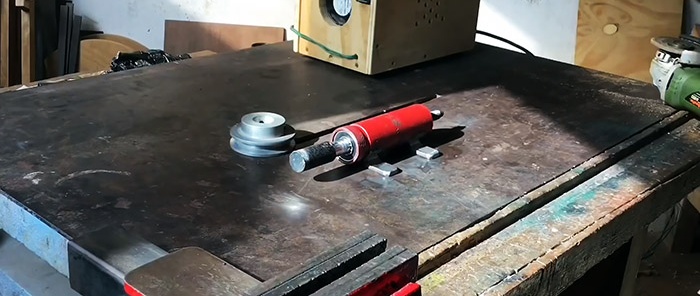
In the plates welded to the pipe, we drill holes for attaching the shaft to the base. We wrap the ends of the axle with tape and paint the shaft all around with paint from an aerosol can.

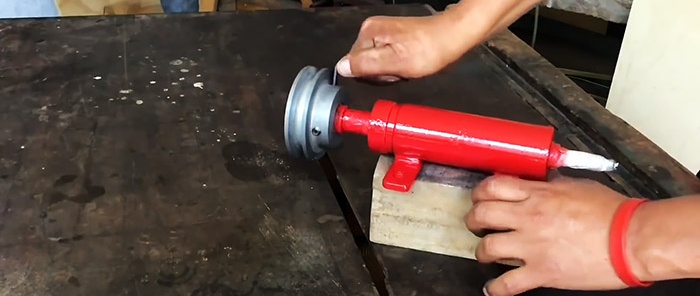
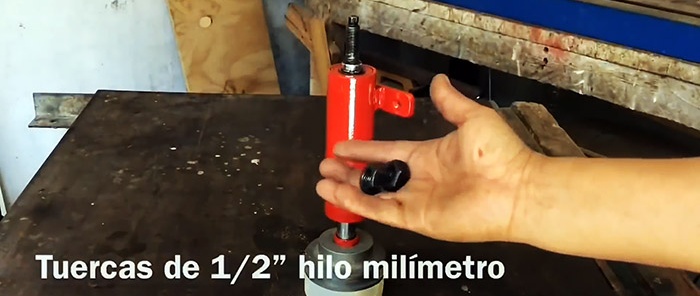
After the paint has dried, put a pulley on the adapter sleeve and bolt it to the adapter. We screw an M12 nut onto the other end of the axle, put a washer on it, then a saw blade, a compensating-centering washer, a pressure washer and compress the whole package with a second M12 nut.
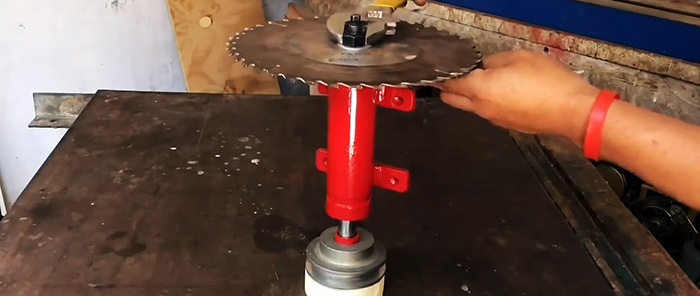
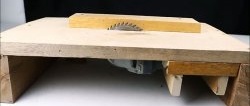
We fasten the shaft, saw blade and pulley assembly with screws to the base.We mount the electric motor nearby so that the axis of its rotor is parallel to the saw blade shaft, and the reach of the pulleys is the same. We put a belt on them.
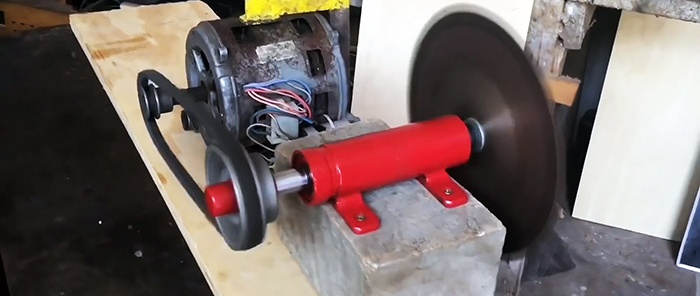
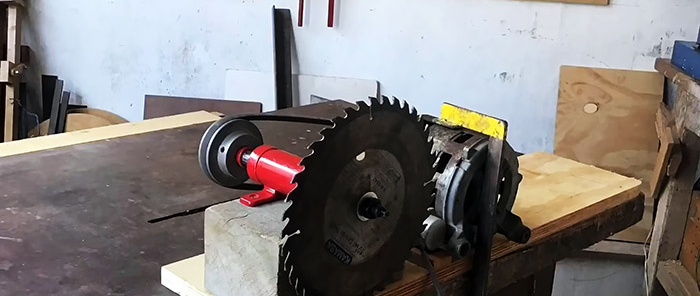
We apply voltage to the drive and make sure that our homemade circular saw is ready for work.

Will need
For work we will need:
- steel round pipes;
- ball bearings;
- auto shock absorber rod;
- retaining rings;
- steel strip;
- square timber;
- a can of aerosol paint;
- nuts, washers, screws.

To realize your plans, you will have to work with a hammer, a tubular nozzle, an angle grinder, a drill, a welding machine, etc.
Circular Saw Shaft Process
Let's start the work with the main unit - the saw blade shaft, which will be composite. We press bearings onto the shock absorber rod, which we clamp in a vice, and rotate the rod through the adapter clamped in the drill chuck.


Using a grinder, in the designated places on the rod, we cut annular grooves for retaining rings, designed to prevent the bearings from moving in the axial direction.


We cut off the adapter and remove its tubular end from the rod. From a piece of pipe we cut out a piece 16 cm long and grind it with a drill with an attachment to the size of the bearing 6004 internal diameter.


We place a bearing on the end of a vertically installed pipe and press it flush with the end of the pipe through a wooden block with light blows of a hammer. We install a retaining ring in the groove on the rod and press the second bearing against it.


We clamp the tube with the bearing in a vice and insert the rod from the open end until the bearing on it fits flush into the pipe. If necessary, lightly tap the rod with a hammer. Install the second retaining ring at the other end of the rod.

We weld two steel plates with a cross-section of 25×6 mm from the outside transversely to the pipe so that they are in the same plane and located closer to the ends. We beat off the slag and grind the seams with a grinder. The corners of the plates are rounded.

A pulley with a diameter of 90 mm is installed on the axle through an adapter sleeve, the wall thickness of which compensates for the difference between the diameter of the axle and the mounting hole of the pulley. To do this, we put the bushing on the axle, but not all the way - we leave a ring band to weld them together. We clean the welding area with a grinder.


In the plates welded to the pipe, we drill holes for attaching the shaft to the base. We wrap the ends of the axle with tape and paint the shaft all around with paint from an aerosol can.


After the paint has dried, put a pulley on the adapter sleeve and bolt it to the adapter. We screw an M12 nut onto the other end of the axle, put a washer on it, then a saw blade, a compensating-centering washer, a pressure washer and compress the whole package with a second M12 nut.


We fasten the shaft, saw blade and pulley assembly with screws to the base.We mount the electric motor nearby so that the axis of its rotor is parallel to the saw blade shaft, and the reach of the pulleys is the same. We put a belt on them.


We apply voltage to the drive and make sure that our homemade circular saw is ready for work.
Watch the video
Similar master classes
Particularly interesting
Comments (2)

