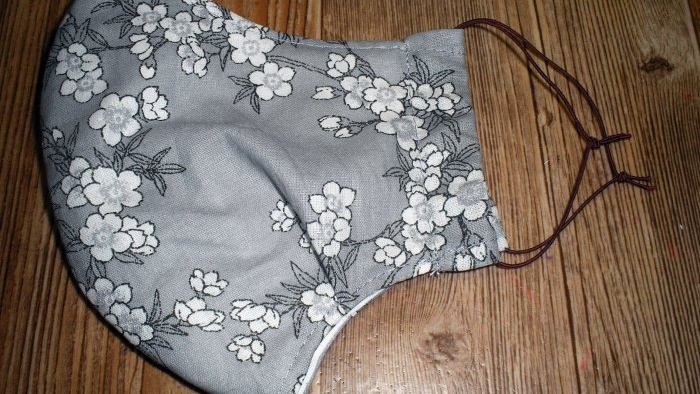
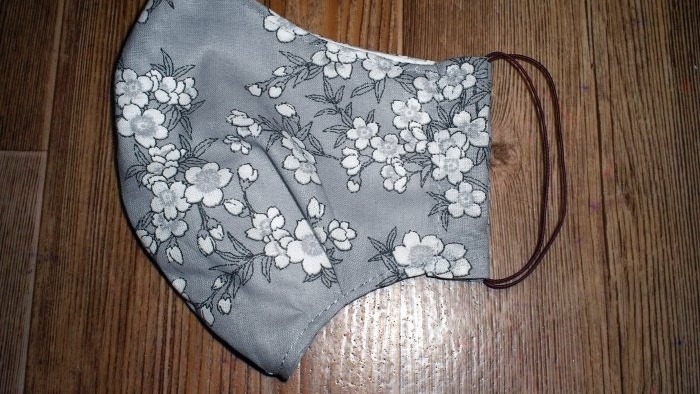
Master class on making a reusable protective mask
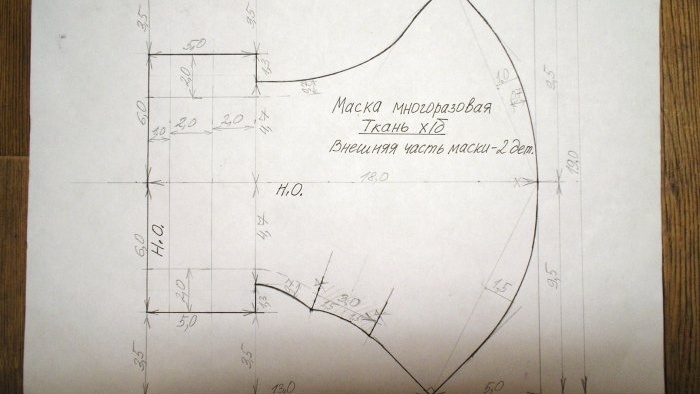
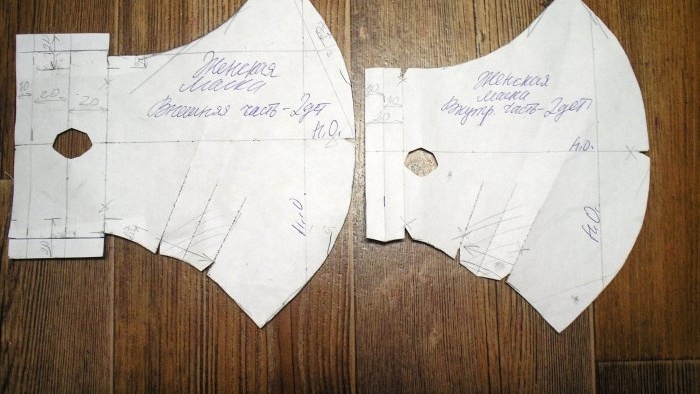
In our difficult times, when there is a need to wear a protective face mask, but it is not possible to buy one due to a shortage, you can make a mask with your own hands. On the Internet you can find many options for drawings for making a mask. I, as a clothing designer, made my own experimental mask patterns, finalized them, and fit them into a rectangular figure so that it would be convenient for you to work with numerical values when constructing a mask. The presented patterns already contain allowances for processing. They can be seen in the pictures.
The mask is made double so that between its two layers you can insert gauze or a bandage, folded in several layers for reliable protection against viruses. To sew a mask, it is better to take 100% cotton fabric. The inner and outer parts of the mask can be made either from the same type of fabric, or from different ones, as in the pictures presented. Since the mask patterns are small in size, it is easy to find suitable pieces of fabric to cut out the mask.
Sewing a reusable protective mask
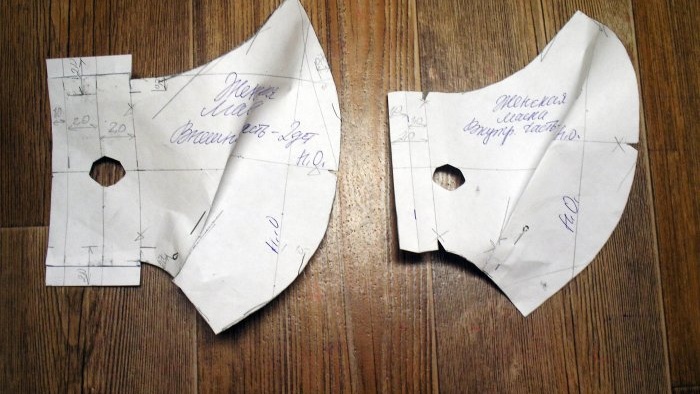
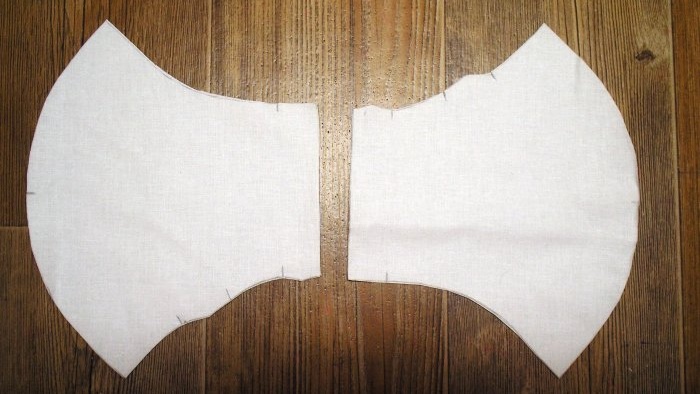
1.So let's get started. According to the construction scheme, we build a rectangle with sides of 18 and 19 cm. In it we line up the mask patterns according to the specified numerical values. This creates the outer part of the mask. Don’t forget that the patterns already contain allowances for processing; you don’t need to add anything! Joining and turning seams are provided at 0.7 cm each. There is a fold along the lower edge of the mask directed towards the center of the mask. We cut out the patterns, pinning the fold with a needle with an eye, as seen on the left.
On the left is a finished pattern of the outer part of the mask.
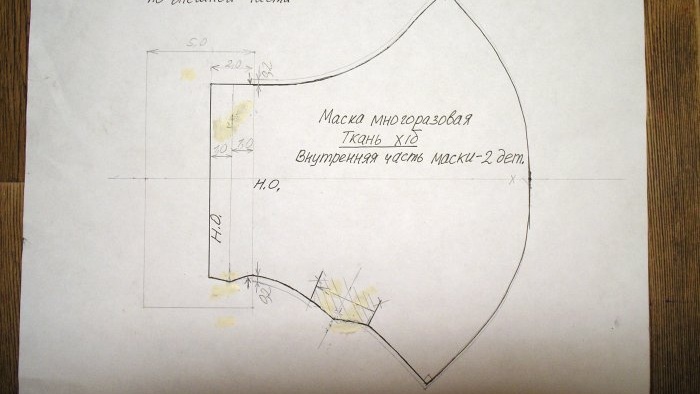
2. Based on the pattern of the outer mask, we build an inner mask. To do this, use a pencil to transfer the pattern of the outer mask onto paper and set aside the numerical values indicated in the figure. The fold along the bottom edge of the mask is directed from the center to the sides of the mask, in contrast to the outer mask, in order to avoid thickness in this area when sewing. We cut off the fold as shown on the right and cut out the pattern of the mask.
On the right is a finished pattern of the inside of the mask.
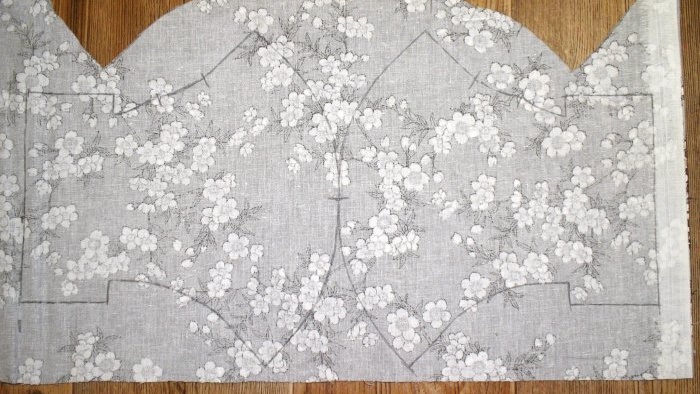
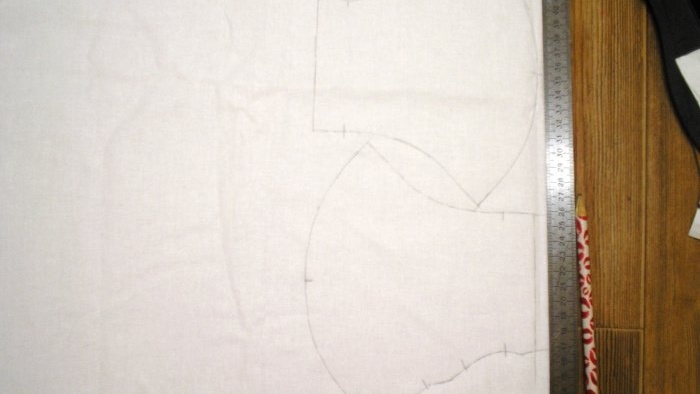
3. In this master class, two masks are cut out and sewn at once. We cut out the details of the mask using the patterns. There is one pattern, but there are two parts for sewing one unit of mask: two outer and two inner parts of the mask. When laying out, take into account the warp thread (n.o.). It is supposed to use fabric that does not stretch equally on both the warp and the weft, therefore, no. can pass in two mutually perpendicular directions, as conveniently placed in the layout. If there is a pattern on the fabric, it must be taken into account when laying it out. For convenience and to save time, fold the fabric facing inward. We trace the patterns on the wrong side of the fabric.
You can see how we lay out and trace the patterns of the outer part of the mask - the inner part of the mask.
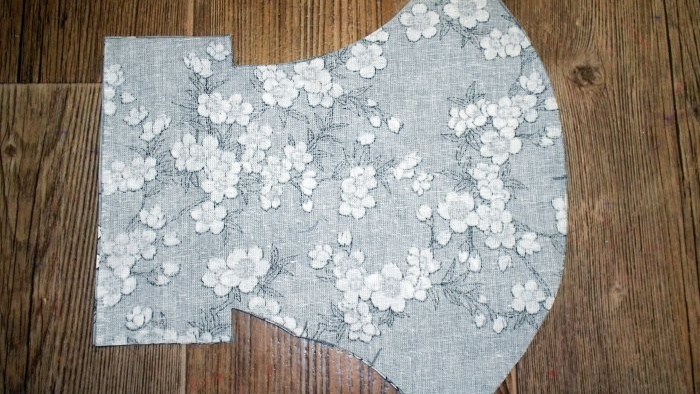
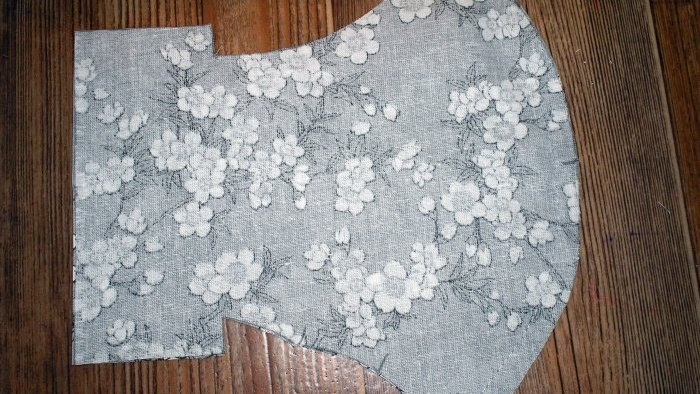
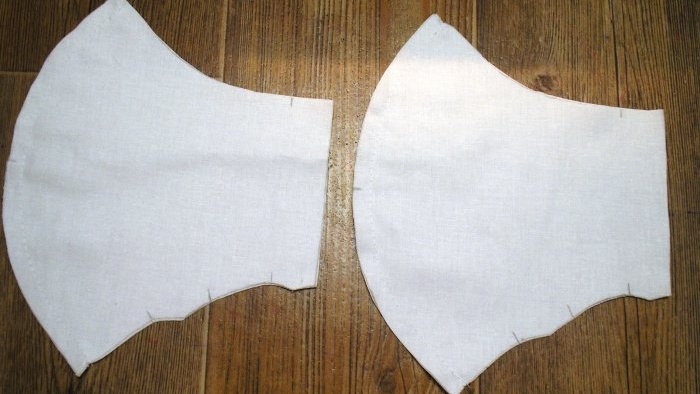
These pictures show the layout for two masks at once. We cut out the parts of the mask, making the notches provided in the patterns (on the folds, along the central cut of the mask and on the hem of the inside of the mask). We get the cut of two masks.
(outer part)
(inner part).
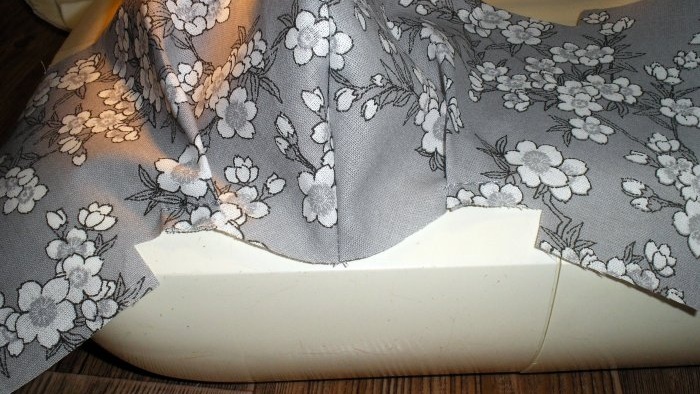
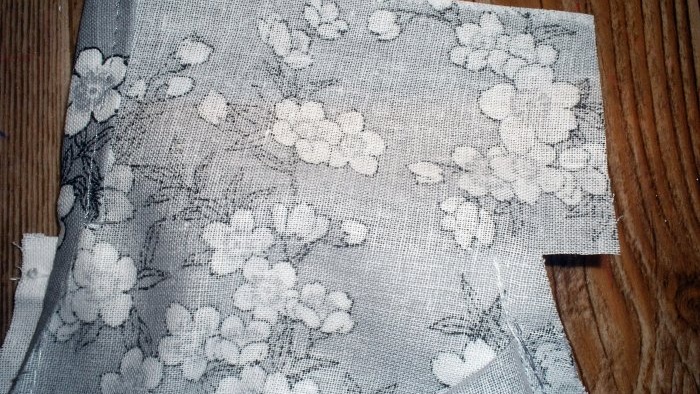
4. Now let's start sewing the mask. First we work separately with the external parts and separately with the internal parts of the mask. We fold the parts of the outer mask face to face and sew with an allowance of 0.7 cm from the edge along the central cut.
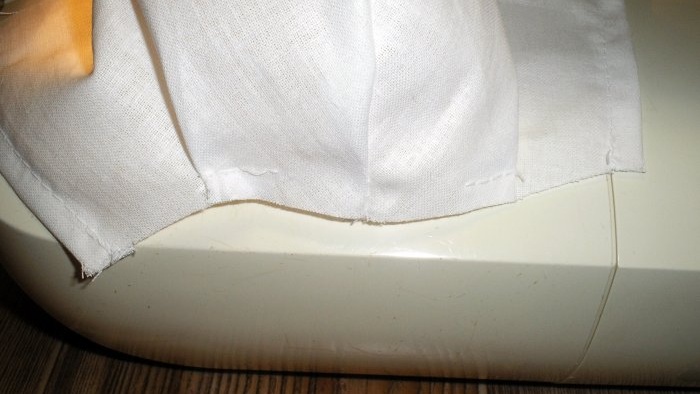
On the front side of the outer part of the mask we lay folds, directing them to the central seam, and sew the folds with a seam 0.5-0.6 cm from the edge. We get the result.
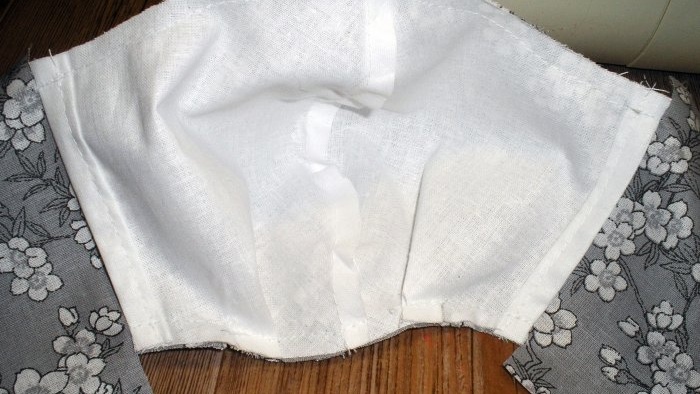
5. Now comes the turn of the inside of the mask. We fold its parts face to face and stitch with an allowance of 0.7 cm from the edge along the central cut.
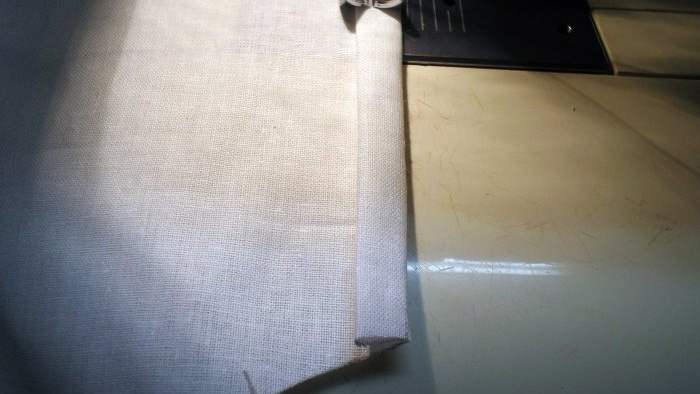
Next, we process the mask on both sides, from the notch, tucking in the hem allowance of 2.0 cm (1.0 and 1.0 cm), laid in the patterns, and stitching.
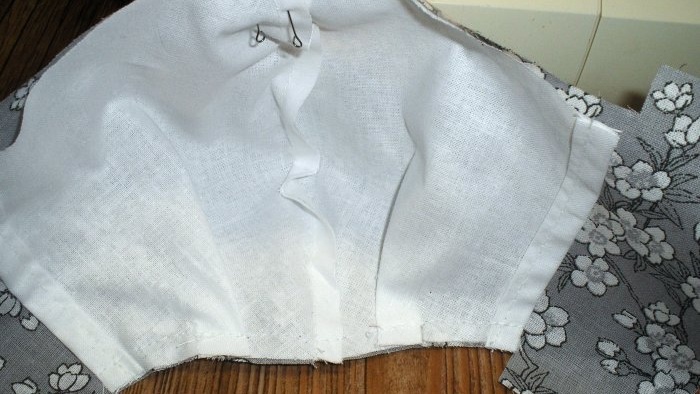
On the front side of the inside of the mask we lay sweets, directing them to the sides, and stitch them 0.5-0.6 cm from the edge. We get the result.
6. You need to connect the outer and inner parts of the mask along the upper and lower sections. First, we connect them face to face and, for convenience, we cut them off with needles with an eye along the lower cut.
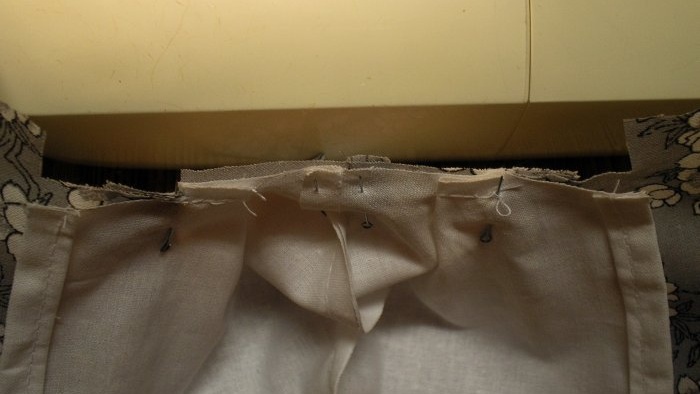
Then we stitch with an allowance of 0.7 cm from the edge. Next, we chop off the upper cut of the mask, aligning the central seam and directing the allowances of the two parts of the mask in different directions, as shown.
Sew with a seam 0.7 cm from the edge.
The finished result is presented.
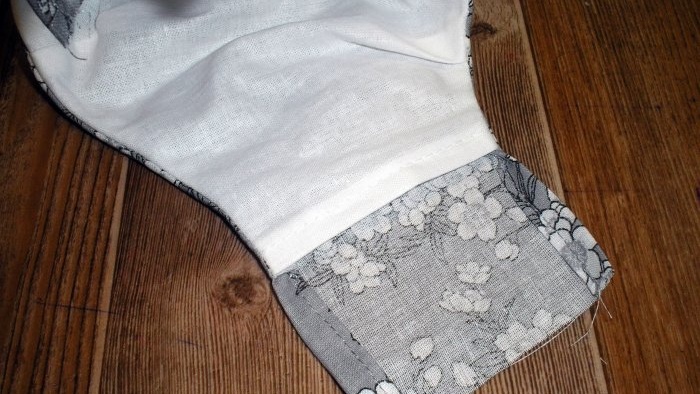
7. On the outer part of the mask there are allowances for elastic on both sides.We process them from above and below, tucking and sewing in a hem allowance of 2.0 cm (1.0 and 1.0 cm), laid down in the patterns, we see the result obtained.
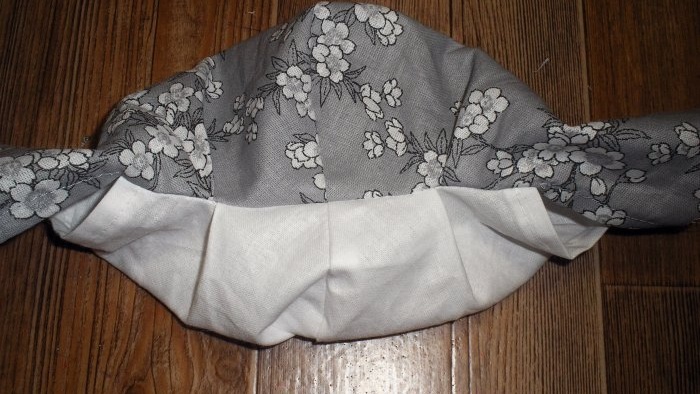
8. Turn the mask right side out.
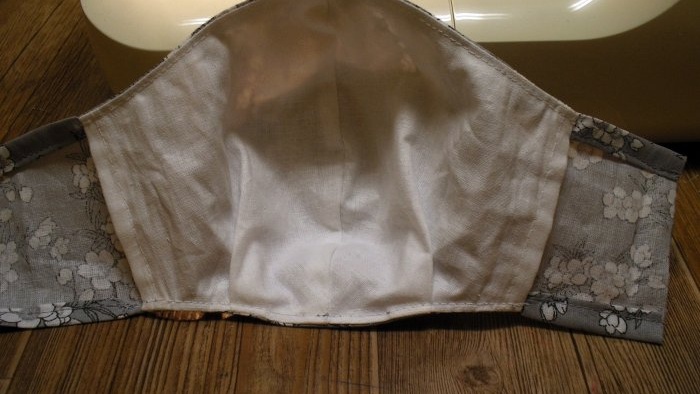
Pay attention to how correctly all the seams and folds of the two parts of the mask are combined. We straighten the inverted mask and see that the outer mask goes to the inner side by 0.1 cm along the upper and lower edges.
This transition was designed at the stage of constructing the inside of the mask: 0.2 cm was set aside at the top and bottom so that the inside of the mask was not visible from the outside (front side).
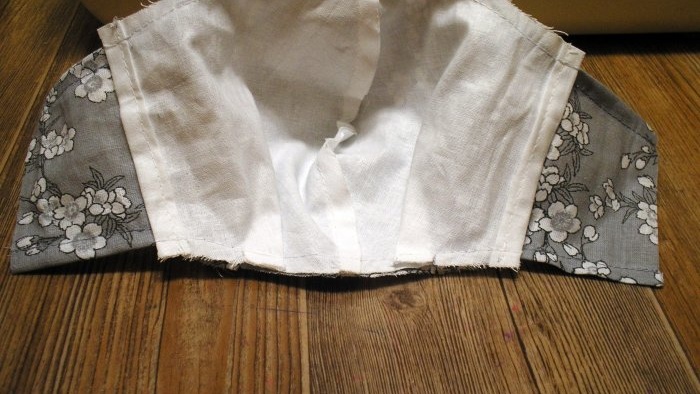
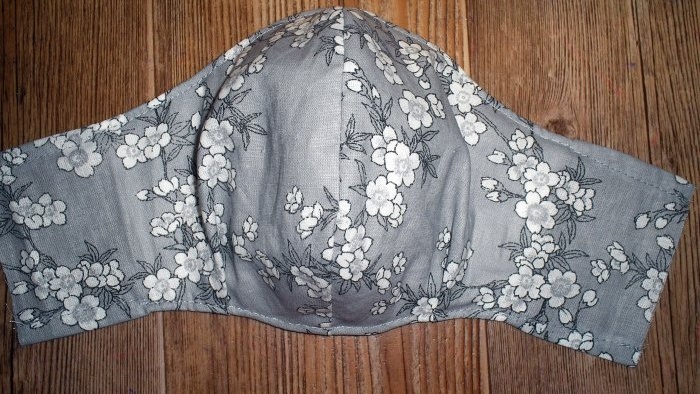
9. We lay a finishing stitch along the upper and lower edges of the mask 0.1-0.5 cm from the edge at your discretion, thereby securing the upper and lower seam so that it does not “walk” back and forth. The resulting view is presented.
From the inside you can see how the outer mask extends 0.1 cm to the inside along the upper and lower edges.
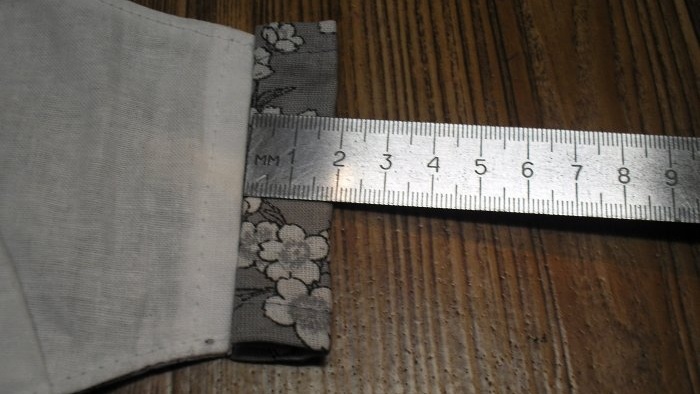
10. On the outer mask, we finish processing the elastic allowances on the sides of the mask. To do this, turn the seam allowance 1.0 cm.
Then fold the folded edge 2.0 cm.
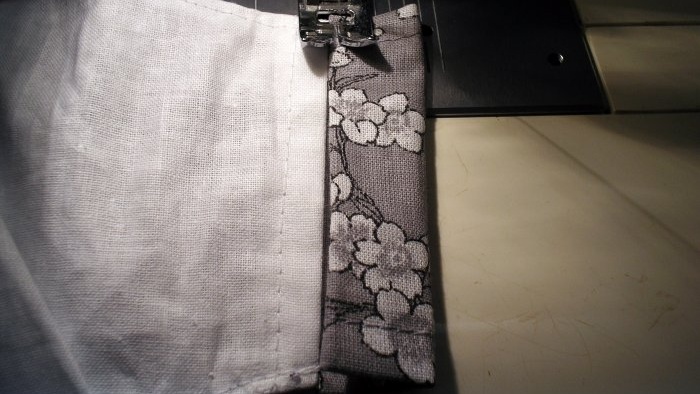
We sew a line along the hem 0.1 cm from the inner edge of the hem, as seen in Fig.
We do this treatment on both sides of the outer mask.
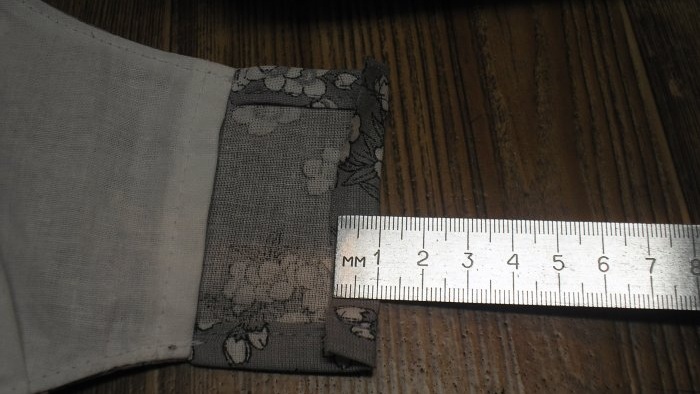
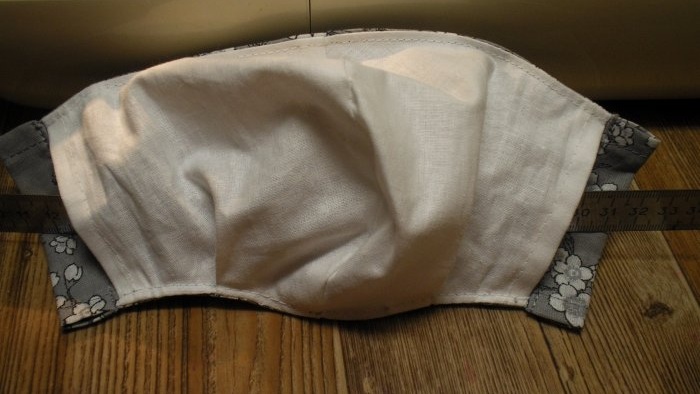
11. The mask is sewn. For clarity, a ruler is inserted between the outer and inner parts of the mask. Gauze or bandage folded in several layers will be inserted on the sides.
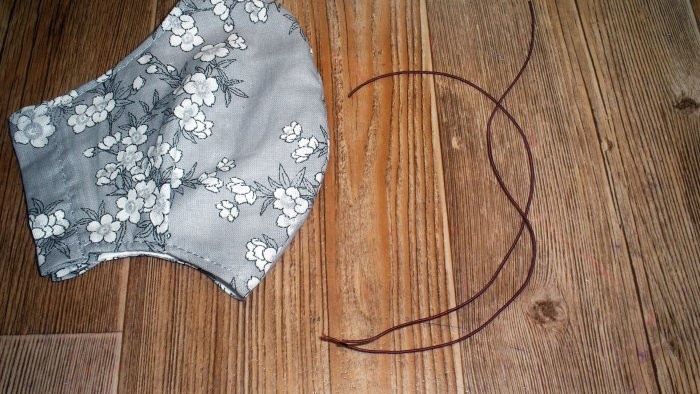
12. All that remains is to insert the elastic on both sides of the mask. You can take an elastic band that makes you feel comfortable.
A mask and two elastic bands of small diameter, each 25 cm long. The length of the elastic band can be adjusted for each individual.We insert the elastic with a pin into the holes left on the sides of the mask for the elastic and tie it.
We try on the mask and adjust the length of the elastic band individually to suit you. We tie knots tightly on the elastic band and twist the knots inside the elastic allowance.
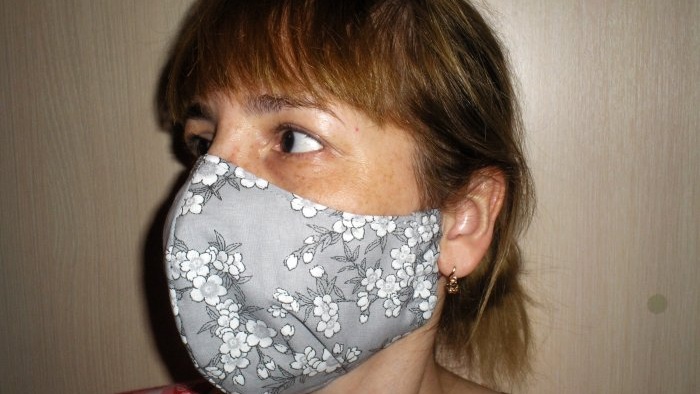
13. The finished mask on a person is shown.
Similar master classes
Particularly interesting
Comments (35)

