Darts from gel pens
Not long ago, while rummaging through my supplies, I discovered an old dartboard. The darts have long been broken and lost. I didn't want to buy a new set, so I decided to make new darts from the body of the handles.
Ordinary gel pens were used as a basis. First, you should remove the rod with paste from them, and also unscrew both caps. Then you need to take plasticine, a needle, matches and a piece of notebook paper.
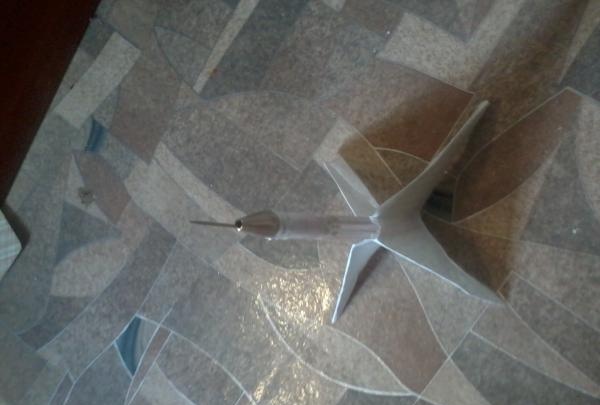
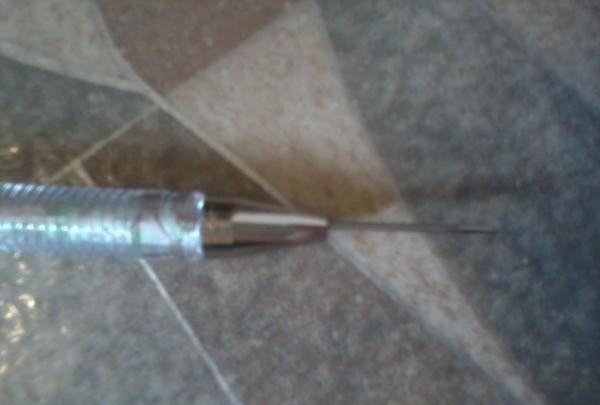
Take the front cap and insert a needle into it, point outward. Then we take plasticine and tightly seal the recess in the cap. After this, you should take matches and slightly melt the plates, so it will better fit into the cracks in the threads. After this, the plasticine will shrink a little, and you will need to sculpt it more tightly. Then you need to take a piece of notebook paper and roll it into a thick pad, the diameter of the cap. We need it so that the needle does not come out later. We take a pad and sculpt it on top of the plasticine, and stick more plasticine on top. That's it, the main part is ready.
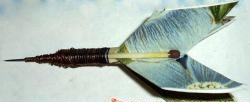
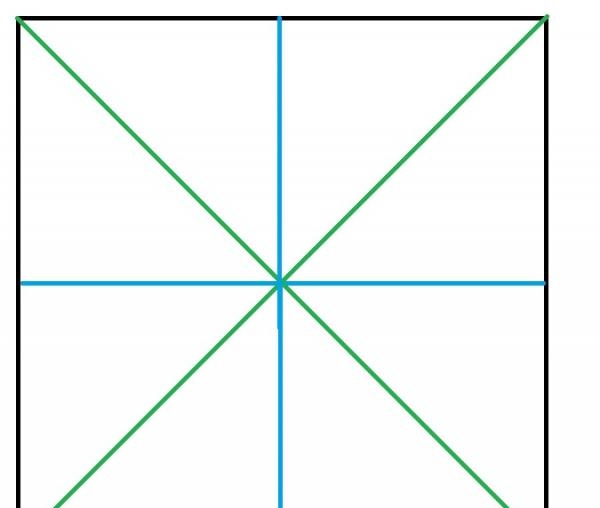
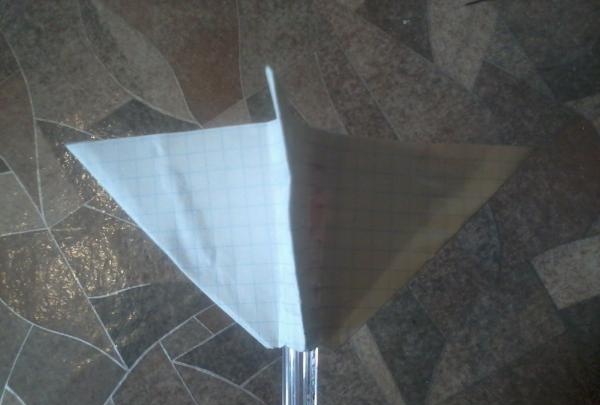
Next you will need to make the fletching for the dart. It is made from paper. To do this, you need to take a landscape sheet, make a square out of it and bend it according to the following pattern.Green lines indicate outward fold, blue lines indicate inward fold. After this, you will get something like a pyramid, the top of which needs to be cut off a little. Then we coat the body of the handle with PVA glue and put on the feathers. Smooth the paper so that there are no bubbles and let it dry. Then we put on a cap with a needle. That's it, the craft is ready.
How to throw. Throwing such a dart is slightly different from the usual one. Such a dart must be balanced on the finger and this place must be marked with something, for example, scratched with a knife. This is the place where you need to hold the dart when throwing. All that remains is to practice throwing it at the target. By the way, such a dart, due to its greater weight, will fly further than a regular one.
Ordinary gel pens were used as a basis. First, you should remove the rod with paste from them, and also unscrew both caps. Then you need to take plasticine, a needle, matches and a piece of notebook paper.

Take the front cap and insert a needle into it, point outward. Then we take plasticine and tightly seal the recess in the cap. After this, you should take matches and slightly melt the plates, so it will better fit into the cracks in the threads. After this, the plasticine will shrink a little, and you will need to sculpt it more tightly. Then you need to take a piece of notebook paper and roll it into a thick pad, the diameter of the cap. We need it so that the needle does not come out later. We take a pad and sculpt it on top of the plasticine, and stick more plasticine on top. That's it, the main part is ready.

Next you will need to make the fletching for the dart. It is made from paper. To do this, you need to take a landscape sheet, make a square out of it and bend it according to the following pattern.Green lines indicate outward fold, blue lines indicate inward fold. After this, you will get something like a pyramid, the top of which needs to be cut off a little. Then we coat the body of the handle with PVA glue and put on the feathers. Smooth the paper so that there are no bubbles and let it dry. Then we put on a cap with a needle. That's it, the craft is ready.

How to throw. Throwing such a dart is slightly different from the usual one. Such a dart must be balanced on the finger and this place must be marked with something, for example, scratched with a knife. This is the place where you need to hold the dart when throwing. All that remains is to practice throwing it at the target. By the way, such a dart, due to its greater weight, will fly further than a regular one.

Similar master classes
Particularly interesting
Comments (2)


