How to make a simple miter saw from a circular saw
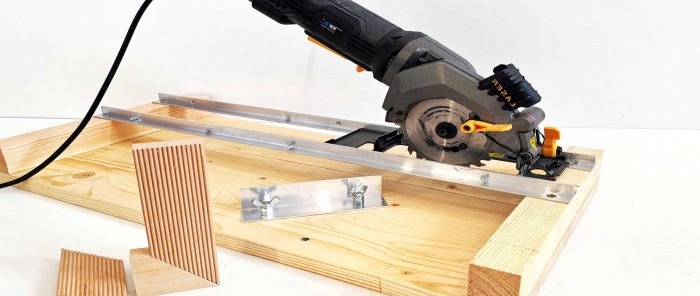
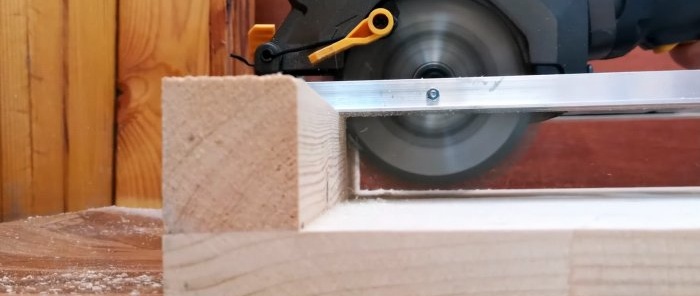
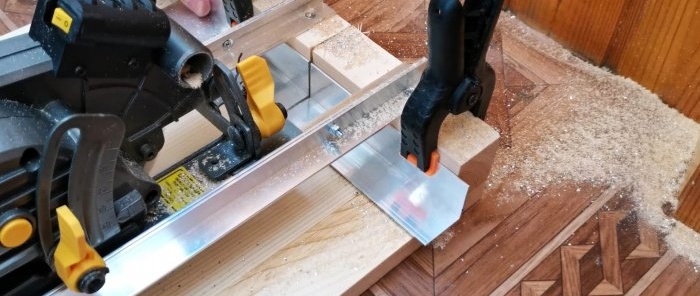
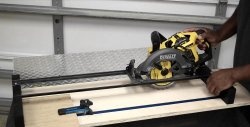
Good afternoon I bought myself a mini circular saw. I decided to expand its functionality and made a saw guide. Now you can trim boards, bars 4 cm thick, as well as furniture panels up to 50 cm long. You can trim at 45 and 90 degrees.
To make it you needed:
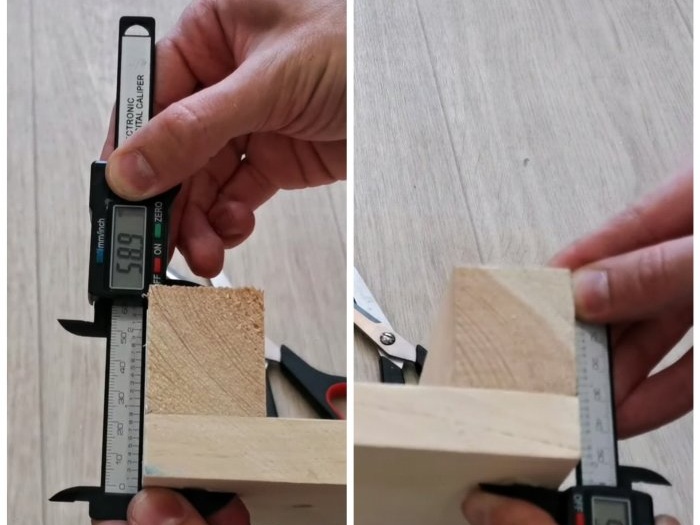
I used 4*4 cm timber as side supports, because... The maximum cutting depth of my saw is 4.3cm.
For the base I used furniture board. But it is better to use a sheet of plywood, because... it's much stronger and it definitely won't deform over time.
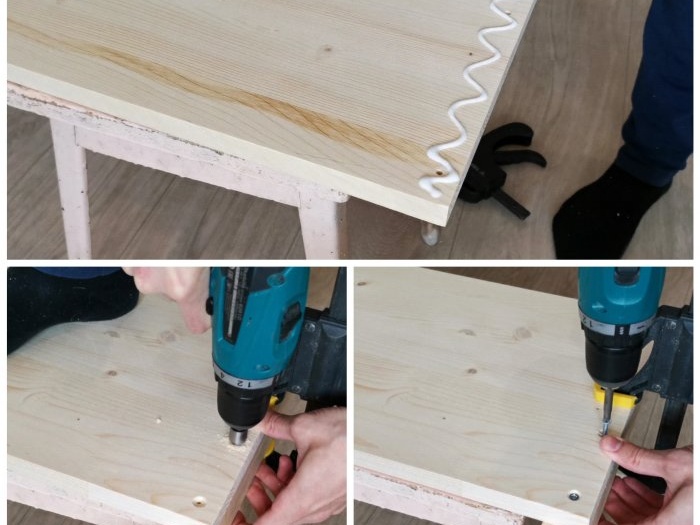
I glued the timber to the base and also secured them with self-tapping screws. I cut off the excess part of the timber.
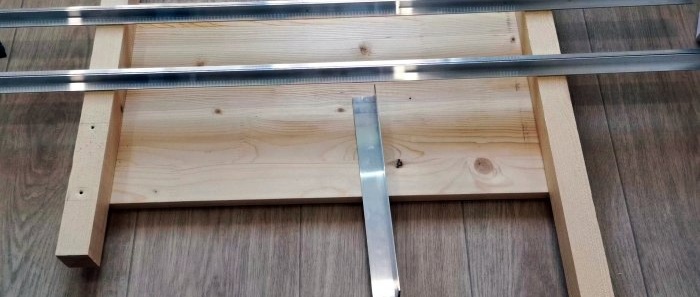
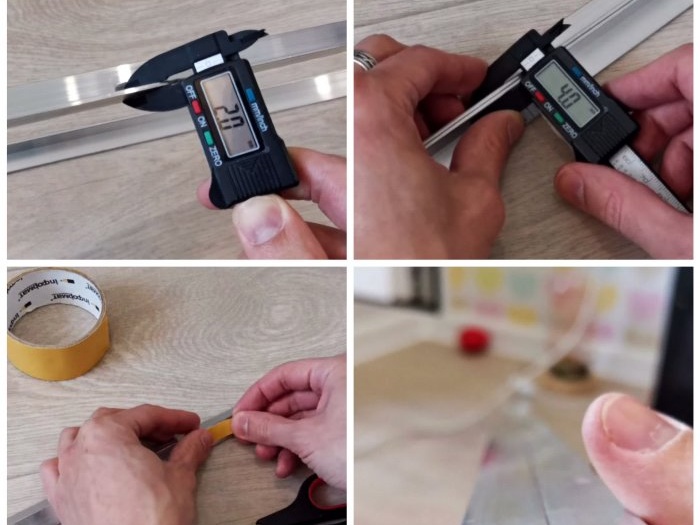
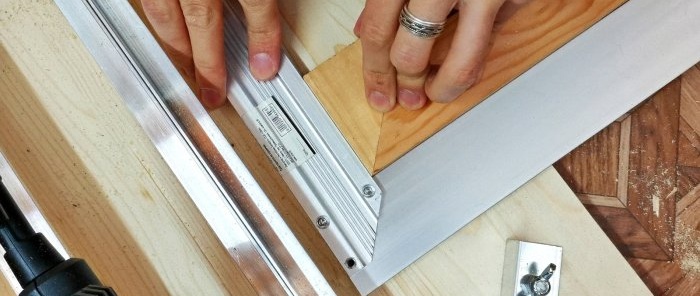
I used aluminum corners as guides. Angle thickness 2 mm. It sagged under the weight of the circular, so I decided to strengthen it with a second corner. The result was a stiffening rib 4 mm thick.
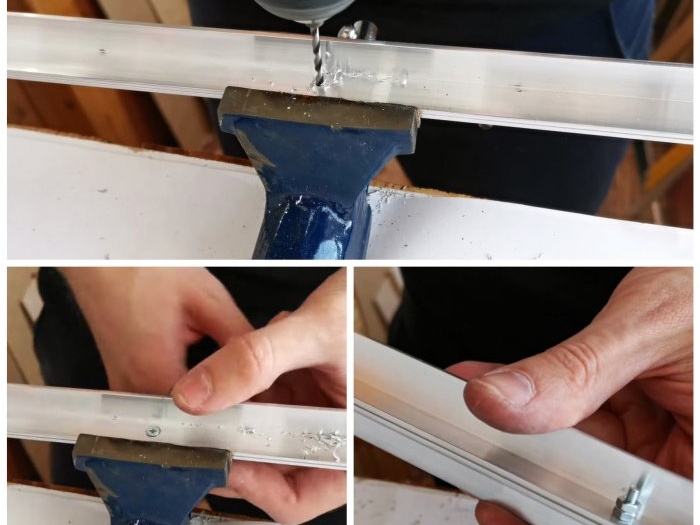
To connect the 2 corners, I glued double-sided tape, connected the corners together, and then made several through holes for the screws. The screw heads must be hidden flush so that they do not interfere with the saw sliding along the guides.
The thickness of the side stops should be the same.
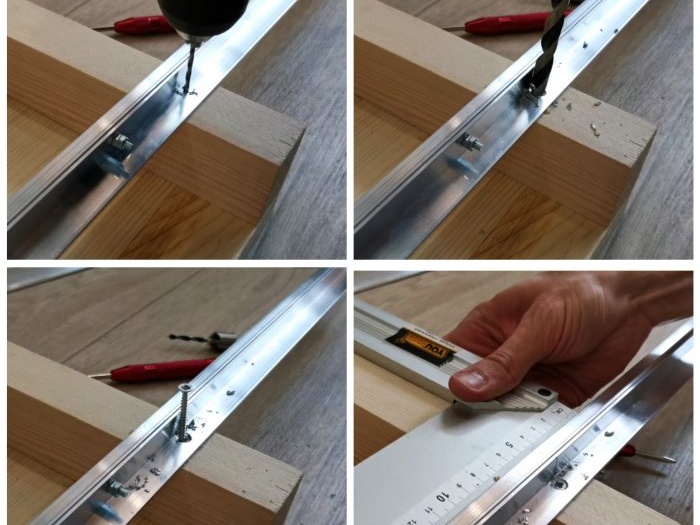
I fix the guides with self-tapping screws. During each operation, you need to check the set angle of 90 degrees.
First we fix one guide. Then we install the second guide, take the saw and set the distance between the guides to the width of the saw sole.
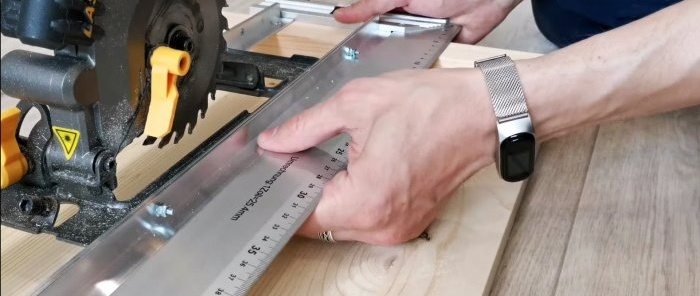
We fix the second guide. The saw should slide freely along the guides, but not have any side play.
We make the first cut along the entire length of the guide.
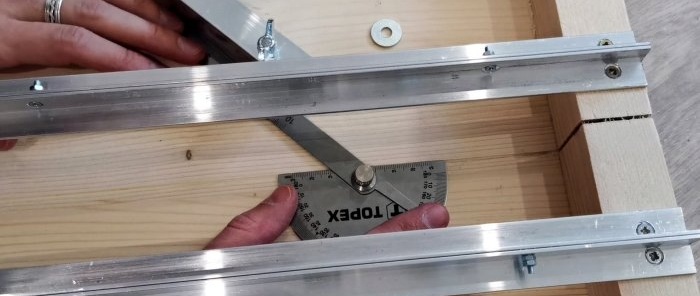
To make a 45 degree stop, I took another aluminum angle and cut it to the desired length.
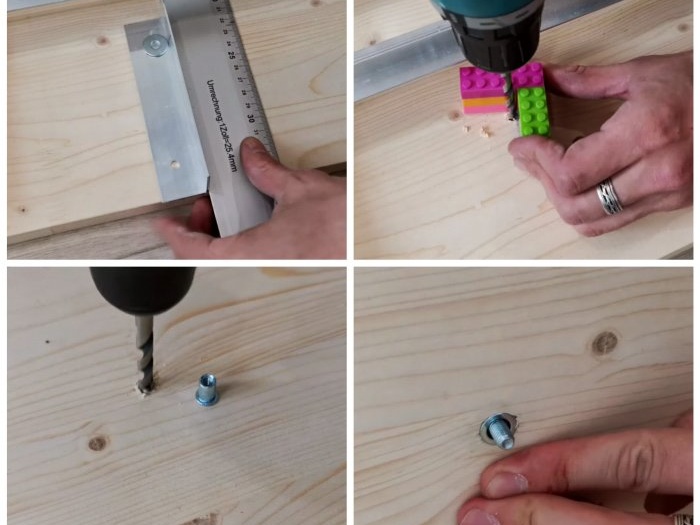
I chose a place for its location. I made a through hole in the base of the guide. I pressed a furniture nut into the back of the board.
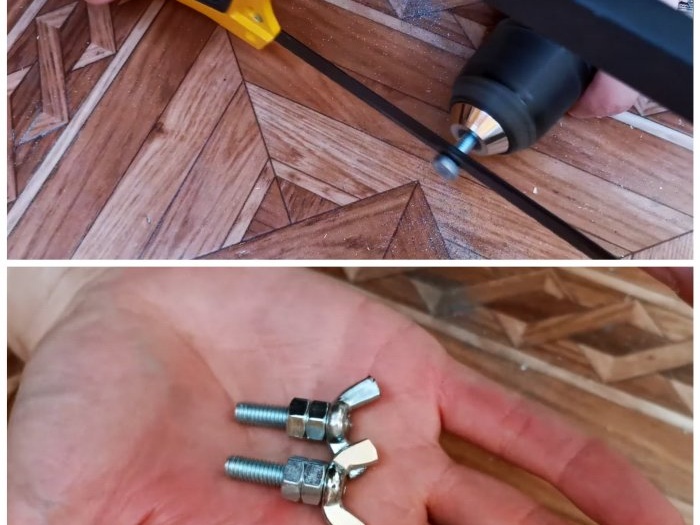
I made fixing wing screws. I cut off the bolt heads and screwed on a couple of nuts and wings.
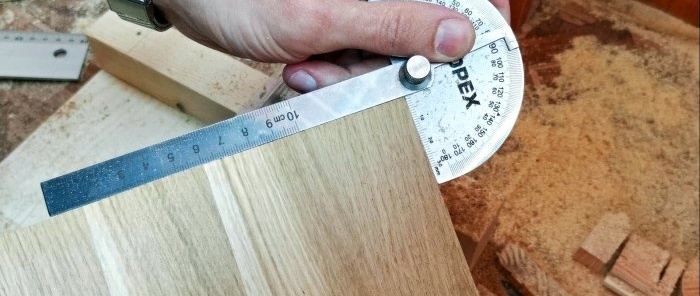
From the cut of the saw I set an angle of 45 degrees. I drill another hole for fixing. (The number of angles can be arbitrary)
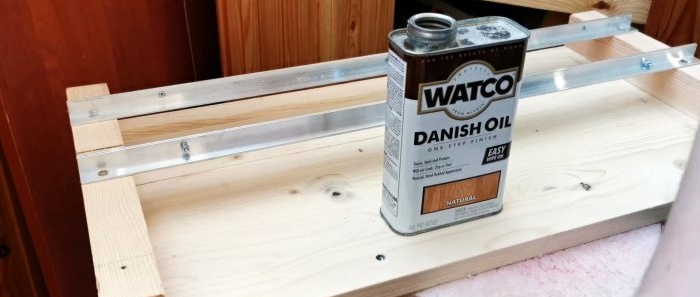
To protect the wood I coated it with oil.
The guide is ready.
Let's move on to testing.
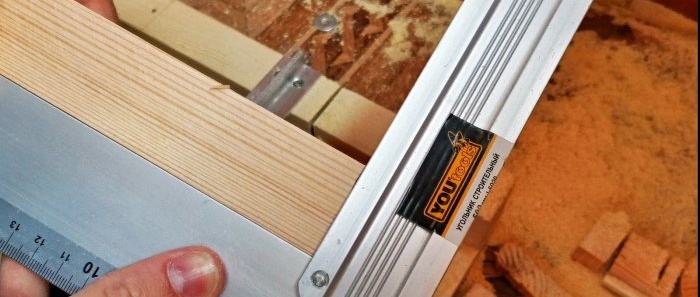
The furniture panel was trimmed.
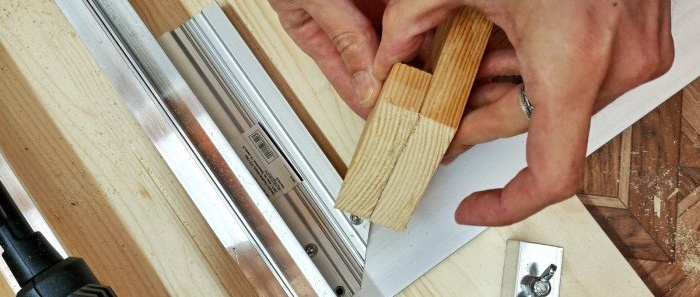
I sawed the block at 45 degrees.
I sawed a block of maximum thickness 4 cm.
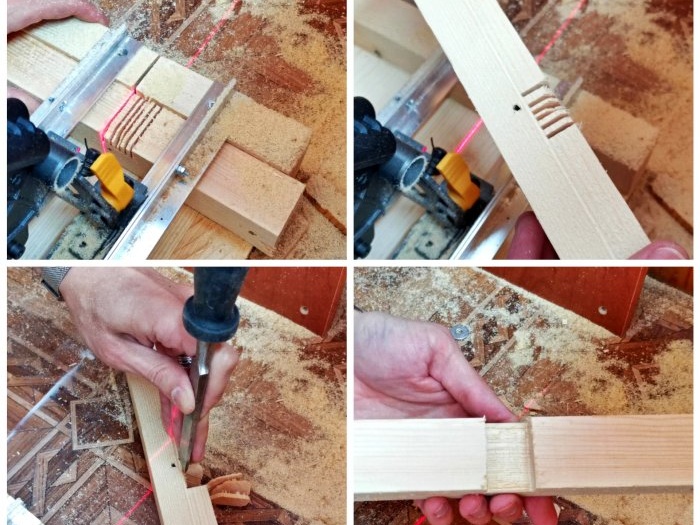
The guide makes it easy to make grooves.
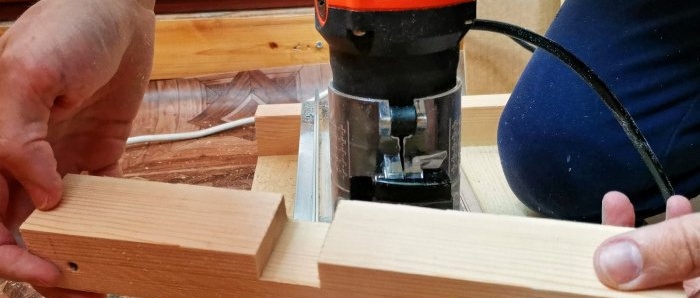
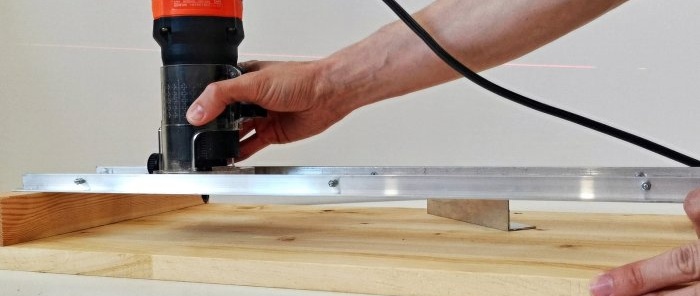
My edge router and circular saw have the same base width. So I can use the guide along with the router.
For more details, watch the video:
Materials
To make it you needed:
- - Furniture panel 60*40 cm.
- - Aluminum corners 4 pcs 1.5*1.5*100cm.
- - Aluminum corner 1 piece 4*4*50cm.
- - Beam 4*4*100cm.
- - self-tapping screws/screws.
Making a cross-cutting machine
I used 4*4 cm timber as side supports, because... The maximum cutting depth of my saw is 4.3cm.
For the base I used furniture board. But it is better to use a sheet of plywood, because... it's much stronger and it definitely won't deform over time.
I glued the timber to the base and also secured them with self-tapping screws. I cut off the excess part of the timber.
I used aluminum corners as guides. Angle thickness 2 mm. It sagged under the weight of the circular, so I decided to strengthen it with a second corner. The result was a stiffening rib 4 mm thick.
To connect the 2 corners, I glued double-sided tape, connected the corners together, and then made several through holes for the screws. The screw heads must be hidden flush so that they do not interfere with the saw sliding along the guides.
The thickness of the side stops should be the same.
I fix the guides with self-tapping screws. During each operation, you need to check the set angle of 90 degrees.
First we fix one guide. Then we install the second guide, take the saw and set the distance between the guides to the width of the saw sole.
We fix the second guide. The saw should slide freely along the guides, but not have any side play.
We make the first cut along the entire length of the guide.
To make a 45 degree stop, I took another aluminum angle and cut it to the desired length.
I chose a place for its location. I made a through hole in the base of the guide. I pressed a furniture nut into the back of the board.
I made fixing wing screws. I cut off the bolt heads and screwed on a couple of nuts and wings.
From the cut of the saw I set an angle of 45 degrees. I drill another hole for fixing. (The number of angles can be arbitrary)
To protect the wood I coated it with oil.
The guide is ready.
Let's move on to testing.
The furniture panel was trimmed.
I sawed the block at 45 degrees.
I sawed a block of maximum thickness 4 cm.
The guide makes it easy to make grooves.
My edge router and circular saw have the same base width. So I can use the guide along with the router.
Watch the video
For more details, watch the video:
Similar master classes
Particularly interesting
Comments (0)

