How to build a children's playhouse
Hi all! We used to build play structures out of chairs, pillows and blankets. We had our own secret hiding places. Today we have grown up, but we have our own children. So why not help them and build a real children's house? Perhaps this will somehow distract them from all sorts of gadgets.
You can build from any available materials - wood, plywood, wooden pallets or thick cardboard.
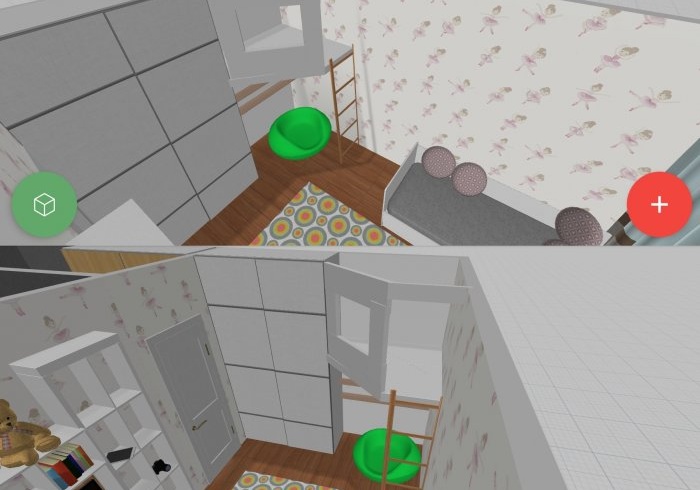
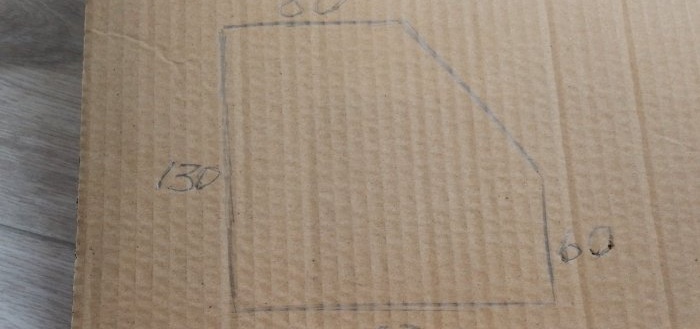
I will build from wood. Previously, I made a design for the future house.
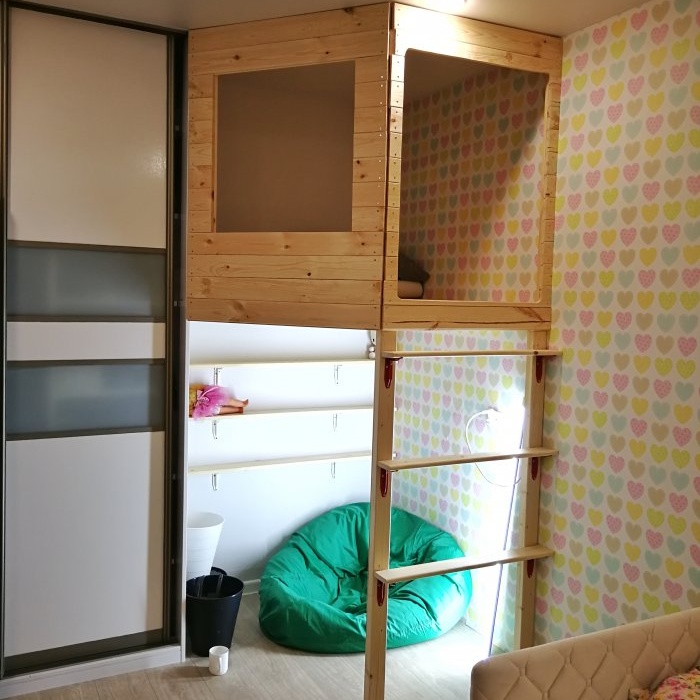
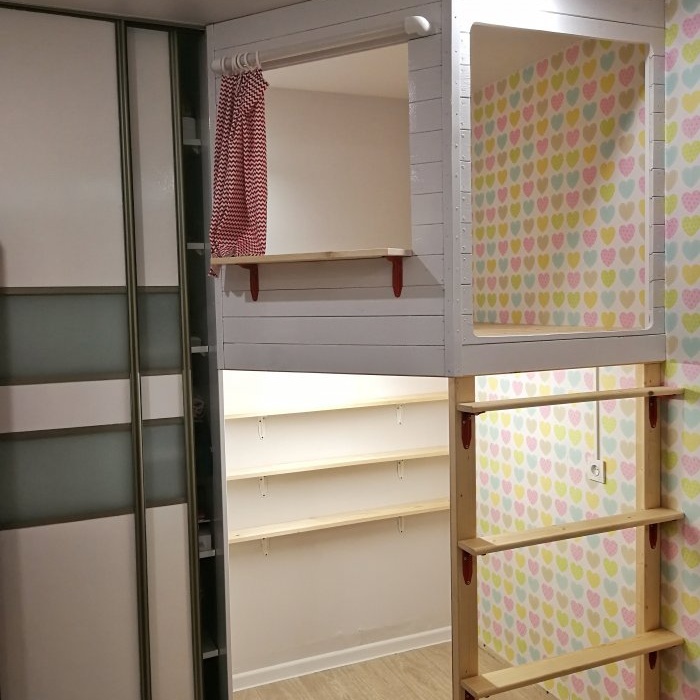
There was a corner in the room between the closet and the wall. Toys were stored in it and were no longer used. I figured that I could make an attic house.
Ceiling height 2.65m. The height of the stairs was 1.45 m. In the house itself 1.1 m.
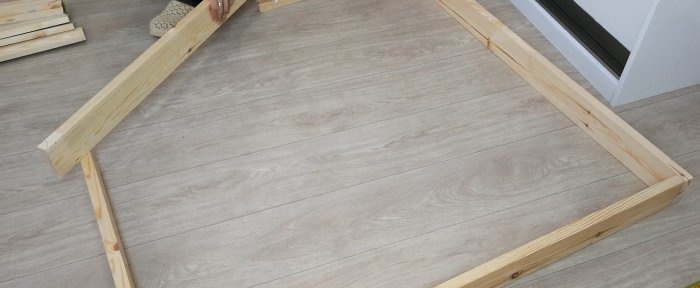
I'm starting to make the frame. I measure the required length and saw off the timber. I used 30*70*1500 mm timber.
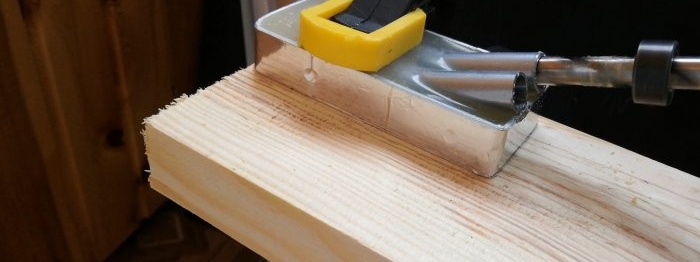
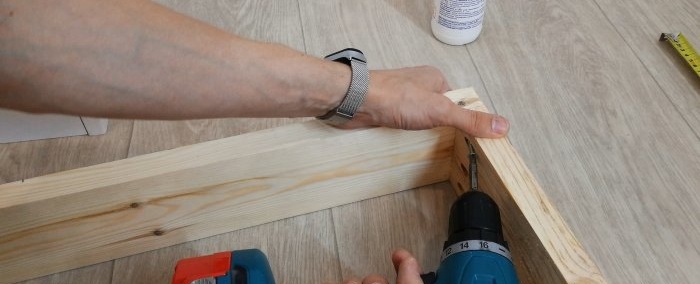
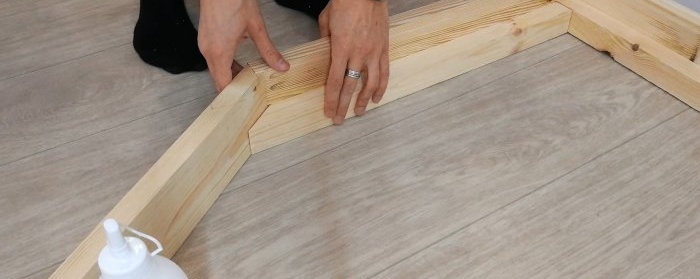
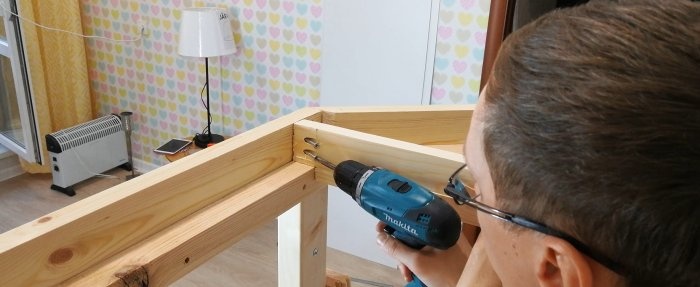
I will connect the frame using PVA wood glue and miter screws. I use a homemade conductor. (if possible, please link to the article https://home.washerhouse.com/en/5641-samodelnyj-konduktor-iz-termokleja-dlja-soedinenija-na-kosoj-shurup.html)
Do not skimp on glue, this will make the connection stronger and more reliable.
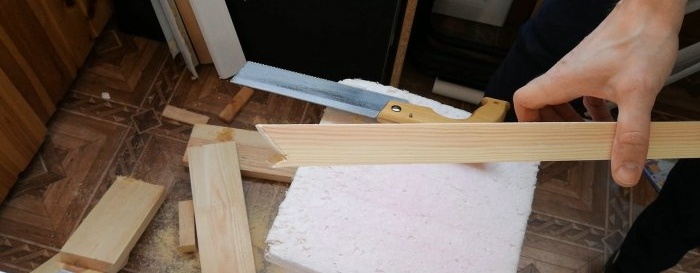
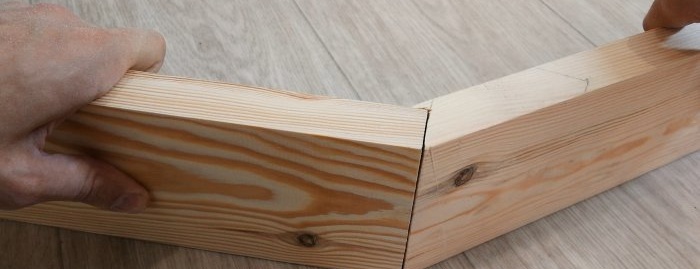
I had to struggle with the corner joints and start carving wood.
It turned out pretty good!
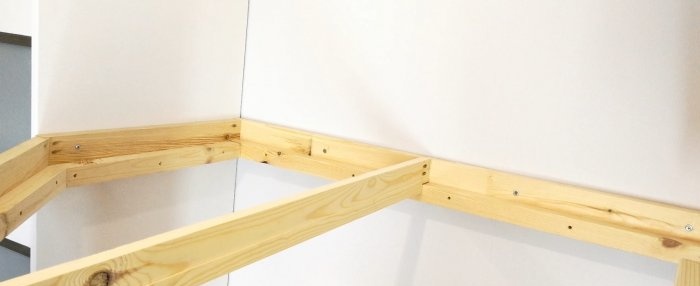
Having finished assembling the frame, I decided to further strengthen it with 4*4 cm timber around the entire perimeter. In the future, a transverse beam will rest on this beam.
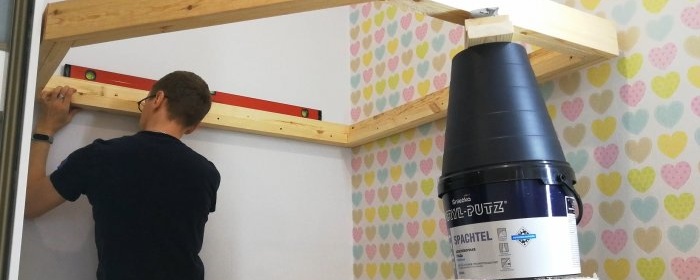
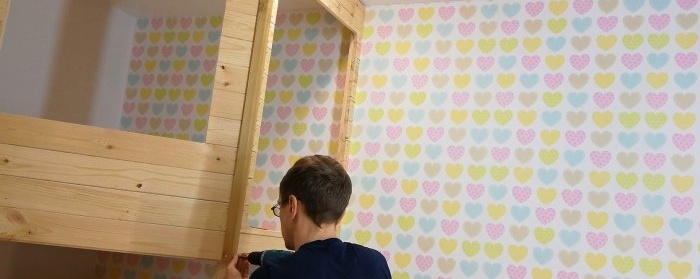
The frame of the house is ready. It's time to mark the mounting holes. It’s not very convenient for one person to do this, but it’s possible!
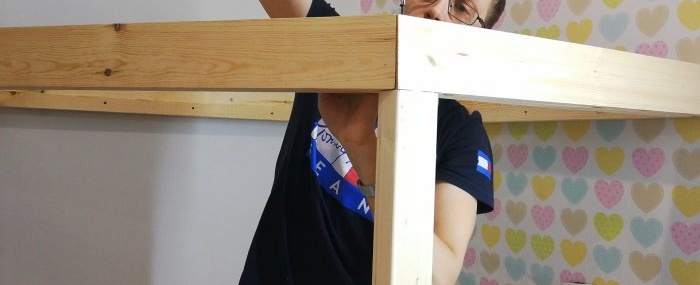
Having fixed the frame, I began making the future staircase. To do this, I took 2 timber 45*70*1500 mm.
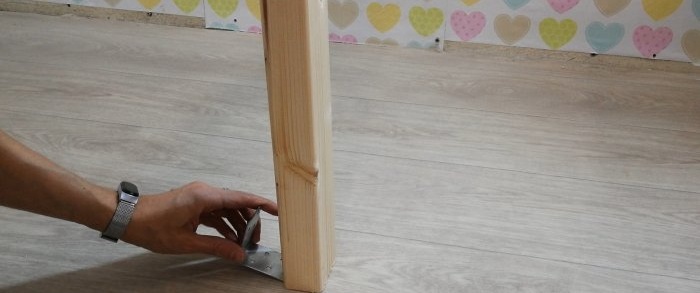
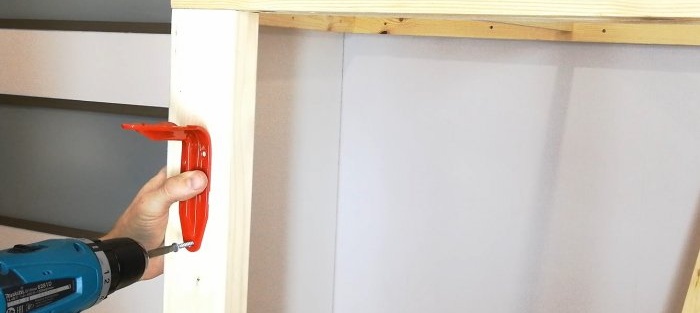
I secured it at the top using long self-tapping screws, and at the bottom I secured it with a metal corner.
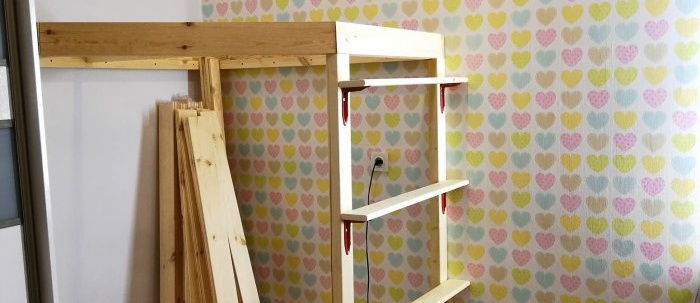
The pillars are fixed. You can start making the steps. To do this, I bought steel corners with a stiffener and a planed board. It is rounded on both sides.
It's time to test your strength. It withstood my 65 kg with ease, which means it can withstand a child too!
The staircase is ready and you can start laying the floor, but first you need to install a cross beam for greater reliability of the structure.
The timber used was the same as for the frame. Fixed it with an oblique screw.
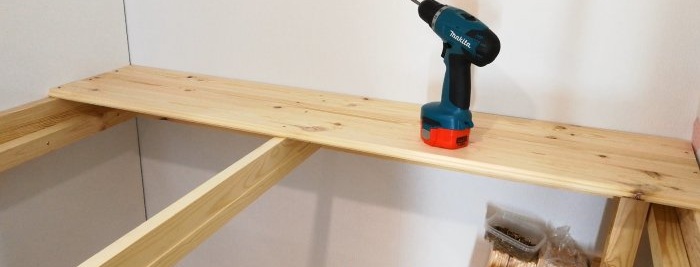
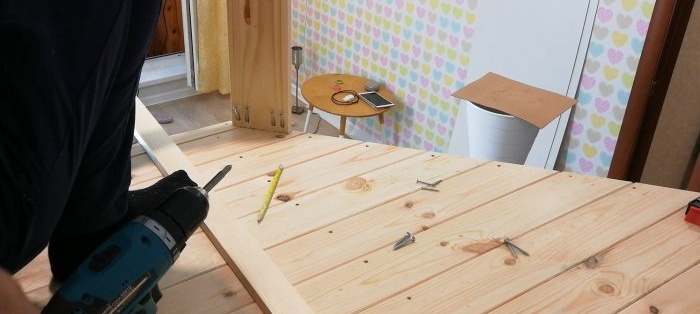
Now you can lay the floor. I will use pine lining 1300*75*15 mm. The length was perfect. There was no need to file anything!
I'm laying the entire floor. I draw out the excess and cut it off.
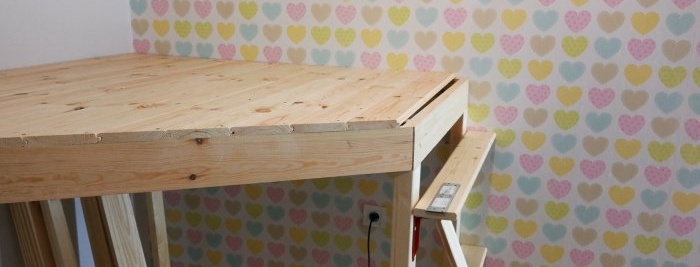
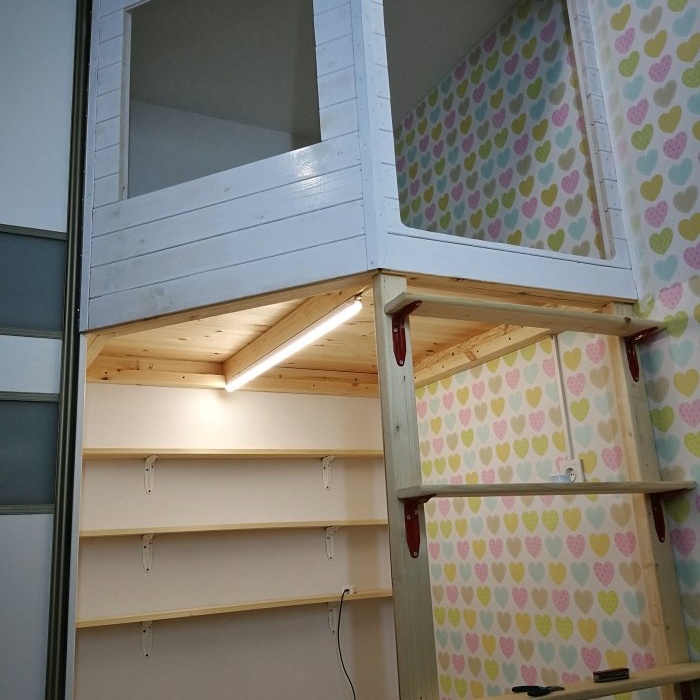
The result is this design. Second tier in the room.
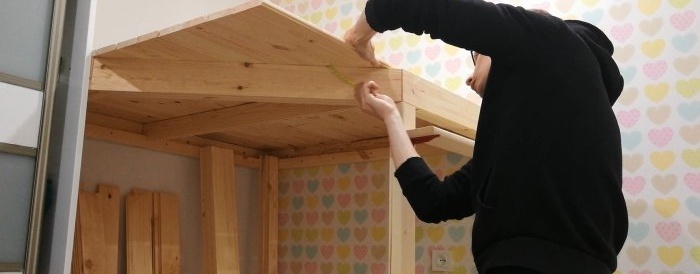
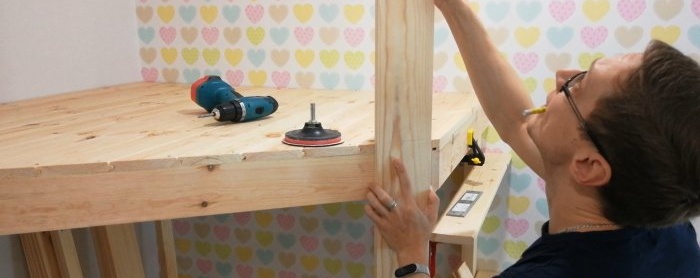
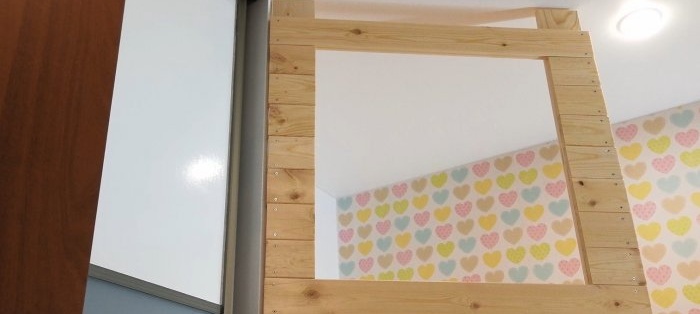
Next, I marked out the posts for the walls of the house. I used 90*20*1500 boards. Later I will screw the house sheathing onto these boards.
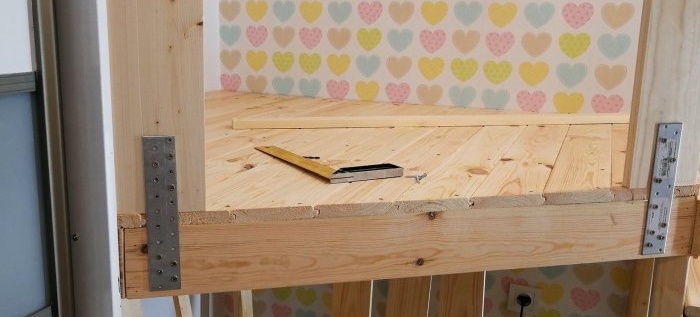
Fixed it with an oblique screw. On the other hand, I secured it with a metal plate.
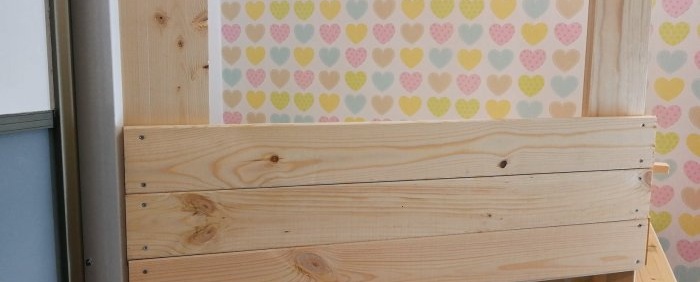
So, the wall supports are ready, you can cover them with clapboard.
The lining is quite fragile and if you screw in the screws live, it can crack. I recommend pre-drilling holes for screws.
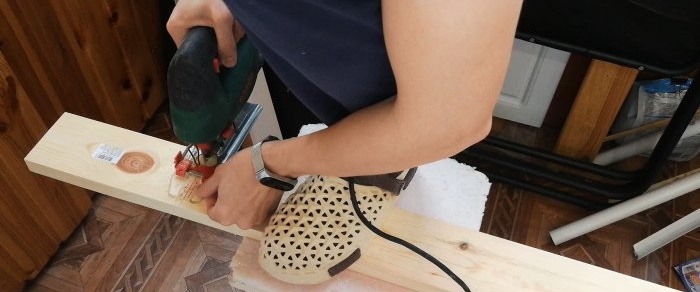
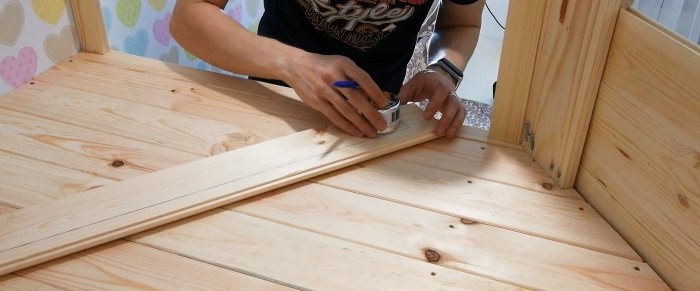
For the entrance I decided to make rounded corners. Using a spray paint cap, I mark the corners and cut them out with a jigsaw.
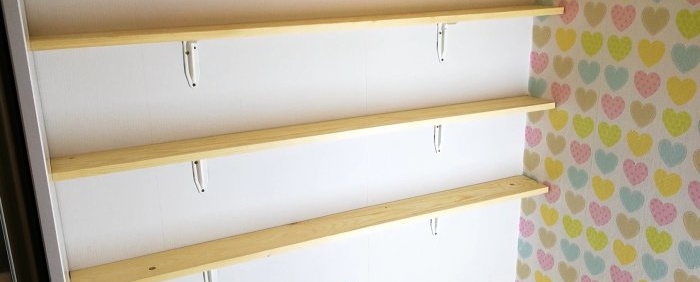
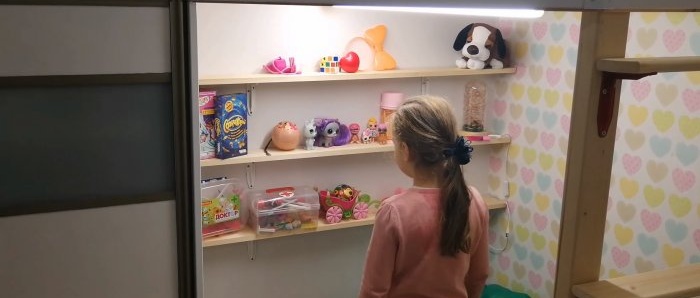
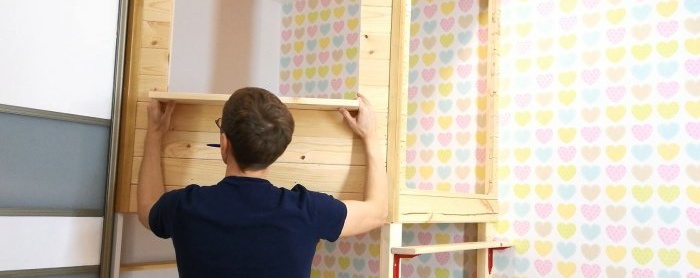
Under the house I made 3 shelves for storing toys. I used a 90*20*1500mm board and corners. The corners are the same as for the steps, but I painted them white.
I didn't bother much with drawing out the corners, because... I will cover them with a flexible corner made of fiberboard.
I glued it with double-sided tape and secured it with self-tapping screws.
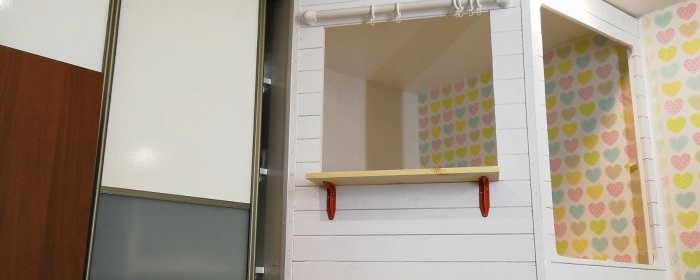
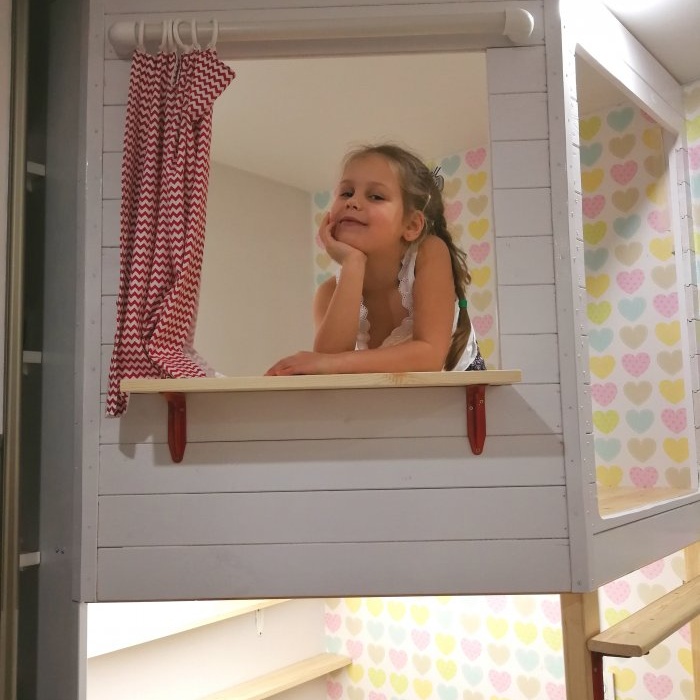
The window needs a window sill. I bought a furniture board 1000*200*18 and cut it to the required size.
I chose the height of the window sill so that I could walk safely under it and not hit my head.
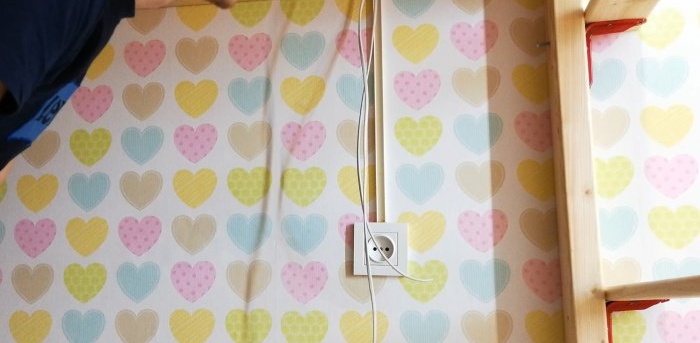
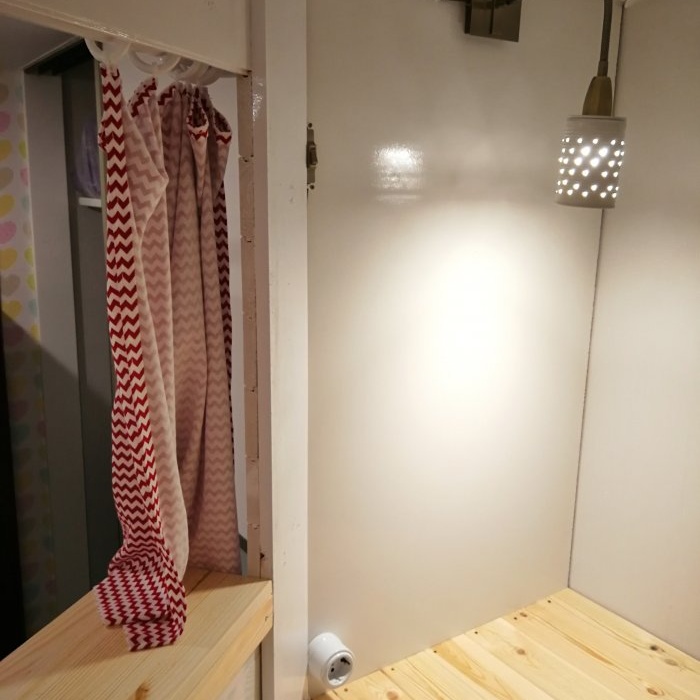
Every home must have electricity. That's why I took him to mine too. On the second floor I will have a lamp and an outlet, and on the first floor I will have lighting.
I had an old lamp, but there was no shade, because... he crashed. I took a tin can, drilled holes in it and painted it white. It turned out well.
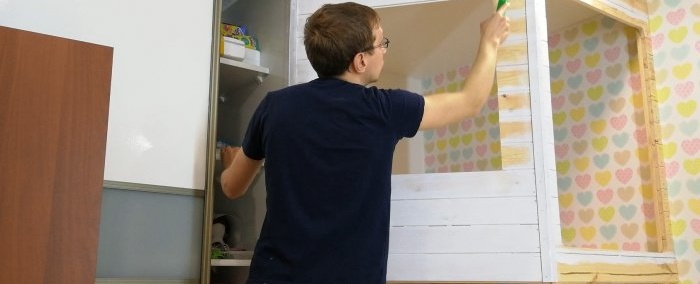
Well, it's time to paint the house. For this I used white glossy enamel. It is water-based and does not have a strong odor. I used this paint to paint the cabinet next to the house. In 2 years it has not turned yellow or peeled off.
I applied 3 coats of paint in total. Because the paint was absorbed into the wood and the grain of the wood appeared.
The paint dried and I made a cornice for the future curtain. The cornice was made from scraps of PVC pipe and corners. The rings were found on the balcony.
Installed a window sill.
The final touch! I spent more time making the curtain than assembling the frame of the house)
The cat quickly found a new favorite place.
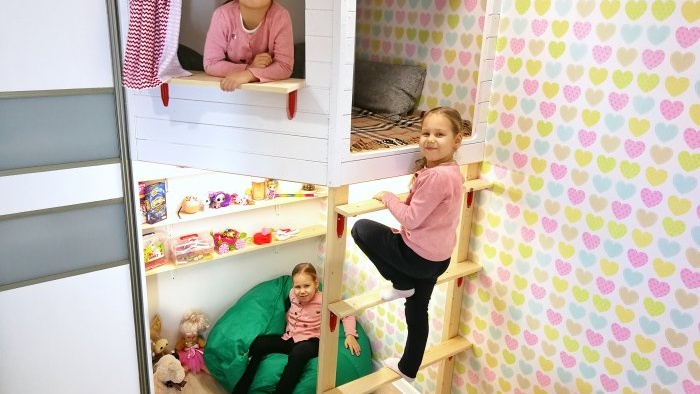
The house turned out to be very roomy. With my height of 1.77m, I calmly lie down diagonally and can straighten my legs.
This is the kind of playhouse I got. Now we spend time there often. We do homework, read, play card games (not gambling). My daughter is happy, and this is the most important thing.
I hope you enjoy my project.
And that's all, see you soon!
Will need
You can build from any available materials - wood, plywood, wooden pallets or thick cardboard.
I will build from wood. Previously, I made a design for the future house.
There was a corner in the room between the closet and the wall. Toys were stored in it and were no longer used. I figured that I could make an attic house.
Ceiling height 2.65m. The height of the stairs was 1.45 m. In the house itself 1.1 m.
We build a children's house with our own hands
I'm starting to make the frame. I measure the required length and saw off the timber. I used 30*70*1500 mm timber.
I will connect the frame using PVA wood glue and miter screws. I use a homemade conductor. (if possible, please link to the article https://home.washerhouse.com/en/5641-samodelnyj-konduktor-iz-termokleja-dlja-soedinenija-na-kosoj-shurup.html)
Do not skimp on glue, this will make the connection stronger and more reliable.
I had to struggle with the corner joints and start carving wood.
It turned out pretty good!
Having finished assembling the frame, I decided to further strengthen it with 4*4 cm timber around the entire perimeter. In the future, a transverse beam will rest on this beam.
The frame of the house is ready. It's time to mark the mounting holes. It’s not very convenient for one person to do this, but it’s possible!
Having fixed the frame, I began making the future staircase. To do this, I took 2 timber 45*70*1500 mm.
I secured it at the top using long self-tapping screws, and at the bottom I secured it with a metal corner.
The pillars are fixed. You can start making the steps. To do this, I bought steel corners with a stiffener and a planed board. It is rounded on both sides.
It's time to test your strength. It withstood my 65 kg with ease, which means it can withstand a child too!
The staircase is ready and you can start laying the floor, but first you need to install a cross beam for greater reliability of the structure.
The timber used was the same as for the frame. Fixed it with an oblique screw.
Now you can lay the floor. I will use pine lining 1300*75*15 mm. The length was perfect. There was no need to file anything!
I'm laying the entire floor. I draw out the excess and cut it off.
The result is this design. Second tier in the room.
Next, I marked out the posts for the walls of the house. I used 90*20*1500 boards. Later I will screw the house sheathing onto these boards.
Fixed it with an oblique screw. On the other hand, I secured it with a metal plate.
So, the wall supports are ready, you can cover them with clapboard.
The lining is quite fragile and if you screw in the screws live, it can crack. I recommend pre-drilling holes for screws.
For the entrance I decided to make rounded corners. Using a spray paint cap, I mark the corners and cut them out with a jigsaw.
Under the house I made 3 shelves for storing toys. I used a 90*20*1500mm board and corners. The corners are the same as for the steps, but I painted them white.
I didn't bother much with drawing out the corners, because... I will cover them with a flexible corner made of fiberboard.
I glued it with double-sided tape and secured it with self-tapping screws.
The window needs a window sill. I bought a furniture board 1000*200*18 and cut it to the required size.
I chose the height of the window sill so that I could walk safely under it and not hit my head.
Every home must have electricity. That's why I took him to mine too. On the second floor I will have a lamp and an outlet, and on the first floor I will have lighting.
I had an old lamp, but there was no shade, because... he crashed. I took a tin can, drilled holes in it and painted it white. It turned out well.
Well, it's time to paint the house. For this I used white glossy enamel. It is water-based and does not have a strong odor. I used this paint to paint the cabinet next to the house. In 2 years it has not turned yellow or peeled off.
I applied 3 coats of paint in total. Because the paint was absorbed into the wood and the grain of the wood appeared.
The paint dried and I made a cornice for the future curtain. The cornice was made from scraps of PVC pipe and corners. The rings were found on the balcony.
Installed a window sill.
The final touch! I spent more time making the curtain than assembling the frame of the house)
Result
The cat quickly found a new favorite place.
The house turned out to be very roomy. With my height of 1.77m, I calmly lie down diagonally and can straighten my legs.
This is the kind of playhouse I got. Now we spend time there often. We do homework, read, play card games (not gambling). My daughter is happy, and this is the most important thing.
I hope you enjoy my project.
And that's all, see you soon!
Watch the video
Similar master classes
Particularly interesting
Comments (0)

