How to make an injection propane burner from a piece of pipe
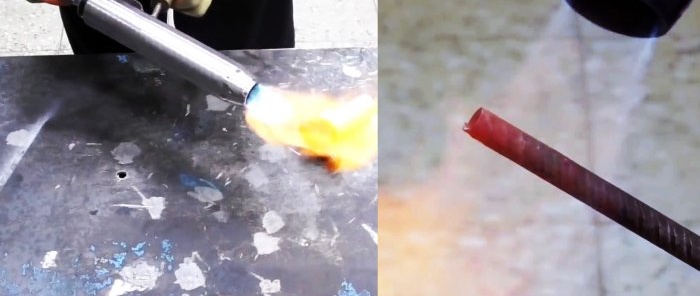
Large propane torches are used to heat steel parts, used for laying overlay roofing and melting non-ferrous metals. This is quite popular equipment in everyday life, which, if desired, is not difficult to do with your own hands.
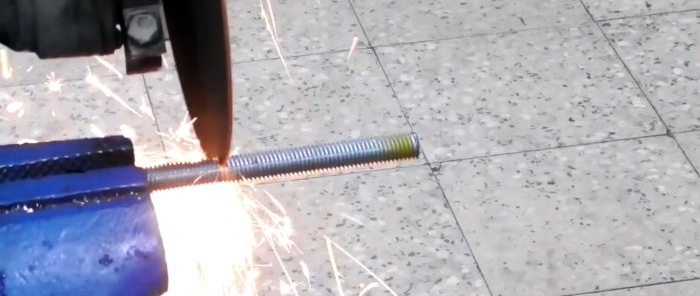
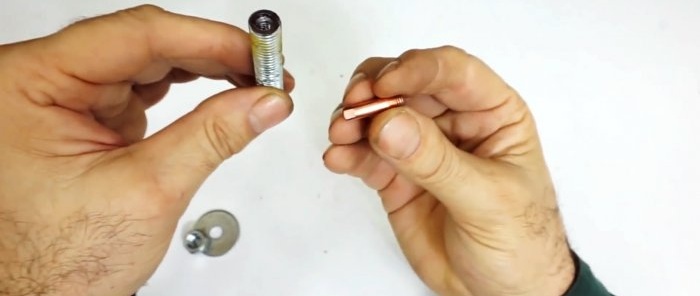
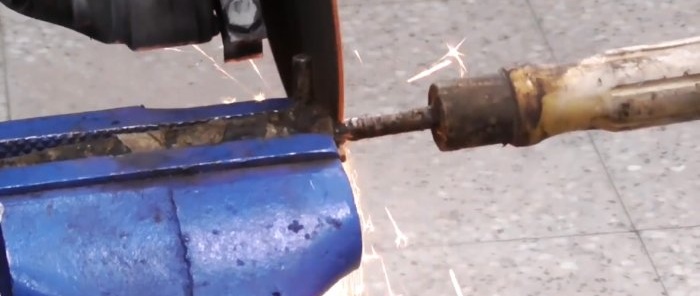
We begin the process by making the injector. A piece of 70-100 mm is cut from the stud.
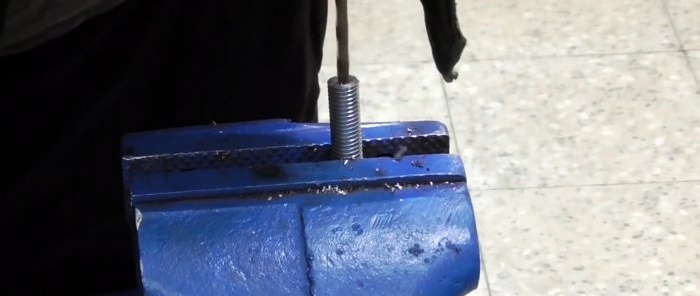
It must be drilled through, so it is better to select the length based on the available drill.
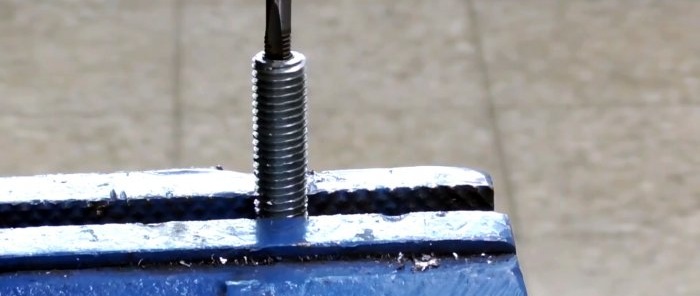
Then a thread is cut into the hole on one side and the jet is screwed into it.
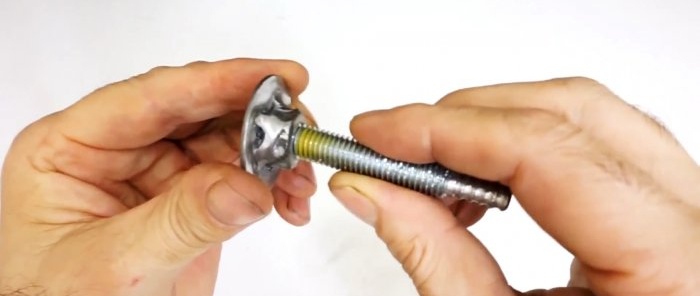
After this, a nut is screwed onto the stud and a washer is installed.
You need to weld the nut and washer together. It is also necessary to machine the opposite part of the pin from the nozzle under the fitting for installing the hose.
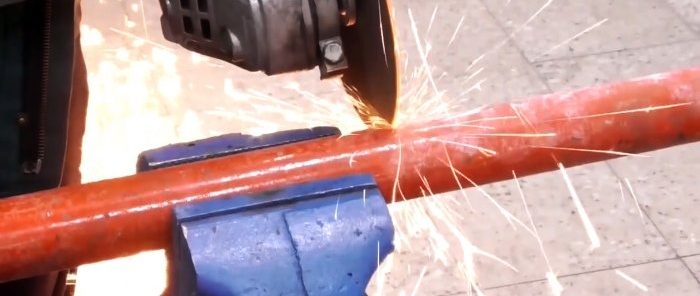
Next, take a steel pipe, the inner diameter of which corresponds to the size of the washer on the stud. 20-25 cm is cut from the pipe.
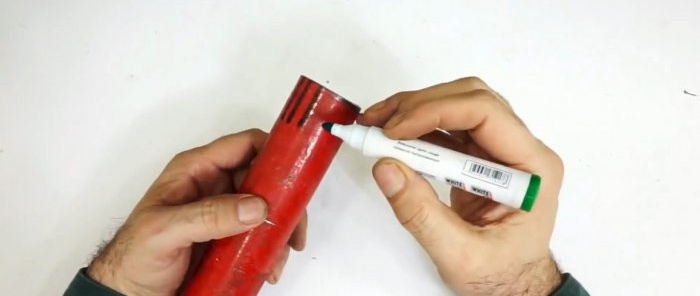
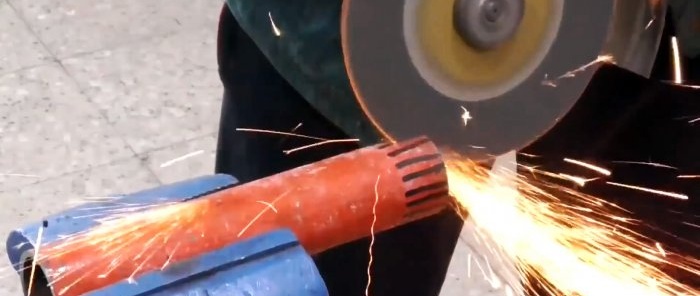
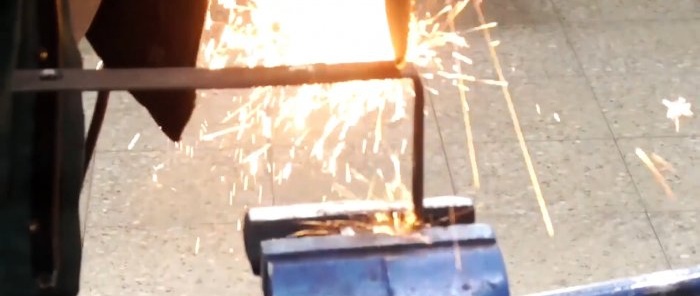
One edge needs to be narrowed.To do this, it must be cut lengthwise into segments.
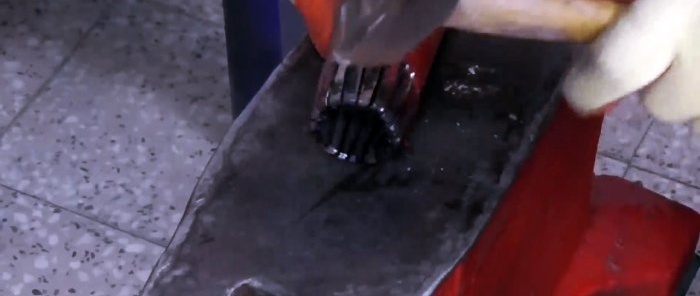
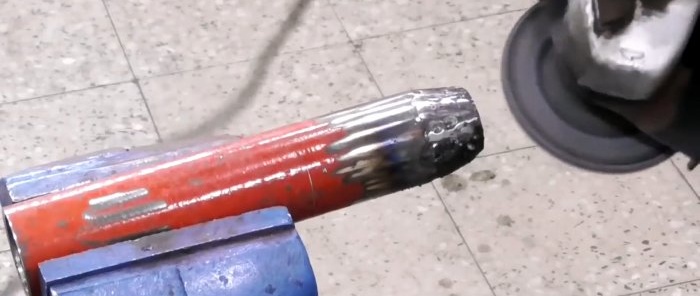
Cutting depth 25-35 mm, width approximately 6-10 mm. After this, the segments are folded inside the tube and welded. Then the narrowed, scalded part is polished.
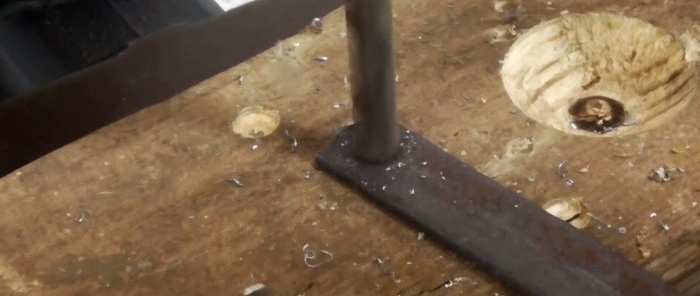
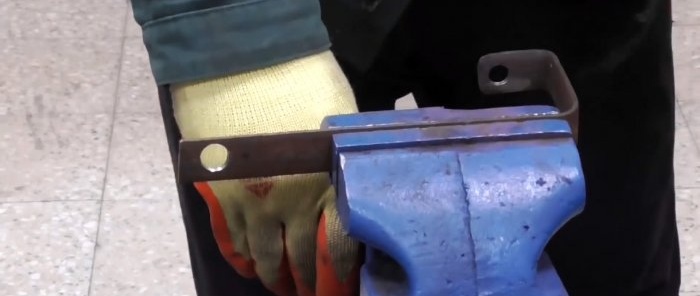
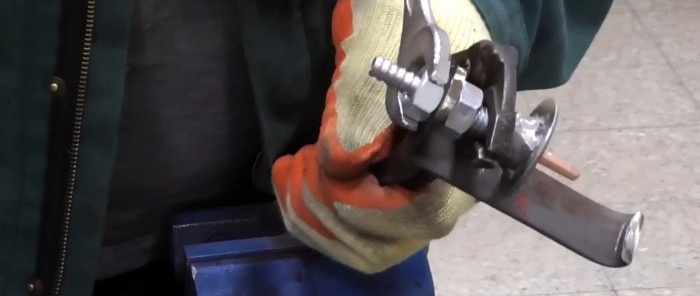
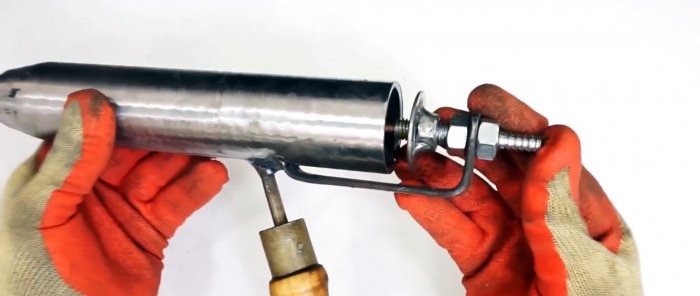
Now you need to connect the previously made gas nozzle with the burner tube. To do this, a fastening bracket is bent from the strip. A hole is made in it at one end for installing a pin. Then the nozzle is inserted into it and tightened with two nuts.
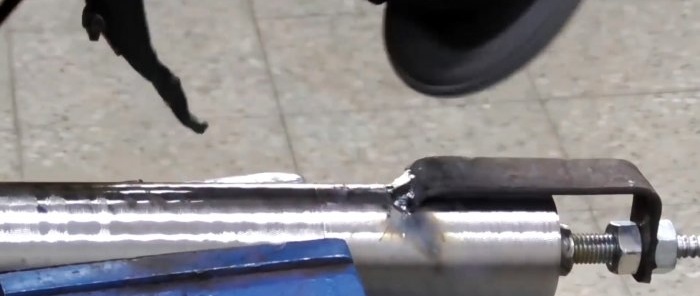
The bracket with the nozzle is welded to the pipe. It is important to arrange all the parts so that when the washer is tightened, it can freely fit inside the pipe. By unscrewing the nut and washer, you can regulate the air flow into the burner.
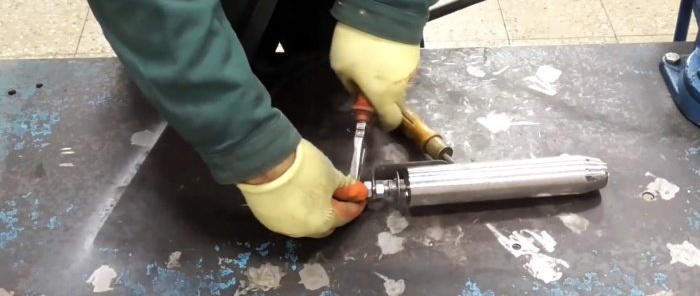
To hold the burner, you need to weld a handle to it. It can be cut from an old screwdriver, trowel or other tool. The handle is welded closer to the back of the burner. For convenient use, its angle of inclination should be like that of hacksaws or pistols, this is approximately 110-125 degrees.
To connect the burner, you need to pull the gas hose onto the fitting and secure it with a clamp or wire.
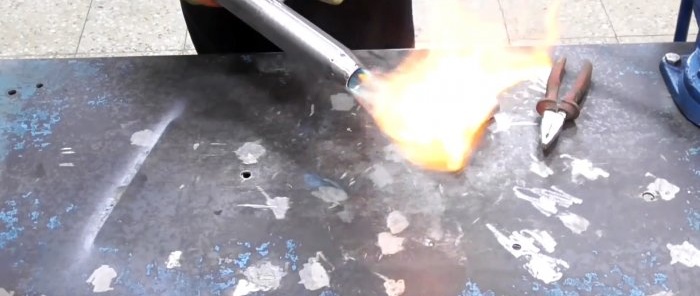
The hose itself is connected to the cylinder through a gas reducer. To ignite, you need to prepare matches or a lighter, open the valve on the cylinder, and then bring the fire to the burner outlet.
The washer must be unscrewed into the pipe. After ignition, the washer is tightened towards itself to ensure air access to the burner.
Materials:
- M12 pin;
- nuts M12 – 3 pcs.;
- M12 washer;
- jet;
- steel pipe;
- strip 10-20 mm;
- an old handle from a screwdriver, trowel or other tool.
Gas burner manufacturing process
We begin the process by making the injector. A piece of 70-100 mm is cut from the stud.
It must be drilled through, so it is better to select the length based on the available drill.
Then a thread is cut into the hole on one side and the jet is screwed into it.
After this, a nut is screwed onto the stud and a washer is installed.
You need to weld the nut and washer together. It is also necessary to machine the opposite part of the pin from the nozzle under the fitting for installing the hose.
Next, take a steel pipe, the inner diameter of which corresponds to the size of the washer on the stud. 20-25 cm is cut from the pipe.
One edge needs to be narrowed.To do this, it must be cut lengthwise into segments.
Cutting depth 25-35 mm, width approximately 6-10 mm. After this, the segments are folded inside the tube and welded. Then the narrowed, scalded part is polished.
Now you need to connect the previously made gas nozzle with the burner tube. To do this, a fastening bracket is bent from the strip. A hole is made in it at one end for installing a pin. Then the nozzle is inserted into it and tightened with two nuts.
The bracket with the nozzle is welded to the pipe. It is important to arrange all the parts so that when the washer is tightened, it can freely fit inside the pipe. By unscrewing the nut and washer, you can regulate the air flow into the burner.
To hold the burner, you need to weld a handle to it. It can be cut from an old screwdriver, trowel or other tool. The handle is welded closer to the back of the burner. For convenient use, its angle of inclination should be like that of hacksaws or pistols, this is approximately 110-125 degrees.
To connect the burner, you need to pull the gas hose onto the fitting and secure it with a clamp or wire.
The hose itself is connected to the cylinder through a gas reducer. To ignite, you need to prepare matches or a lighter, open the valve on the cylinder, and then bring the fire to the burner outlet.
The washer must be unscrewed into the pipe. After ignition, the washer is tightened towards itself to ensure air access to the burner.
Watch the video
Similar master classes
Particularly interesting
Comments (1)

