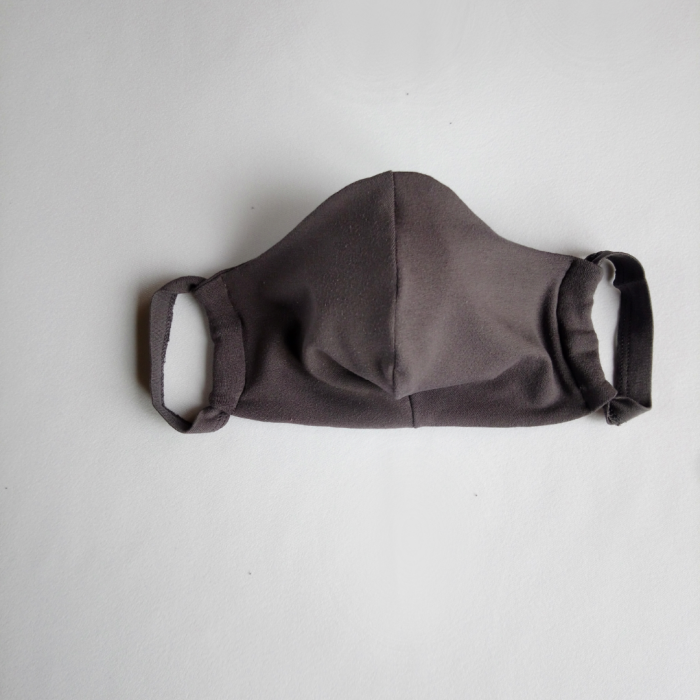
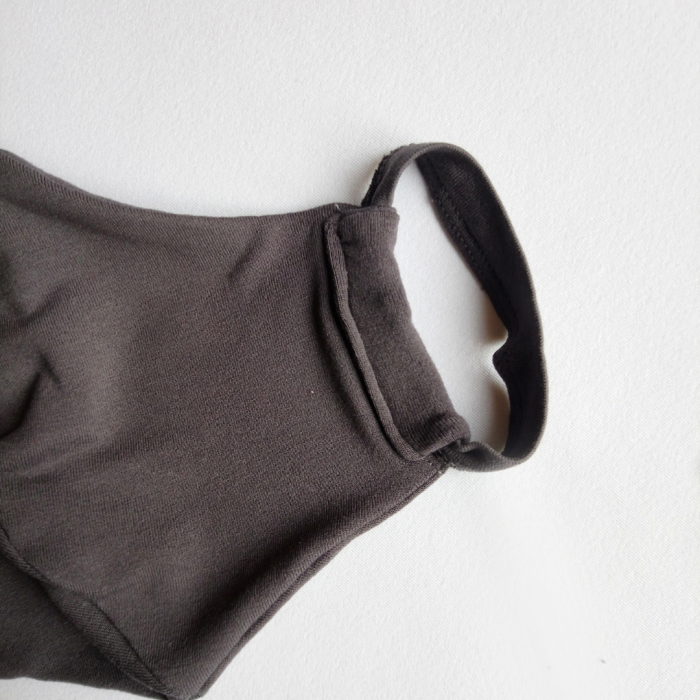
A detailed master class on making a light, comfortable mask from a T-shirt
A very detailed master class on making a mask from an unnecessary T-shirt with a successful pattern.
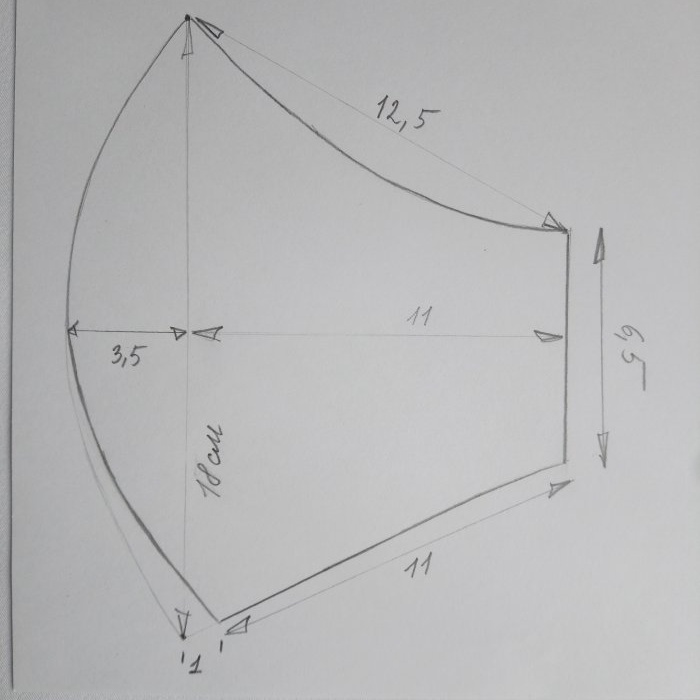
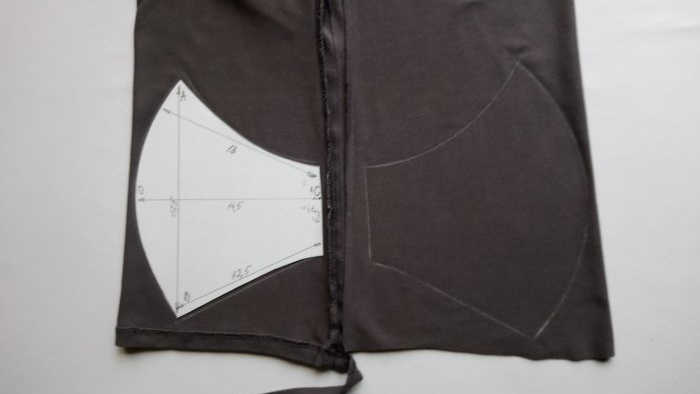
1. You need to draw a mask pattern on paper according to the given dimensions and cut it out.
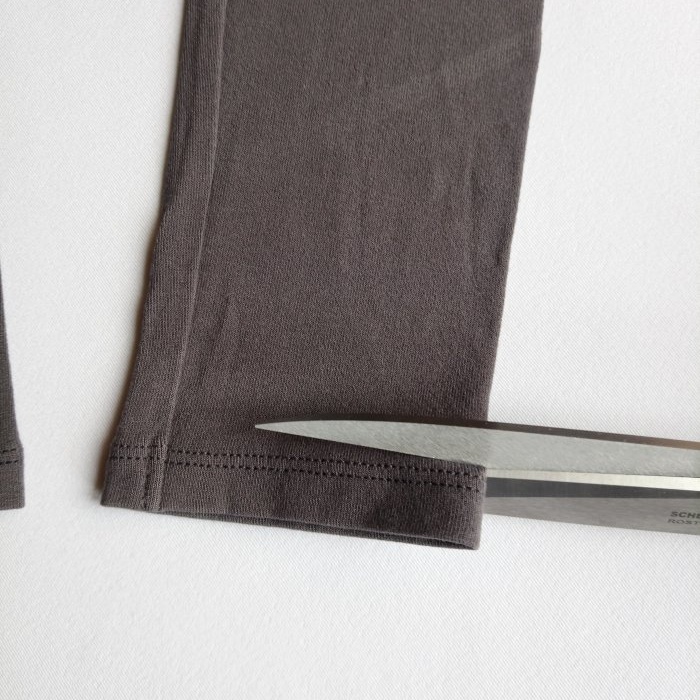
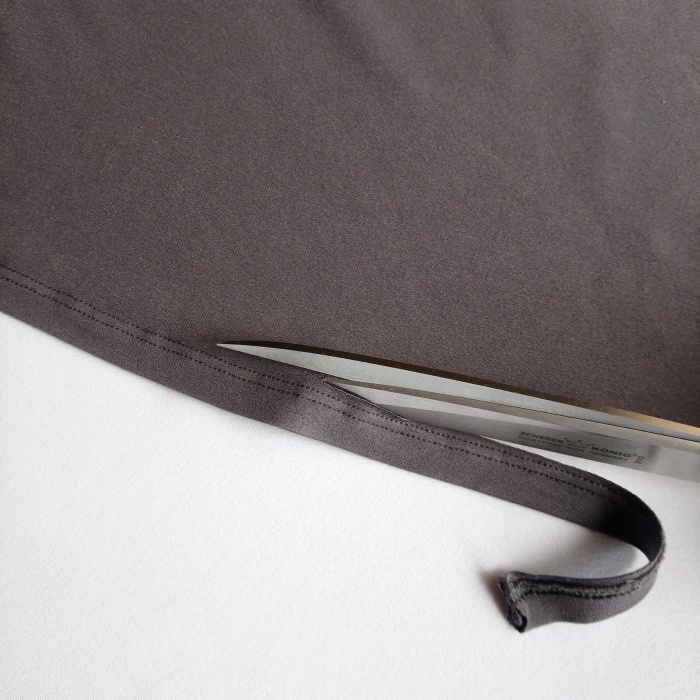
2. Carefully cut off the edging of the sleeves close to the seam without cutting. You should get two rings.
3. If you prefer ties to elastic bands, you need to cut off the edging at the bottom of the T-shirt.
4. Fold the T-shirt, wrong side out, with the side seams facing each other. We cut 2 mirror parts. The pattern is shown in a standard size, taking into account seam allowances.
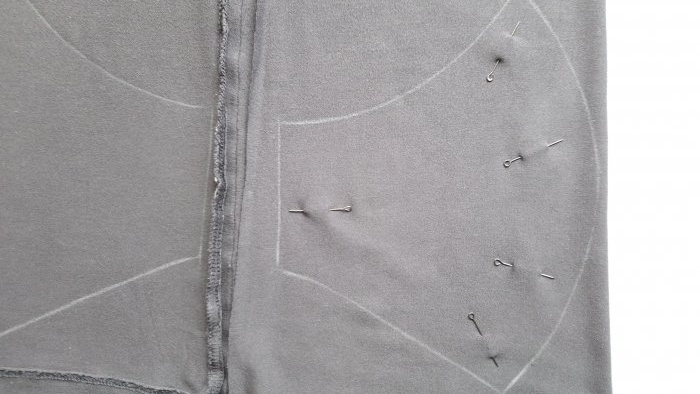
5. We pin the parts together and cut them out.
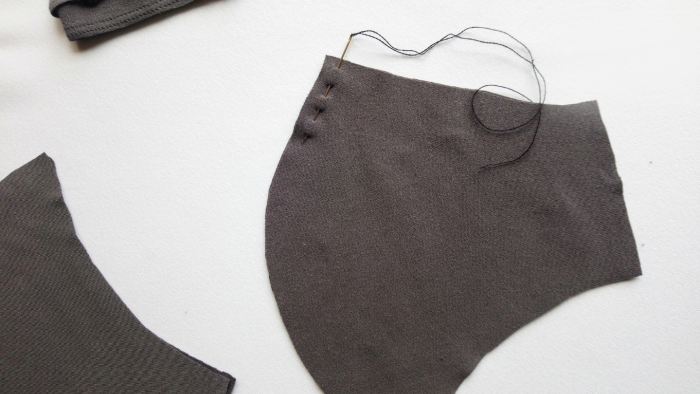
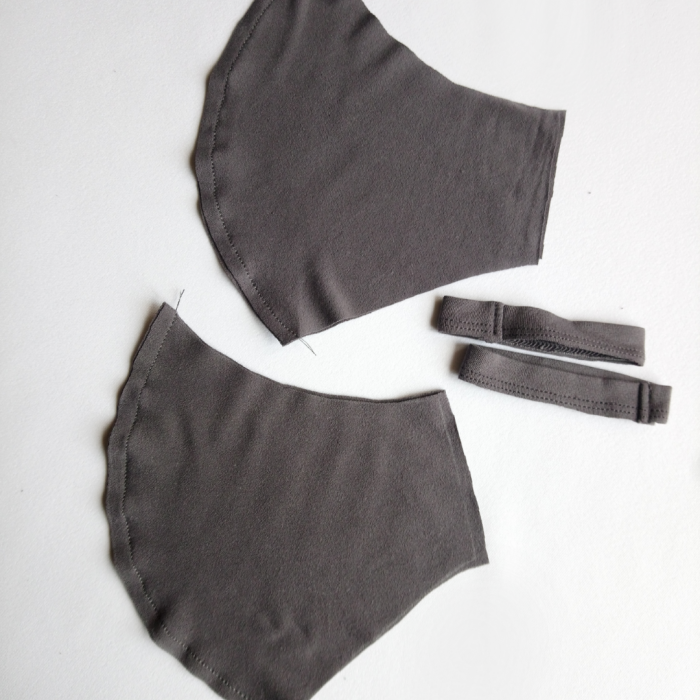
6. It turned out 4 parts and 2 rings.
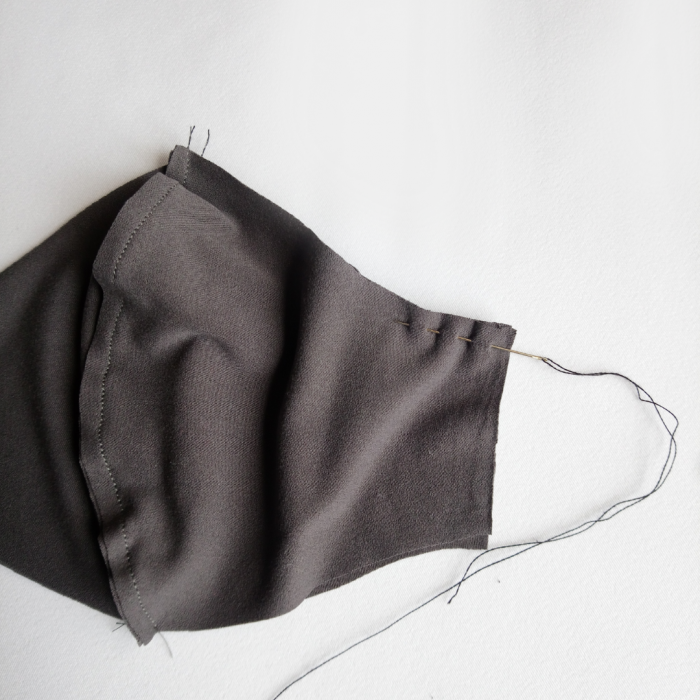
7. Place the pieces in pairs with right sides facing each other and sew the two middle seams. Please note that knitwear always has a front and back side; in plain fabrics it is easy to confuse them.
Advice: if the machine has difficulty sewing thin knitwear, try starting the stitching back from the edge: 1 - 2 cm, sew a couple of stitches, and then turn the part and return.
8. After the middle seams are stitched, we have two parts: outer and inner, and rings.
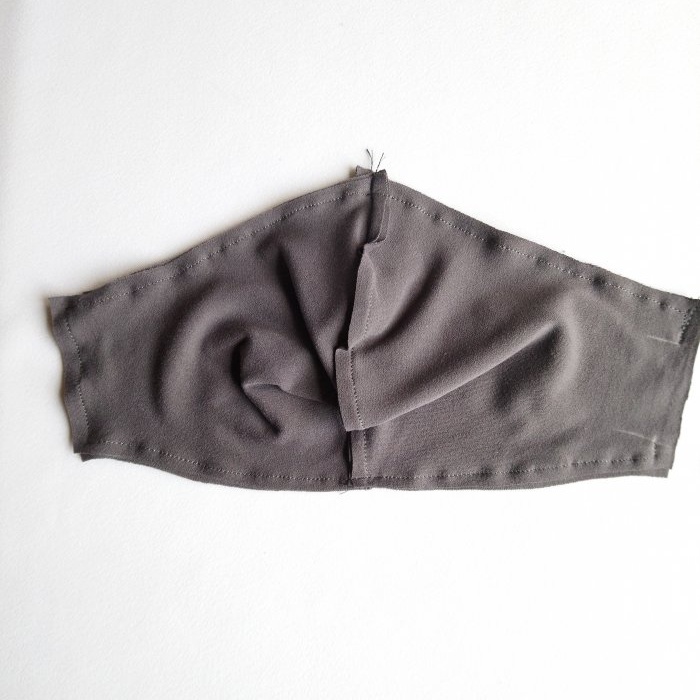
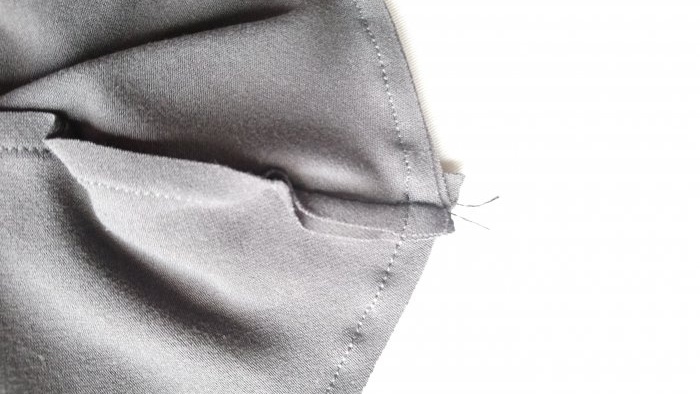
9. Place the outer and inner parts right sides together. We sew along the entire perimeter, leaving an area in the side seam unsewn. The sharp corner at the top of the mask can be slightly rounded.
10. Through the unsewn area, turn the mask right side out.
11. It is better to sweep the side seam through which the mask was turned inside out.
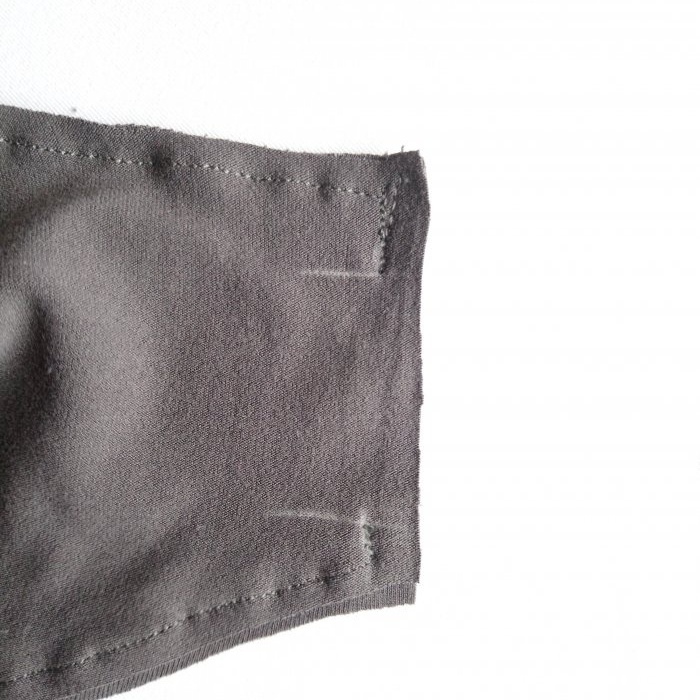
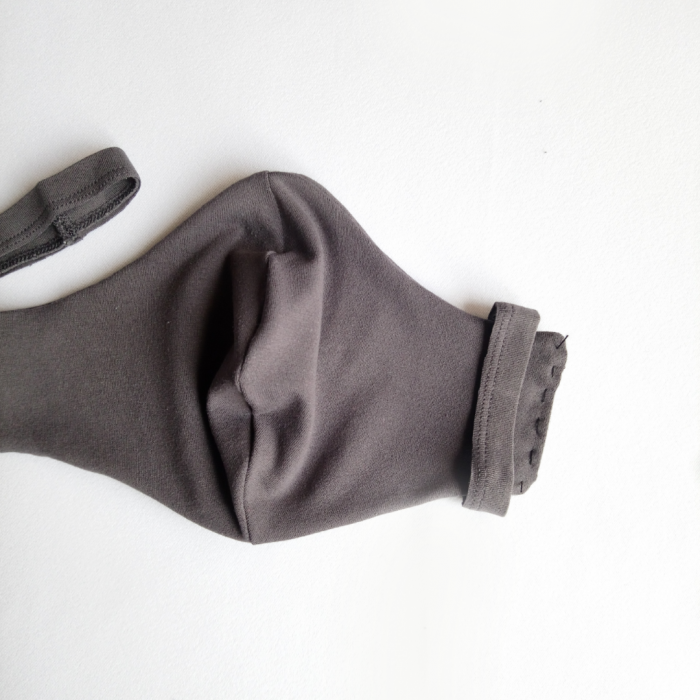
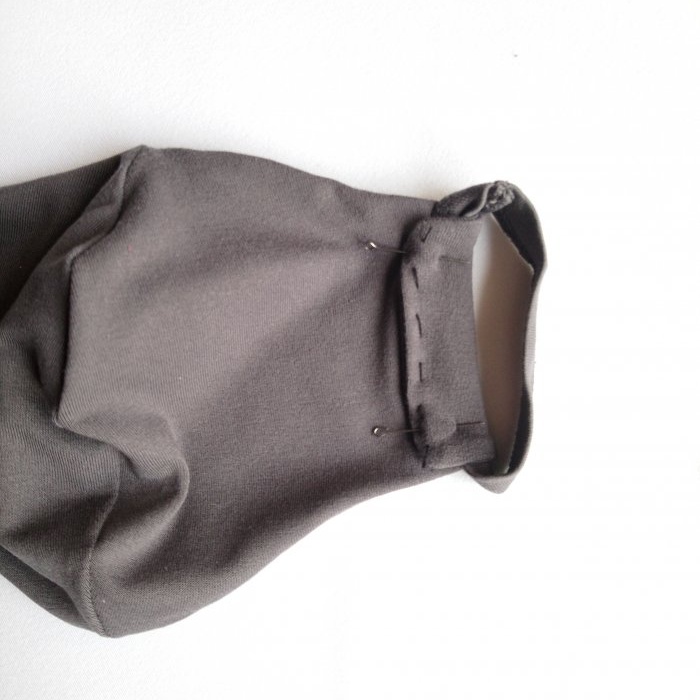
12. We put the rings on the sides of the mask and bend them to the inside. We pin it with pins.
13. Sew close to the seam. Design the second side in the same way.
If ties are preferable, then instead of rings we put in a hem edging.
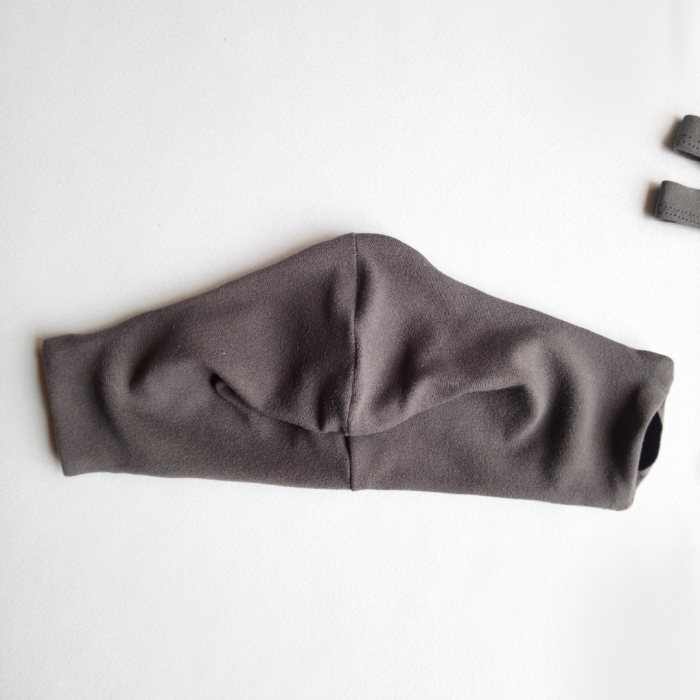
A comfortable, lightweight mask is ready, wear it with pleasure.
To make a mask you will need:
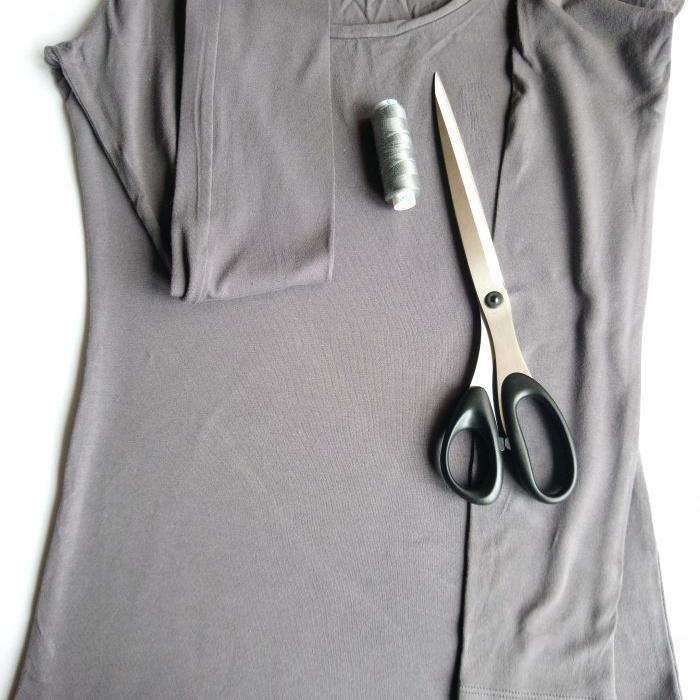
- knitted T-shirt with short or long sleeves;
- threads matching the color;
- scissors;
- sewing machine or needle, tailor's pins.
Making a mask:
1. You need to draw a mask pattern on paper according to the given dimensions and cut it out.
2. Carefully cut off the edging of the sleeves close to the seam without cutting. You should get two rings.
3. If you prefer ties to elastic bands, you need to cut off the edging at the bottom of the T-shirt.
4. Fold the T-shirt, wrong side out, with the side seams facing each other. We cut 2 mirror parts. The pattern is shown in a standard size, taking into account seam allowances.
5. We pin the parts together and cut them out.
6. It turned out 4 parts and 2 rings.
7. Place the pieces in pairs with right sides facing each other and sew the two middle seams. Please note that knitwear always has a front and back side; in plain fabrics it is easy to confuse them.
Advice: if the machine has difficulty sewing thin knitwear, try starting the stitching back from the edge: 1 - 2 cm, sew a couple of stitches, and then turn the part and return.
8. After the middle seams are stitched, we have two parts: outer and inner, and rings.
9. Place the outer and inner parts right sides together. We sew along the entire perimeter, leaving an area in the side seam unsewn. The sharp corner at the top of the mask can be slightly rounded.
10. Through the unsewn area, turn the mask right side out.
11. It is better to sweep the side seam through which the mask was turned inside out.
12. We put the rings on the sides of the mask and bend them to the inside. We pin it with pins.
13. Sew close to the seam. Design the second side in the same way.
If ties are preferable, then instead of rings we put in a hem edging.
A comfortable, lightweight mask is ready, wear it with pleasure.
Similar master classes
Particularly interesting
Comments (1)

