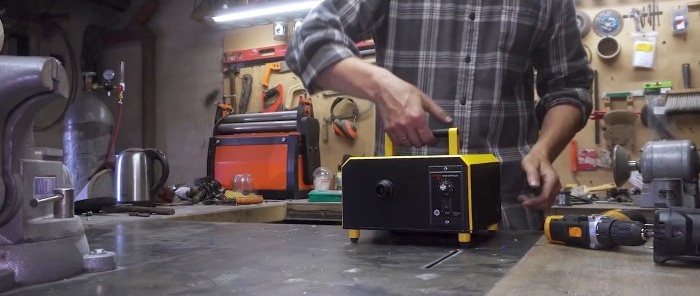
Great use of a washing machine engine: a powerful engraving machine
The motor from the washing machine is high-speed and powerful, so it is ideal for driving the engraver. Without a good engraving machine, you can make it yourself. Moreover, a homemade engraver will be no worse than expensive branded ones both in terms of performance and appearance. The motor from the washing machine does not stop under load, which allows you to work with rollers with strong pressure.
Basic materials:
- speed controller -
- washing machine motor;
- sheet steel 3 mm and 4 mm;
- flexible shaft for engraver;
- M6 screws with countersunk head;
- thick steel strip;
- dye;
- rubber pads on the legs;
- 1/2 inch pipe.
Engraver making process
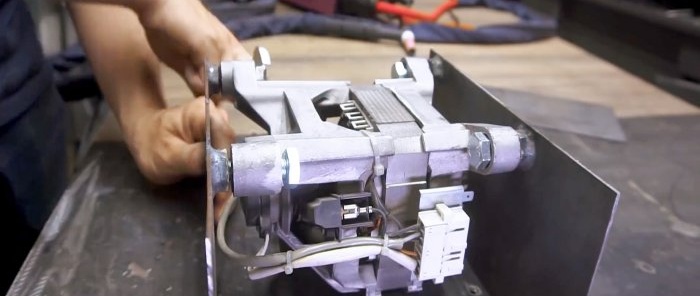
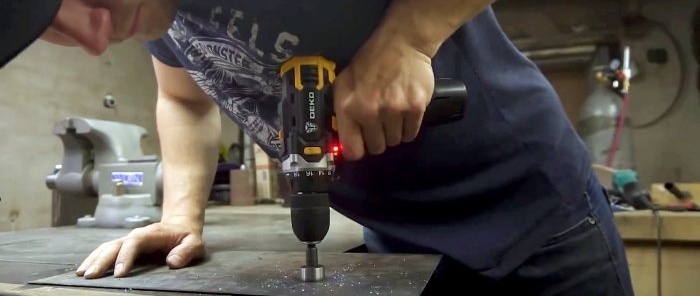
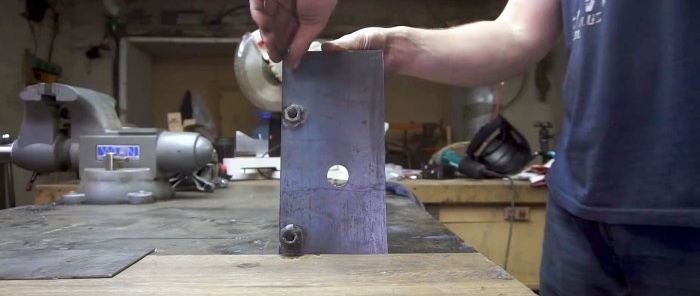
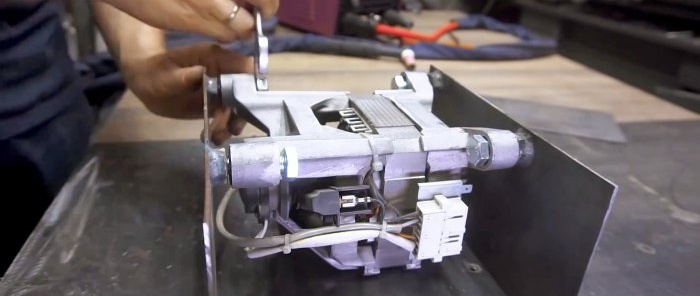
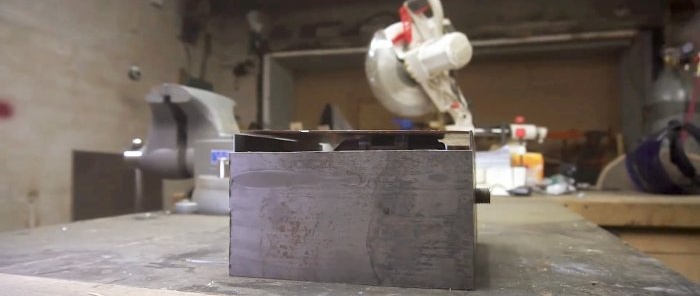
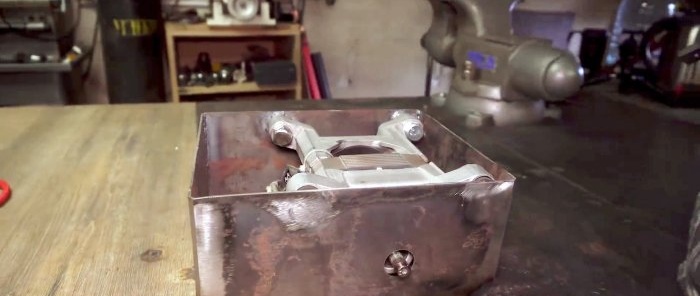
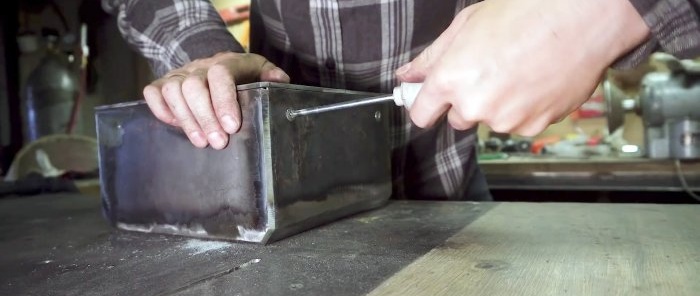
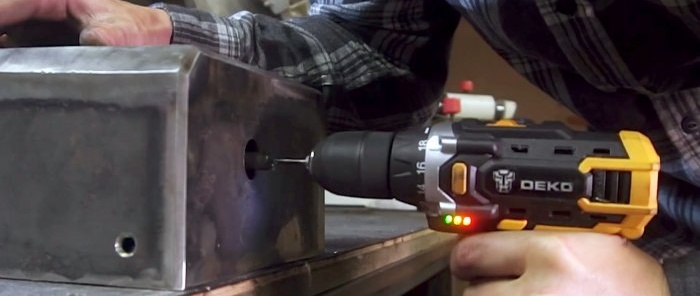
The main difficulty lies in the manufacture of the engine box. It should be strong and heavy enough so that the machine does not jump on the table. For its manufacture you need to use 2 mm sheet steel. First, 2 side walls of the box are cut out. 2 nuts are welded to them so that the engine housing eyes can be bolted to them.A hole is drilled in one wall for the motor shaft.
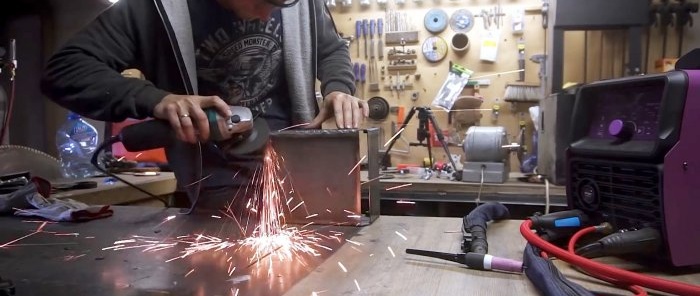
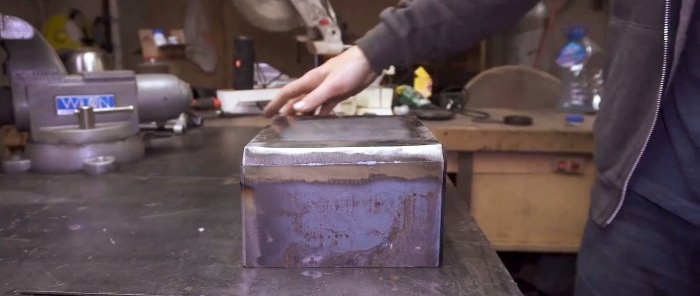
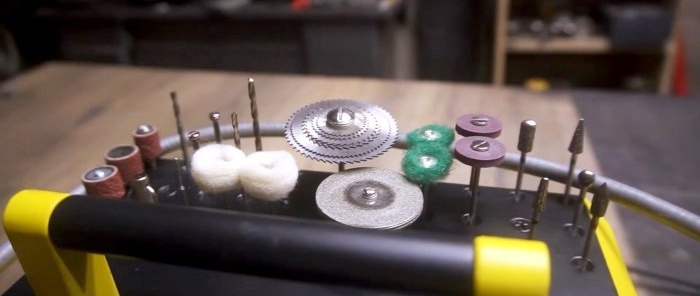
Next, the top and the remaining 2 side walls of the box are cut out and welded. For the beauty of the box, the side walls and top should be narrower so that there is a gap of a couple of centimeters. In this case, the corner can be welded in strips to make it rounded. You can make perforations in the upper part of the box. This will allow you to store the cutters in the holes.
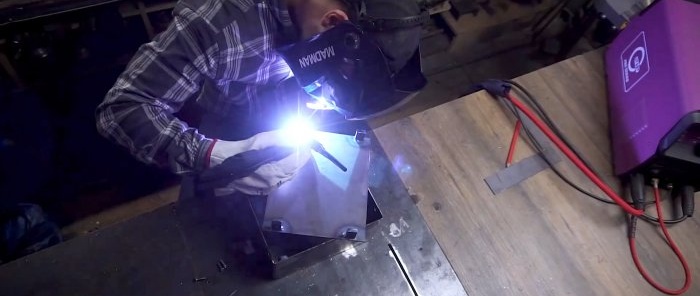
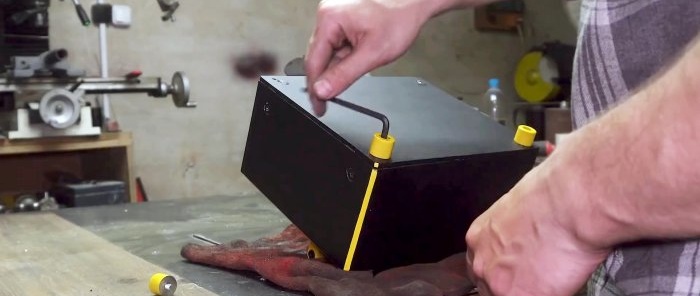
To make the machine heavier, the bottom is made of 4 mm sheet steel. Its fastening will be done through mortgages. To do this, 4 blanks of 5 cm each are cut out of a thick strip. Holes are made at the bottom corners of the box. Through them you need to screw the embedded screws, in which holes are also made and threads are cut. The bottom is attached to the embedded screws in a similar way.
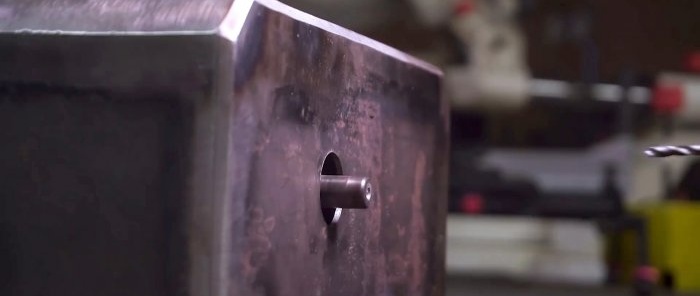
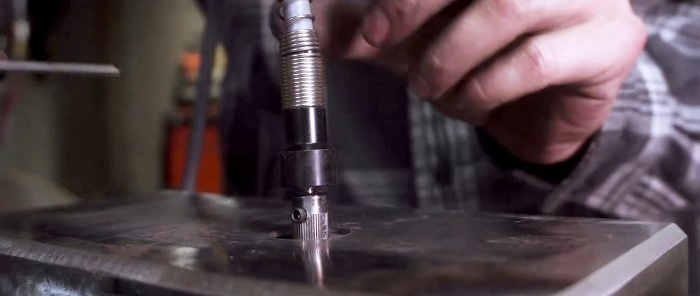
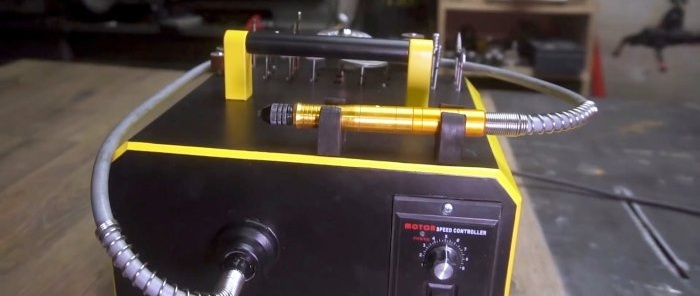
To install the flexible shaft, you need to drill a hole in the motor shaft. To prevent it from warping, you should drill with the electric motor running. A hole is also made in the side of the shaft, and a thread is cut into it for tightening the screw that tightens the cable.
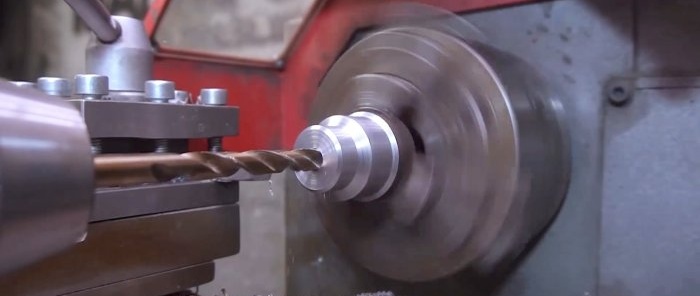
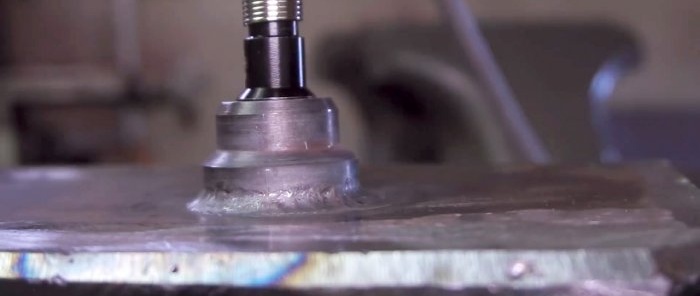
To close the shaft connection, you can turn a sleeve on a lathe and weld it to the box. A hole is made in the side to provide access to the clamping screw.
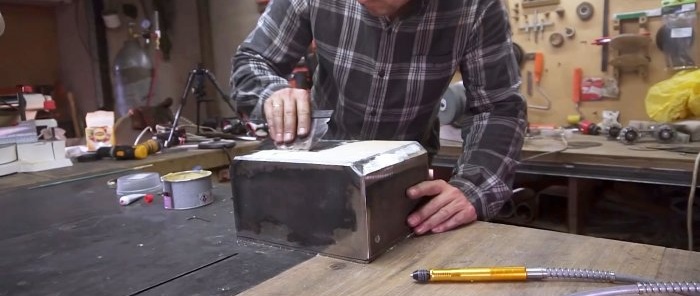
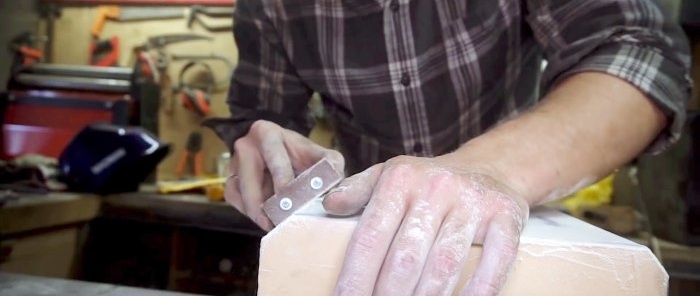
If you want to bring the box to perfection, you can putty its walls, which will be necessary if the metal is a little warped during welding.
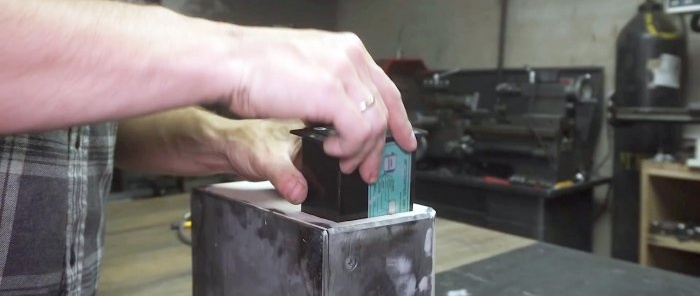
Then, on the side of the shaft output, a window is cut out in the box for installing the speed controller. You also need to make a handle from the pipe to carry the machine.
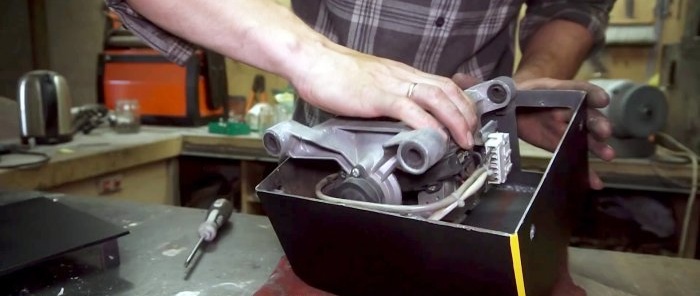
The box is painted and, if necessary, varnished if the paint has poor wear resistance. After this, the engine, speed controller, handle, shaft are installed, and clips for the holder are screwed on top of the box.
Legs with rubber shock absorbers are installed on the screws that tighten the bottom.
Engraver at work. It turned out to be very convenient to use.
Watch the video
Similar master classes
How to make a drilling machine from a jack and a washing machine motor
Circular machine made from a bicycle hub and a washing machine motor
How to turn a washing machine motor into a 220 V generator
How to connect the motor from a washing machine to 220 V
Sharpener from a washing machine engine
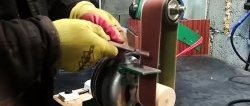
The simplest grinder without a lathe from a washing machine engine
Particularly interesting
Comments (0)

