How to make a cheap concrete mixer from a barrel
For small-scale construction, there is no point in buying a concrete mixer, since it is only needed for one time and for preparing only a couple of cubes of concrete. For such purposes, you can make it yourself, spending almost 10 times less than the cheapest factory mixer costs.
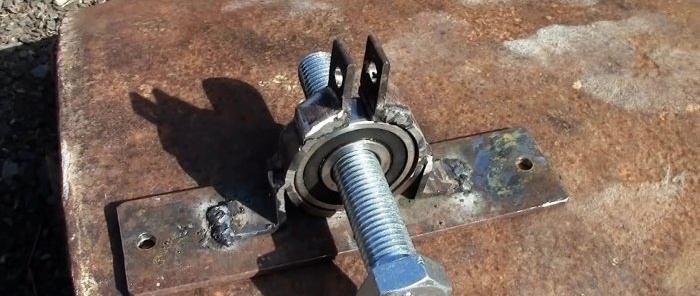
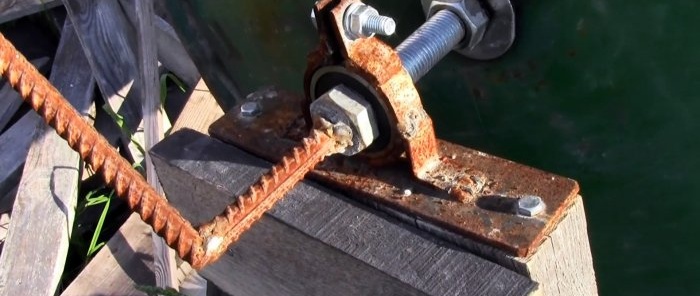
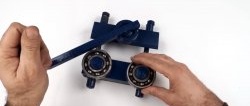
To rotate the concrete mixer, you need to make 2 supports for the bearings.
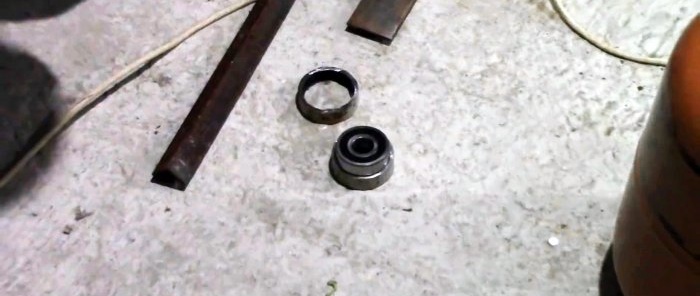
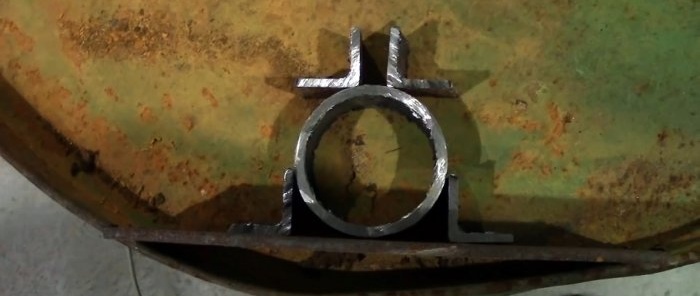
The support consists of a piece of strip with a welded ring cut from the pipe.
At the top, the ring is cut across and eyes from the corner are welded to its edges. For reliability, scarves or similar sections of corners are welded between it and the strip at the bottom. The bearing is then inserted into the support and clamped by tightening the bolt in the lugs.
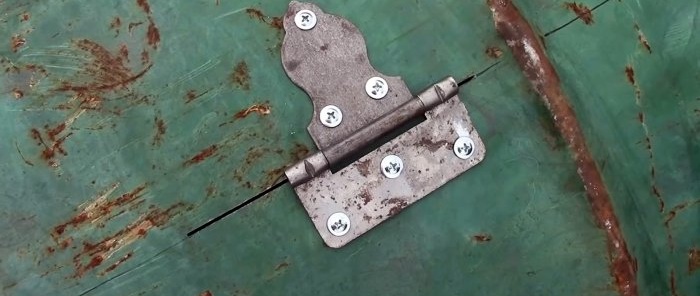
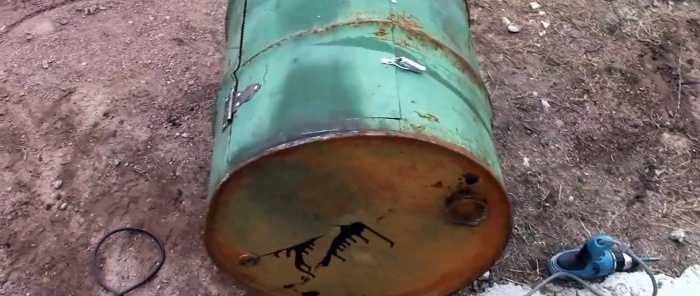
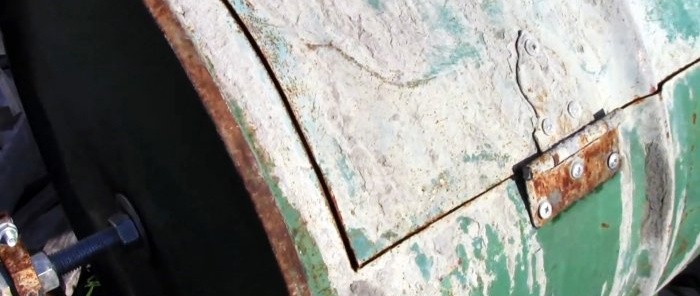
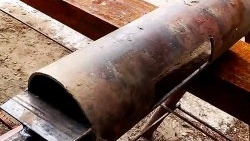
A hatch is cut into the barrel for loading concrete. First, one side is cut lengthwise, then the hinges are installed, and it is completely cut out.
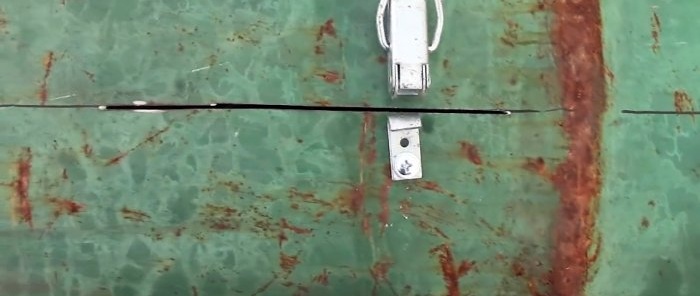
Next, the lever latches are installed.
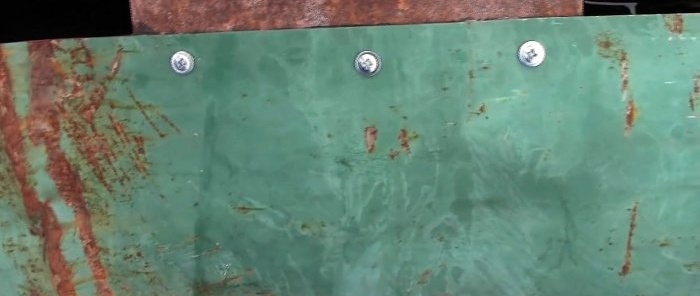
To prevent the hatch from falling through, a limiter is installed between the latches on the inside of the barrel wall with rivets or welded.
16 mm holes are drilled in the center of the lid and bottom of the barrel.
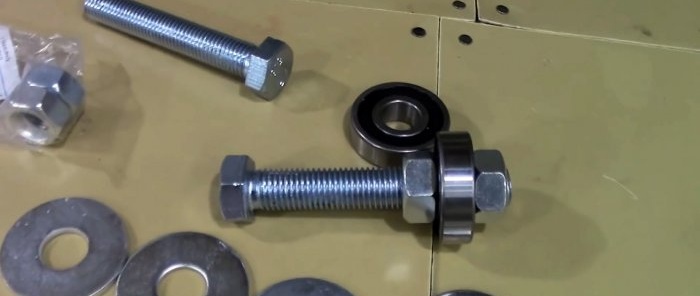
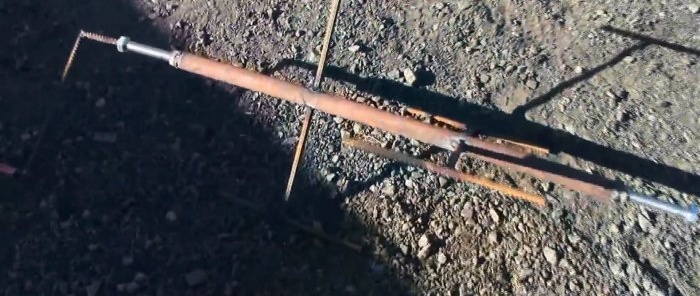
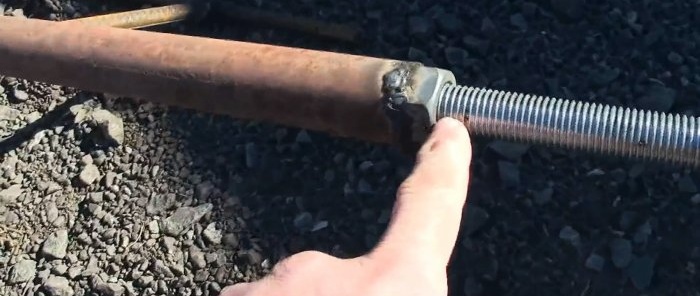
Then you need to weld a mixer with handles that will mix the concrete inside. To do this, use a piece of pipe a couple of centimeters smaller than the internal height of the barrel. M16 nuts are welded to it at the ends. Then T-shaped blades made from reinforcement are welded to the pipe. After this, you need to weld a crank with a pipe handle to the heads of two M16 bolts.
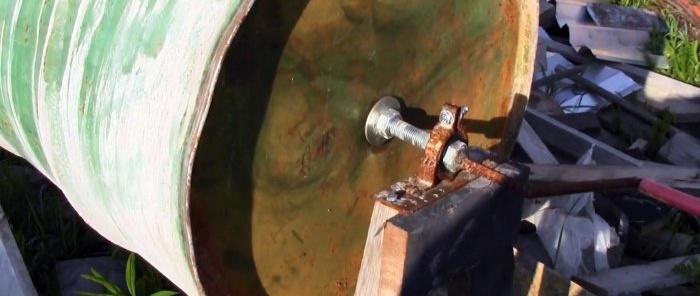
The axle with the blades is placed in a barrel, and knobs with bolts are screwed into it through the holes on the outside. You need to securely clamp the lid and bottom of the barrel with nuts and washers so that it rotates with the axle. When clamping, it is important to position the knobs in different directions.
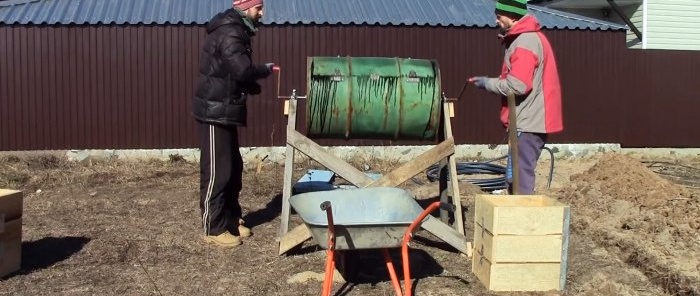
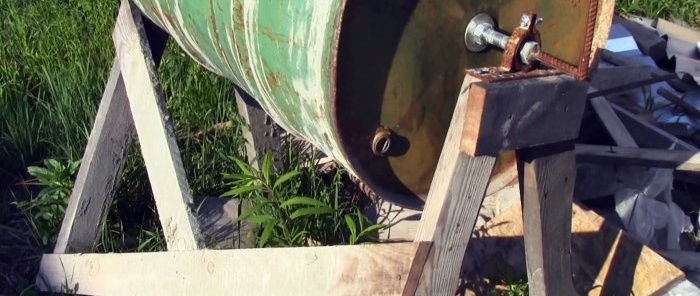
Legs for a concrete mixer are made from scraps of lumber. On one side they are connected by jibs, on the other side a trough will be placed to drain the finished concrete. The concrete mixer is attached to the legs only on the supports. It is advisable to make the legs high so that it can be rotated while standing.
The concrete mixer is designed for two. Due to the fact that the handles are spread in different directions, it does not turn over during the start. Since there are gaps between its hatch and the drum, you cannot stop with the door down when kneading. After mixing, the hatch opens and the concrete is poured into the trough below.
Materials:
- steel barrel 200 l;
- door hinges 2-3 – pcs.;
- lever latches – 2 pcs.;
- long bolts M16 – 2 pcs.;
- nuts, washers M16;
- 3/4 inch pipe;
- bearings with an internal diameter of 16 mm – 2 pcs.;
- reinforcement 12 mm;
- strip 40x3 mm;
- pipe 50 mm;
- corner 20x20 mm;
- boards.
Concrete mixer manufacturing process
To rotate the concrete mixer, you need to make 2 supports for the bearings.
The support consists of a piece of strip with a welded ring cut from the pipe.
At the top, the ring is cut across and eyes from the corner are welded to its edges. For reliability, scarves or similar sections of corners are welded between it and the strip at the bottom. The bearing is then inserted into the support and clamped by tightening the bolt in the lugs.
A hatch is cut into the barrel for loading concrete. First, one side is cut lengthwise, then the hinges are installed, and it is completely cut out.
Next, the lever latches are installed.
To prevent the hatch from falling through, a limiter is installed between the latches on the inside of the barrel wall with rivets or welded.
16 mm holes are drilled in the center of the lid and bottom of the barrel.
Then you need to weld a mixer with handles that will mix the concrete inside. To do this, use a piece of pipe a couple of centimeters smaller than the internal height of the barrel. M16 nuts are welded to it at the ends. Then T-shaped blades made from reinforcement are welded to the pipe. After this, you need to weld a crank with a pipe handle to the heads of two M16 bolts.
The axle with the blades is placed in a barrel, and knobs with bolts are screwed into it through the holes on the outside. You need to securely clamp the lid and bottom of the barrel with nuts and washers so that it rotates with the axle. When clamping, it is important to position the knobs in different directions.
Legs for a concrete mixer are made from scraps of lumber. On one side they are connected by jibs, on the other side a trough will be placed to drain the finished concrete. The concrete mixer is attached to the legs only on the supports. It is advisable to make the legs high so that it can be rotated while standing.
The concrete mixer is designed for two. Due to the fact that the handles are spread in different directions, it does not turn over during the start. Since there are gaps between its hatch and the drum, you cannot stop with the door down when kneading. After mixing, the hatch opens and the concrete is poured into the trough below.
Watch the video
Similar master classes
Particularly interesting

How to install a socket if there are short wires left

How to eliminate gaps between the chimney and slate

How to mix an ultra-reliable solution for the oven that does not give

There will be no more cracks: What to add to concrete to make it

Never buy ball valves without checking with me

New technology for floor insulation with penoplex
Comments (2)

