How to assemble a simple 40 kV high voltage converter using one transistor
To get a high voltage converter from a low 3.7 V power supply, all you need is one transistor, one resistor and a roll of thin enameled wire. This is a very simple, inexpensive and easy to assemble circuit that allows you to create an electric arc at the output that can ignite paper.
The assembly of the converter must begin with the manufacture of the transformer. It consists of two primary and one secondary windings. For it, you need to select or grind a coil from a dielectric material and wind 0.07 mm wire around it.
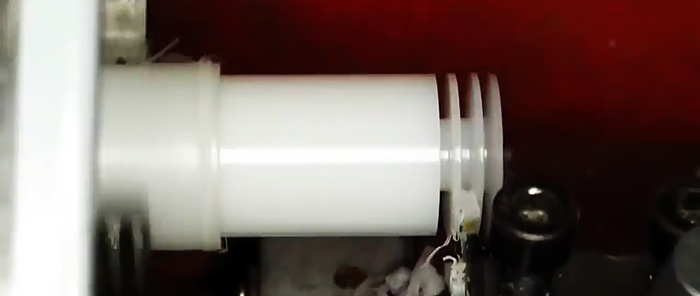
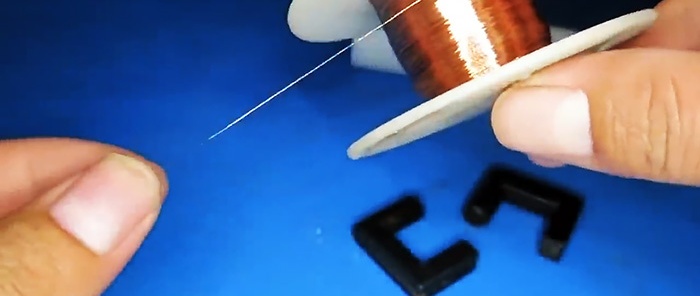
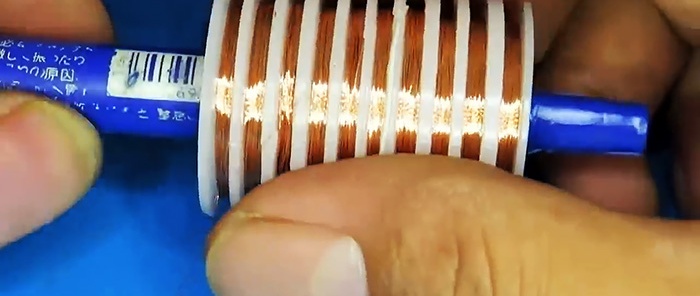
Wires are soldered to the ends of the wire, and the winding is secured with compound or hot melt adhesive. The result is a secondary winding of the transformer. The number of turns in it doesn’t really matter, you just need to make as many of them as possible.
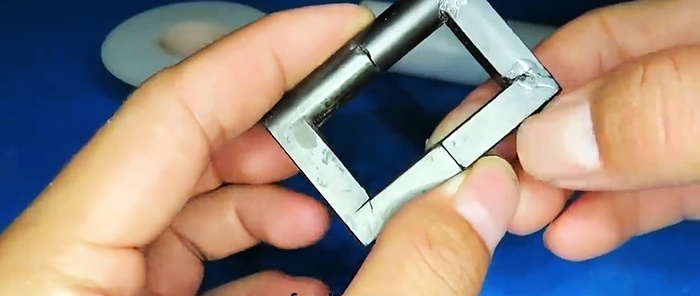
Next, the coil is placed on a frame made of a pair of U-shaped ferrite cores.
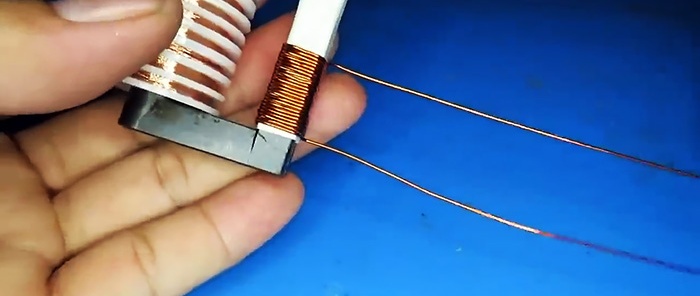
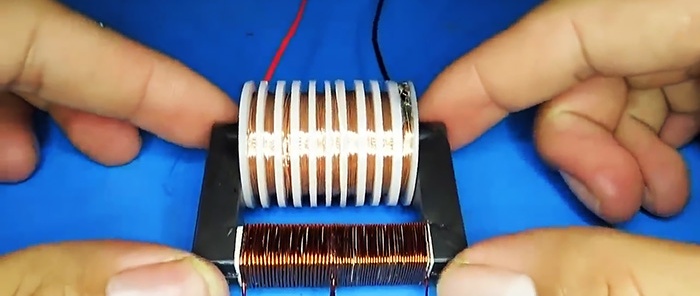
Opposite it, 2 primary windings or one with a midpoint are wound. For this, 0.4 mm wire is used. 30 turns are wound on each winding. The edges of the wire are then trimmed for soldering.
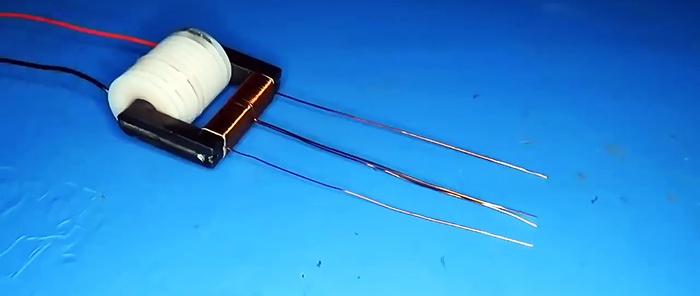
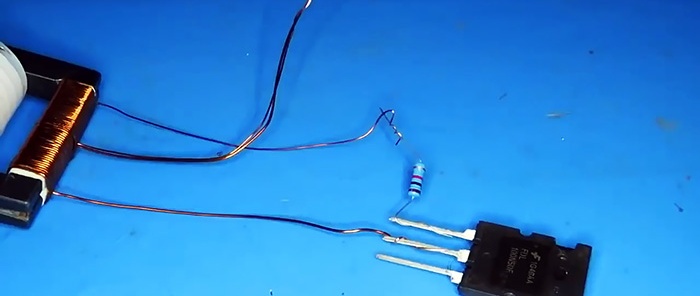
One of the windings is connected to the central leg of the transistor. The second winding is connected to the base of the transistor through a resistor. At the midpoint they curl together. The connections are then soldered.
Next, power is supplied. The minus of the source is connected to the emitter of the transistor. The plus is connected directly to the primary windings connected together.
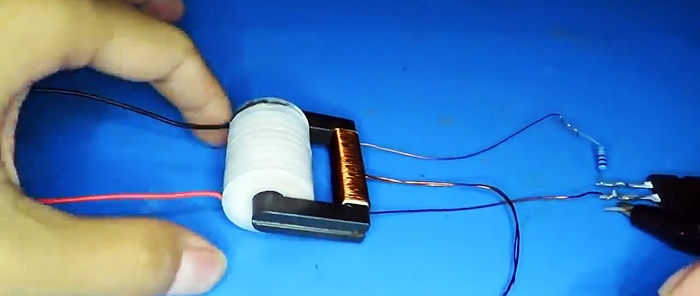
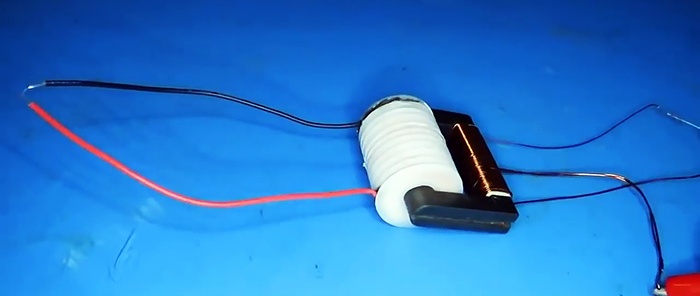
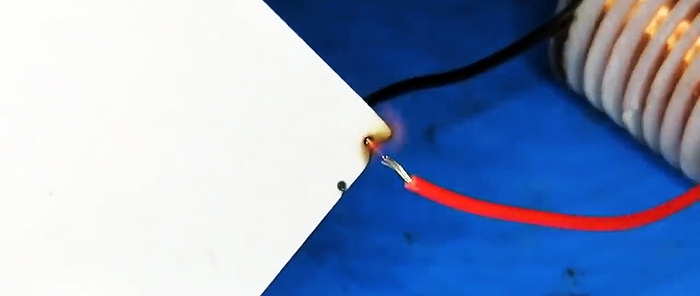
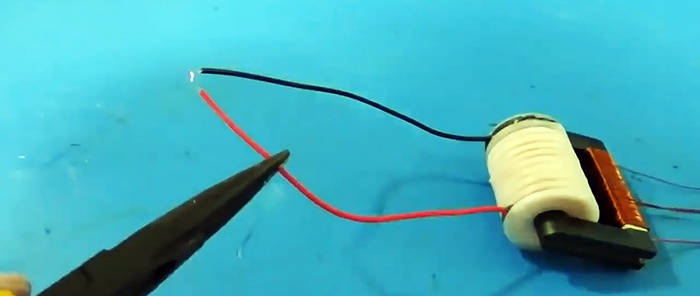
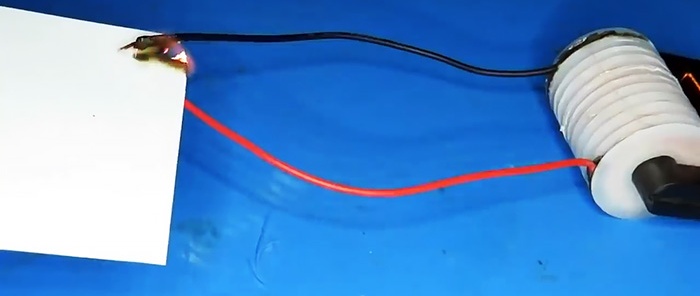
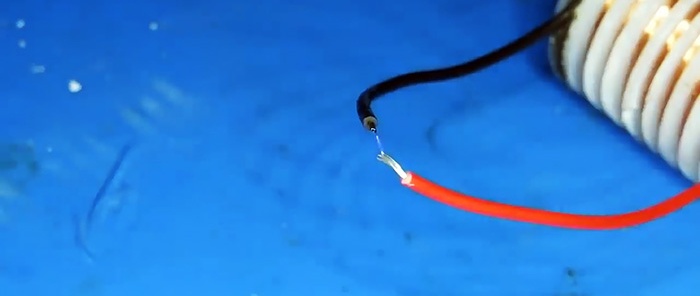
Now, when the wires are brought together on the secondary winding, a stable high-voltage, high-frequency electric arc arises between them. Even when connected to a 3.7V battery as a power source, it may burn paper or thin wood chips. This allows, for example, to use this converter as a basis for the manufacture of a plasma lighter. You will only need to place the device in the case and place a switch between the battery and the primary winding. Thus, when you press it, you can get an arc for ignition. It is important to supply power no longer than a couple of seconds, as the wires heat up and the insulation on them begins to melt.

You will need:
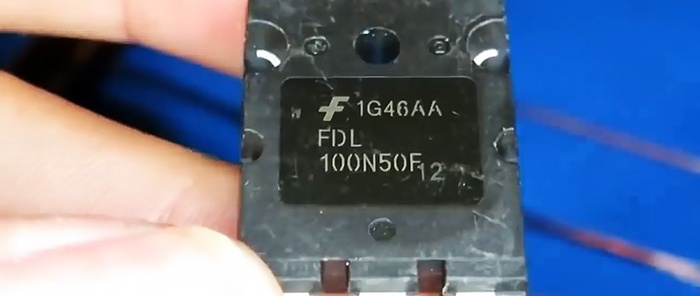
- transistor 100N50F -
- resistor 1 kOhm;
- U-shaped ferrite cores – 2 pcs.;
- enameled wire 0.07 mm and 0.4 mm.
High voltage converter manufacturing process
The assembly of the converter must begin with the manufacture of the transformer. It consists of two primary and one secondary windings. For it, you need to select or grind a coil from a dielectric material and wind 0.07 mm wire around it.


Wires are soldered to the ends of the wire, and the winding is secured with compound or hot melt adhesive. The result is a secondary winding of the transformer. The number of turns in it doesn’t really matter, you just need to make as many of them as possible.
Next, the coil is placed on a frame made of a pair of U-shaped ferrite cores.

Opposite it, 2 primary windings or one with a midpoint are wound. For this, 0.4 mm wire is used. 30 turns are wound on each winding. The edges of the wire are then trimmed for soldering.


One of the windings is connected to the central leg of the transistor. The second winding is connected to the base of the transistor through a resistor. At the midpoint they curl together. The connections are then soldered.


Next, power is supplied. The minus of the source is connected to the emitter of the transistor. The plus is connected directly to the primary windings connected together.


Now, when the wires are brought together on the secondary winding, a stable high-voltage, high-frequency electric arc arises between them. Even when connected to a 3.7V battery as a power source, it may burn paper or thin wood chips. This allows, for example, to use this converter as a basis for the manufacture of a plasma lighter. You will only need to place the device in the case and place a switch between the battery and the primary winding. Thus, when you press it, you can get an arc for ignition. It is important to supply power no longer than a couple of seconds, as the wires heat up and the insulation on them begins to melt.


Watch the video
Similar master classes
Particularly interesting
Comments (1)

