Seashell souvenirs
Have you been to the sea at least once in your life? Have you bought souvenirs made from shells? Let's try to make sea souvenirs ourselves?
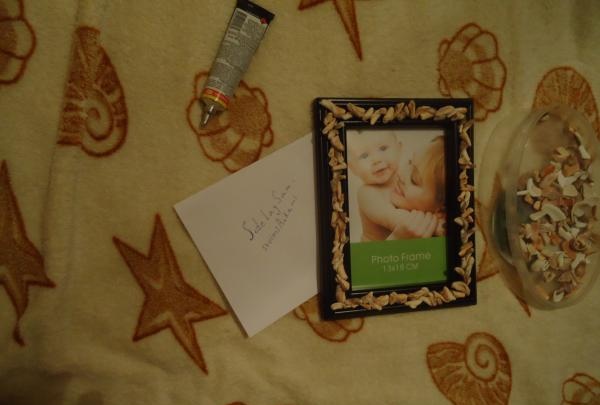
For work we will need multi-colored sea pebbles, shells or their fragments, admit it - after all, you brought all this with you from your last vacation, and were already planning to put it on the mezzanine along with your suitcase? We also need an object that we will decorate (in my case, a ready-made plastic photo frame), and glue - universal, preferably transparent - the kind that is not visible in the gaps between stones and shells (for me - “moment-crystal”).
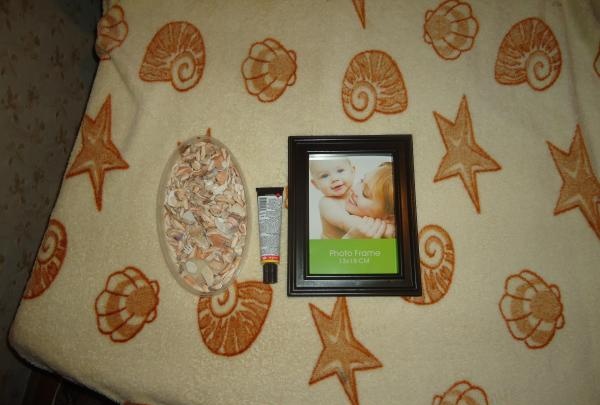
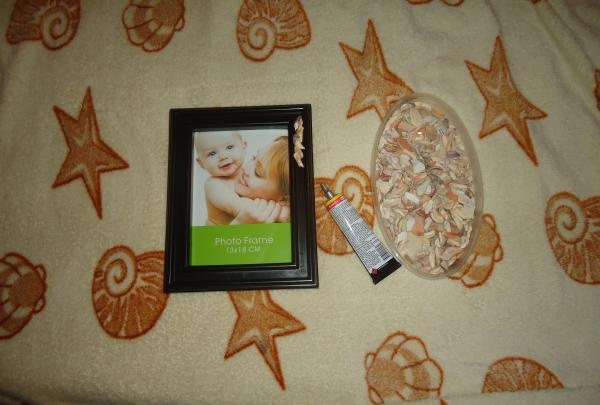
Shells can be glued together in a creative mess, or a specific design can be laid out. In the case of a pattern, you can lay out the shells before applying the glue, and then simply glue them on. If all the elements are glued in a chaotic order (which looks no less interesting as a result), then we apply glue to the base, and then, like a puzzle, we “assemble” the “parts” into one whole. We apply the glue thickly, since shells and pebbles are quite heavy.
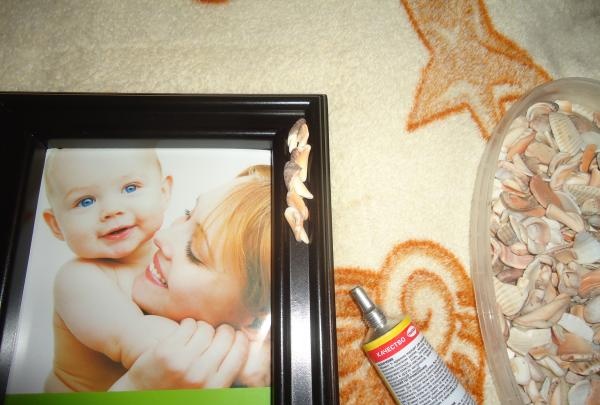
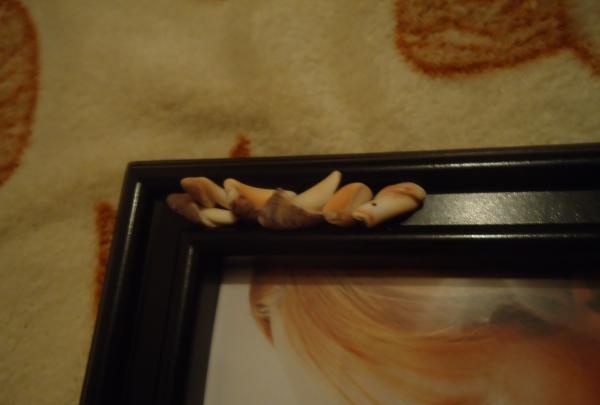
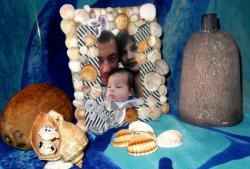
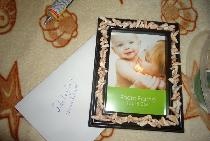
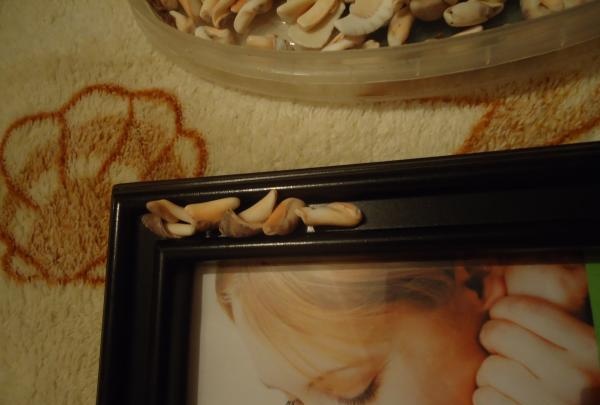
My frame had a groove around the perimeter, which I gladly filled with pieces of shells, don’t you agree, it looks more fun this way? On a smooth frame you can lay out a strip, a zigzag, or cover it with shells entirely.
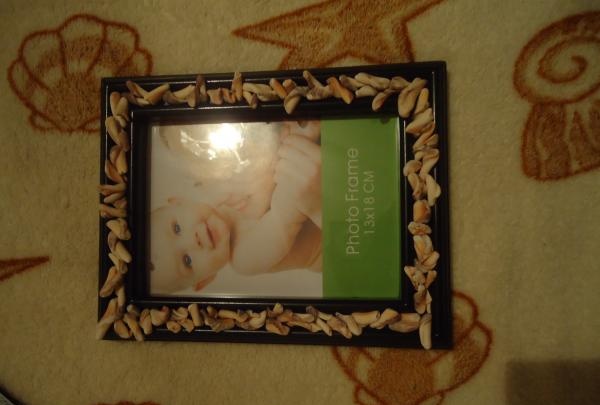
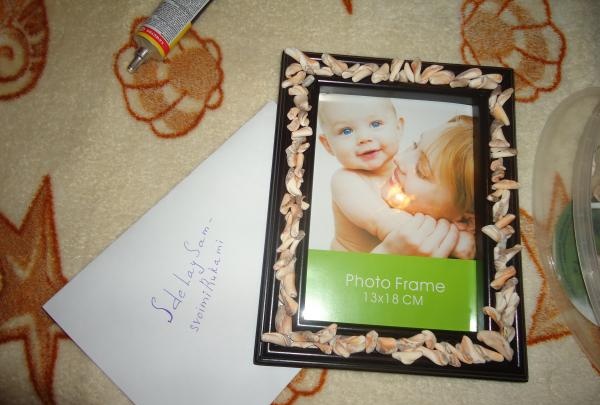
When the shells are glued (see the glue instructions), you can coat the product with colorless varnish, or leave a natural matte finish - to taste. That's it, the frame is ready, all that remains is to insert the sea photo.
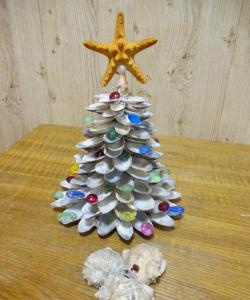
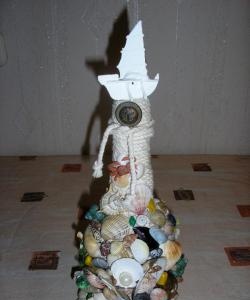
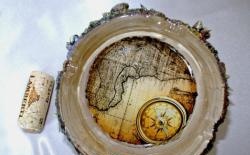
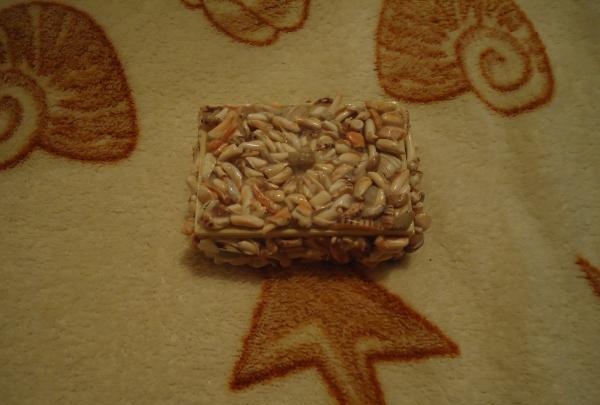
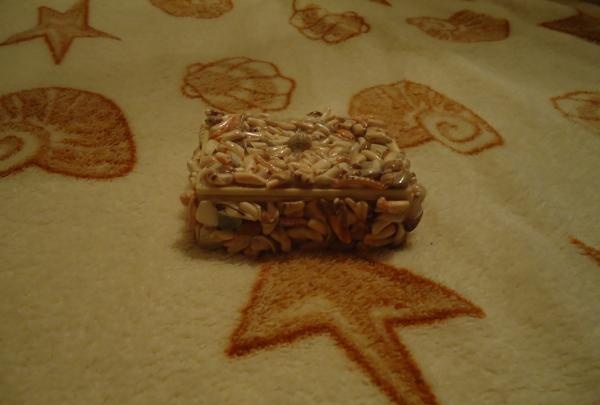
Using this technique, you can decorate almost any objects - boxes, mirror frames, bathroom accessories - whatever your imagination allows, including shells, of course. Small pebbles look just as impressive, but to imitate “wetness”, it is advisable to cover them with a transparent varnish (furniture varnish is suitable).
For work we will need multi-colored sea pebbles, shells or their fragments, admit it - after all, you brought all this with you from your last vacation, and were already planning to put it on the mezzanine along with your suitcase? We also need an object that we will decorate (in my case, a ready-made plastic photo frame), and glue - universal, preferably transparent - the kind that is not visible in the gaps between stones and shells (for me - “moment-crystal”).


Shells can be glued together in a creative mess, or a specific design can be laid out. In the case of a pattern, you can lay out the shells before applying the glue, and then simply glue them on. If all the elements are glued in a chaotic order (which looks no less interesting as a result), then we apply glue to the base, and then, like a puzzle, we “assemble” the “parts” into one whole. We apply the glue thickly, since shells and pebbles are quite heavy.


My frame had a groove around the perimeter, which I gladly filled with pieces of shells, don’t you agree, it looks more fun this way? On a smooth frame you can lay out a strip, a zigzag, or cover it with shells entirely.
When the shells are glued (see the glue instructions), you can coat the product with colorless varnish, or leave a natural matte finish - to taste. That's it, the frame is ready, all that remains is to insert the sea photo.


Using this technique, you can decorate almost any objects - boxes, mirror frames, bathroom accessories - whatever your imagination allows, including shells, of course. Small pebbles look just as impressive, but to imitate “wetness”, it is advisable to cover them with a transparent varnish (furniture varnish is suitable).


Similar master classes
Particularly interesting
Comments (0)

