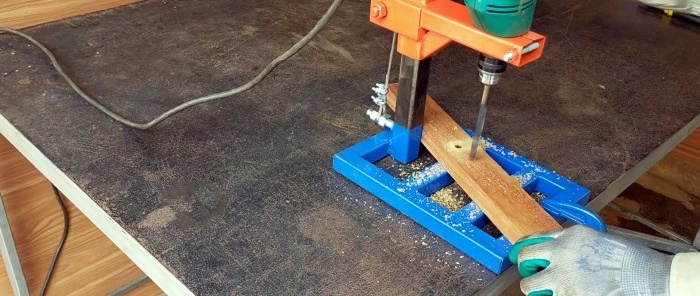
A very simple drilling machine made from the most affordable materials
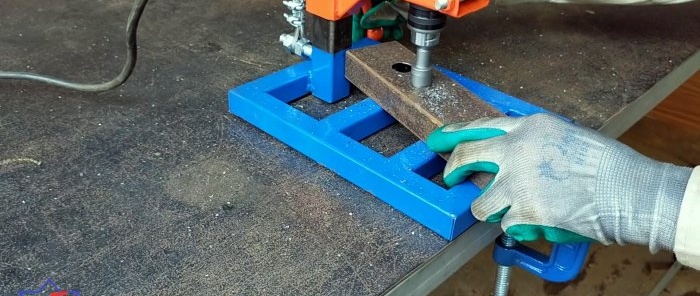
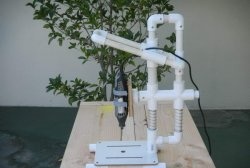
To quickly and accurately drill workpieces, you need a drilling machine. This is quite expensive equipment, the purchase of which is usually unprofitable. For the average user, a more suitable solution would be to make a guide stand for installing a drill. This is a simple, inexpensive alternative to a factory drill press.
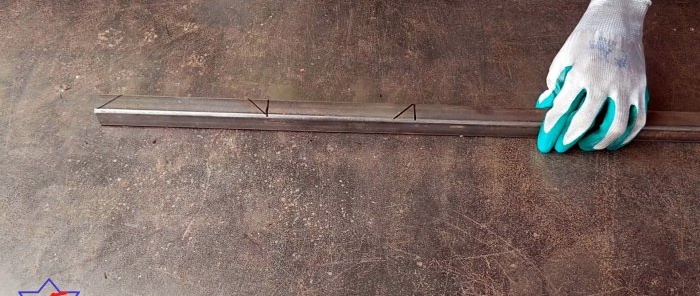
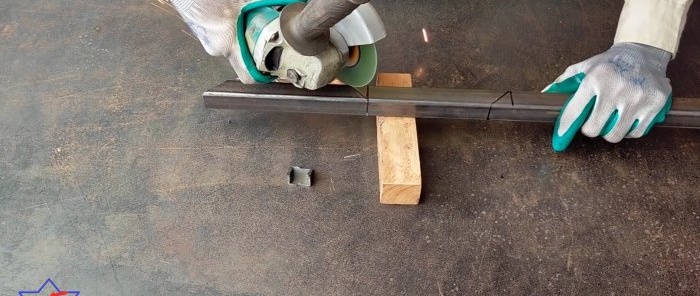
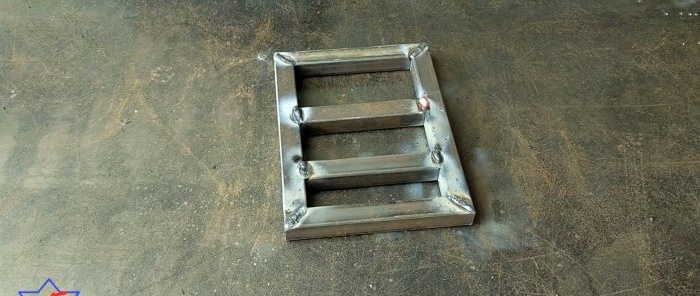
The frame of the machine sole is made from a 25x25 mm profile pipe. To do this, 4 blanks are cut out with ends at 45 degrees.
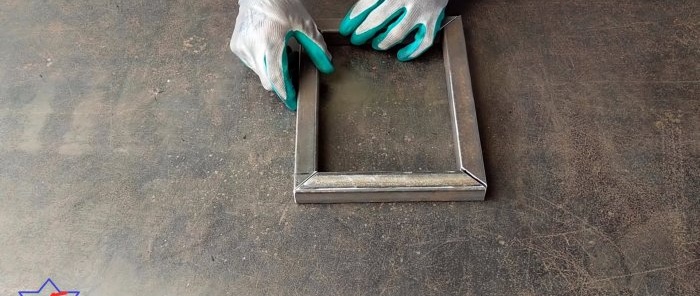
You need 2 parts approximately 20 cm long and 2 30 cm long. The blanks are welded into a frame, then a pair of crossbars are welded into it for rigidity.
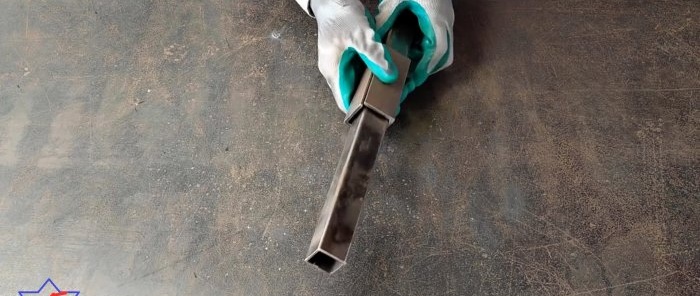
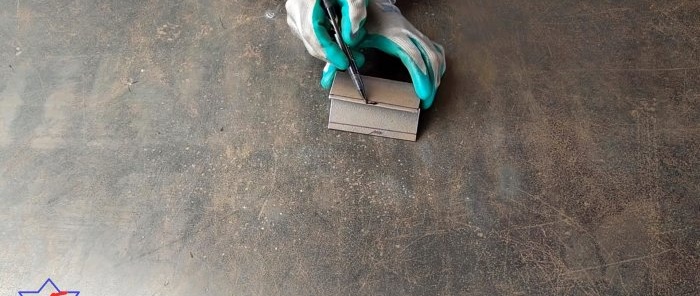
A section of a 30x30 mm profile pipe, 40-45 cm long, is used as a guide for the machine stand. You need to make a sliding pipe under it from a 35x35 mm corner.To do this, you need to cut 2 pieces of corner 10 cm each and narrow them to weld a square to slide along the guide.
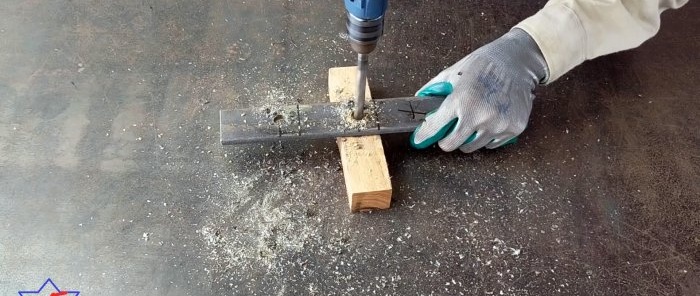
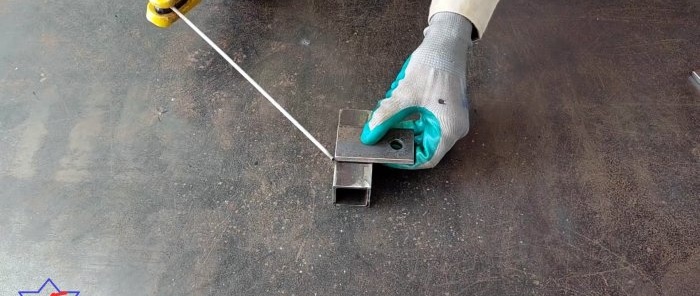
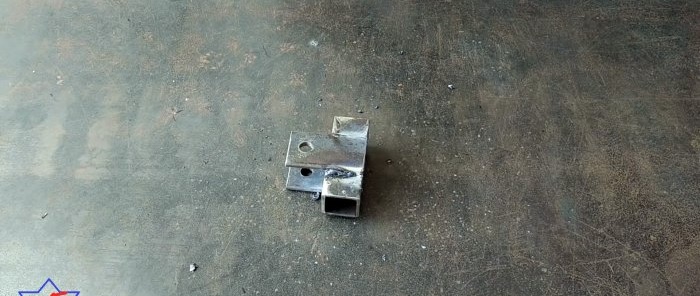
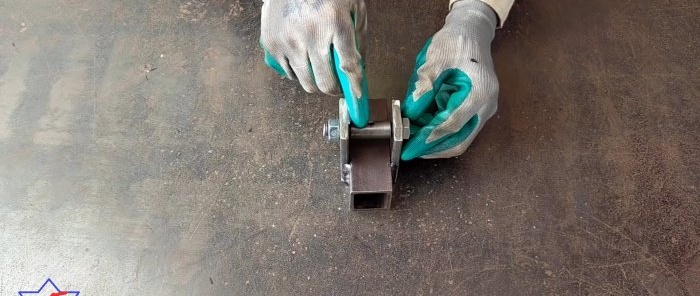
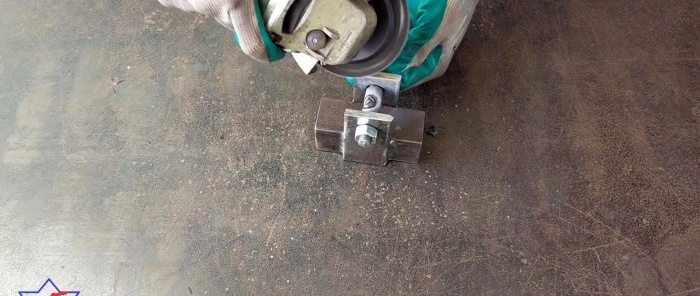
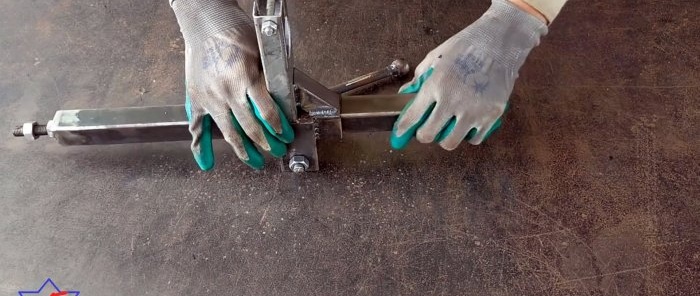
2 blanks 8 cm long are cut out of the strip. On one side, closer to the edge, 12 mm holes are drilled into them. The resulting lugs are welded onto a sliding pipe from the angle. An M12 bolt with a pipe sleeve is inserted into the eye hole.
The sleeve must first be drilled in order to be welded to the bolt. A nut is attached to the back of the bolt.
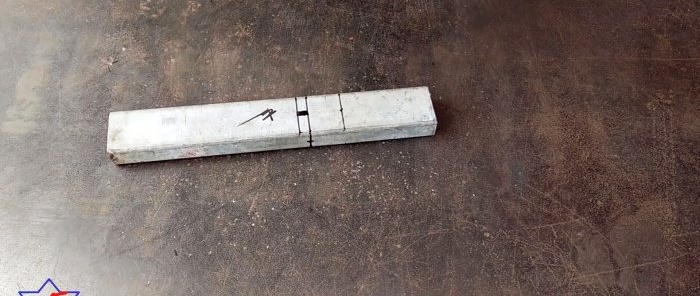
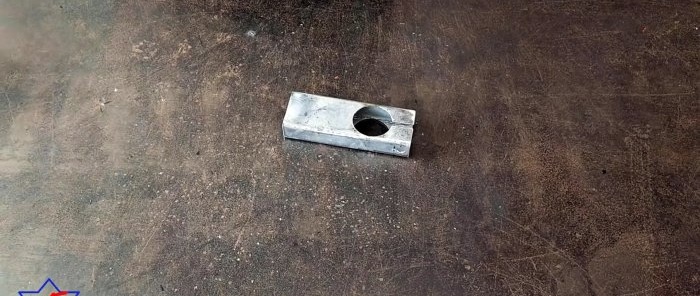
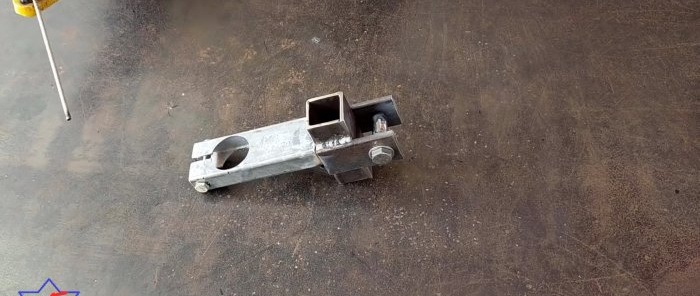
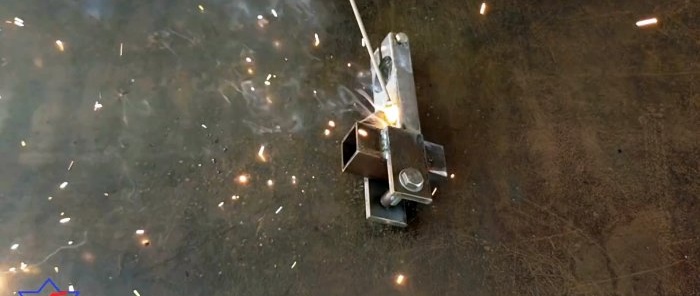
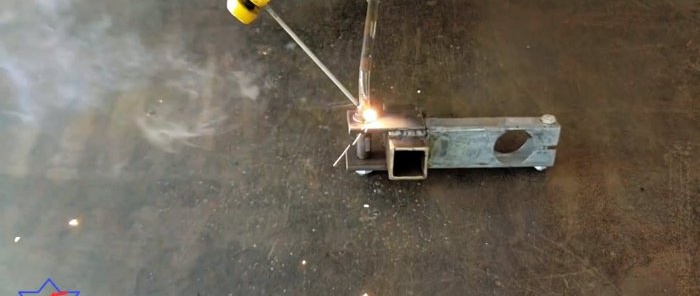
A drill holder is made from a piece of pipe 50x20 mm. To do this, a hole is drilled in it a couple of centimeters from the edge with a crown to match the width of the drill body in the place where the removable handle is installed. Then the pipe is cut lengthwise to the hole from the short edge. Next, you need to drill it from the side and insert an M8 bolt and nut into it. The part is then welded to the sliding pipe opposite the lugs.
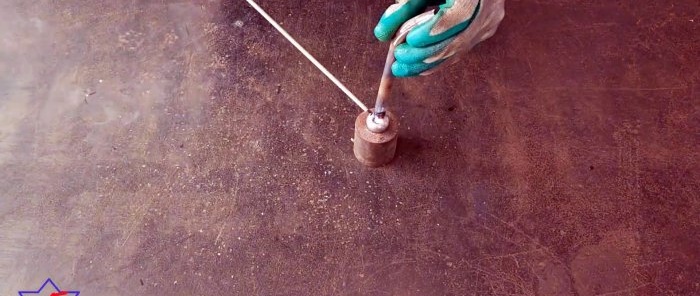
An adjusting lever is welded to the head of the bolt with a welded sleeve. It uses a bent rod with a bearing ball welded to the edge.
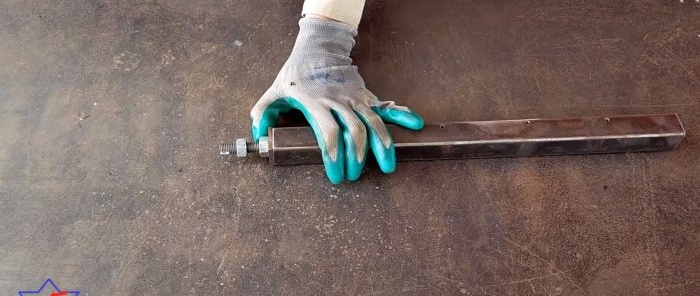
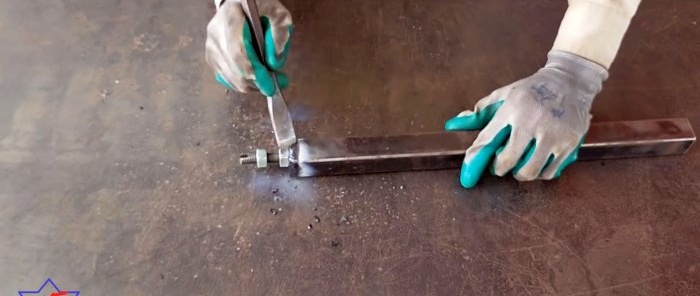
A strip plug with a hole and a welded M12 nut is welded to the end of the previously prepared guide.
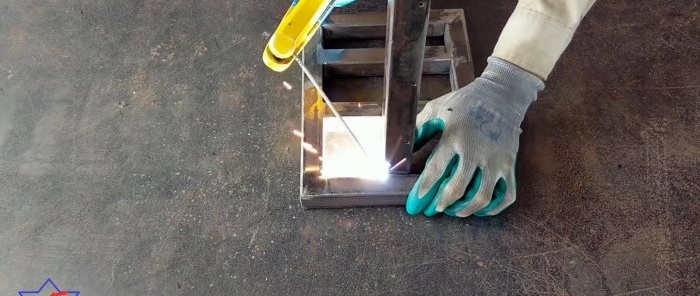
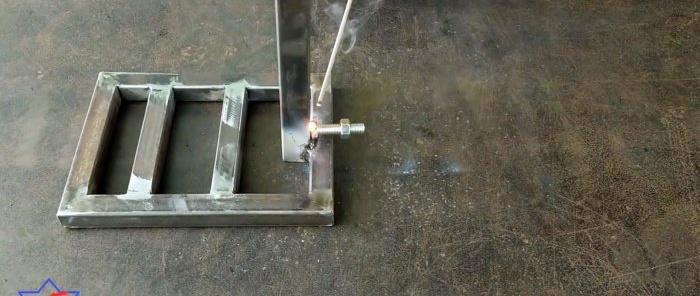
A pin with a longitudinal slot is screwed into it. The guide is then welded to the sole. An M12 bolt is welded to it at the bottom at the back.
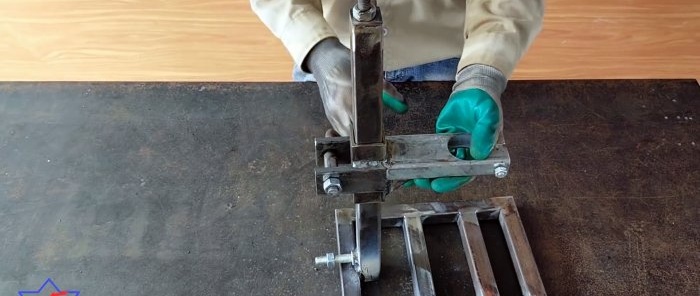
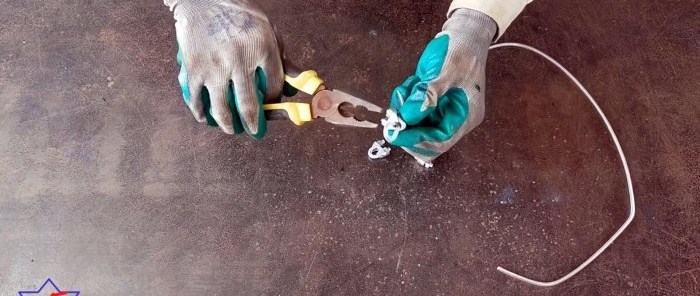
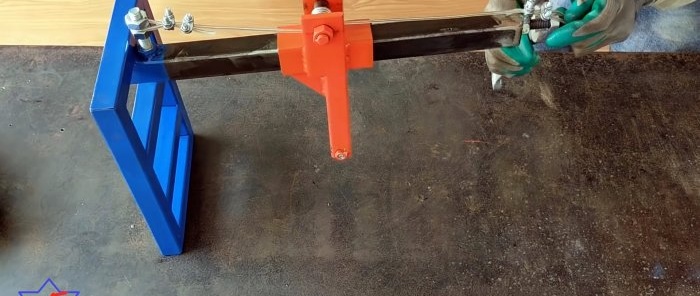
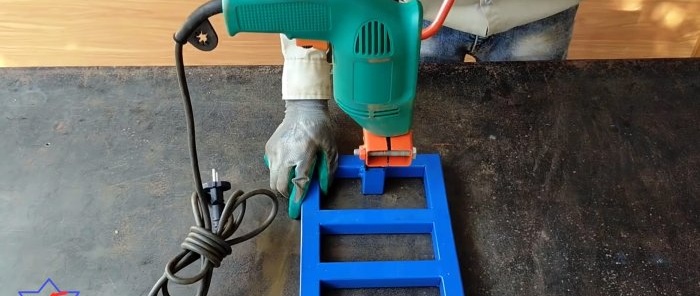
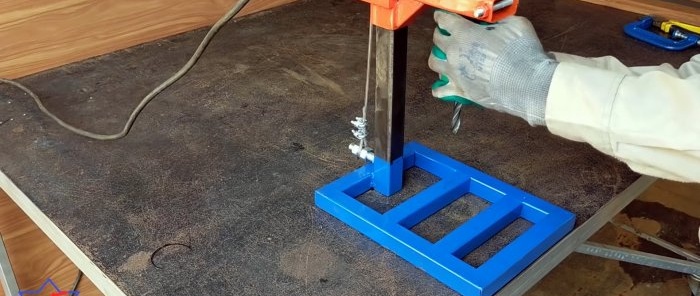
The machine is painted, then a cable with loops at the ends is wound onto the bushing in several turns. The hinges cling to the bolts at the bottom and top of the guide, and are clamped with nuts. The cable must be taut. Then the drill is clamped into the sliding pipe clamp.
When the lever is rotated, the cable will smoothly pull up or down the drill, thus creating a simple, lightweight drilling machine.
Materials:
- profile pipes 25x25 mm, 30x30 mm, 50x20 mm;
- corner 35x35 mm;
- strip 40x4 mm;
- bolts, nuts M8 and M12;
- 3/8 inch pipe;
- rod 10 mm;
- cable in PVC sheath 3-4 mm;
- cable clamps – 4 pcs.
Drilling machine manufacturing process
The frame of the machine sole is made from a 25x25 mm profile pipe. To do this, 4 blanks are cut out with ends at 45 degrees.
You need 2 parts approximately 20 cm long and 2 30 cm long. The blanks are welded into a frame, then a pair of crossbars are welded into it for rigidity.
A section of a 30x30 mm profile pipe, 40-45 cm long, is used as a guide for the machine stand. You need to make a sliding pipe under it from a 35x35 mm corner.To do this, you need to cut 2 pieces of corner 10 cm each and narrow them to weld a square to slide along the guide.
2 blanks 8 cm long are cut out of the strip. On one side, closer to the edge, 12 mm holes are drilled into them. The resulting lugs are welded onto a sliding pipe from the angle. An M12 bolt with a pipe sleeve is inserted into the eye hole.
The sleeve must first be drilled in order to be welded to the bolt. A nut is attached to the back of the bolt.
A drill holder is made from a piece of pipe 50x20 mm. To do this, a hole is drilled in it a couple of centimeters from the edge with a crown to match the width of the drill body in the place where the removable handle is installed. Then the pipe is cut lengthwise to the hole from the short edge. Next, you need to drill it from the side and insert an M8 bolt and nut into it. The part is then welded to the sliding pipe opposite the lugs.
An adjusting lever is welded to the head of the bolt with a welded sleeve. It uses a bent rod with a bearing ball welded to the edge.
A strip plug with a hole and a welded M12 nut is welded to the end of the previously prepared guide.
A pin with a longitudinal slot is screwed into it. The guide is then welded to the sole. An M12 bolt is welded to it at the bottom at the back.
The machine is painted, then a cable with loops at the ends is wound onto the bushing in several turns. The hinges cling to the bolts at the bottom and top of the guide, and are clamped with nuts. The cable must be taut. Then the drill is clamped into the sliding pipe clamp.
When the lever is rotated, the cable will smoothly pull up or down the drill, thus creating a simple, lightweight drilling machine.
Watch the video
Similar master classes
Particularly interesting
Comments (0)

