How to make a pile foundation quickly and inexpensively
For the construction of a gazebo or light frame building, it is optimal to use concrete piles as a foundation. If their quantity is correctly calculated, such a solution will be in no way inferior to a classic tape, but at the same time will cost several times less. Pouring concrete piles is a relatively simple process that can be done entirely with your own hands without outside help.
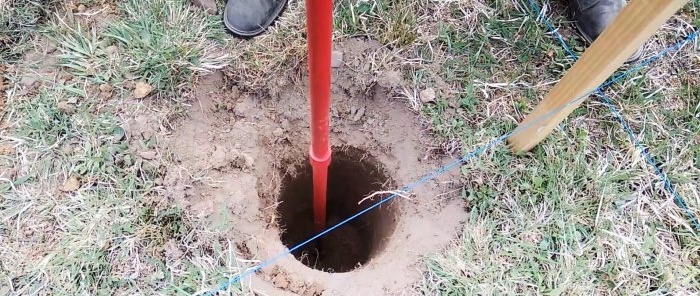
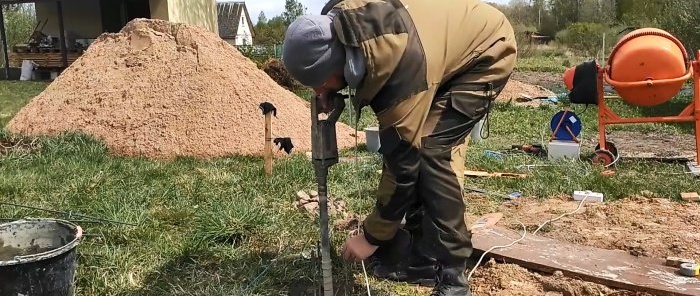
Before starting work, it is necessary to determine the diameter and depth of the piles. To do this, you need to familiarize yourself with the technical recommendations for your specific region. The building load, freezing depth and soil type are taken into account. An appropriate drill is selected for the parameters of the piles, and holes are drilled.
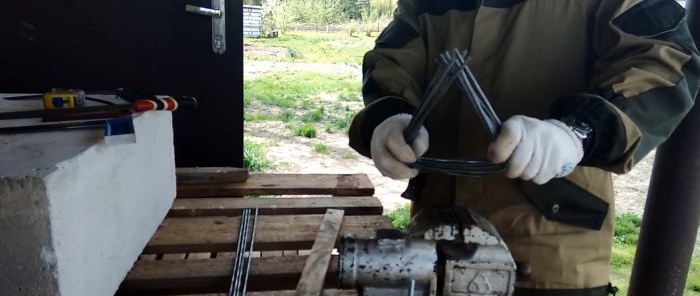
Next, reinforcement is done. In this case, 3 turns of 8 mm reinforcement will be sufficient for each column under the gazebo. Under them, 2 triangular frames made of 5 mm rolled wire are bent in a vice.
The finished crossbars are connected to the reinforcement into a single frame using knitting wire. Then a little sand is poured into the bottom of the wells, and the associated reinforcement cages are lowered.
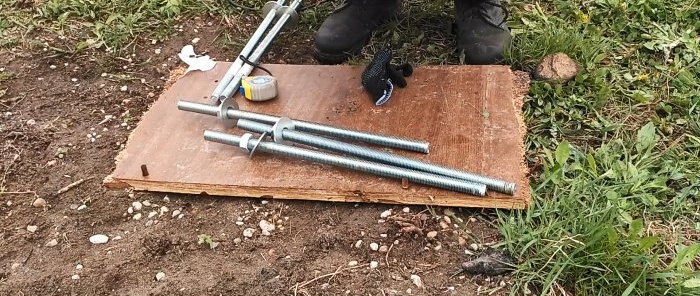
Before concrete work, you need to prepare studs for attaching the bottom trim beam to each post. A washer is screwed onto the part of the stud that will be in the concrete and a nut is installed. You need to wrap masking tape on the outer half. It will prevent drops of concrete from getting between the threads. The masking tape will also serve as a guide to the depth of immersion in the concrete.
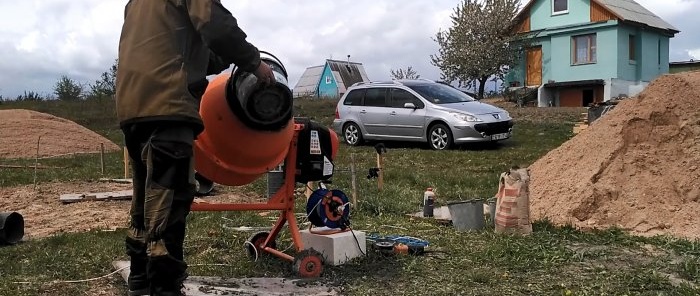
Now you can proceed to mixing M300 concrete. For this, the following proportions are used: cement M500 1 part, sand 2 parts, crushed stone 2.5 parts, 1/2 part water and plasticizer according to the instructions. The last component will make the solution plastic without adding a large amount of water. The smaller it is, the stronger the concrete will be after hardening.
Concrete is poured into the wells in several stages with a break for compaction using an internal vibrator. It is advisable not to skimp and rent it for the day; with it the piles will be stronger and more durable.
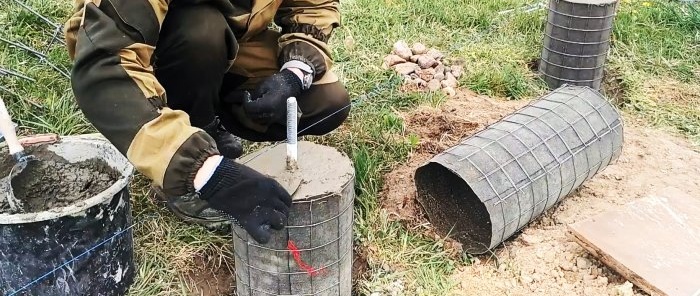
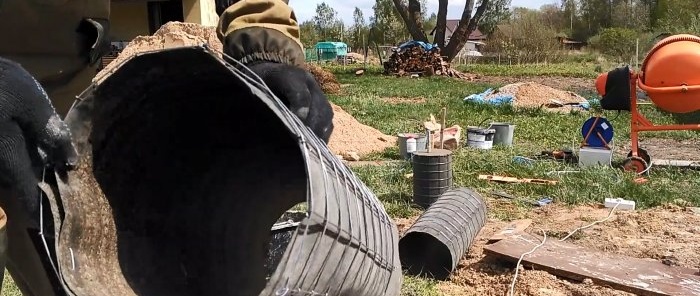
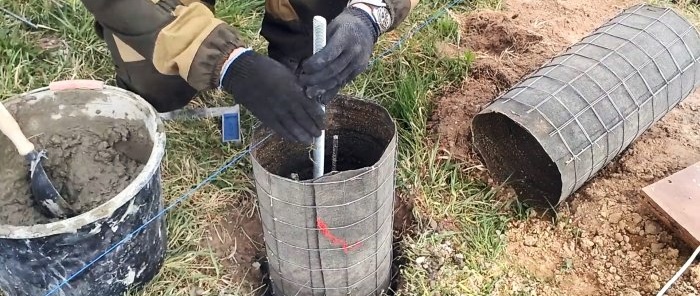
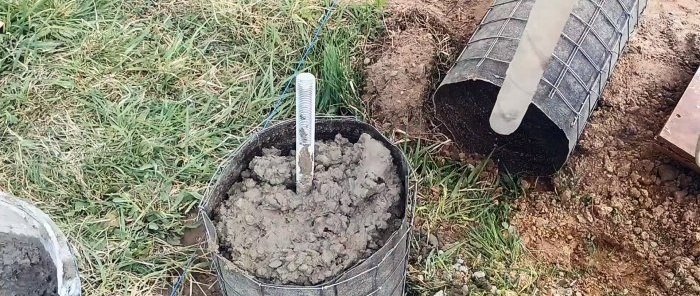
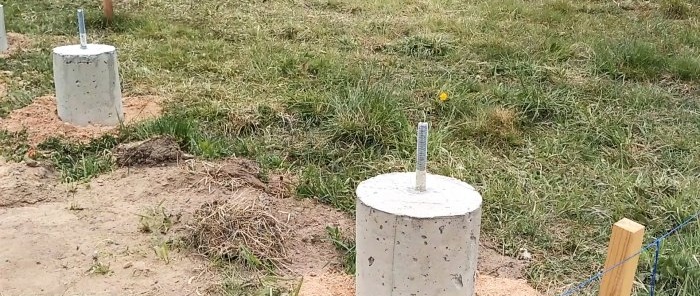
Next, a formwork made of rolled-up roofing felt, reinforced with welded mesh on top, is installed in the wells. Its height is leveled along the thread, and concrete is poured inside. First, the formwork is not filled completely to insert the pin, then it is filled completely. The concrete is compacted with a vibrator, and the horizontal position of the stud must be controlled.
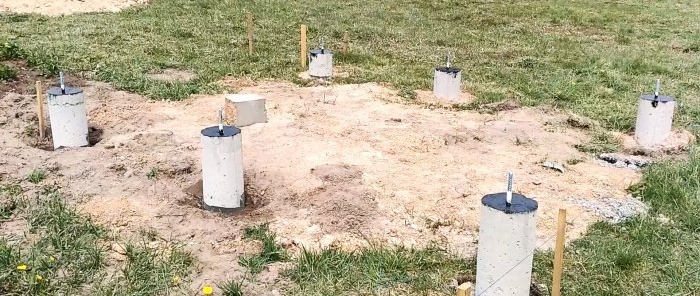
After a week, you can remove the formwork and treat the pile heads with a bitumen primer for waterproofing. After 28 days from the moment of pouring, the concrete will gain full strength. Since the pile foundation does not need to be stood, you can immediately start on it construction.
Materials:
- fittings;
- rolled wire;
- knitting wire;
- studs 22 mm;
- washers and nuts M22;
- concrete M500;
- sand;
- crushed stone;
- plasticizer;
- roofing felt;
- welded mesh;
- bitumen primer.
The process of pouring piles
Before starting work, it is necessary to determine the diameter and depth of the piles. To do this, you need to familiarize yourself with the technical recommendations for your specific region. The building load, freezing depth and soil type are taken into account. An appropriate drill is selected for the parameters of the piles, and holes are drilled.
Next, reinforcement is done. In this case, 3 turns of 8 mm reinforcement will be sufficient for each column under the gazebo. Under them, 2 triangular frames made of 5 mm rolled wire are bent in a vice.
The finished crossbars are connected to the reinforcement into a single frame using knitting wire. Then a little sand is poured into the bottom of the wells, and the associated reinforcement cages are lowered.
Before concrete work, you need to prepare studs for attaching the bottom trim beam to each post. A washer is screwed onto the part of the stud that will be in the concrete and a nut is installed. You need to wrap masking tape on the outer half. It will prevent drops of concrete from getting between the threads. The masking tape will also serve as a guide to the depth of immersion in the concrete.
Now you can proceed to mixing M300 concrete. For this, the following proportions are used: cement M500 1 part, sand 2 parts, crushed stone 2.5 parts, 1/2 part water and plasticizer according to the instructions. The last component will make the solution plastic without adding a large amount of water. The smaller it is, the stronger the concrete will be after hardening.
Concrete is poured into the wells in several stages with a break for compaction using an internal vibrator. It is advisable not to skimp and rent it for the day; with it the piles will be stronger and more durable.
Next, a formwork made of rolled-up roofing felt, reinforced with welded mesh on top, is installed in the wells. Its height is leveled along the thread, and concrete is poured inside. First, the formwork is not filled completely to insert the pin, then it is filled completely. The concrete is compacted with a vibrator, and the horizontal position of the stud must be controlled.
After a week, you can remove the formwork and treat the pile heads with a bitumen primer for waterproofing. After 28 days from the moment of pouring, the concrete will gain full strength. Since the pile foundation does not need to be stood, you can immediately start on it construction.
Watch the video
Similar master classes

Construction of a strip foundation

Strip foundation device

How to quickly and inexpensively pour a foundation on concrete supports

A cheap foundation made from car tires in a couple of hours

We are building a gazebo for a summer house

Making a concrete garden path under a stone with your own hands is not difficult
Particularly interesting

How to install a socket if there are short wires left

How to eliminate gaps between the chimney and slate

How to mix an ultra-reliable solution for the oven that does not give

There will be no more cracks: What to add to concrete to make it

Never buy ball valves without checking with me

New technology for floor insulation with penoplex
Comments (1)

