How to restore the shaft under the oil seal of a washing machine
If the washing machine drum begins to hum when turning, then it’s time to change the bearings and seal. This can be done at home.
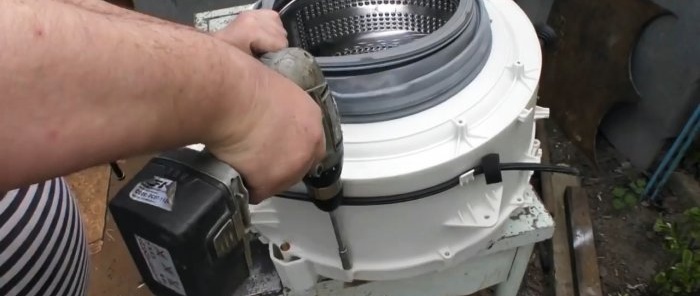
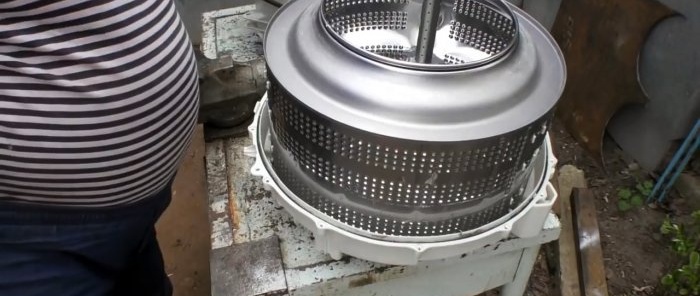
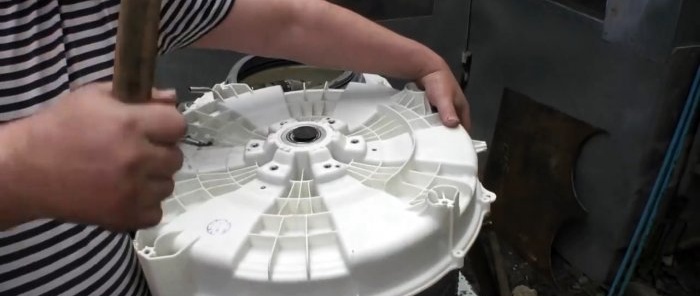
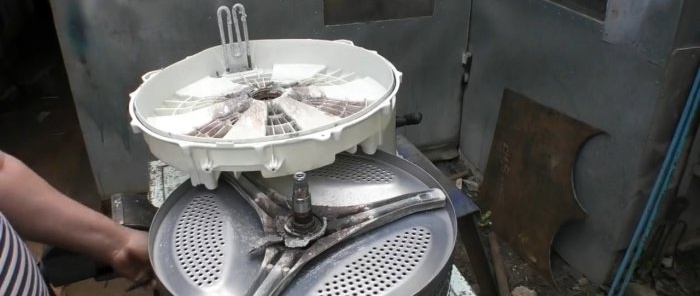
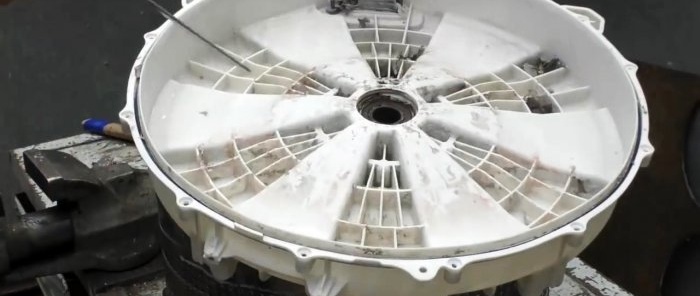
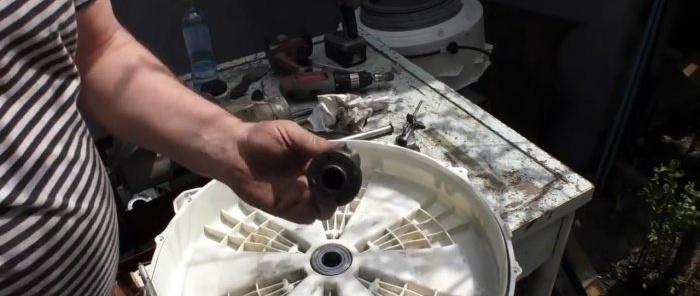
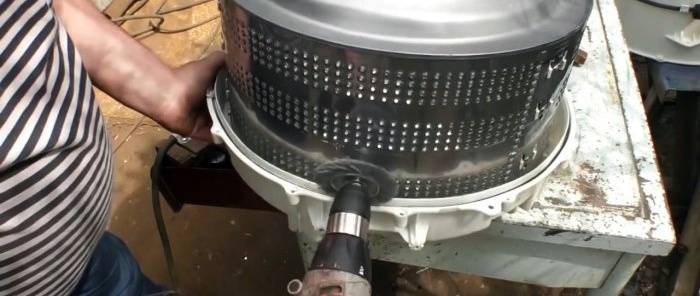
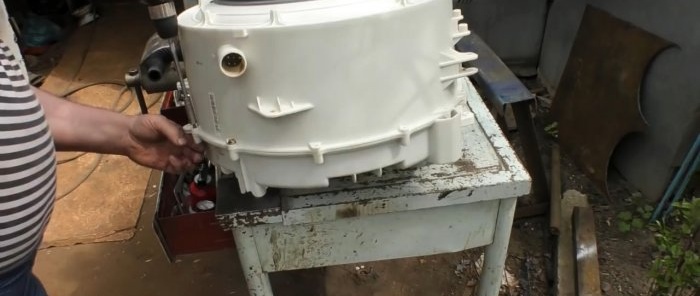
The body of the machine is disassembled and the tank with the drum is removed. You need to unscrew the bolts holding the halves of the tank together.
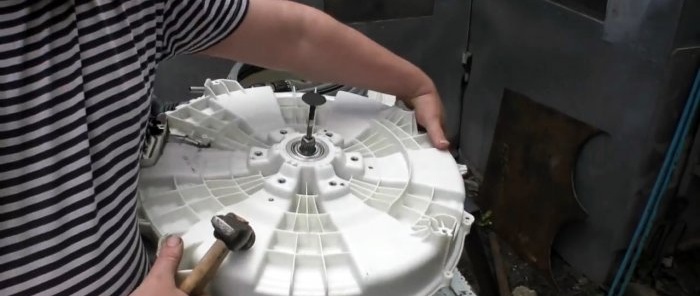
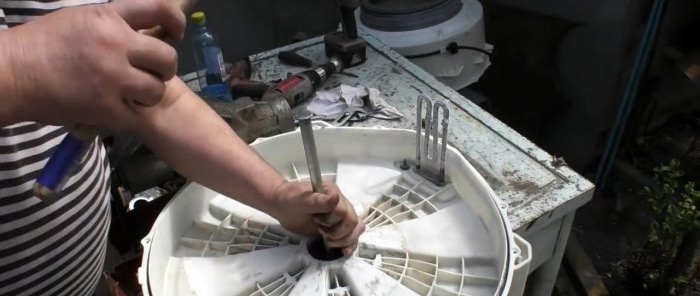
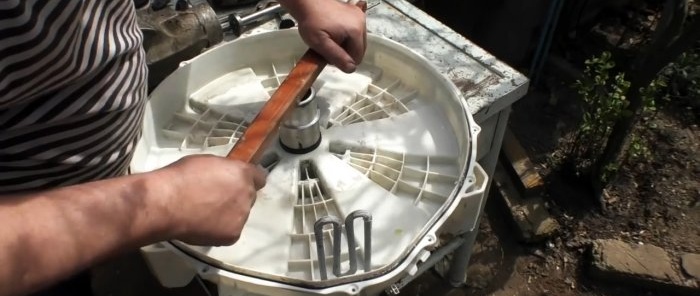
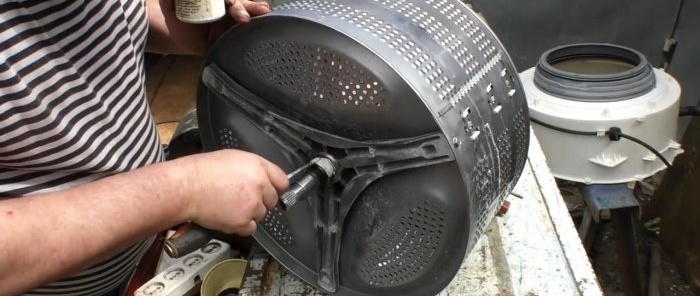
To knock the shaft out of the bearings, a 6-8 mm rod is inserted into it and a blow is applied. This will allow you to remove it without damaging the threads.
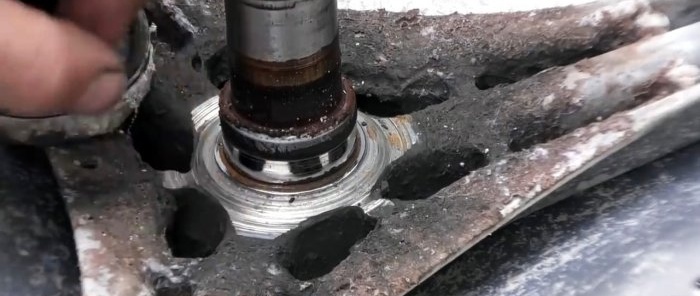
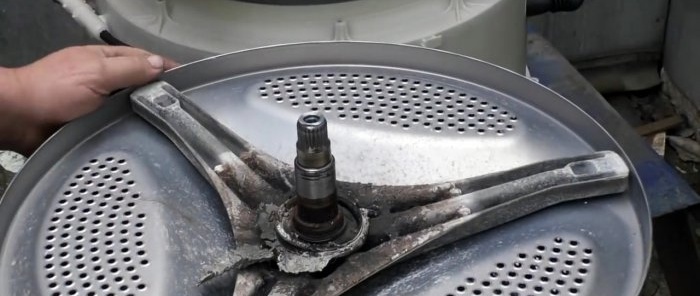
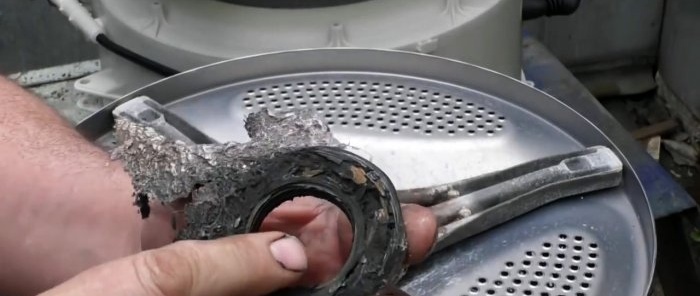
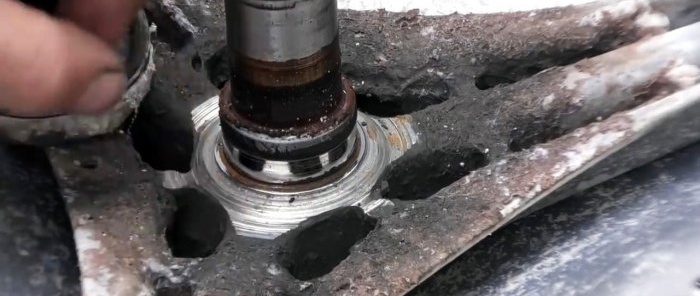
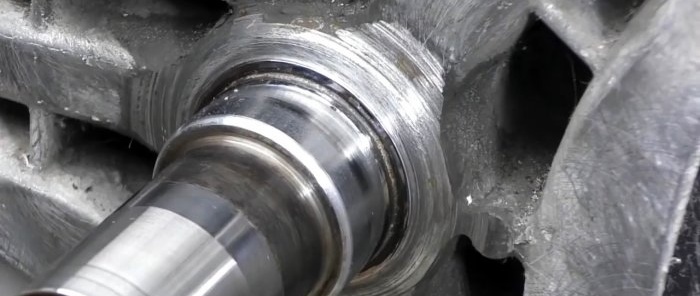
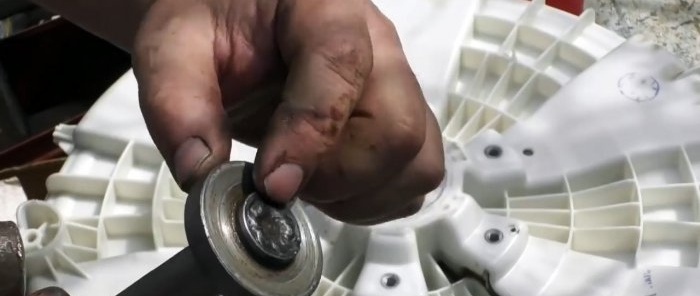
The shaft is thoroughly cleaned of dried powder and dirt. On LG machines, the oil seal is often squeezed out of its seat and wipes the shaft. If you put a new oil seal on such grooves, it will also tear out and wear out very quickly.
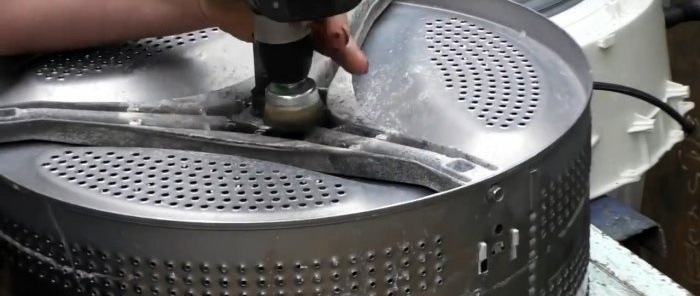
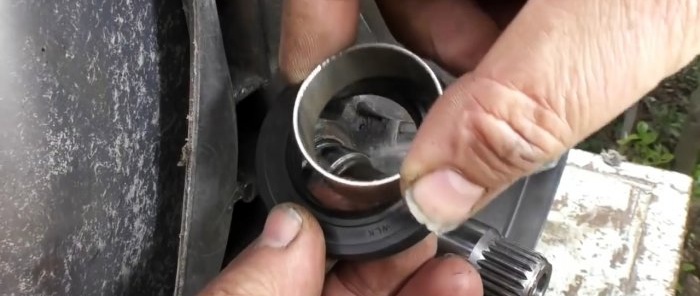
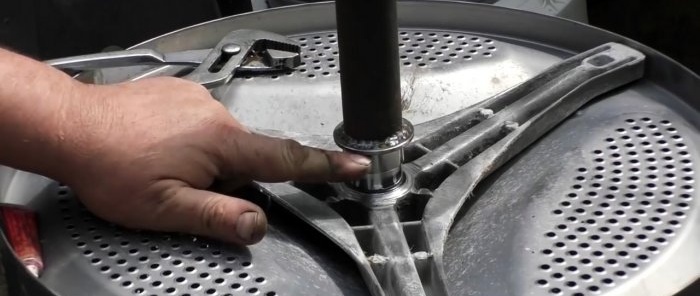
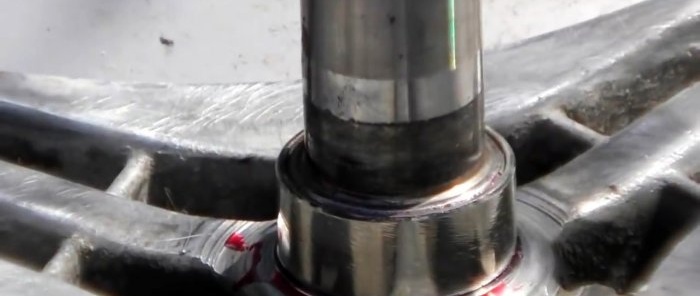
In case of such a problem, a sleeve is machined from a stainless pipe, which must be placed on the worn part of the shaft. It is polished, heated with a mounting hair dryer to expand, and pressed onto a shaft lubricated with a cylindrical joint clamp.It will be possible to install an oil seal on this restored platform, but with a slightly larger internal diameter.
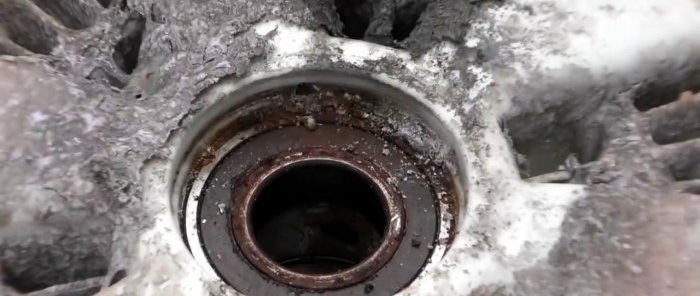
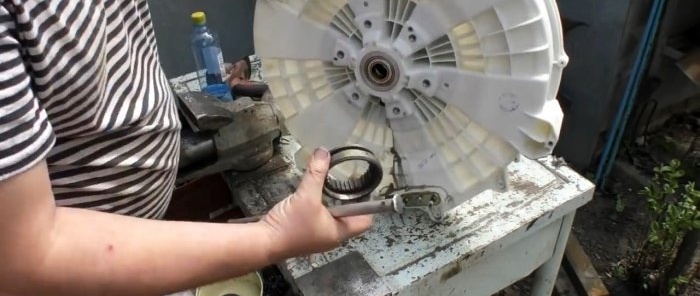
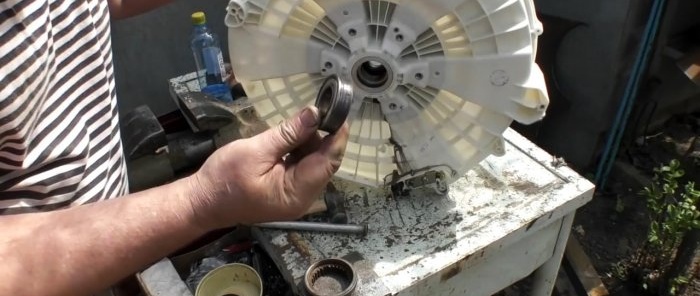
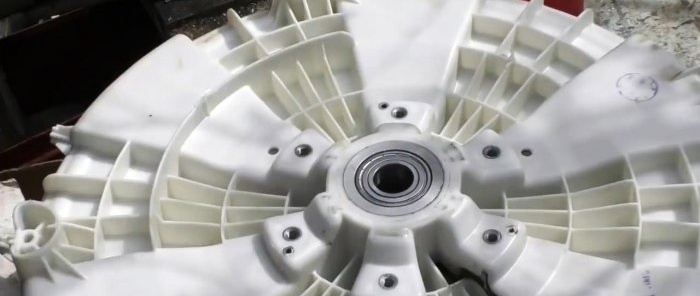
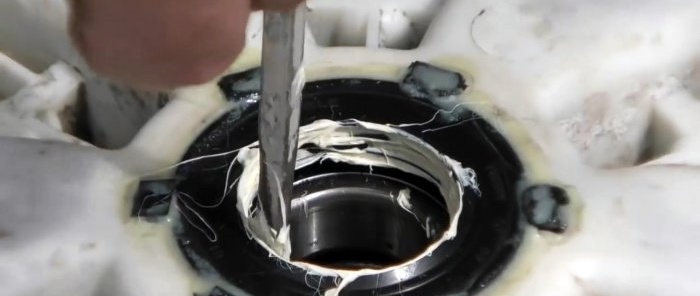
And the bearings of the rear tank cover are knocked out. Their mounting hole is cleaned.
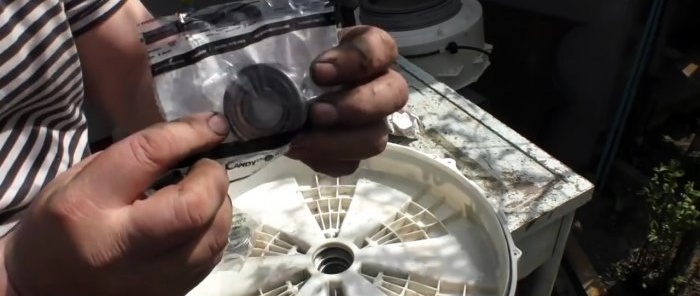
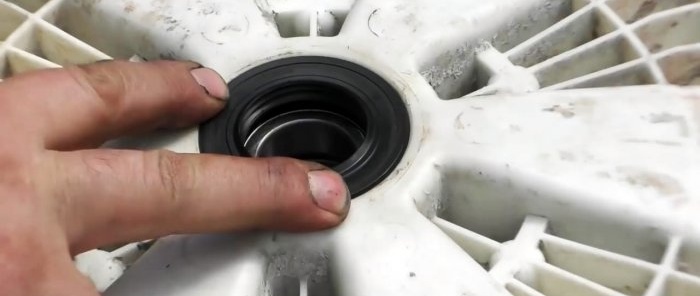
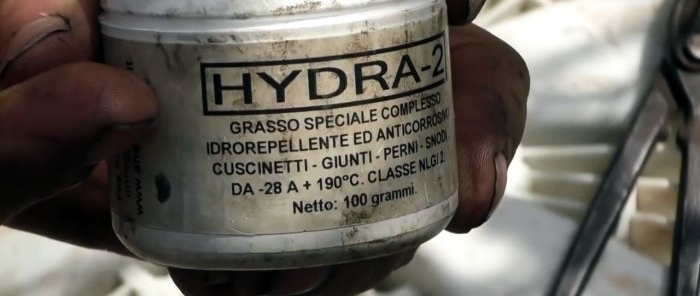
Then new bearings are seated using a mandrel. The surface of their outer ring should be lubricated with a drop of oil, this will facilitate installation. Behind them, an oil seal is inserted, lubricated with a specialized lubricant for washing machines.
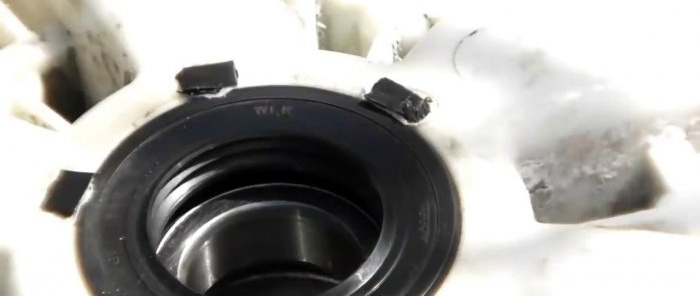
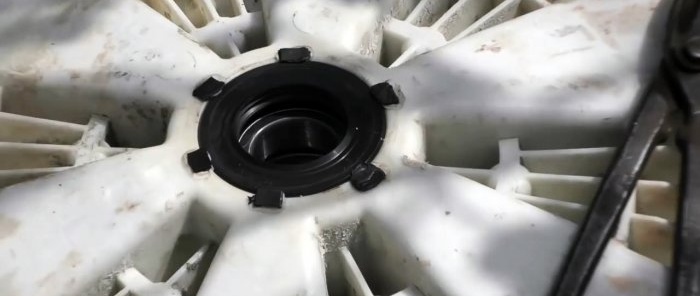
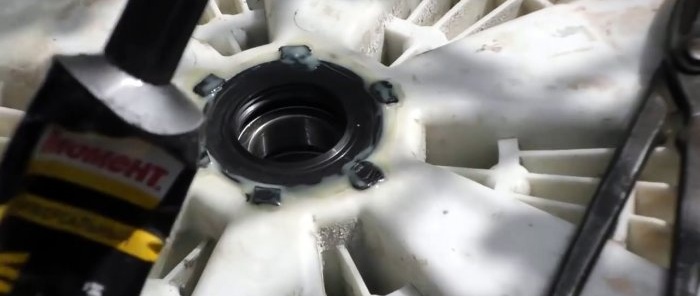
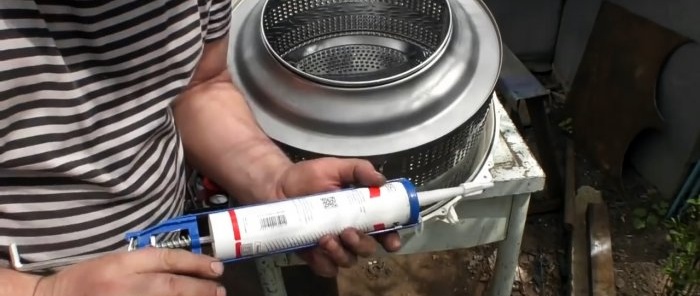
If you had to restore the shaft with a bushing, then to prevent the problem from recurring, it is necessary to prevent the new oil seal from coming off. To do this, you can prop it up. Using a regular soldering iron, thin propylene inserts are soldered in a circle onto the tank. In addition, you need to glue the gap between the tank and the oil seal with Moment glue.
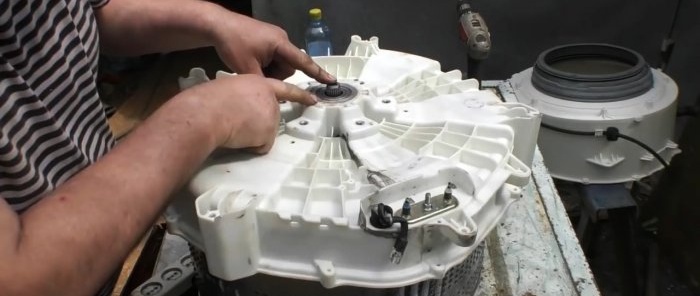
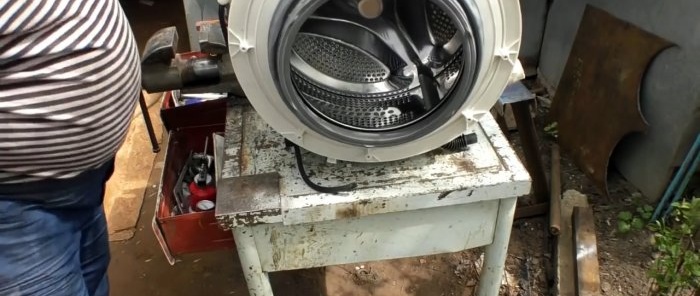
The rear wall of the tank is installed on the drum shaft with a twist so that the oil seal does not bite. Next, you need to temporarily screw a bolt with a wide washer and spacers into the shaft so that it does not fall back. Then the joint between the halves is coated with silicone, since the rubber seal will most likely no longer be able to hold water, and the tank is assembled.
Materials:
- shaft bearings;
- stuffing box;
- lubricant;
- sleeve;
- clamp for cylindrical connections;
- glue moment;
- silicone sealant.
Repair process
The body of the machine is disassembled and the tank with the drum is removed. You need to unscrew the bolts holding the halves of the tank together.
To knock the shaft out of the bearings, a 6-8 mm rod is inserted into it and a blow is applied. This will allow you to remove it without damaging the threads.
The shaft is thoroughly cleaned of dried powder and dirt. On LG machines, the oil seal is often squeezed out of its seat and wipes the shaft. If you put a new oil seal on such grooves, it will also tear out and wear out very quickly.
In case of such a problem, a sleeve is machined from a stainless pipe, which must be placed on the worn part of the shaft. It is polished, heated with a mounting hair dryer to expand, and pressed onto a shaft lubricated with a cylindrical joint clamp.It will be possible to install an oil seal on this restored platform, but with a slightly larger internal diameter.
And the bearings of the rear tank cover are knocked out. Their mounting hole is cleaned.
Then new bearings are seated using a mandrel. The surface of their outer ring should be lubricated with a drop of oil, this will facilitate installation. Behind them, an oil seal is inserted, lubricated with a specialized lubricant for washing machines.
If you had to restore the shaft with a bushing, then to prevent the problem from recurring, it is necessary to prevent the new oil seal from coming off. To do this, you can prop it up. Using a regular soldering iron, thin propylene inserts are soldered in a circle onto the tank. In addition, you need to glue the gap between the tank and the oil seal with Moment glue.
The rear wall of the tank is installed on the drum shaft with a twist so that the oil seal does not bite. Next, you need to temporarily screw a bolt with a wide washer and spacers into the shaft so that it does not fall back. Then the joint between the halves is coated with silicone, since the rubber seal will most likely no longer be able to hold water, and the tank is assembled.
Watch the video
Similar master classes

How to make a powerful juicer from a washing machine
How to remove small objects caught in the washing machine from
How to connect the motor from a washing machine to 220 V
Complete disassembly of the brush cutter gearbox to remove wear products
How to assemble a simple refrigerator for a distiller
Installing a washing machine into a PVC riser
Particularly interesting
Comments (1)

