How easy it is to install a toilet installation
Good afternoon dear friends. Let me present you with a photo review of installing a toilet installation with your own hands.
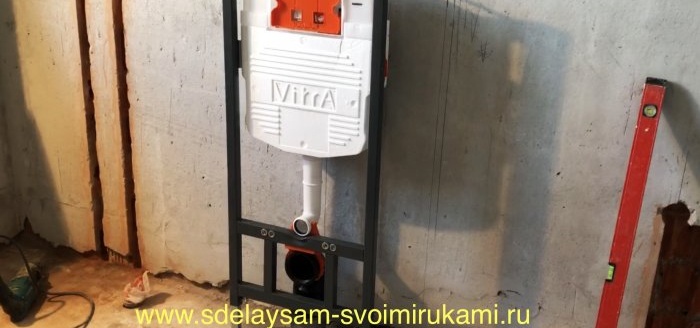
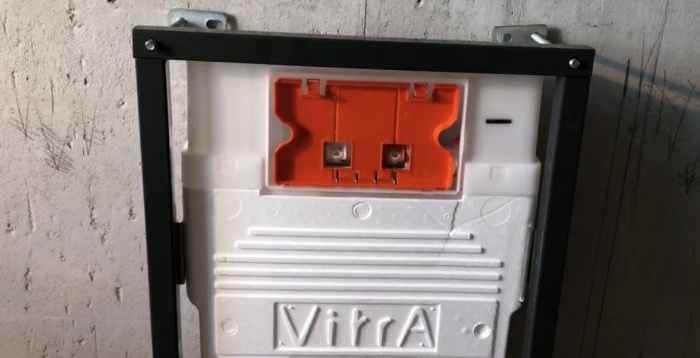
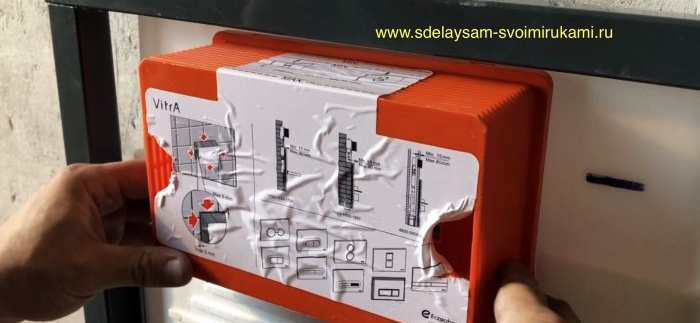
First, I unpack this device made in China.
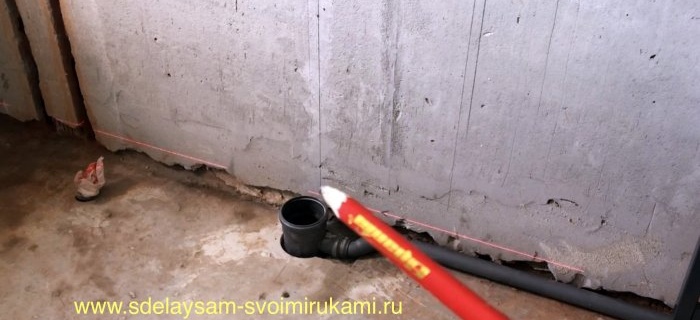
Well, now about the installation location. I use a laser level to mark the clean floor, i.e. top of ceramic tiles. In the center of outlet 110 of the sewer pipe, I draw a vertical line on the wall, from which I will take all measurements for installation.
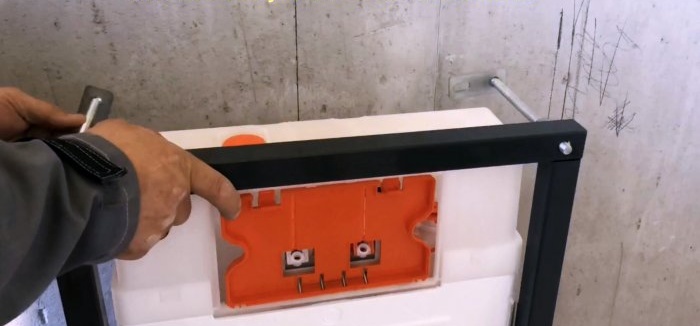
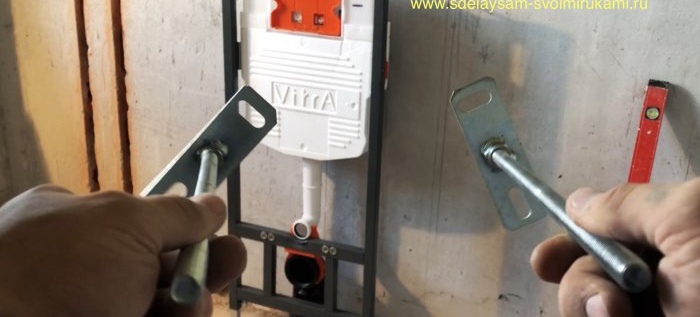
The next step is to screw the wall mounting brackets to the installation frame; M8 internal threads are pressed into the frame itself for this purpose.
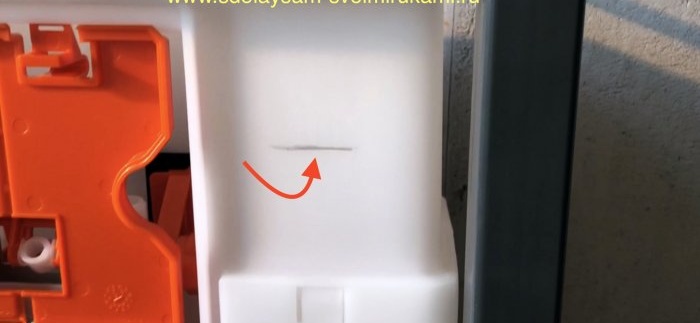
We find a clean floor mark on the installation’s white cistern.
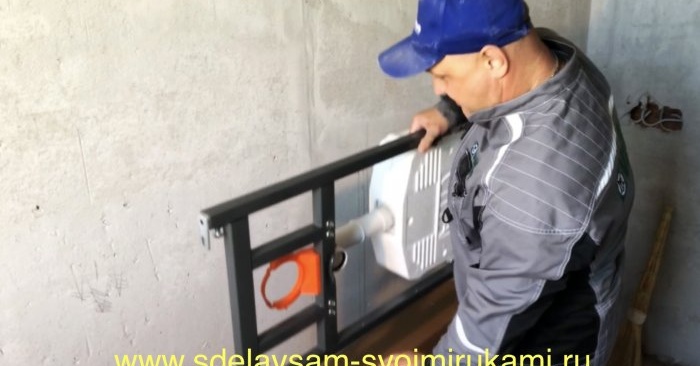
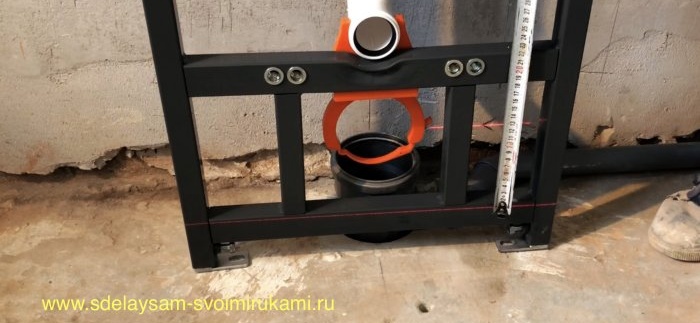
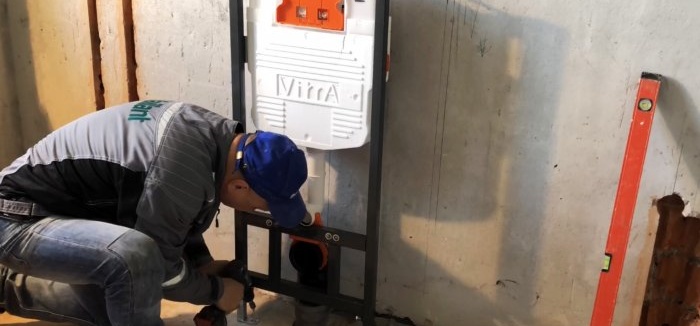
Next, from the mark on the cistern, I raise the installation for the toilet on supports exactly 1 meter from the clean floor shown by the laser.
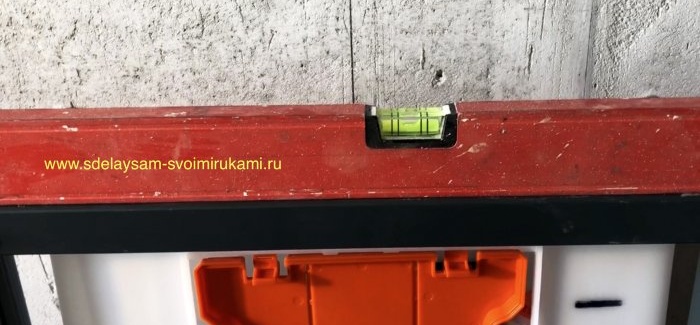
I align the structure horizontally and vertically using a regular level.
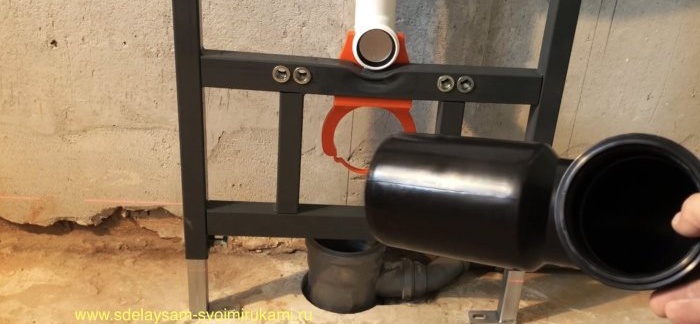
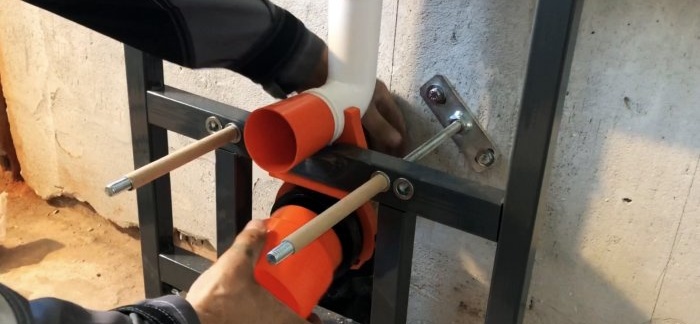
Now you need to connect the pipe that is included in the delivery set with the sewer pipe.
After you have connected the sewer system, you can begin attaching the installation brackets to the wall, using what is included in the kit.
I fasten the brackets to the concrete floor with 13mm bolts and screws.
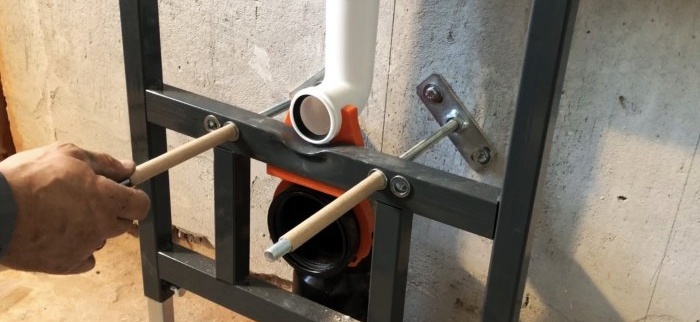
Now I’m starting to install and attach studs with supports for a wall-mounted toilet to the wall; by the way, these studs are not always attached to the wall; there are other options.
All the studs are fixed to the wall and “locked” onto the frame of the installation; it’s time to put cardboard tubes on them so that the threads are not covered up during finishing.
Don’t forget to insert technological plugs into the drain holes.
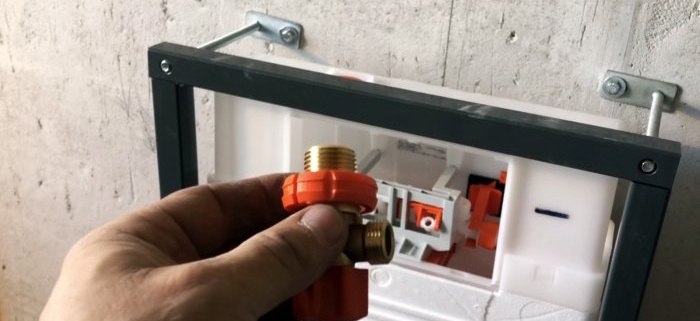
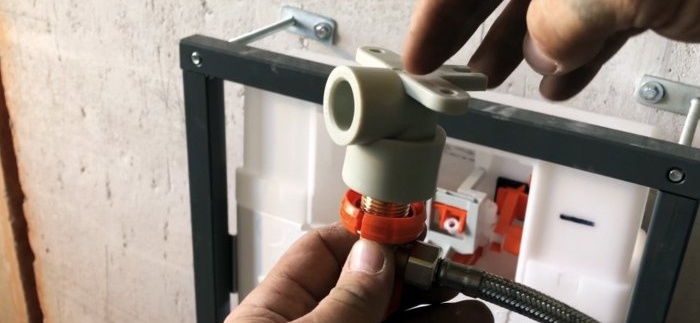
Now I’m starting to install the water supply for installation. The kit includes such a tap; I will supply polypropylene to it, and from it a flexible line to the filling valve with a float.
I do all the piping with high-quality polypropylene pipes in order to minimize the likelihood of repairs over time. It is very expensive to break and restore. Miser pays twice.
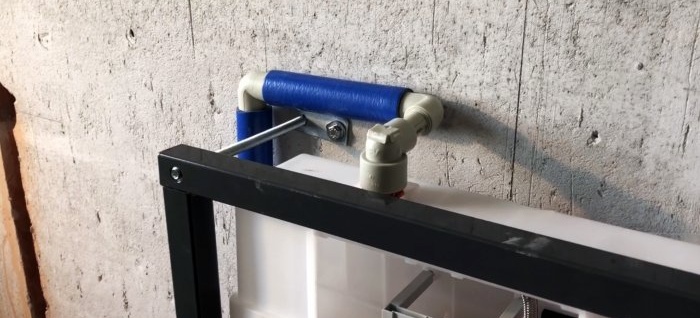
I put the polypropylene pipe in insulation, less condensation will form on the pipe, and accordingly there will be less water on the floor in the summer.
And now I’m installing a technological plug for the period of finishing; later I will saw it off to the level of the tile to install the drain button.
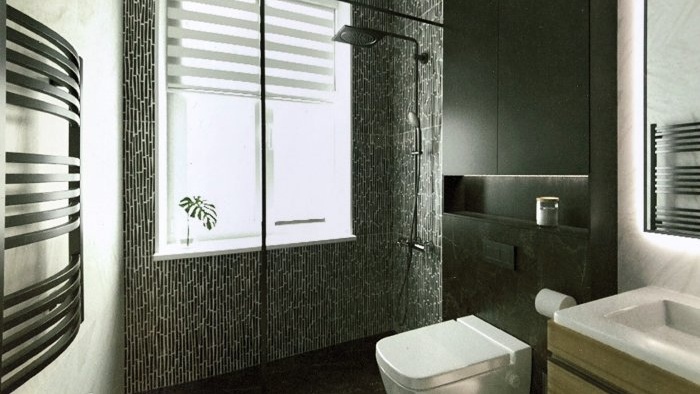
In the end, you should get this version of the bathroom.
Well, in more detail you can watch the installation of the toilet installation in the video:
Installation
First, I unpack this device made in China.
Well, now about the installation location. I use a laser level to mark the clean floor, i.e. top of ceramic tiles. In the center of outlet 110 of the sewer pipe, I draw a vertical line on the wall, from which I will take all measurements for installation.
The next step is to screw the wall mounting brackets to the installation frame; M8 internal threads are pressed into the frame itself for this purpose.
We find a clean floor mark on the installation’s white cistern.
Next, from the mark on the cistern, I raise the installation for the toilet on supports exactly 1 meter from the clean floor shown by the laser.
I align the structure horizontally and vertically using a regular level.
Now you need to connect the pipe that is included in the delivery set with the sewer pipe.
After you have connected the sewer system, you can begin attaching the installation brackets to the wall, using what is included in the kit.
I fasten the brackets to the concrete floor with 13mm bolts and screws.
Now I’m starting to install and attach studs with supports for a wall-mounted toilet to the wall; by the way, these studs are not always attached to the wall; there are other options.
All the studs are fixed to the wall and “locked” onto the frame of the installation; it’s time to put cardboard tubes on them so that the threads are not covered up during finishing.
Don’t forget to insert technological plugs into the drain holes.
Now I’m starting to install the water supply for installation. The kit includes such a tap; I will supply polypropylene to it, and from it a flexible line to the filling valve with a float.
I do all the piping with high-quality polypropylene pipes in order to minimize the likelihood of repairs over time. It is very expensive to break and restore. Miser pays twice.
I put the polypropylene pipe in insulation, less condensation will form on the pipe, and accordingly there will be less water on the floor in the summer.
And now I’m installing a technological plug for the period of finishing; later I will saw it off to the level of the tile to install the drain button.
In the end, you should get this version of the bathroom.
Watch the video
Well, in more detail you can watch the installation of the toilet installation in the video:
Similar master classes
Particularly interesting

How to install a socket if there are short wires left

How to eliminate gaps between the chimney and slate

How to mix an ultra-reliable solution for the oven that does not give

There will be no more cracks: What to add to concrete to make it

Never buy ball valves without checking with me

New technology for floor insulation with penoplex
Comments (0)

