How to easily sew Santa Claus
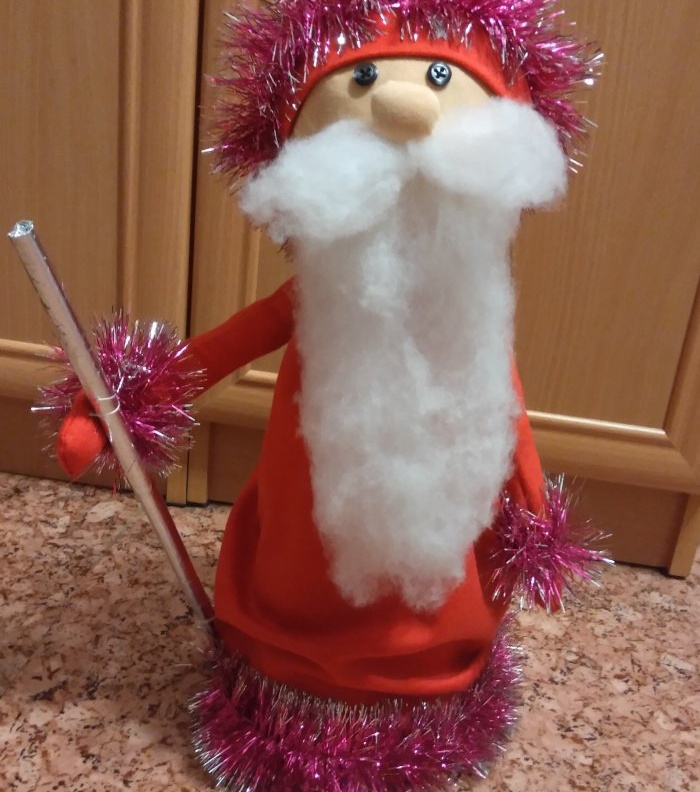
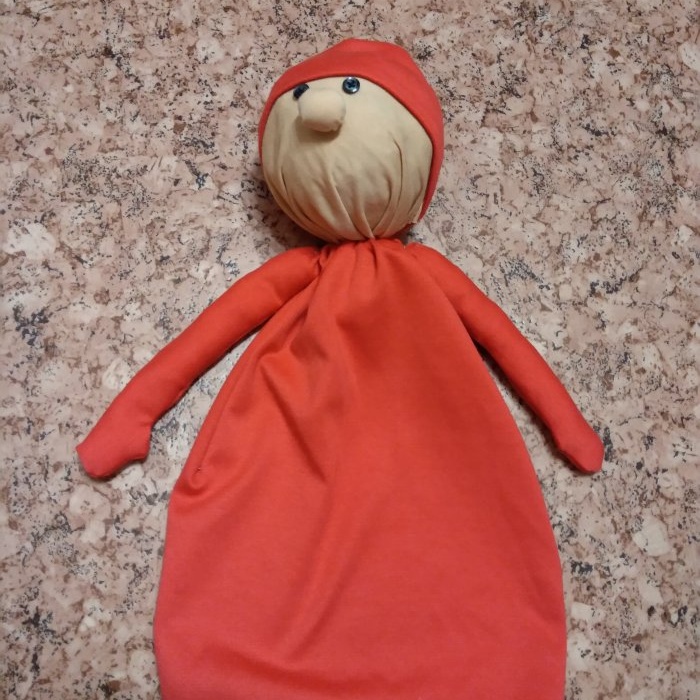
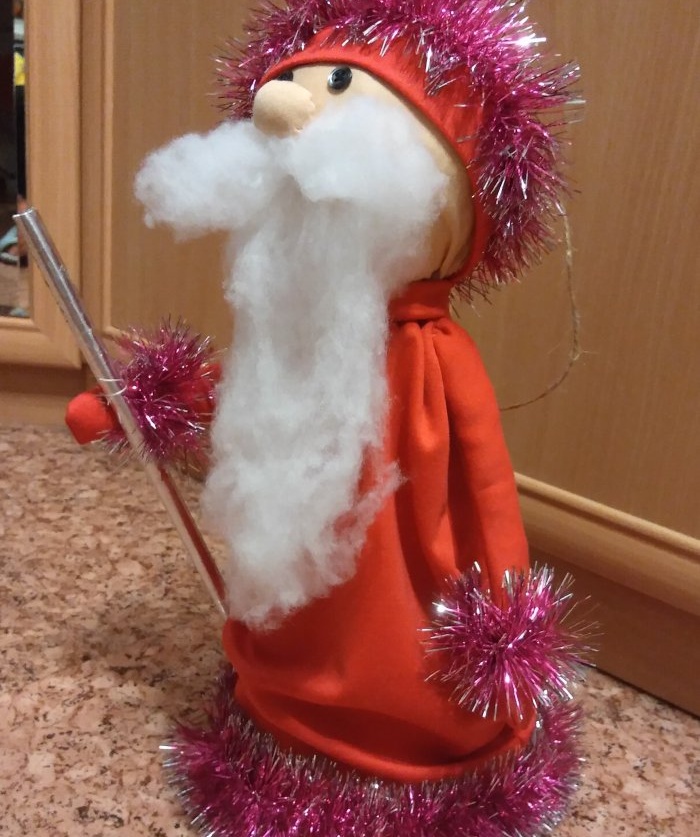
My son had to make a craft for the school competition “Santa Claus’s Workshop”. A child wanted to make a toy for the city Christmas tree, Santa Claus. After looking at several ideas on the Internet, adding my own experience, I came up with this model. Santa Claus is 40 cm high, stands independently, and has a pendant.
This toy was sewn on a sewing machine from my old dress in three evenings. I chose sewing over knitting because the deadline for the competition was tight. I had all the materials at home, I didn’t need to buy anything. In the New Year's master class I show in detail the sequence of actions.
Materials
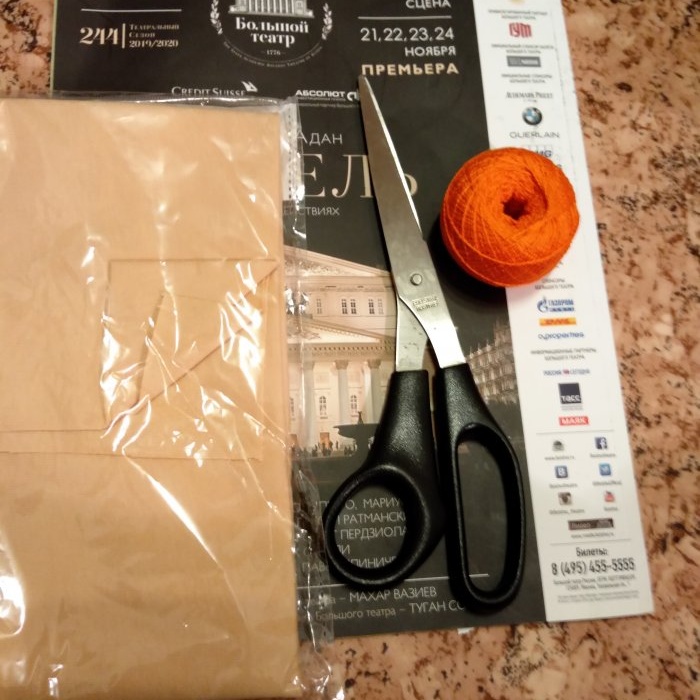
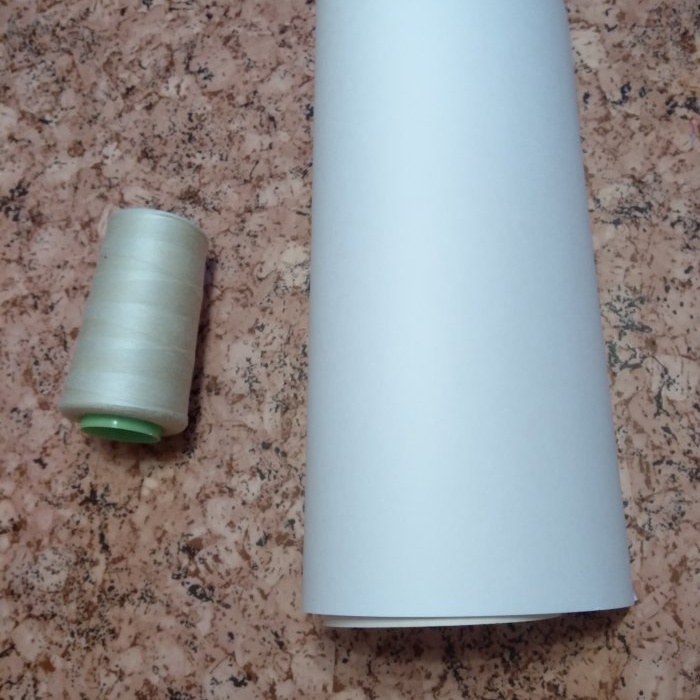
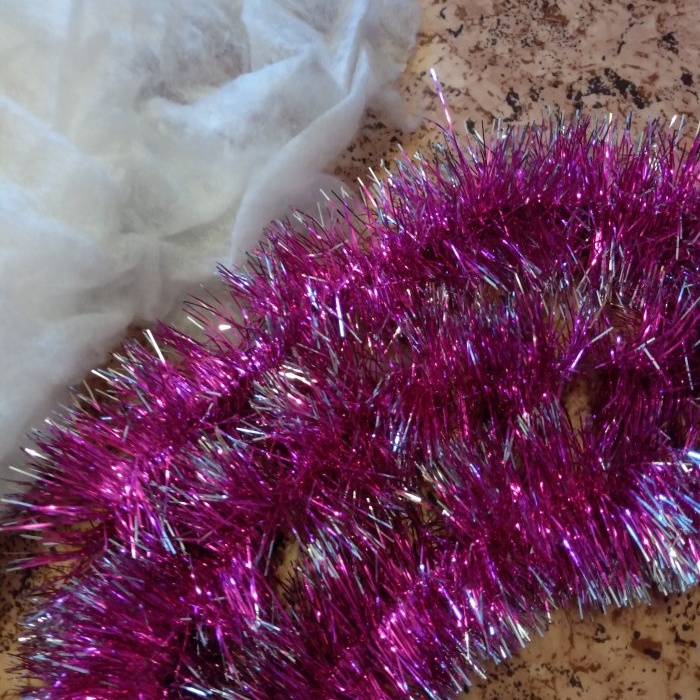
Red fabric 50 x 50 cm, beige fabric for the head 20 x 20 cm, an old magazine, thread with a needle, Moment glue, Whatman paper A3, two black buttons, scissors, tinsel, padding polyester 100 thick, foil for the staff.
Sequence of steps for sewing Santa Claus
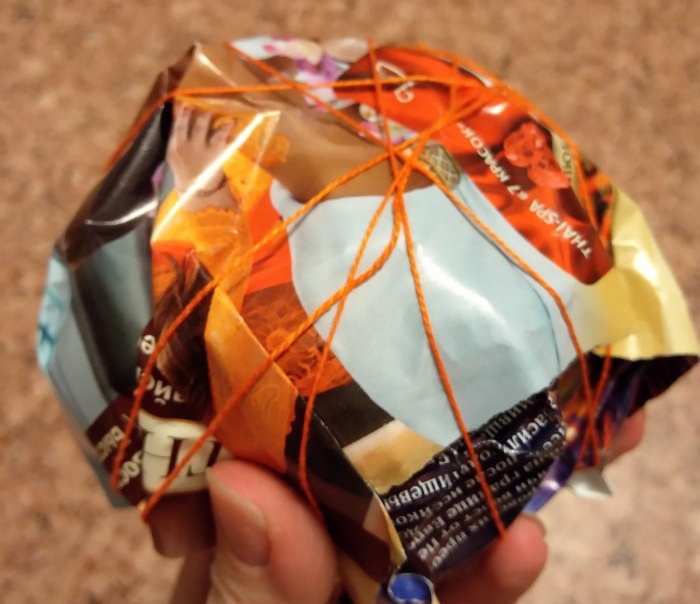
1. Make a blank for the head from the pages of an old magazine - crumple the paper into a round ball. This head turns out to be light. Plus - you can make any size.
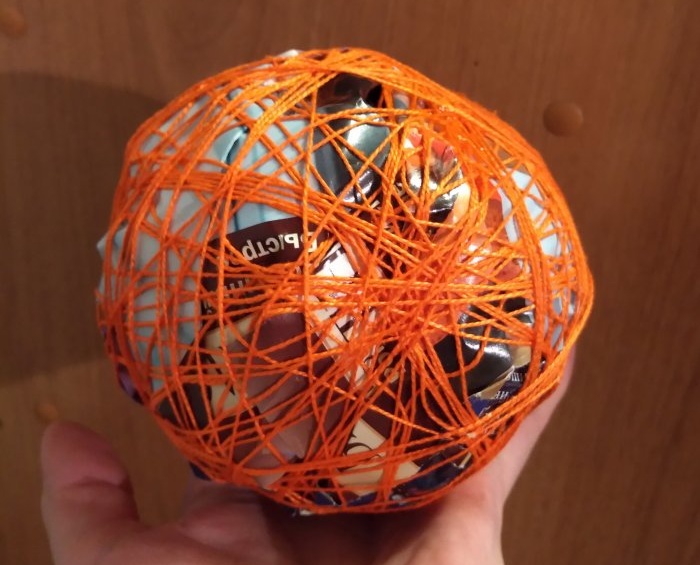
2. Wrap the ball with thread. I took Iris - they are stiffer and thicker than regular sewing ones. Winding the threads onto the paper like a ball, you need to form a round shape, comparing the irregularities.
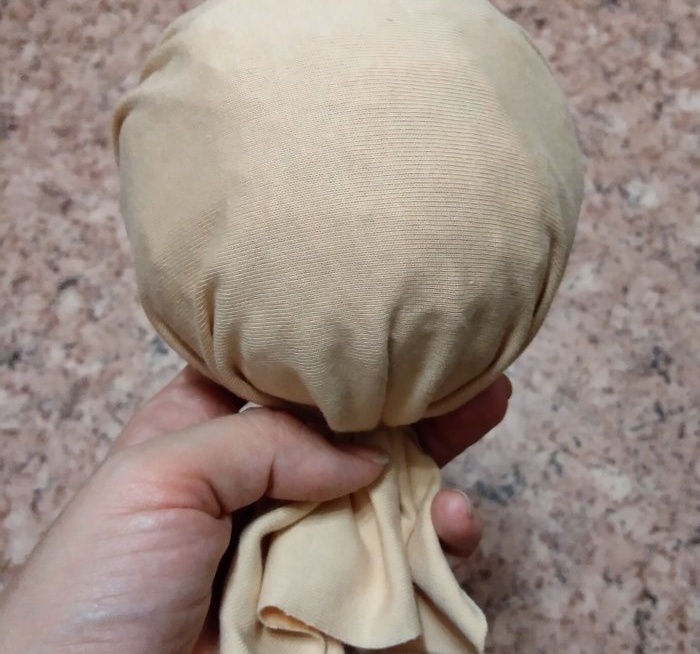
3.Cover the resulting head with beige fabric, forming neat folds closer to the neck. Secure it to the “neck” with threads.
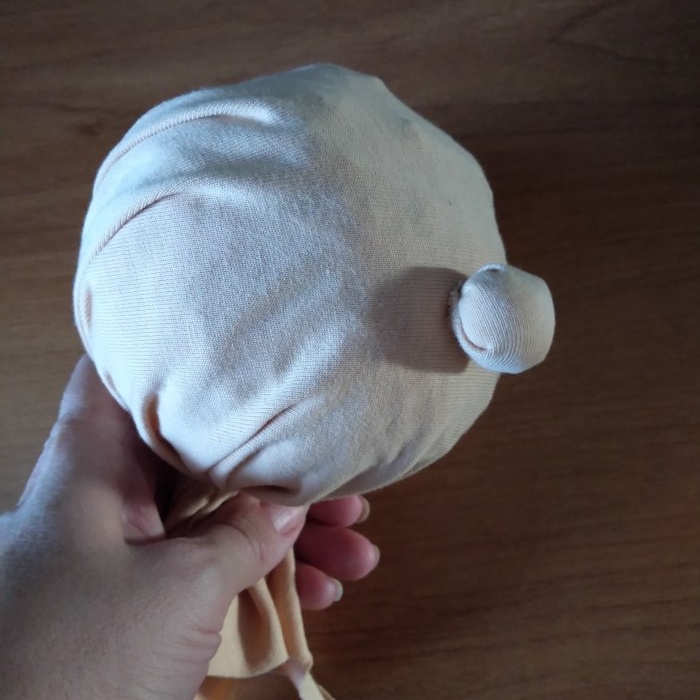
4. Form the nose from padding polyester. Cut a piece of beige fabric, put padding polyester in there, tie it in a circle with thread, and sew on the nose. I don’t give exact dimensions, as I did everything “by eye”, in improvisation mode. The main thing is to maintain proportions.
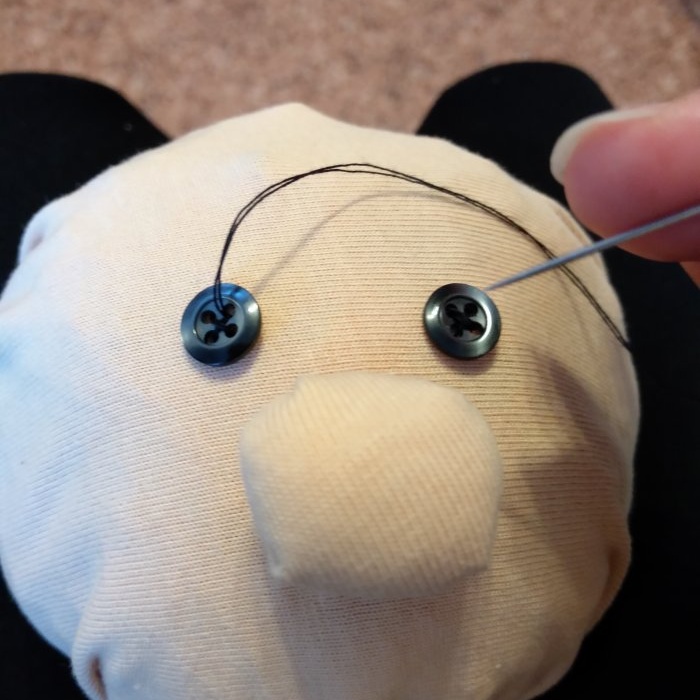
5. Attach two buttons to the head, mark the location, and sew. I took shirt buttons.
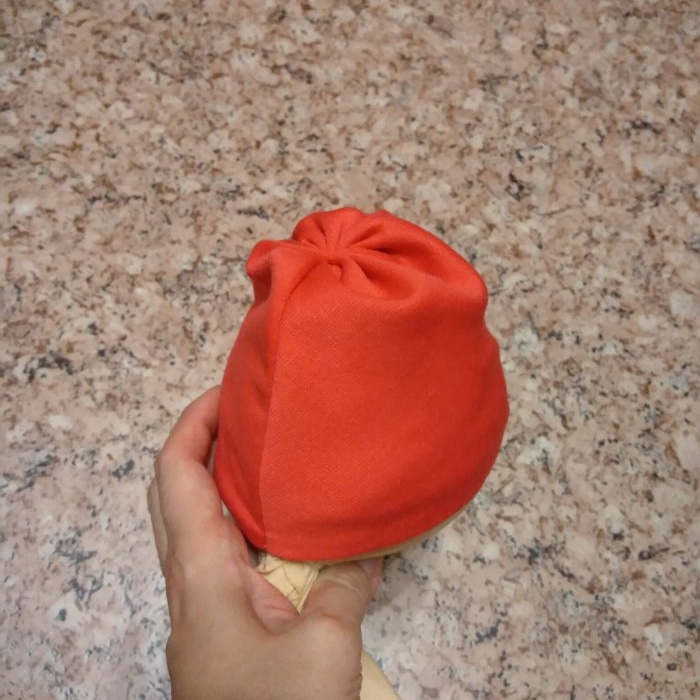
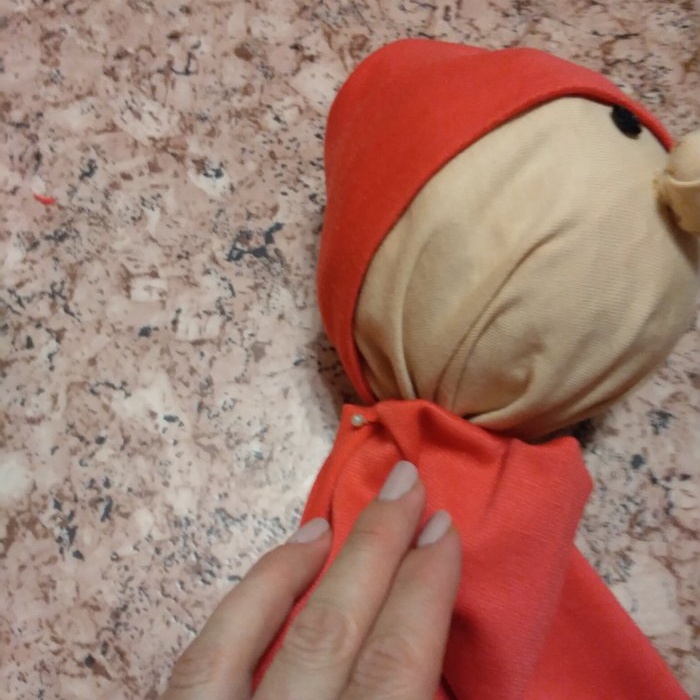
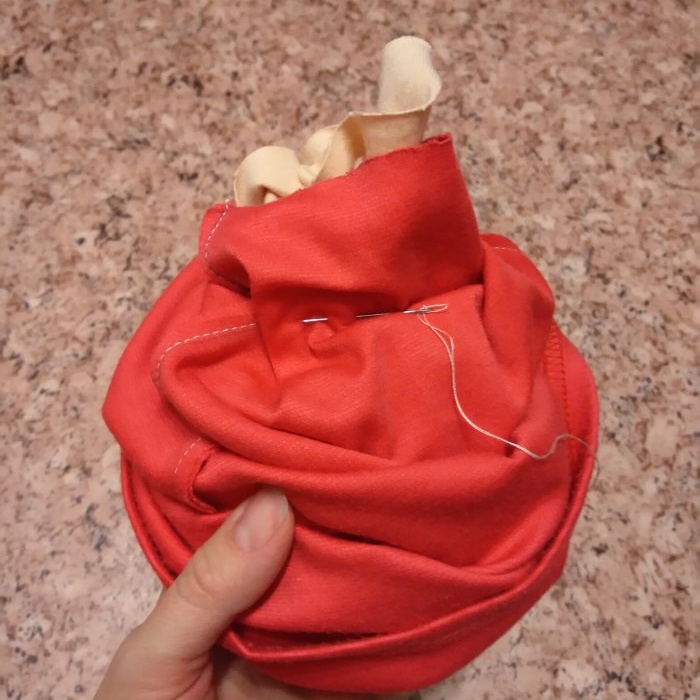
6. Sew a hat. Wrap a piece of fabric around your head and cut it to the desired size. Sew the side seam and tie it with thread at the top. Put on the hat and secure it with hidden stitches in two places.
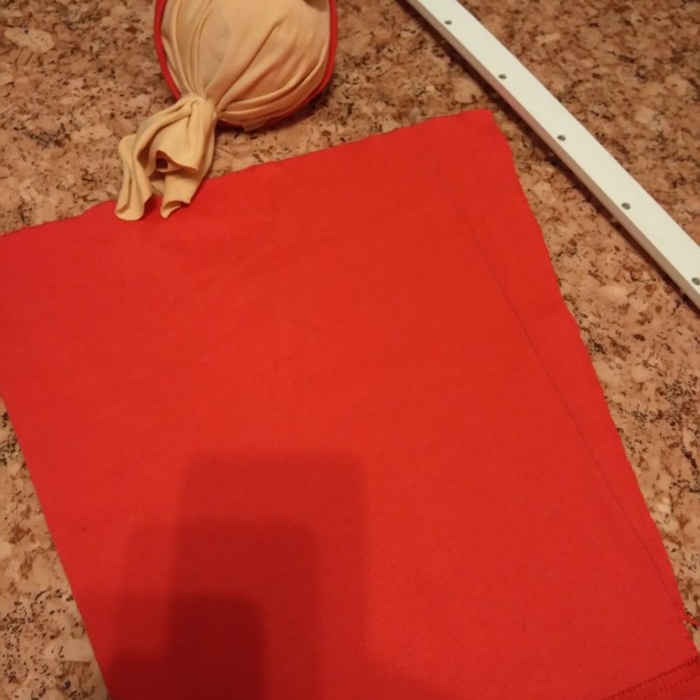
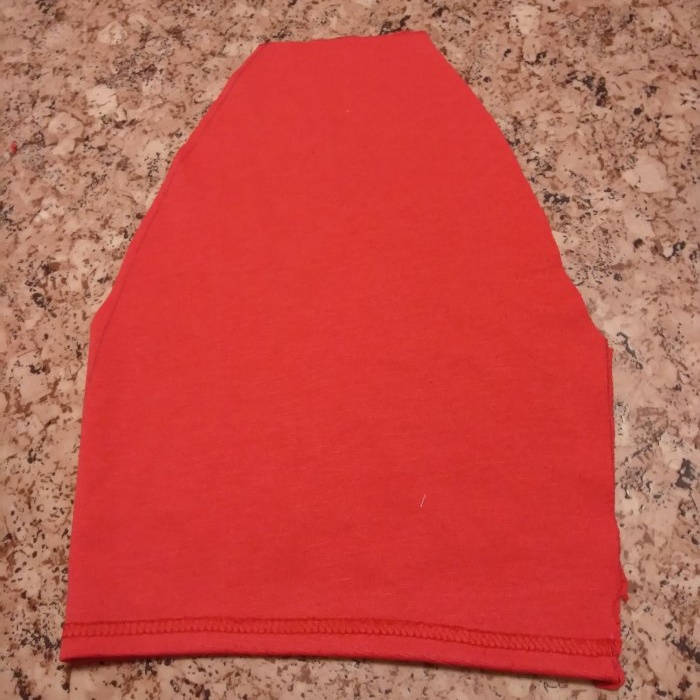
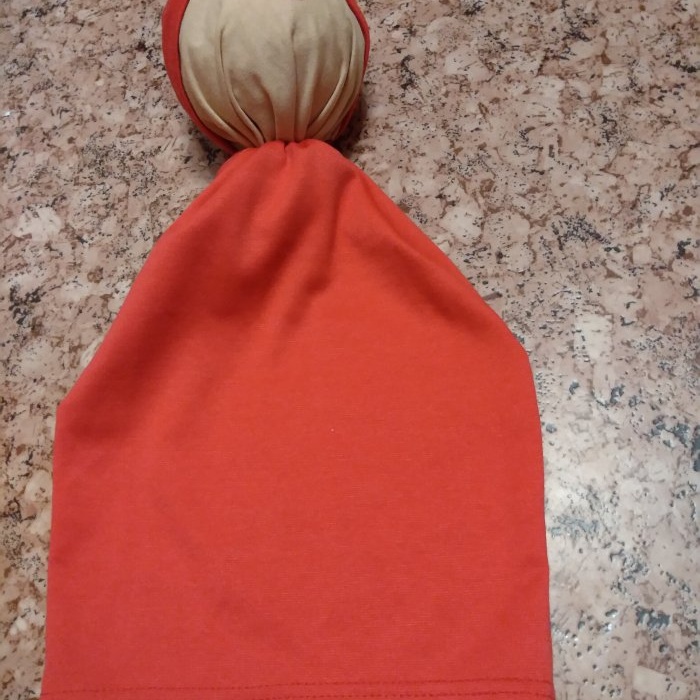
7. Make a fur coat from a piece of red fabric. Cut a rectangle of the required size, trim from the sides, forming a trapezoid.
8. Sew the fur coat to the neck. First, mark the attachment points with pins, then sew by hand.
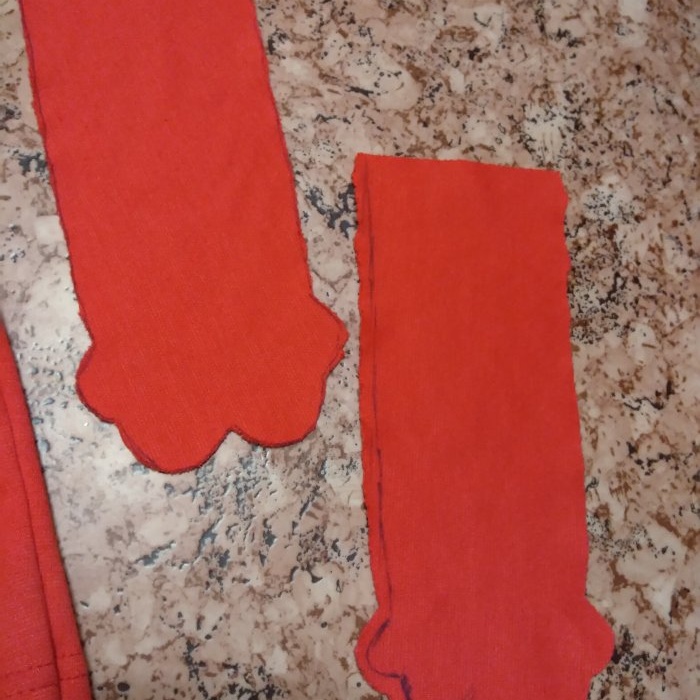
9. Make hands. Attach the rectangles of fabric to the body, measure the required length, draw a thumb. Cut it out, sew it on the sides, turn it inside out, stuff it with padding polyester.
10. Sew the arms to the body.
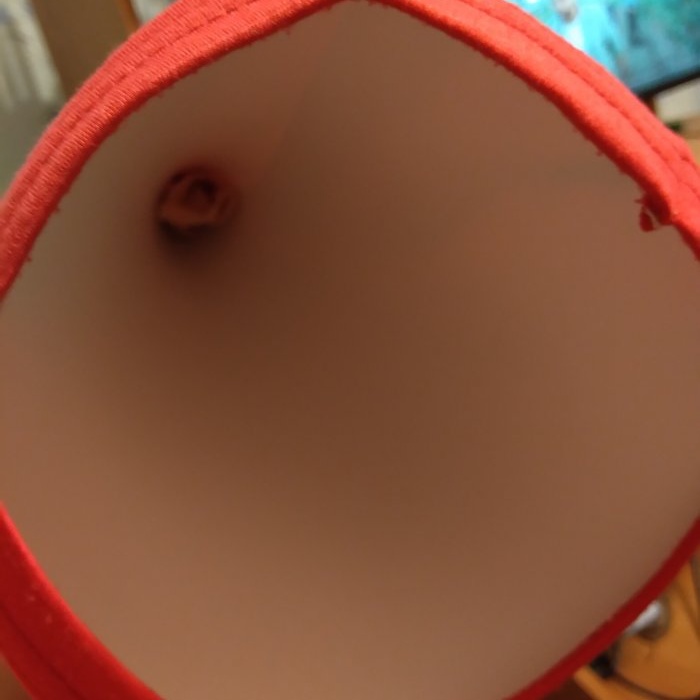
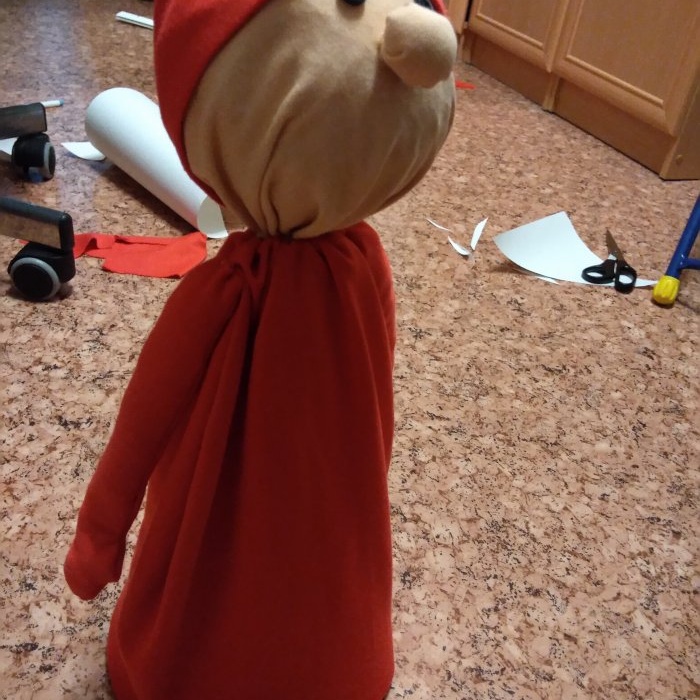
11. Form a cone from whatman paper, fasten it with a stapler, and insert it inside the toy. The neck should be inserted inside the Whatman paper. Now the New Year's toy has gained stability.
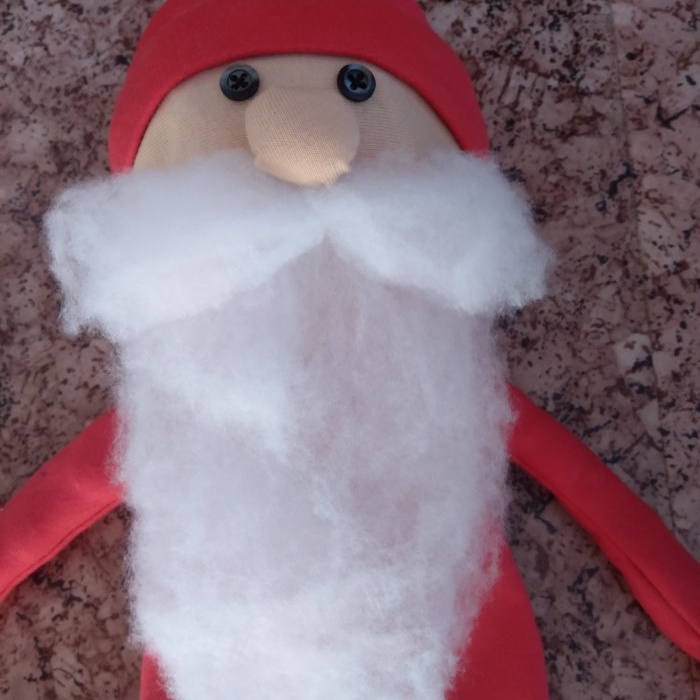
12. Fold the padding polyester in two layers, apply it to the head, cut off the required length of the beard, give it a shape - cut it from the sides with scissors. Lightly tug at the edges with your hands to create a smooth shape. Sew the upper part of the beard to the head with threads. Form a mustache from a piece of padding polyester and sew its middle part to the head.
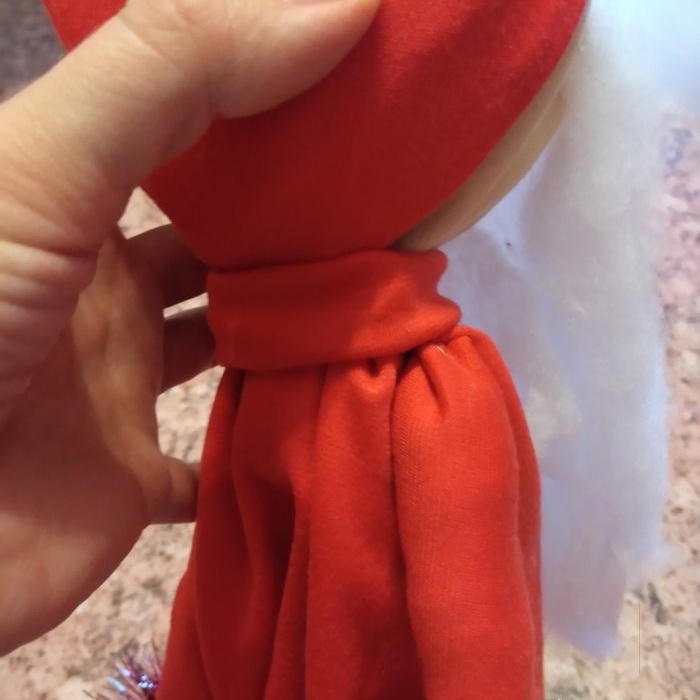
13. Make a collar from a piece of fabric. To do this, cut a rectangle out of red fabric to fit the volume of the neck, and sew the side seam. Wrap around neck and sew by hand using blind stitches.
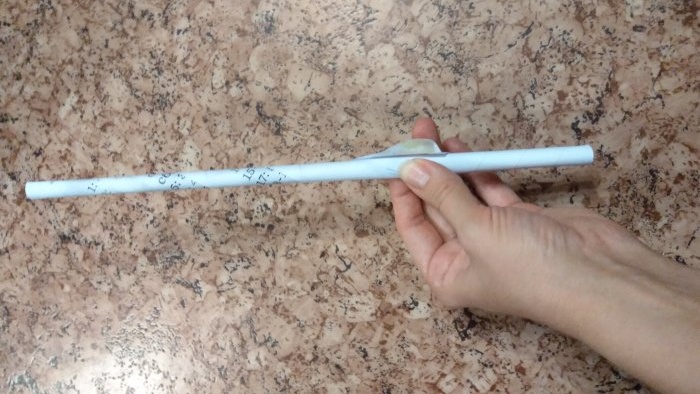
14.Make a staff from a sheet of paper. Wind a sheet of paper onto a knitting needle, remove the knitting needle, and glue the tip of the sheet with glue. Cover the staff with foil.
15. Sew tinsel in several places to the hat, the bottom of the fur coat and to the hands, imitating the edge of the mittens. Attach the staff with threads to the hand, and in two places on the bottom of the fur coat. To hang on a Christmas tree, sew a thread to the head.
The New Year's toy for the Christmas tree "Santa Claus" is ready.
Similar master classes
Particularly interesting
Comments (0)

