How to make a small gas heater for a tent
When winter fishing or hiking, the use of a heating source is required. A lot of portable devices have been invented for this, but not all of them are convenient or light enough. We offer the design of a heat exchanger for a tourist gas stove, which can be used to heat a tent even at night.
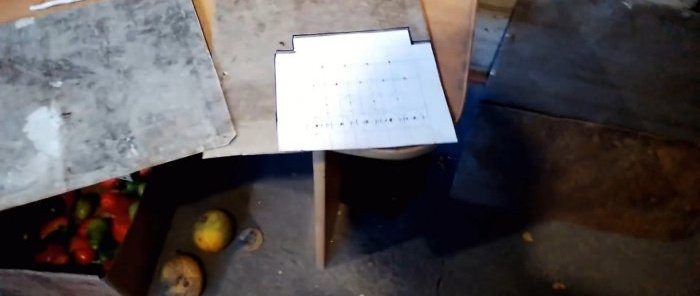
It is necessary to draw on paper and cut out a 15x15 cm template for the sides of the heat exchanger.
On three sides you need to leave an additional 2.5 cm for bending. The corners are cut off. According to the template, you need to cut 2 blanks from sheet aluminum.
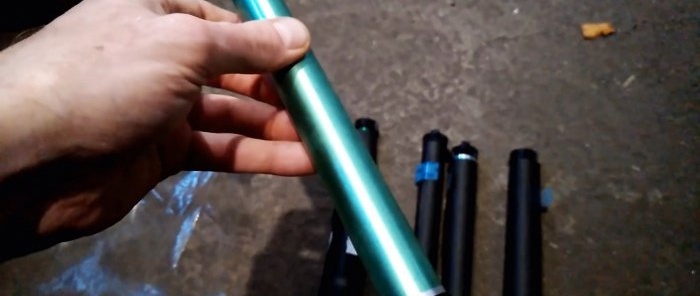
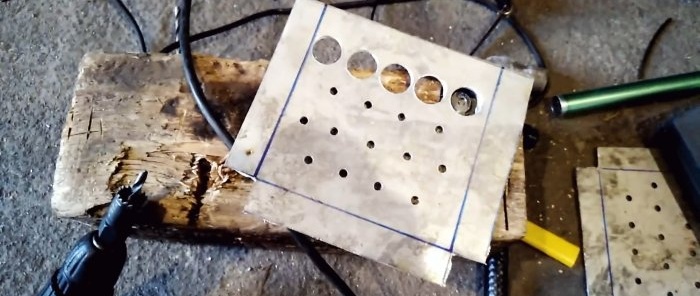
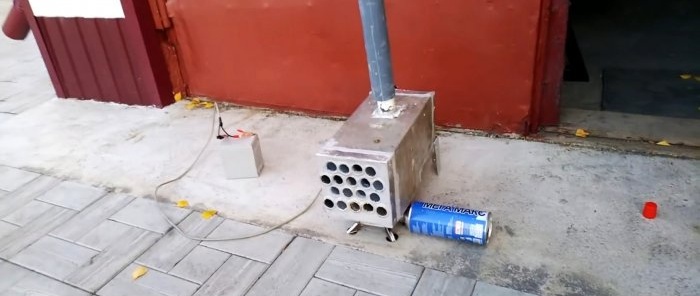
The sides fold together. Then they need to be drilled for tubes from photodrums. The latter can be taken for free from workshops that refill cartridges.They accumulate a lot of photoconductors after repairs. You will need 18 holes with a diameter of 23 mm.
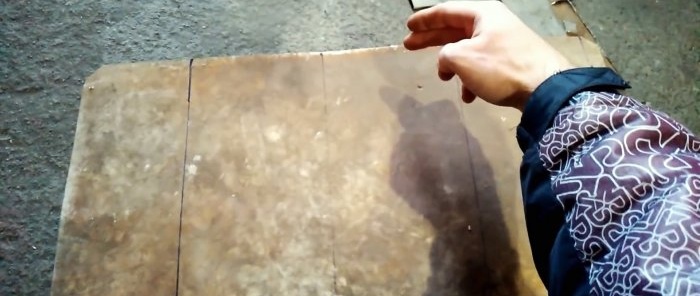
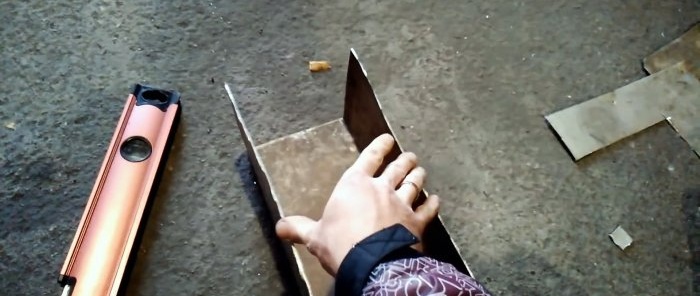
For the heat exchanger body, you need to prepare a 30x45 cm aluminum sheet. On the long side, it is divided by three lines into 15 cm pieces. You need to make a bend along them to get a U-shaped box.
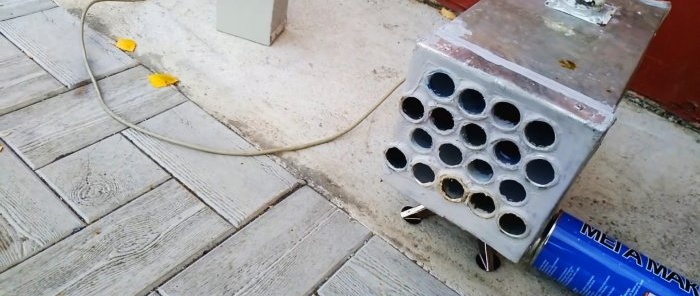
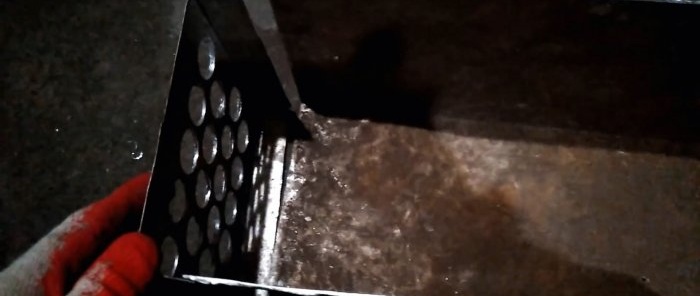
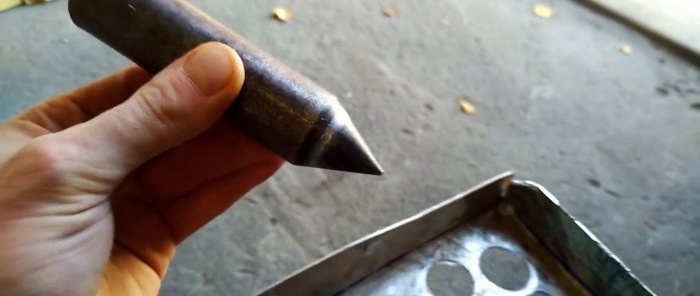
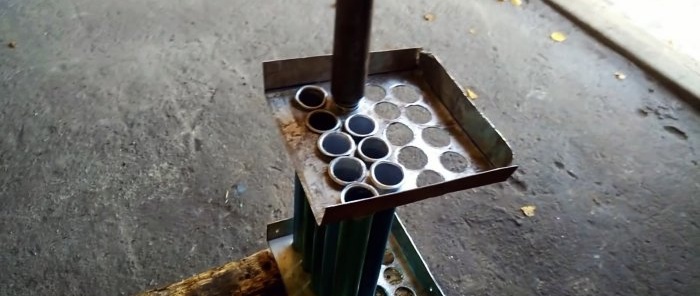
Next you need to bend the drilled sides along the lines. Tubes are inserted into their holes. To prevent them from falling out, you need to flare the edges. A plumb line is well suited for this. It is inserted into the end of each tube and expands its edge with a couple of hammer blows.
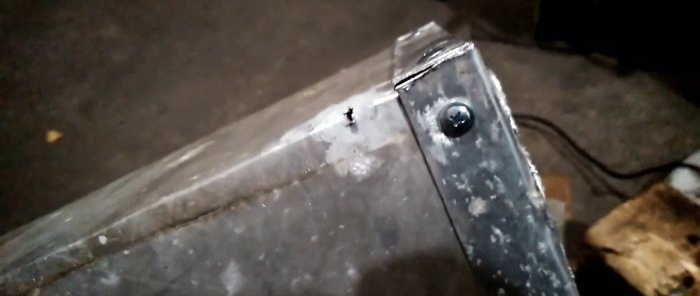
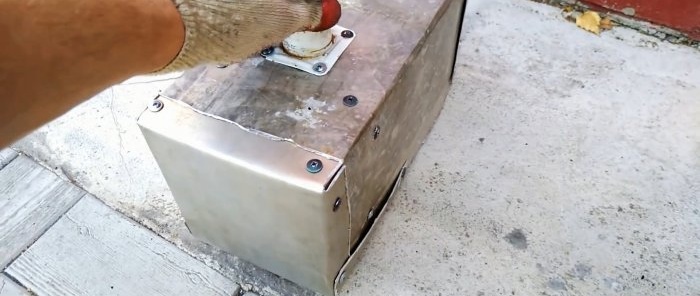
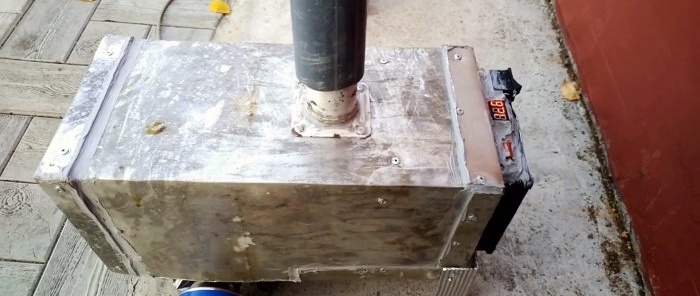
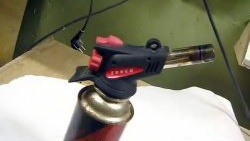
The block with tubes is fixed with blind rivets or self-tapping screws in the box. To remove carbon monoxide, you need to make a hole in the housing and install a metal pipe on it. It will be connected to a lighter 50mm sewer pipe.
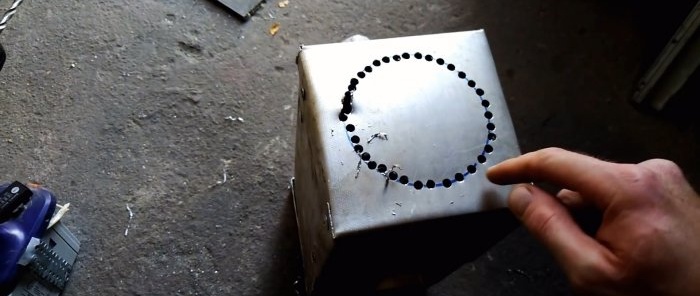
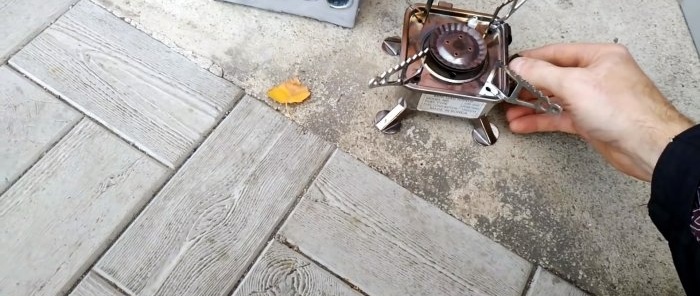
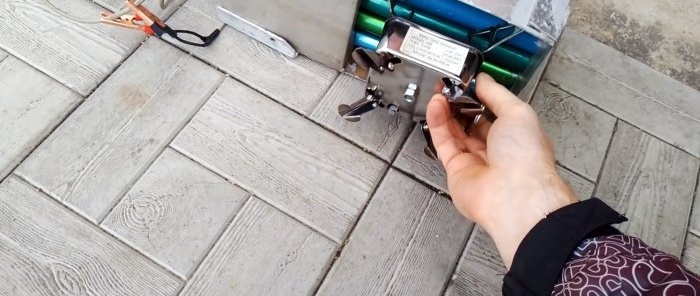
Next, the sidewall and part of the bottom are cut out and installed. The remaining open gap at the bottom should be large enough to accommodate the portable tile. Then a hole is made on the side for the fan.
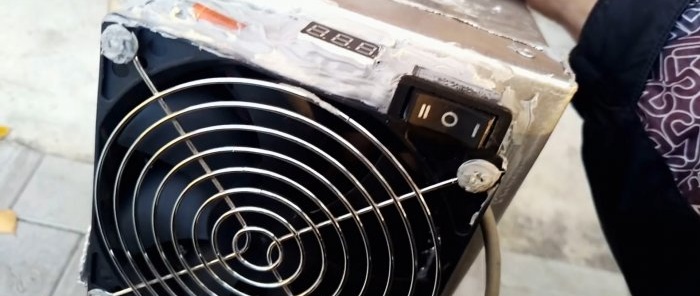
Using a heat-resistant sealant, you need to seal all seams and gaps so that only hot air and not carbon monoxide comes out of the heat exchanger. On the fan side, you need to install 2 folding legs from the corner. On the reverse side it will be supported on the tile itself.
Next, wires are supplied to connect the cooler to the battery. You can make a dual-mode fan by installing a resistance. If possible, install a voltmeter to monitor the remaining charge on the batteries.
For the heat exchanger to work, it must be placed on a burning gas stove. As a result, hot air will be released into the tent from the tubes, and carbon monoxide will escape out through the upper channel.
Basic materials:
- sheet aluminum 1 mm;
- photodrums from laser printer cartridges – 18 pcs.;
- battery 12V 5ah;
- fan from the computer system unit;
- heat-resistant automotive sealant;
- tube 40-45 mm;
- sewer pipe 50 mm.
Heat exchanger manufacturing process
It is necessary to draw on paper and cut out a 15x15 cm template for the sides of the heat exchanger.
On three sides you need to leave an additional 2.5 cm for bending. The corners are cut off. According to the template, you need to cut 2 blanks from sheet aluminum.
The sides fold together. Then they need to be drilled for tubes from photodrums. The latter can be taken for free from workshops that refill cartridges.They accumulate a lot of photoconductors after repairs. You will need 18 holes with a diameter of 23 mm.
For the heat exchanger body, you need to prepare a 30x45 cm aluminum sheet. On the long side, it is divided by three lines into 15 cm pieces. You need to make a bend along them to get a U-shaped box.
Next you need to bend the drilled sides along the lines. Tubes are inserted into their holes. To prevent them from falling out, you need to flare the edges. A plumb line is well suited for this. It is inserted into the end of each tube and expands its edge with a couple of hammer blows.
The block with tubes is fixed with blind rivets or self-tapping screws in the box. To remove carbon monoxide, you need to make a hole in the housing and install a metal pipe on it. It will be connected to a lighter 50mm sewer pipe.
Next, the sidewall and part of the bottom are cut out and installed. The remaining open gap at the bottom should be large enough to accommodate the portable tile. Then a hole is made on the side for the fan.
Using a heat-resistant sealant, you need to seal all seams and gaps so that only hot air and not carbon monoxide comes out of the heat exchanger. On the fan side, you need to install 2 folding legs from the corner. On the reverse side it will be supported on the tile itself.
Next, wires are supplied to connect the cooler to the battery. You can make a dual-mode fan by installing a resistance. If possible, install a voltmeter to monitor the remaining charge on the batteries.
For the heat exchanger to work, it must be placed on a burning gas stove. As a result, hot air will be released into the tent from the tubes, and carbon monoxide will escape out through the upper channel.
Watch the video
Similar master classes
Particularly interesting
Comments (1)

