How to make an original screwdriver from Soviet coins
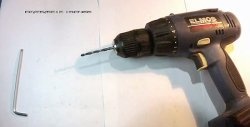
This idea came to my mind completely by accident, but not without reason. The child urgently needed to disassemble the toy to replace the batteries. I rushed to the closet, but the screwdriver was not there. I found a bit for a screwdriver. I took a screwdriver, but the battery was dead.... While back and forth, the child was no longer interested in playing with this toy.
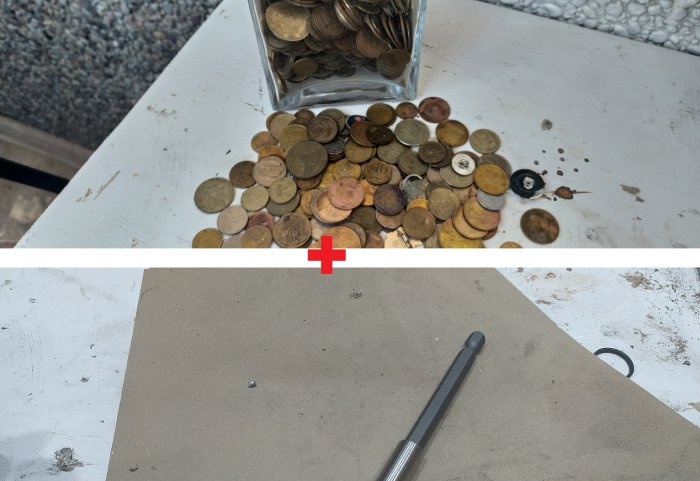
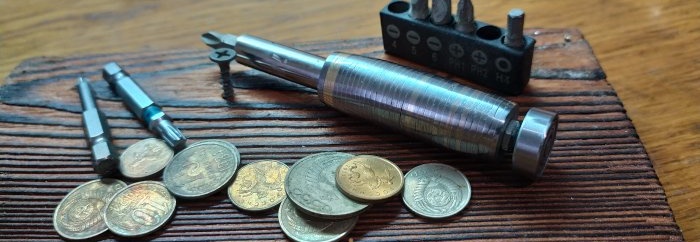
It's a mess, I thought. We need to do something. And then I remembered that I had an excellent adapter for screwdriver bits in my drawer. If only he could come up with some kind of handle and it would turn out to be an excellent screwdriver! An old jar with USSR coins caught my eye... Probably there is one left in every home. It was decided to make something out of them.
The hardest part of the whole job was trying to drill the coins at least close to the center. I even came up with a mini-pattern for this purpose. The markings turned out to be accurate, but during the drilling process the “cent” constantly “ran away”... Eh, it’s a pity there is no machine... At least a primitive one.
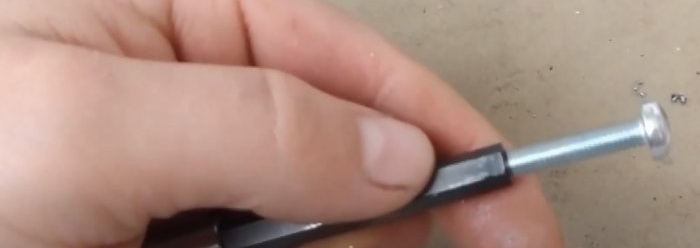
Somehow I drilled holes in the coins and placed them on the bit holder. By the way, I made a hole 1 cm deep in the bit holder and cut an M5 thread in it, for which we will find out later.
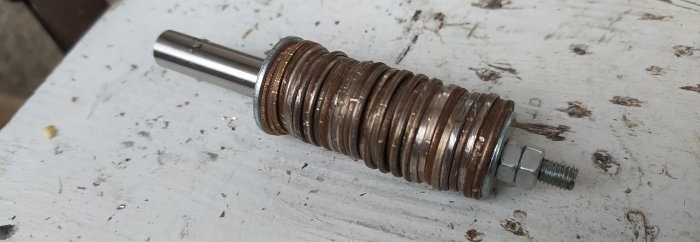
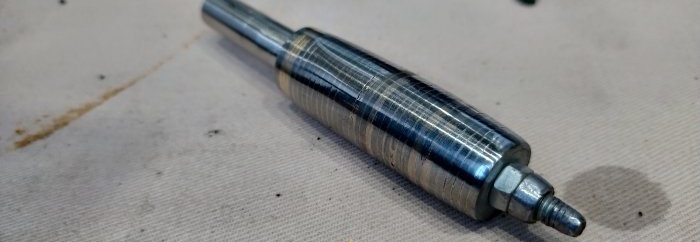
Next, having inserted the coins, I pressed them with a nut on top, plus added a lock nut. The result was something like this.
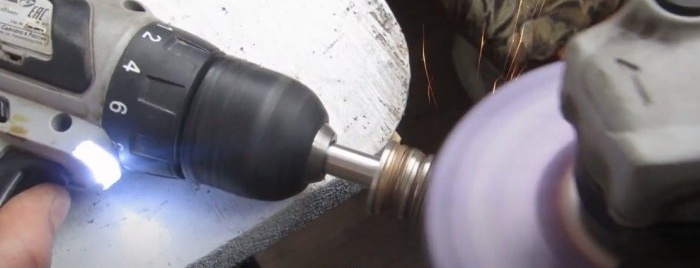
I clamped the whole thing into a screwdriver and the long and persistent process of processing it with a grinder and a grinding wheel began. (again, the lack of machines affects it). But perhaps it’s more pleasant to work without machines. Not exactly, but it’s more pleasant for the soul.
I spent a long time processing it with a cleaning disc. Then I installed a flap disc with a grid of 120. Next, an emery disc with a grid of 1000 was used. By this time, the workpiece already had a presentable appearance. Next, I polished it a little using a piece of leather and GOI paste. Interim results were shown on video.
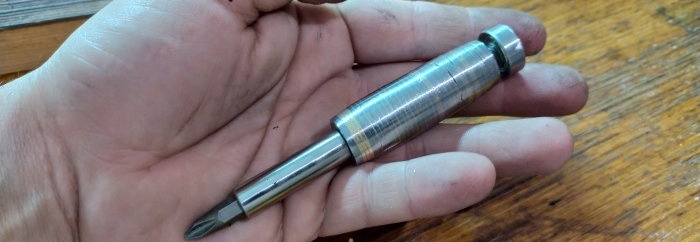
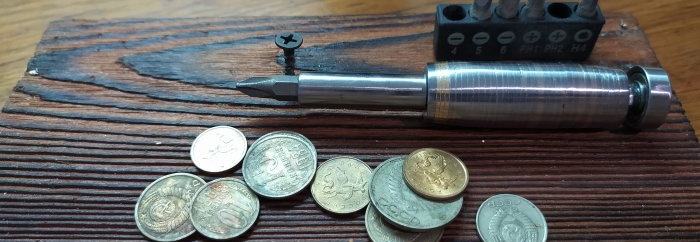
Next, on the side where the screw was, I ground off the locking nut a little and put a small bearing from a broken angle grinder in this place. I sanded off the excess. The result was a kind of palm rest, similar to what is used on watch screwdrivers.
In principle, this was the end of the work. The time spent is about one day of light.. Yes, with the machines it was possible to complete this work in an hour... But there would be no soul in this craft..
The detailed manufacturing process is shown on my YouTube channel.
It's a mess, I thought. We need to do something. And then I remembered that I had an excellent adapter for screwdriver bits in my drawer. If only he could come up with some kind of handle and it would turn out to be an excellent screwdriver! An old jar with USSR coins caught my eye... Probably there is one left in every home. It was decided to make something out of them.
DIY coin pen
The hardest part of the whole job was trying to drill the coins at least close to the center. I even came up with a mini-pattern for this purpose. The markings turned out to be accurate, but during the drilling process the “cent” constantly “ran away”... Eh, it’s a pity there is no machine... At least a primitive one.
Somehow I drilled holes in the coins and placed them on the bit holder. By the way, I made a hole 1 cm deep in the bit holder and cut an M5 thread in it, for which we will find out later.
Next, having inserted the coins, I pressed them with a nut on top, plus added a lock nut. The result was something like this.
I clamped the whole thing into a screwdriver and the long and persistent process of processing it with a grinder and a grinding wheel began. (again, the lack of machines affects it). But perhaps it’s more pleasant to work without machines. Not exactly, but it’s more pleasant for the soul.
I spent a long time processing it with a cleaning disc. Then I installed a flap disc with a grid of 120. Next, an emery disc with a grid of 1000 was used. By this time, the workpiece already had a presentable appearance. Next, I polished it a little using a piece of leather and GOI paste. Interim results were shown on video.
Next, on the side where the screw was, I ground off the locking nut a little and put a small bearing from a broken angle grinder in this place. I sanded off the excess. The result was a kind of palm rest, similar to what is used on watch screwdrivers.
In principle, this was the end of the work. The time spent is about one day of light.. Yes, with the machines it was possible to complete this work in an hour... But there would be no soul in this craft..
The detailed manufacturing process is shown on my YouTube channel.
Watch the video
Similar master classes
Particularly interesting
Comments (1)

